Making
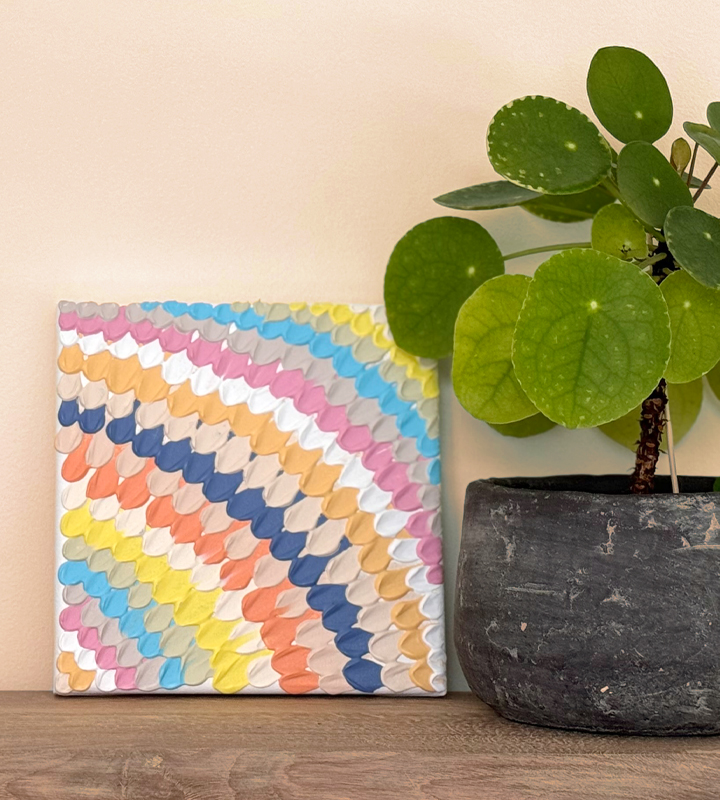
your own relief painting is a great way to play with paint. By applying thick
blobs, you create depth and tension in your artwork. A relief painting is a
real eye-catcher for your living room or workspace. Challenge yourself and get
started with relief painting!
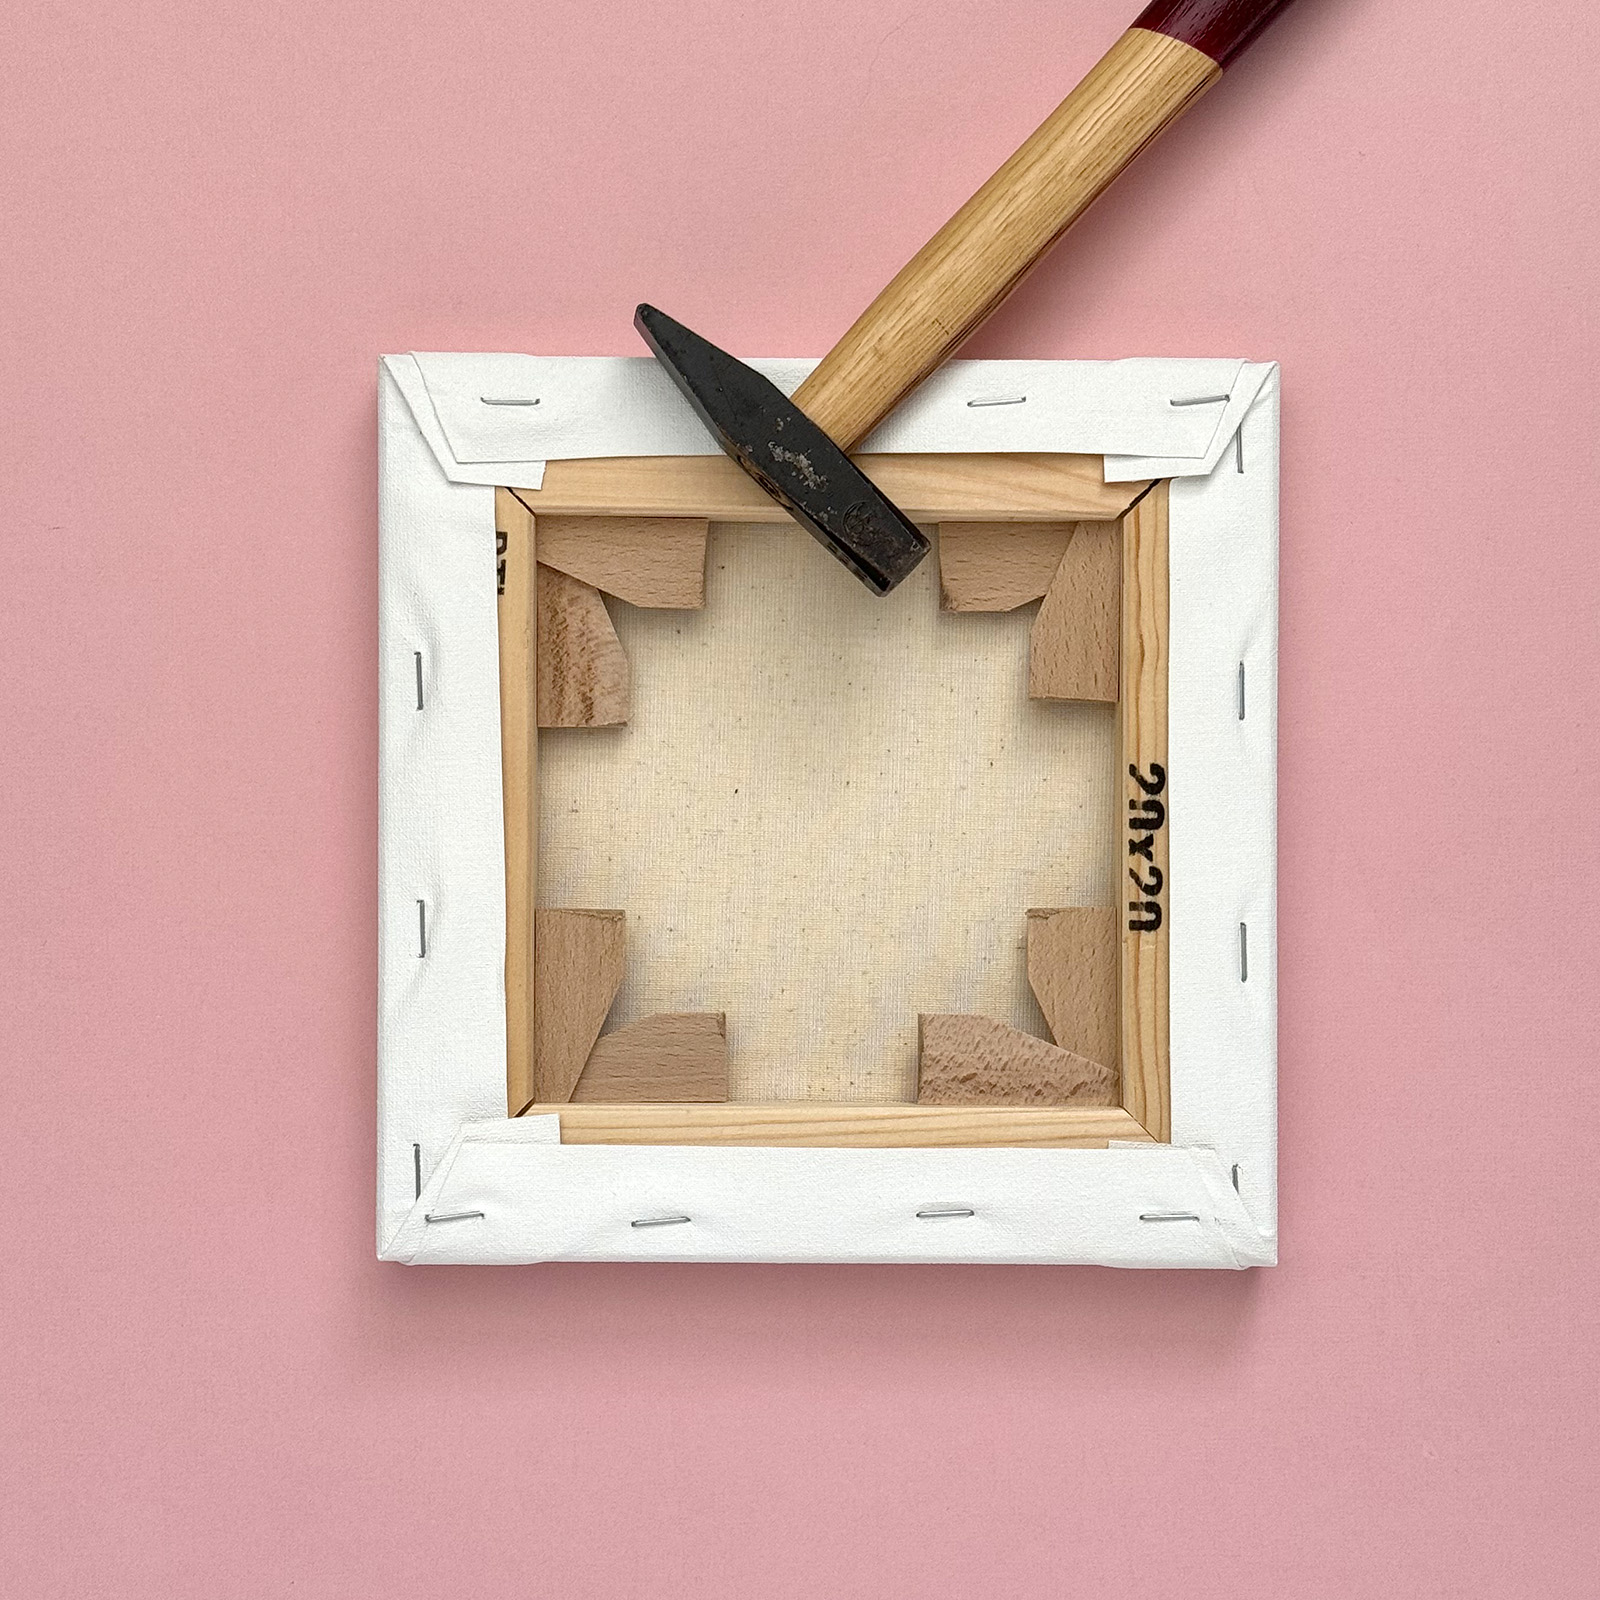
Unpack the canvas and stretch it onto the frame using the provided wooden bars. Hammer the bars firmly into the slots of the frame to ensure the canvas is taut.
2
Prepare the canvas by applying a thin layer of white acrylic paint. Allow it to dry thoroughly.
3
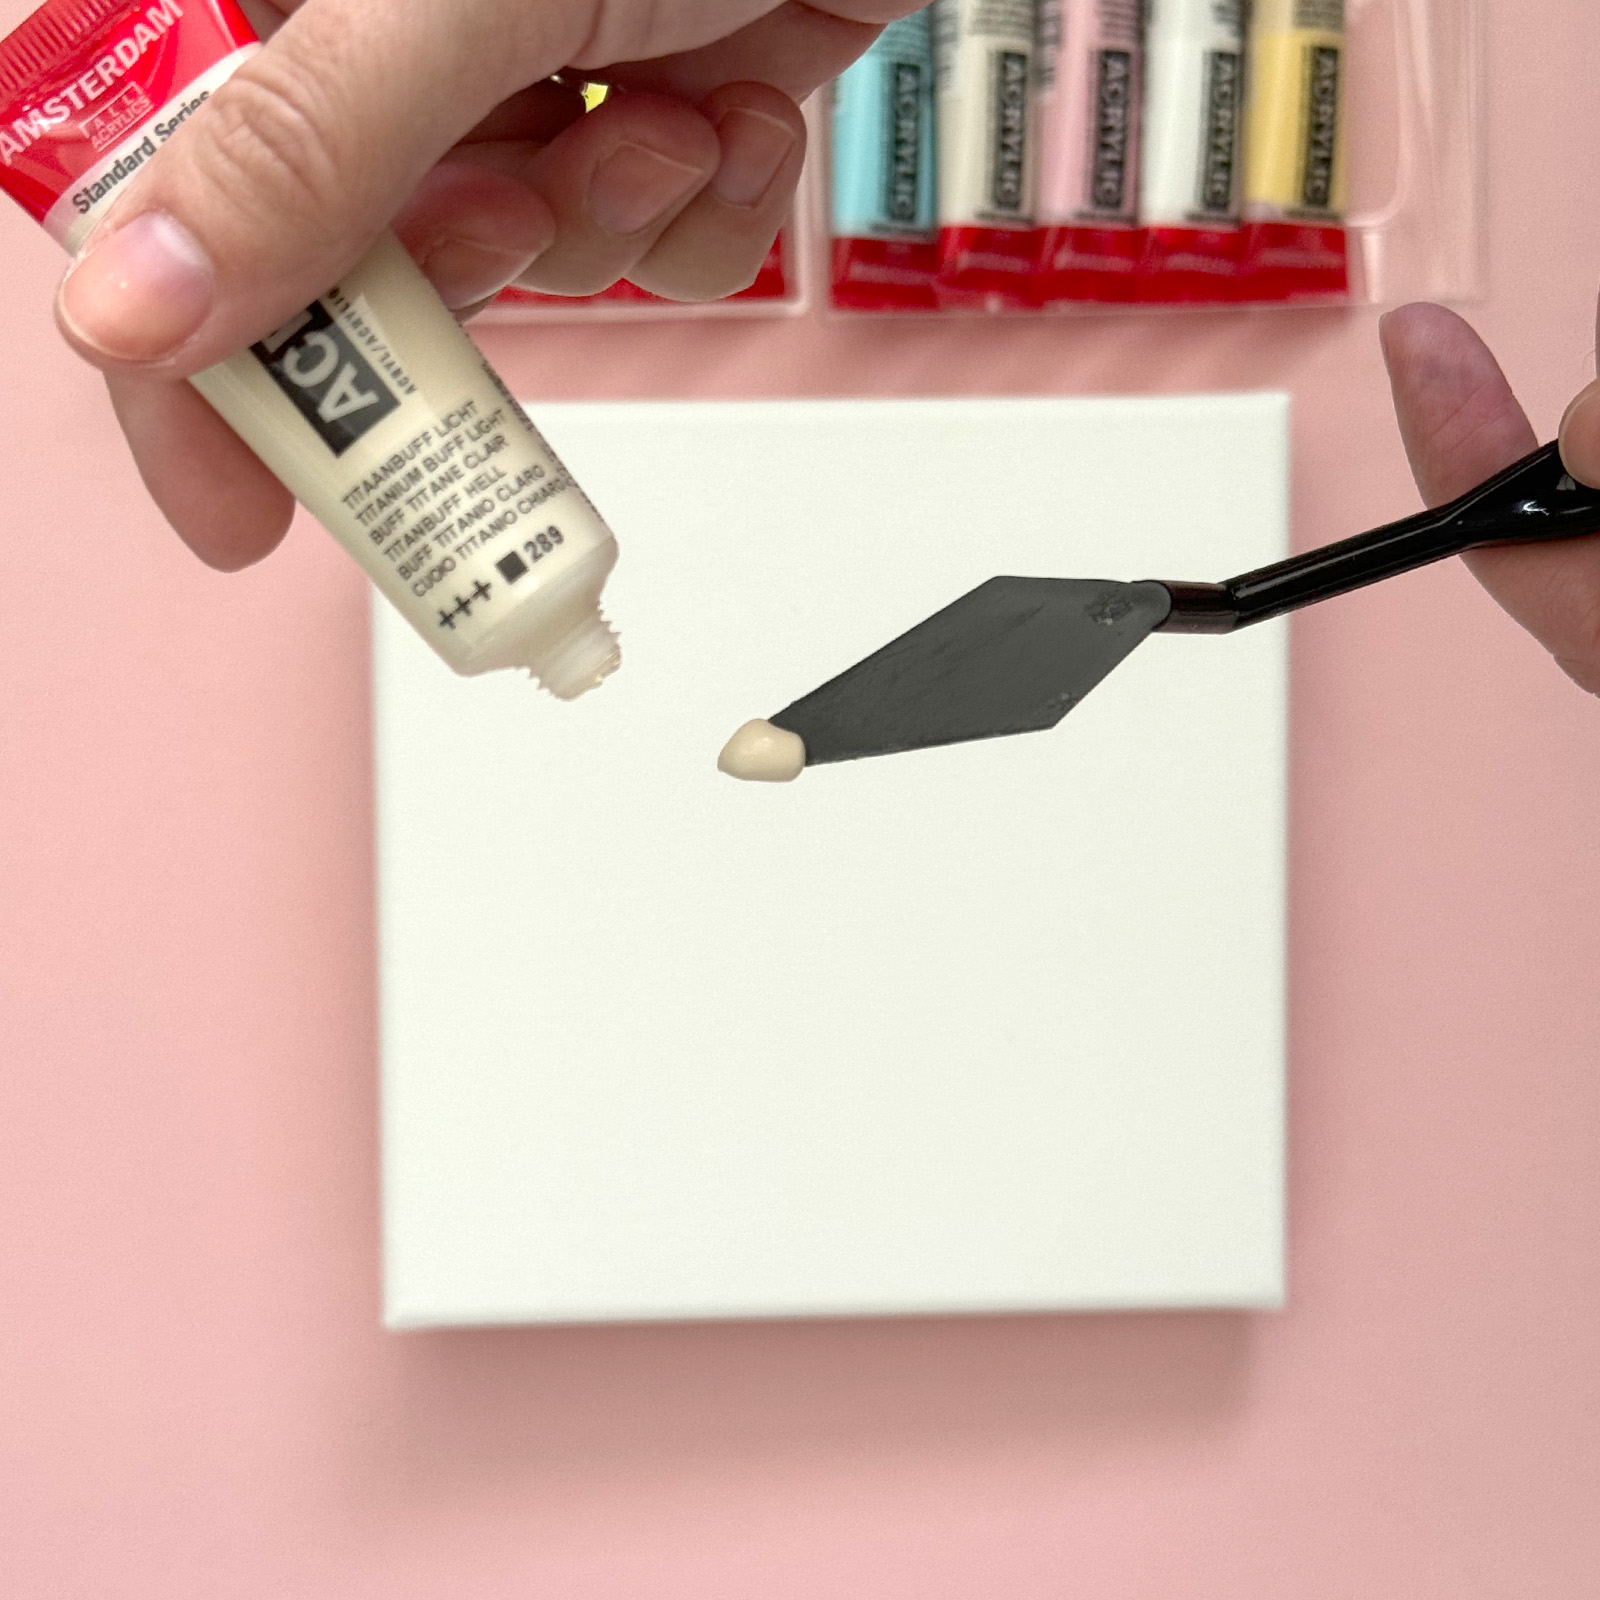
Lay out the set of pastel acrylic paints and arrange the tubes in the order of use. Squeeze a generous drop of the first paint colour onto a palette knife or spatula.
4
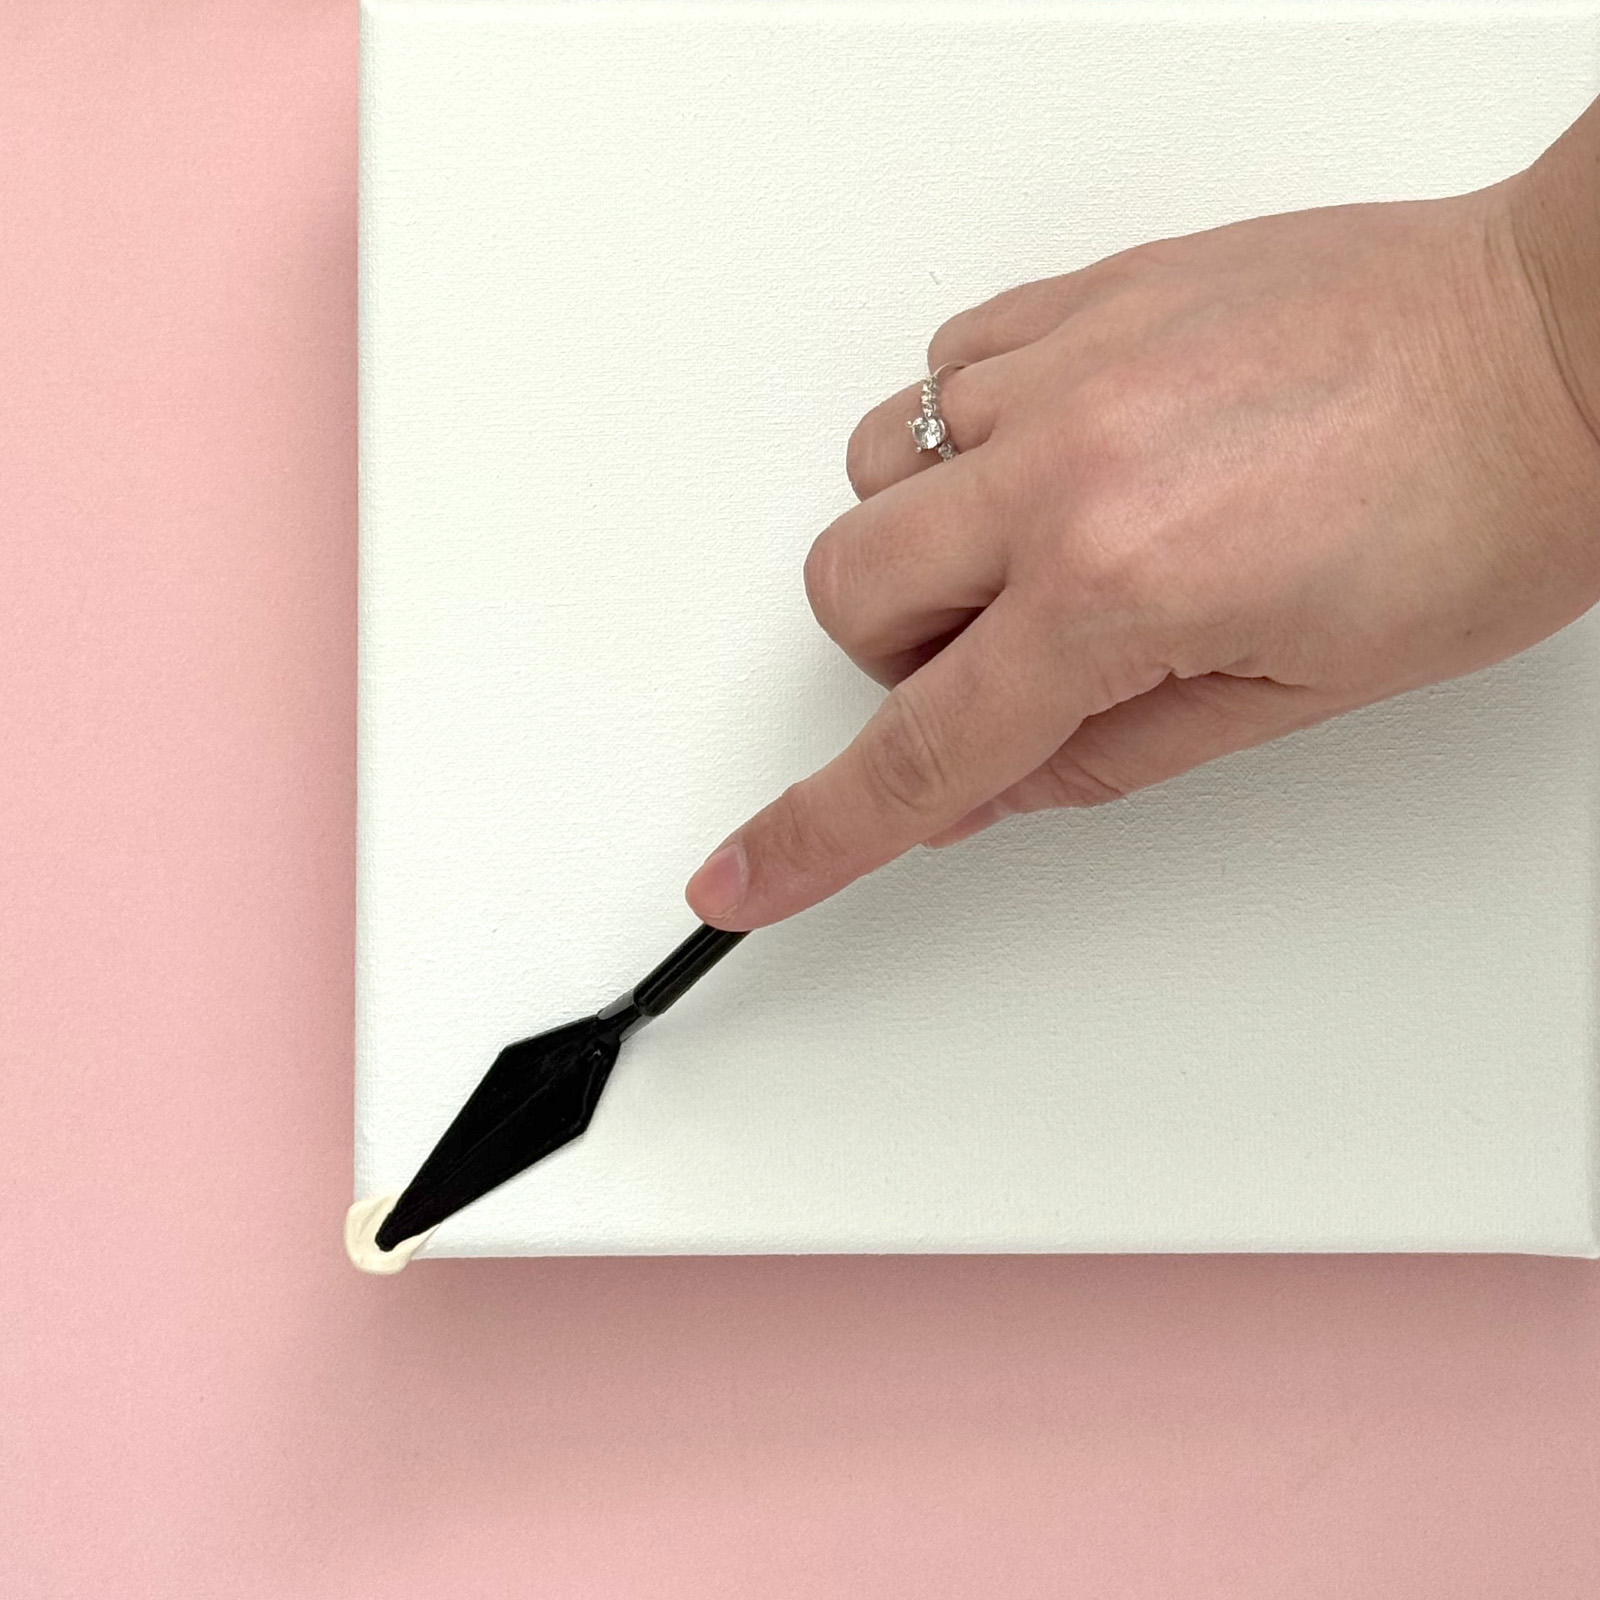
Position the palette knife in a corner of the canvas, pressing it flat to spread the paint towards the edge, then pull the knife backwards.
5
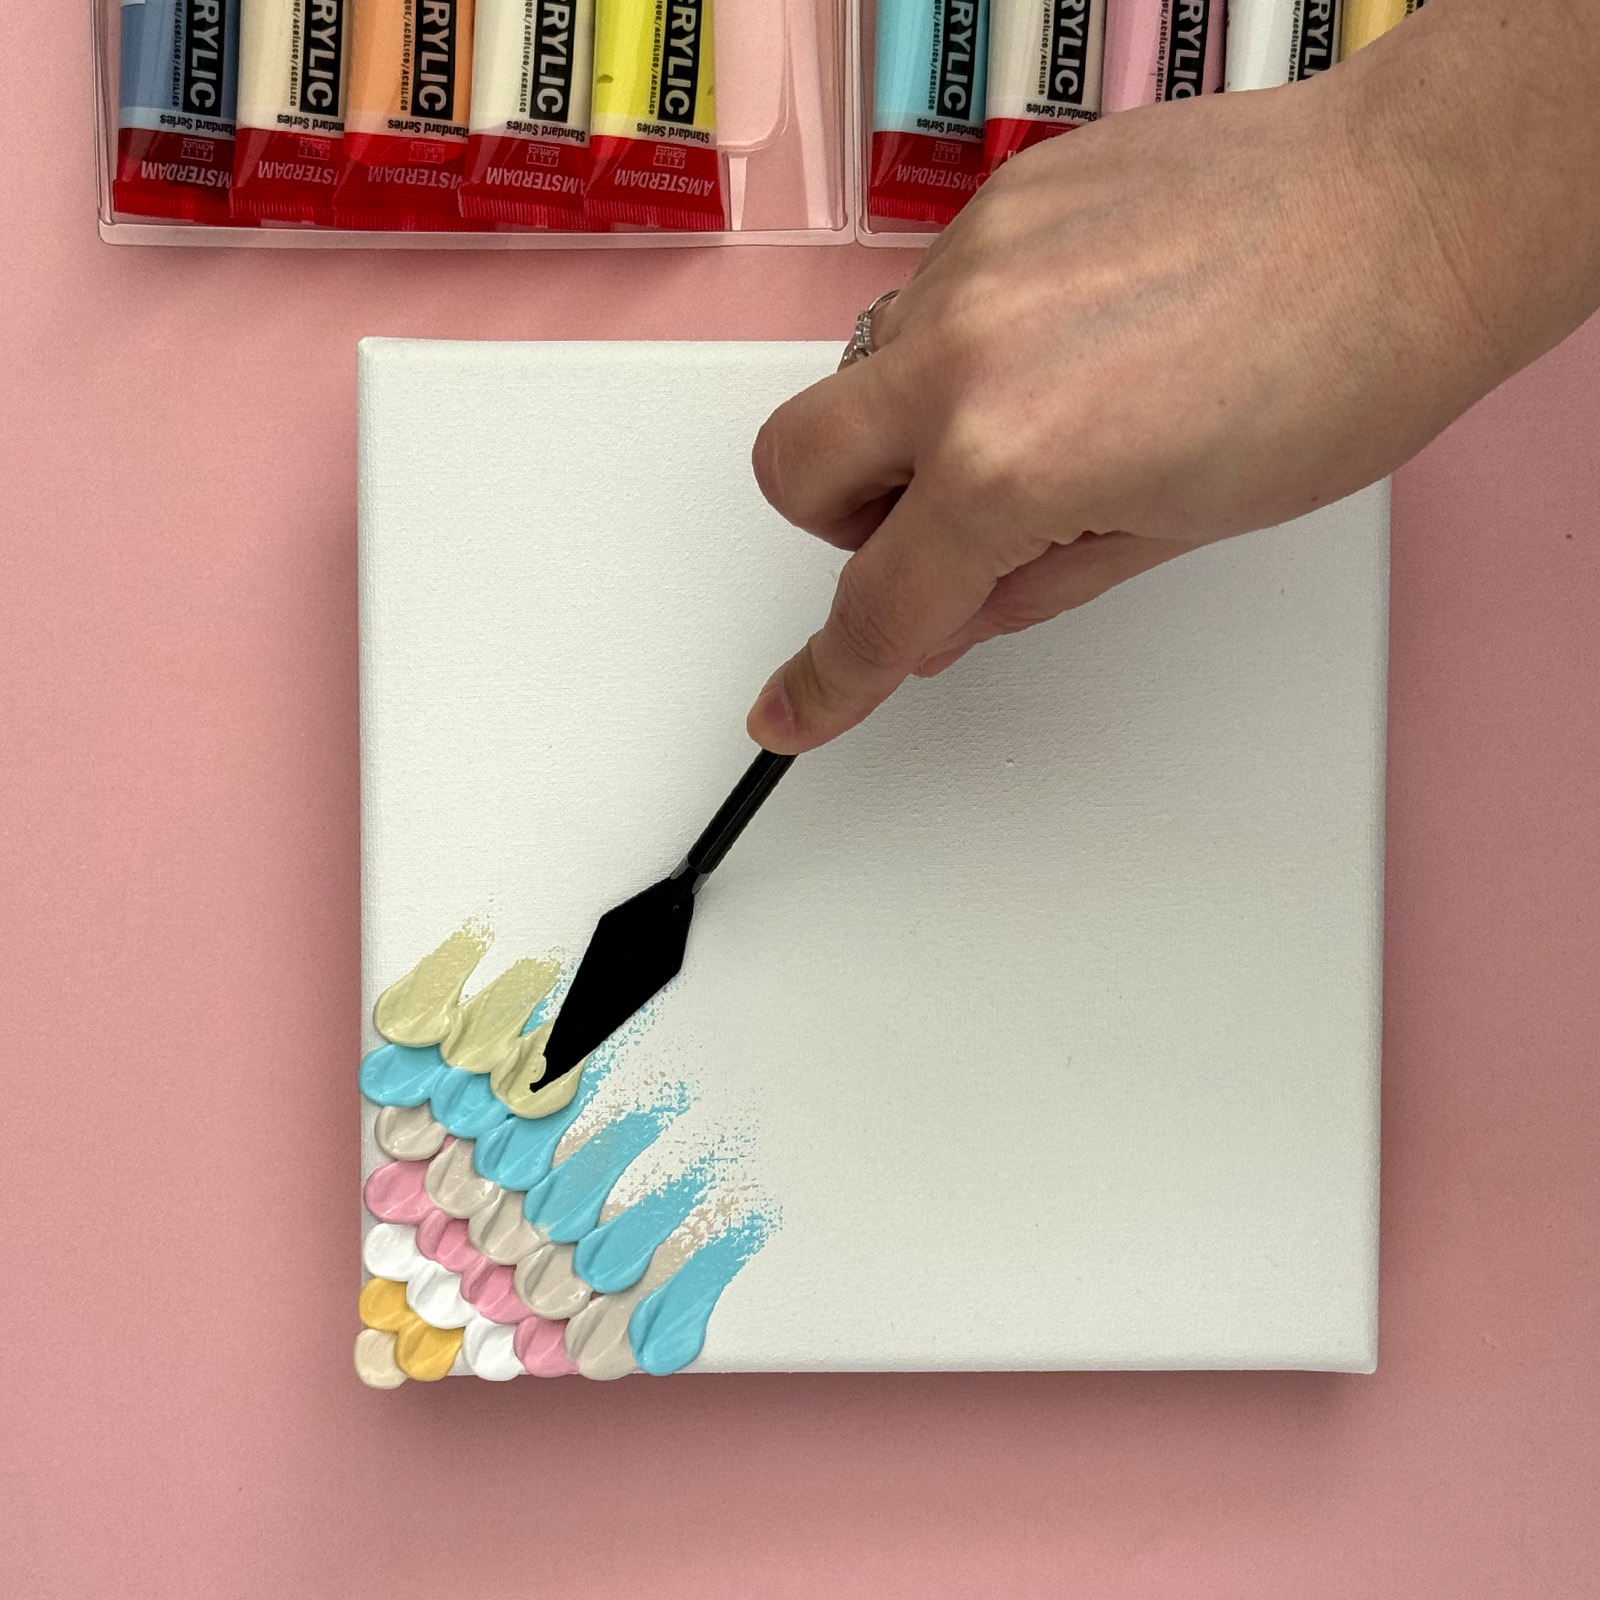
Repeat this process with the next paint colour, creating a "brickwork" pattern.
6
Increase the amount of paint with each successive colour, covering the entire canvas from edge to edge.
7
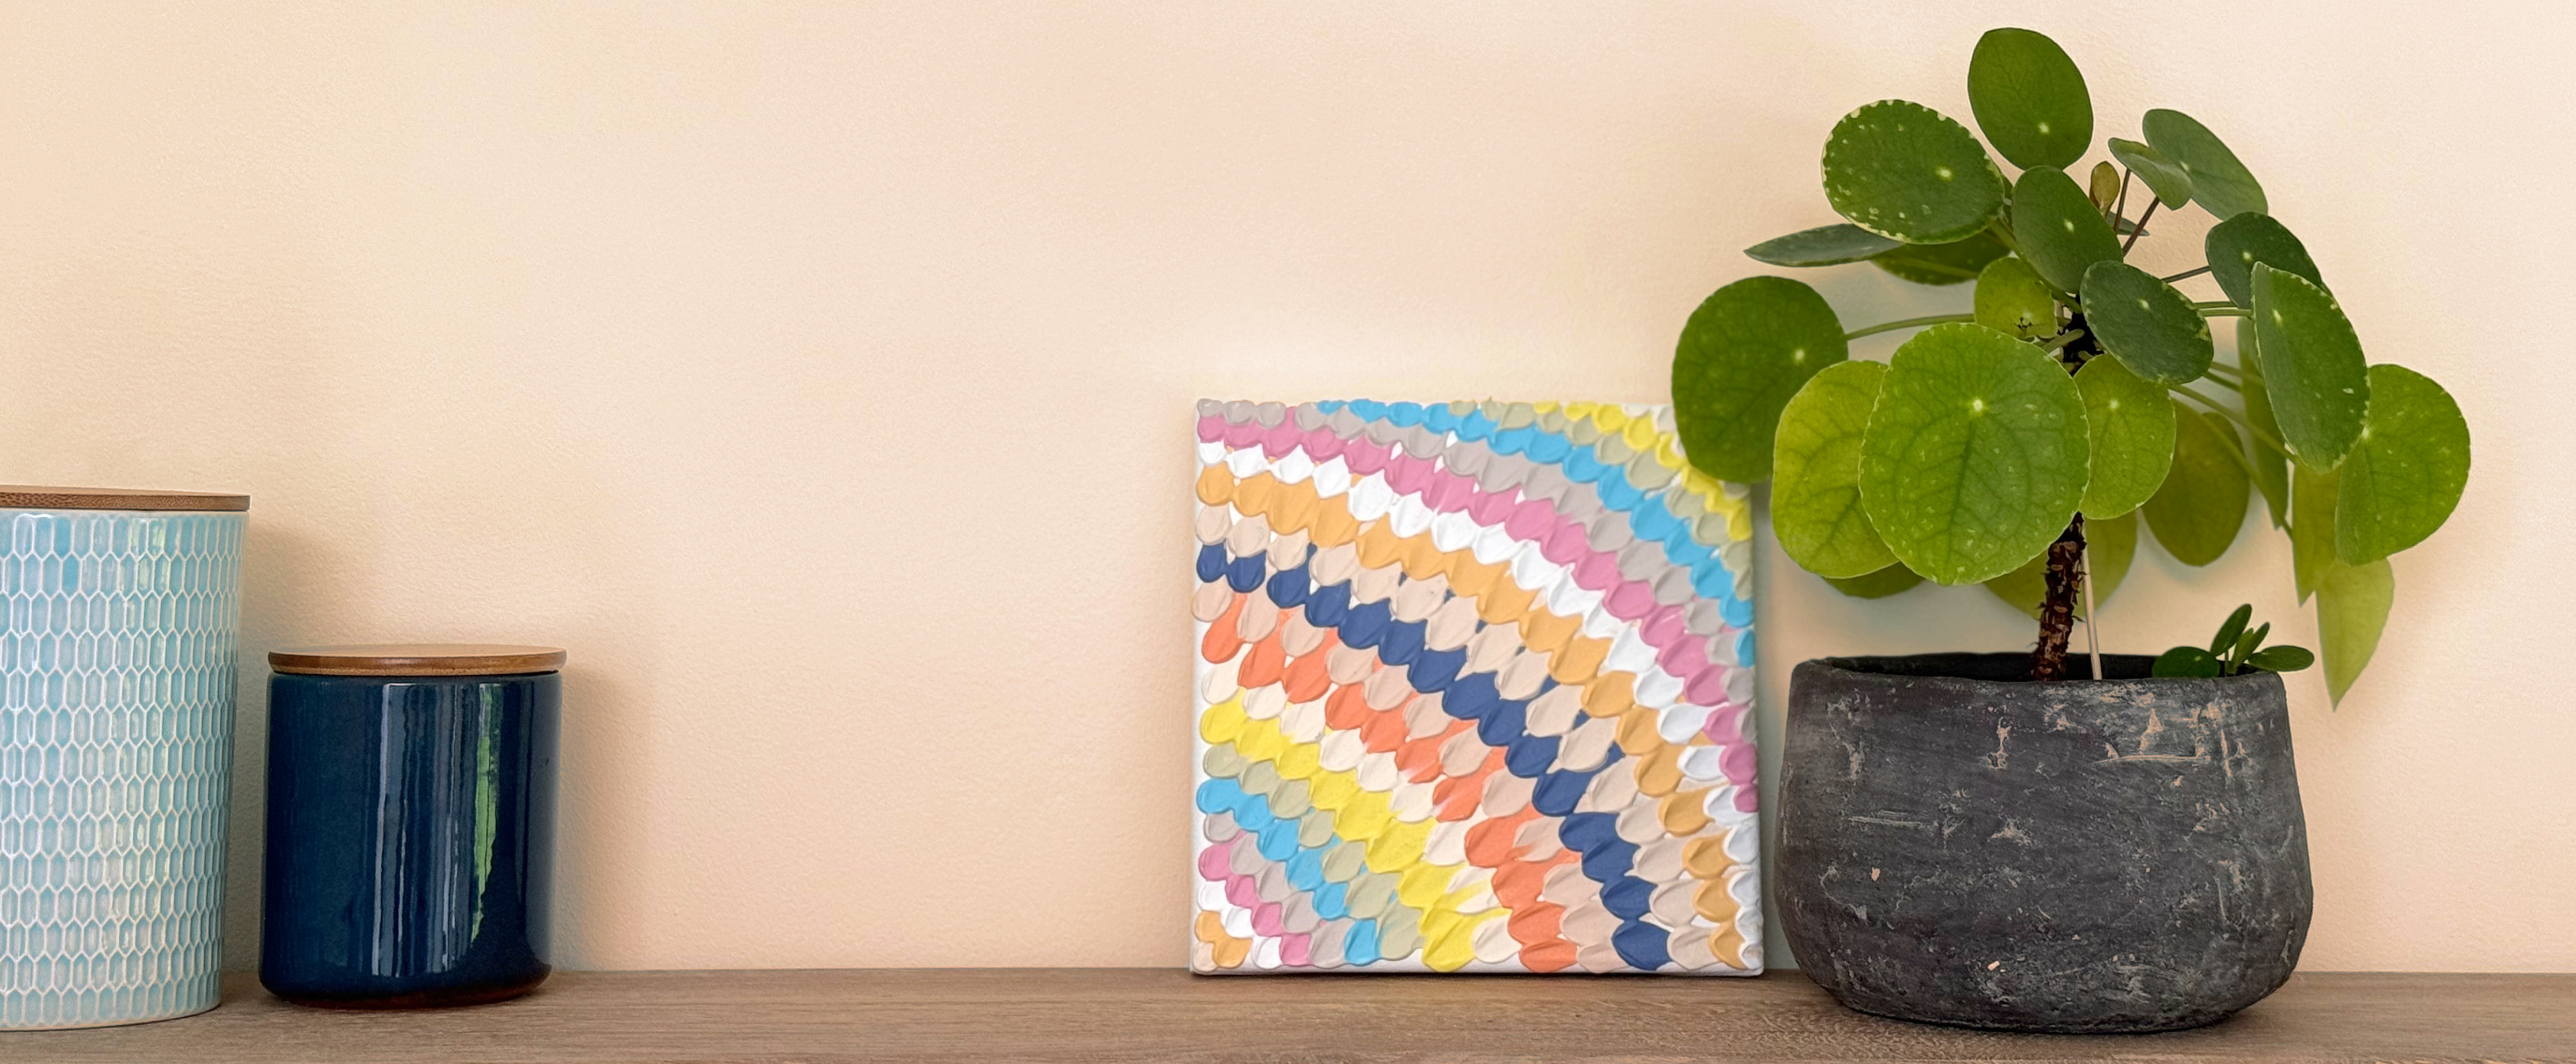
Continue repeating these steps until the entire canvas is filled with overlapping paint droplets.
8
Gradually reduce the number of paint droplets with each colour towards the end. Keep going until the entire canvas is covered. Then, allow it to dry thoroughly and cure.