Countdown to Christmas: Make your own advent calender
Countdown to Christmas: Make your own advent calender
It’s time for the best Christmas craft projects. Create your own compact advent calendar and surprise yourself each December day with a cheerful card that you’ve designed and made yourself. A creative and cosy way to count down to Christmas!
Take light blue, lilac, and medium blue cardstock. Use two sheets of each colour. Cut each sheet in half lengthwise, place them in an embossing folder, and run them through the machine.
2
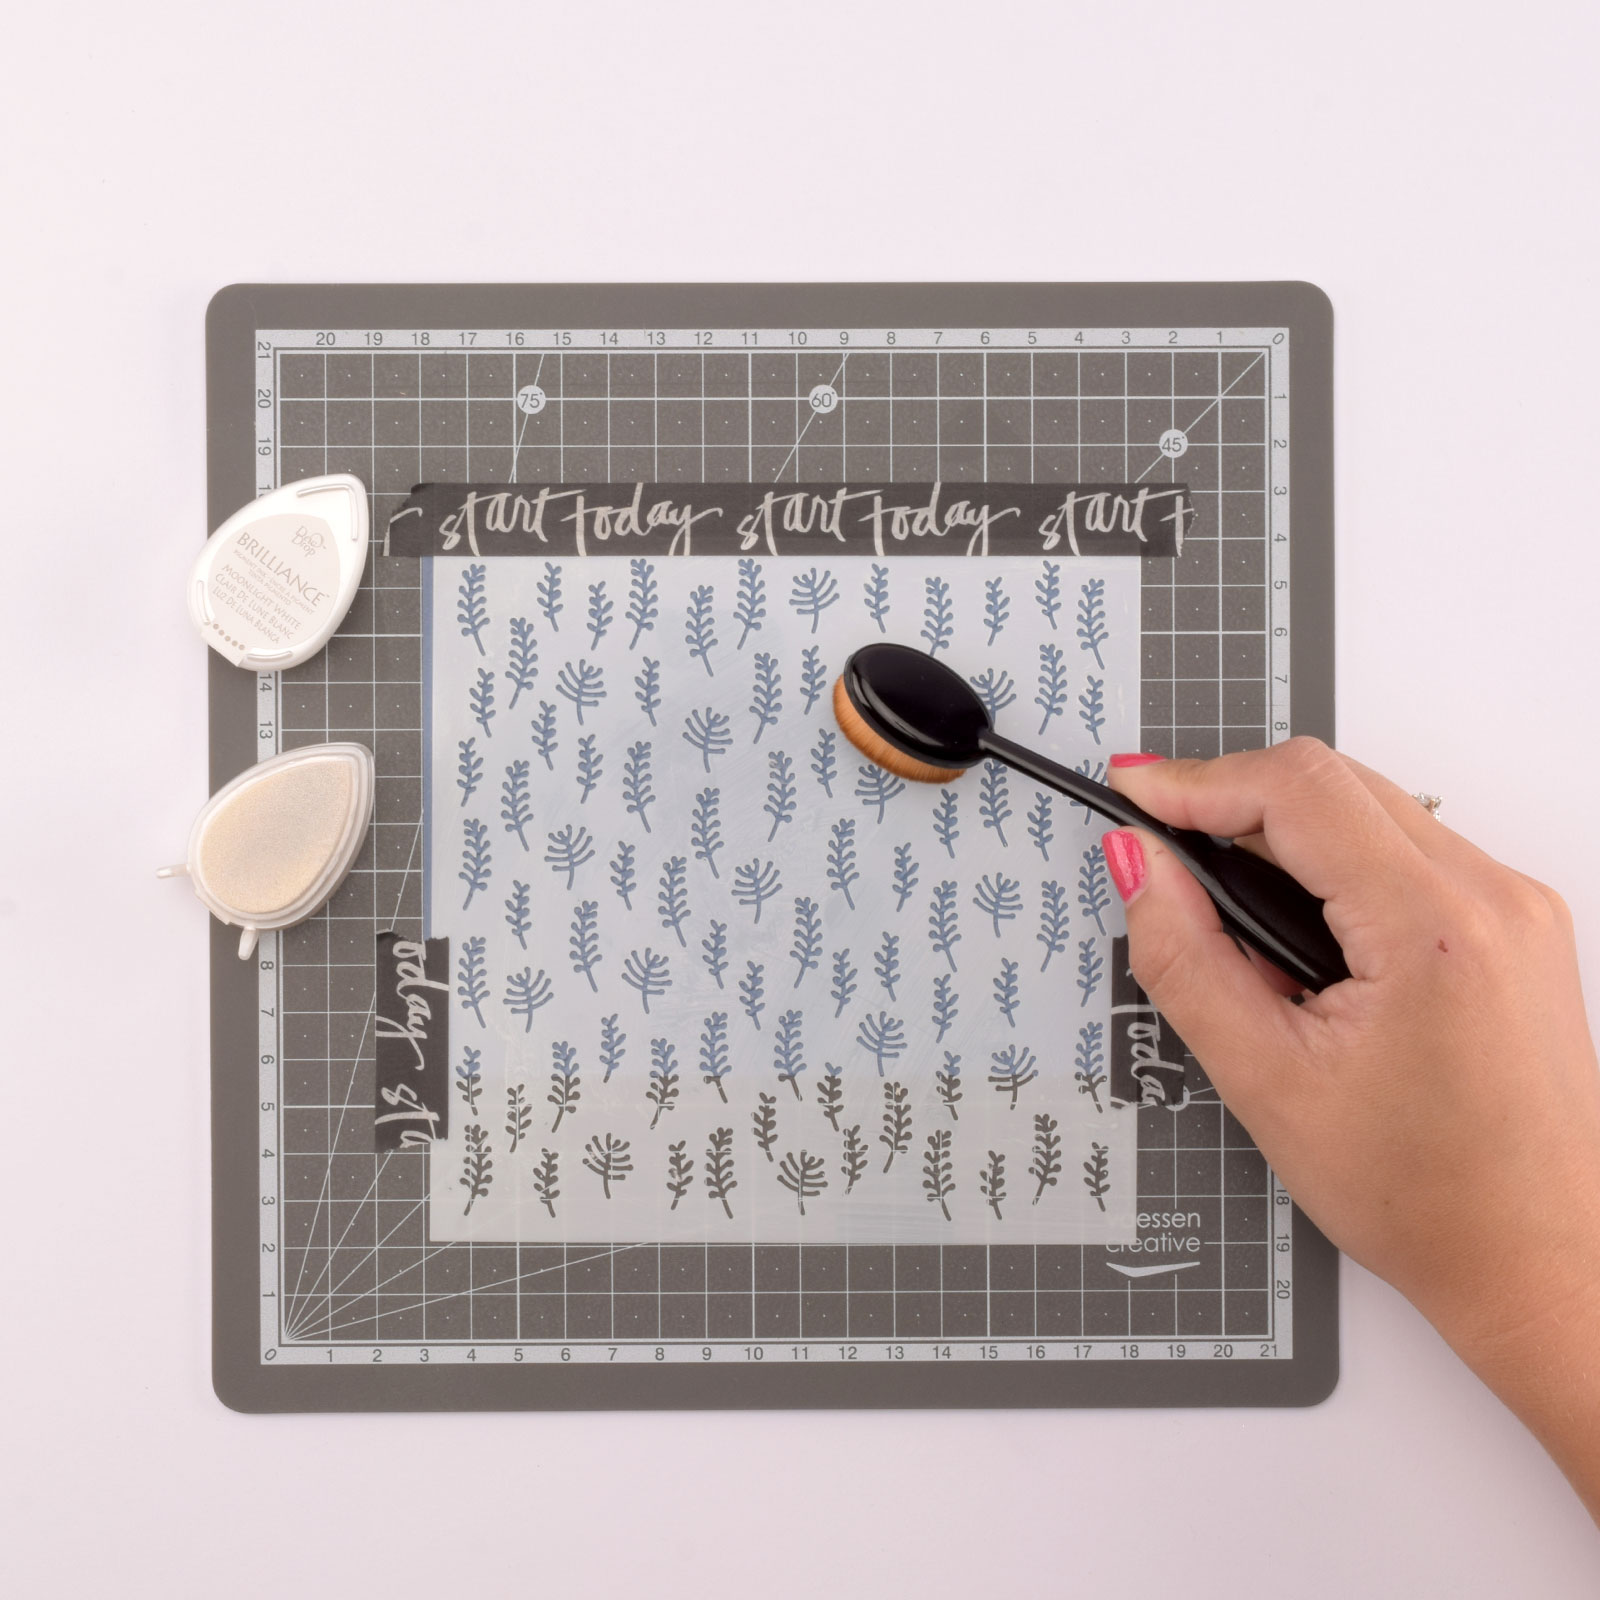
Place the matching stencil over the embossed paper and apply white ink using a blending brush. Repeat this for all the embossed sheets.
3
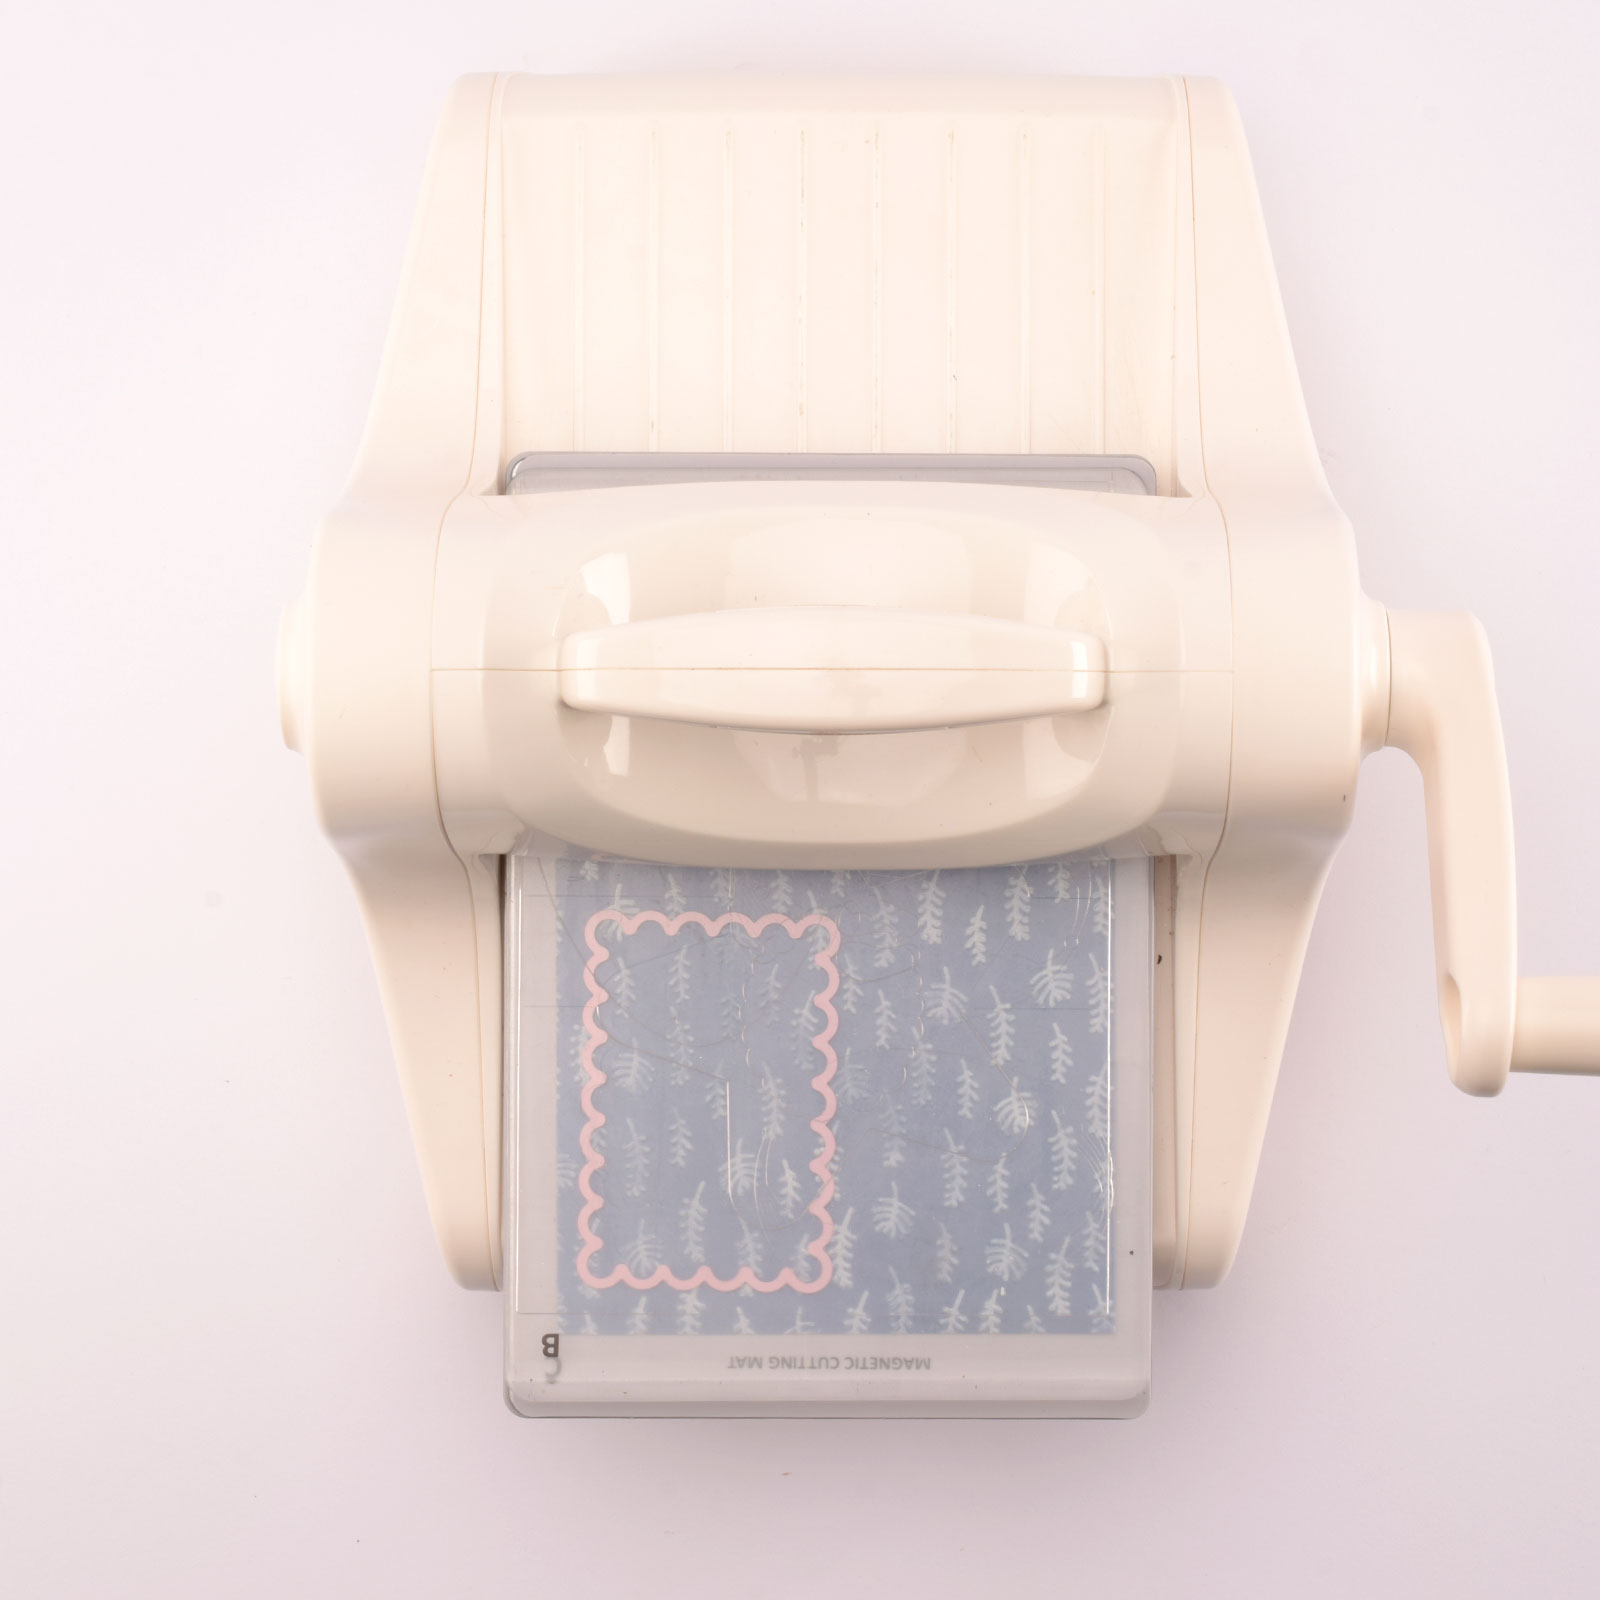
Let the ink dry completely. Then, use the scalloped rectangular die (2.3 x 3.5 / 6 x 9 cm) to cut two rectangles from each sheet of paper.
4
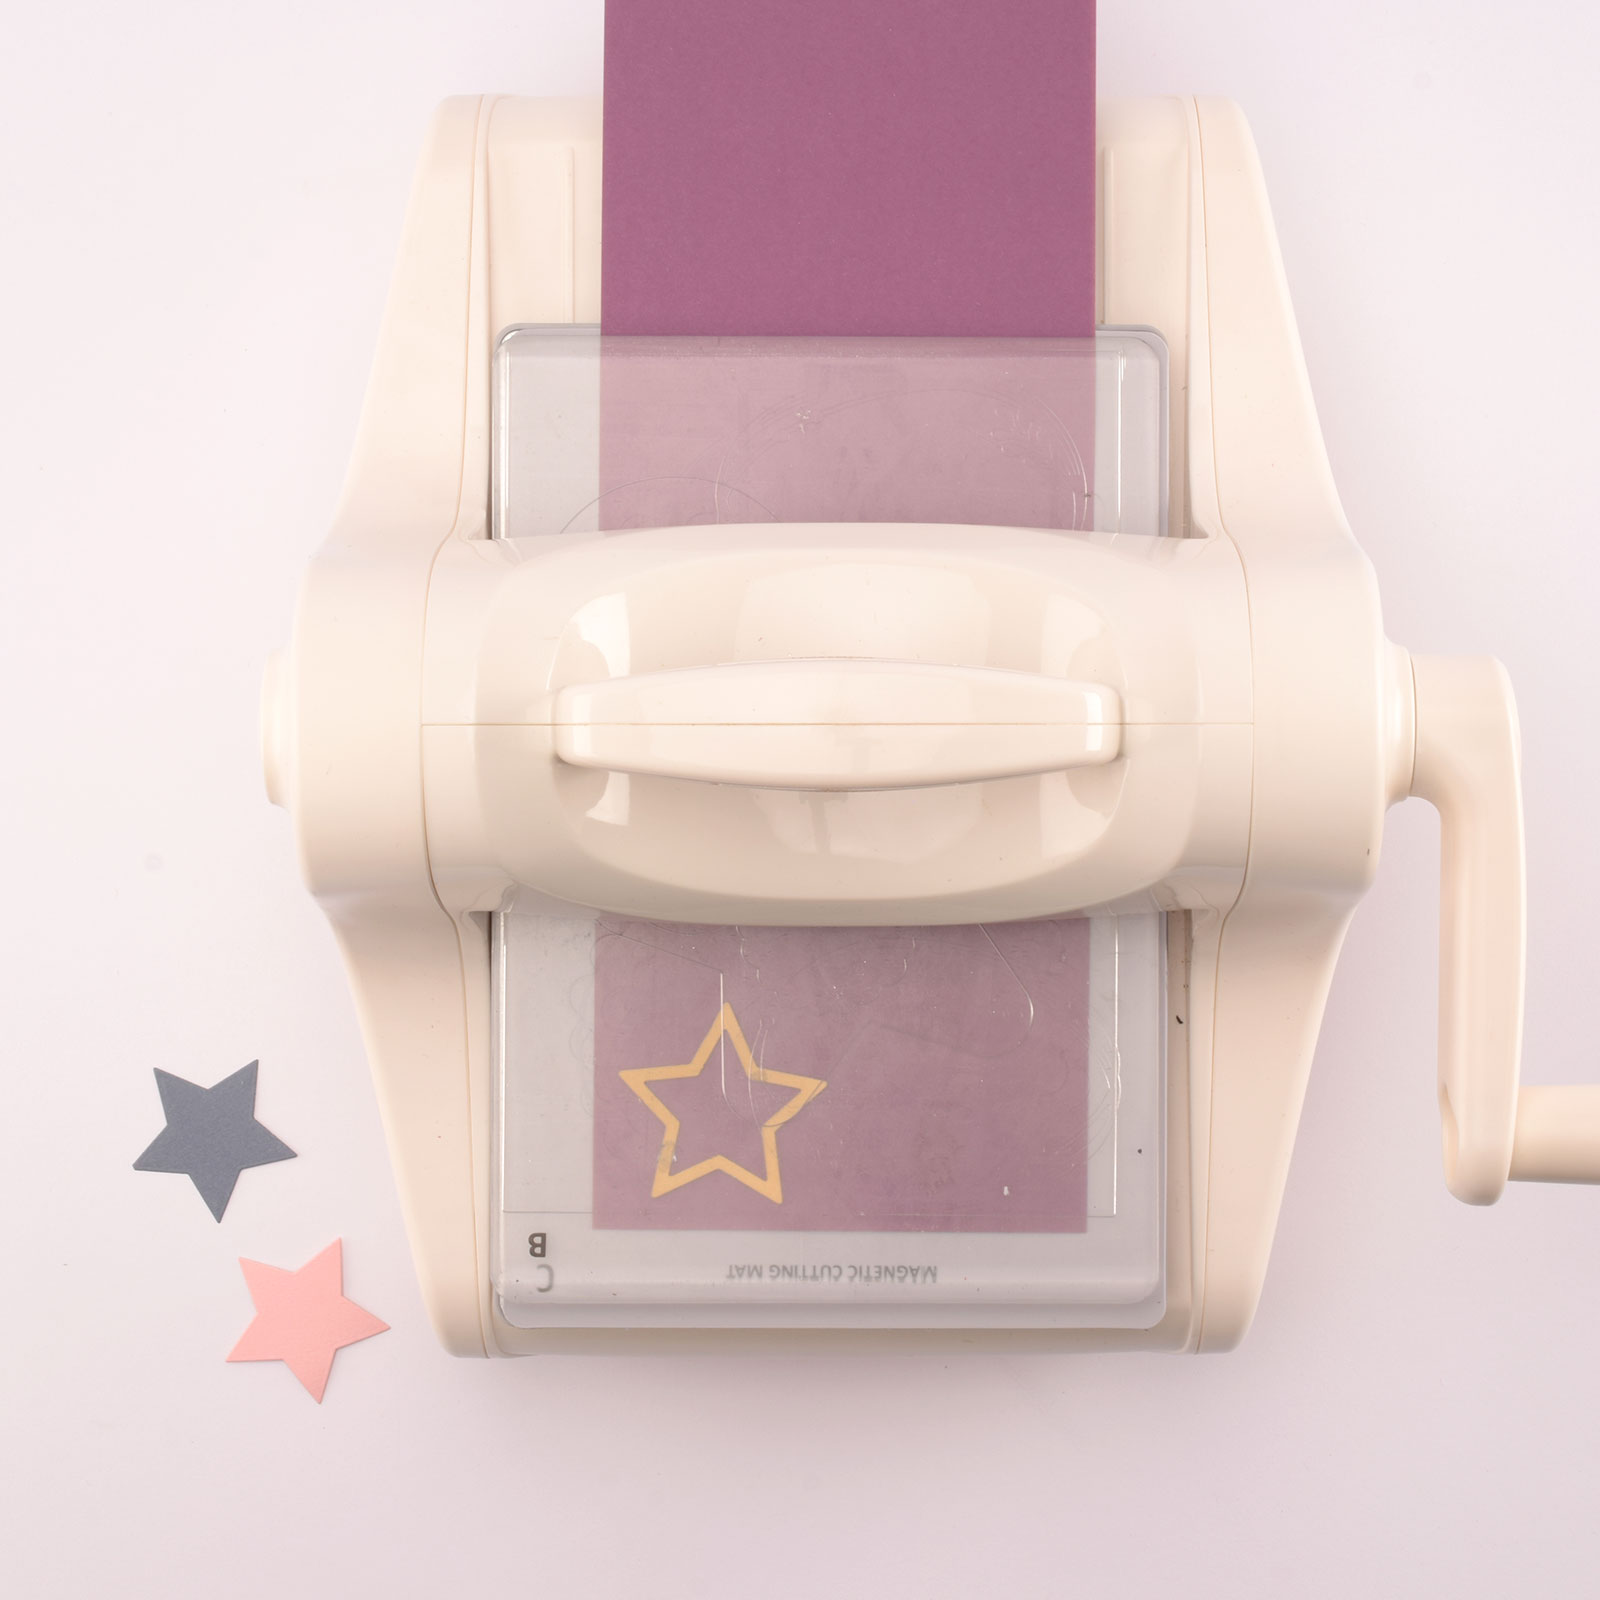
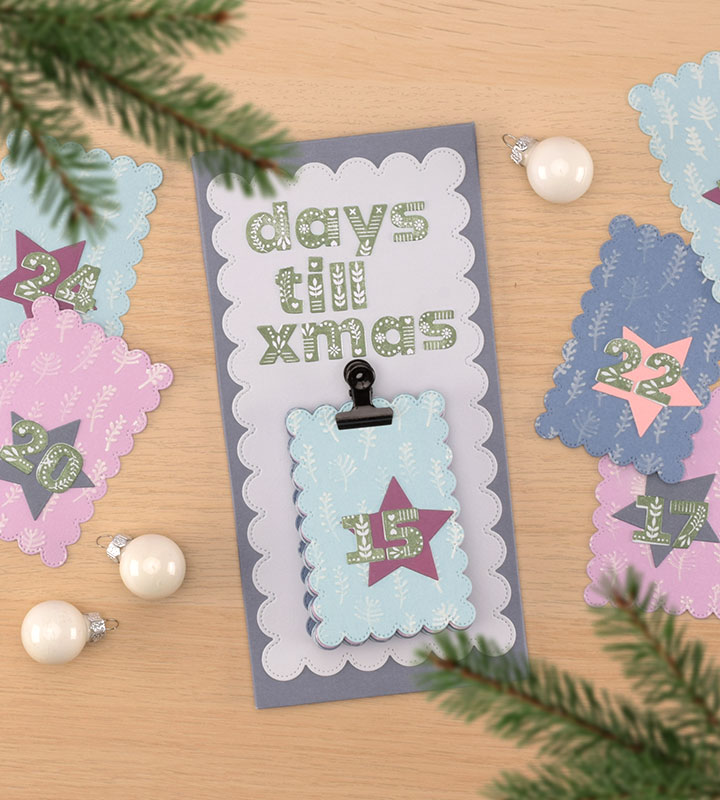
Choose three other paper colours, such as dark blue, light pink, and purple. Cut 8 stars of approximately 4 cm from each colour.
5
Use the number dies and an ice-blue sheet of paper. To create an advent calendar, you'll need thirteen number 1s, so run the die through the machine 13 times.
6
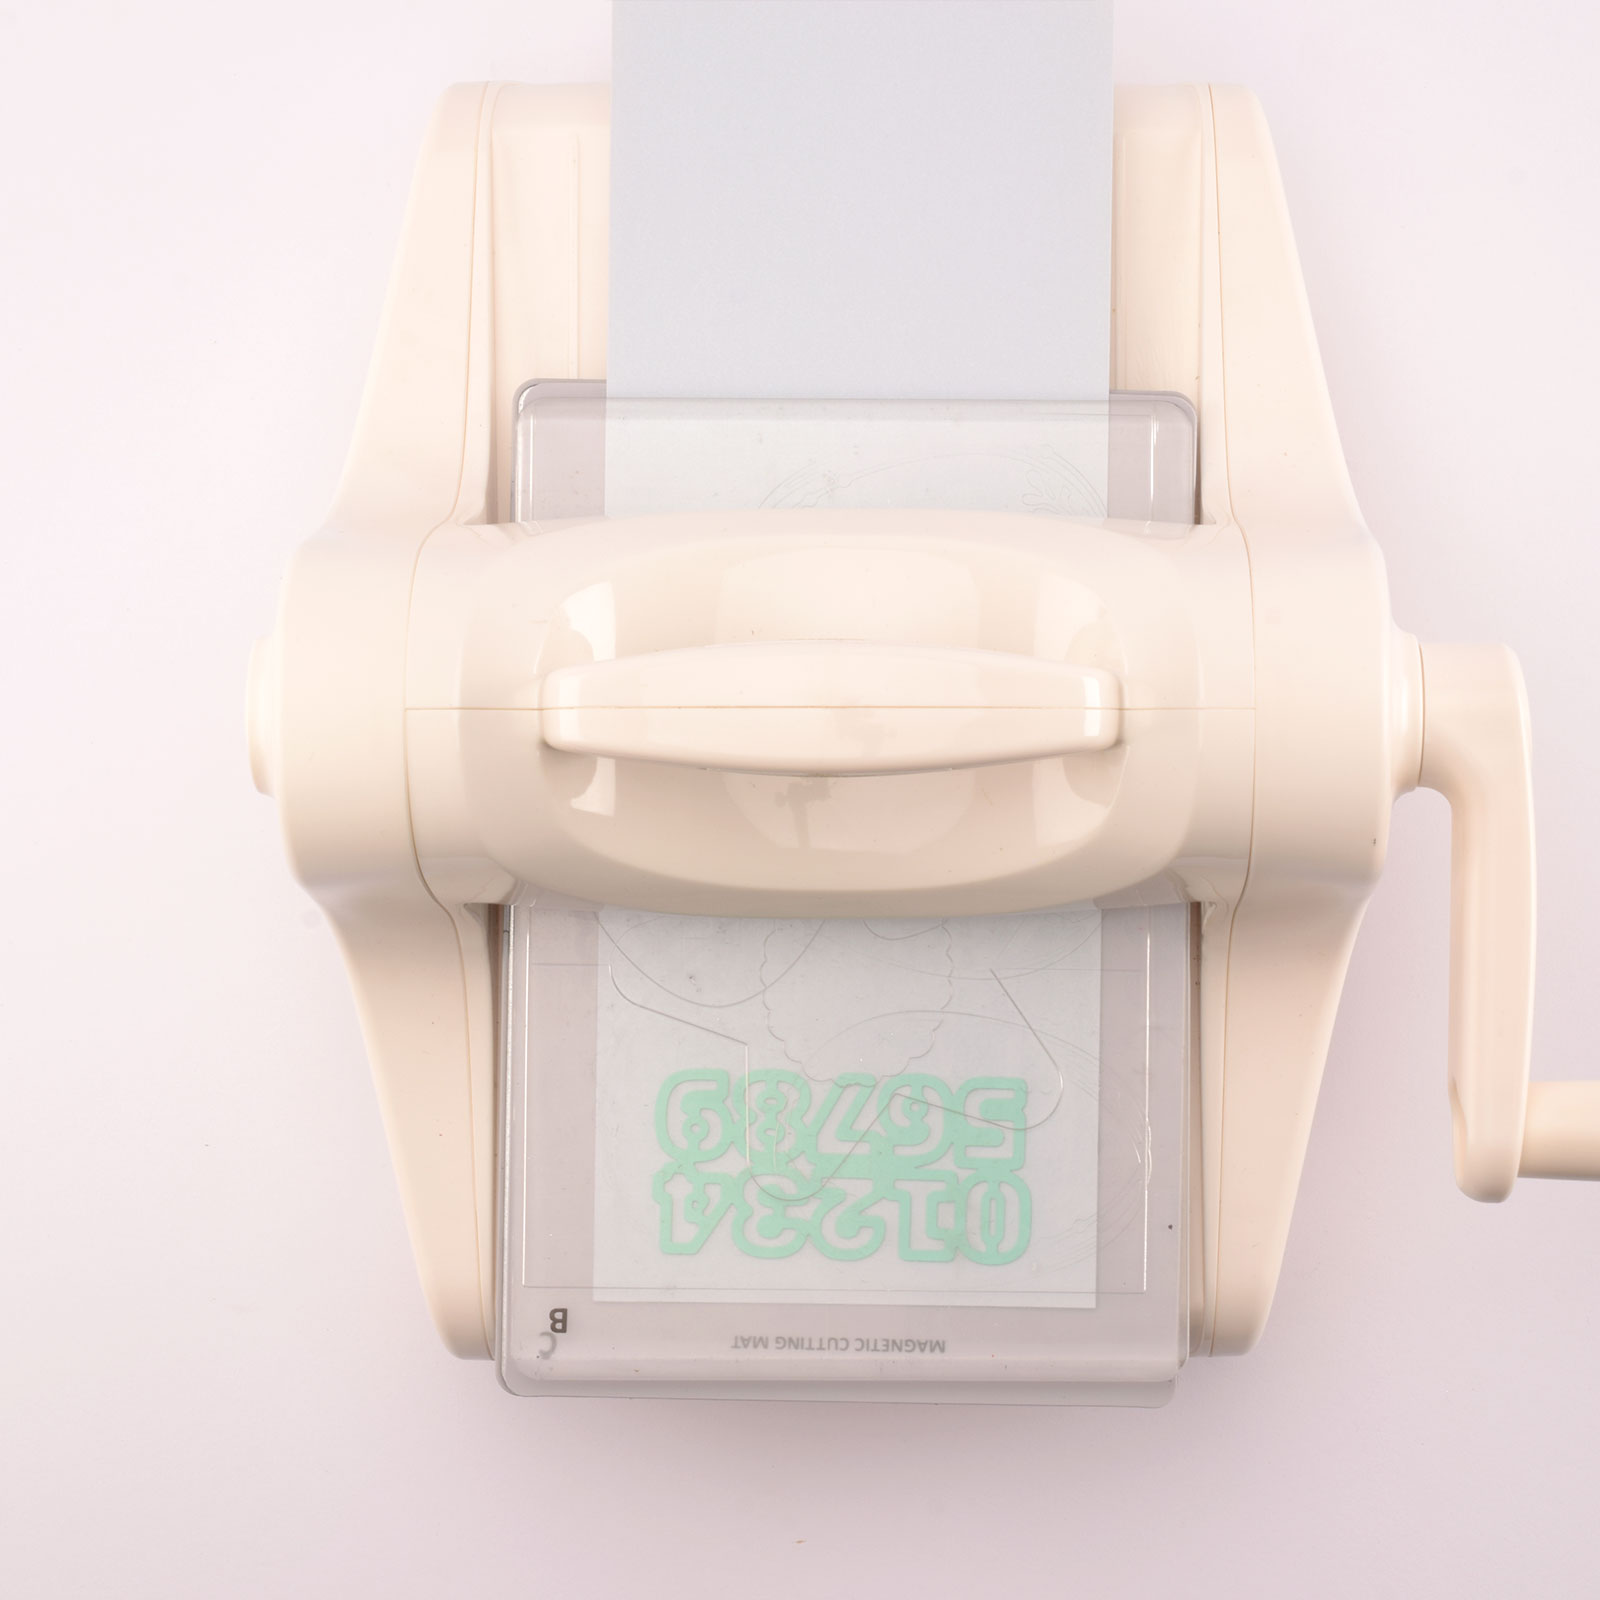
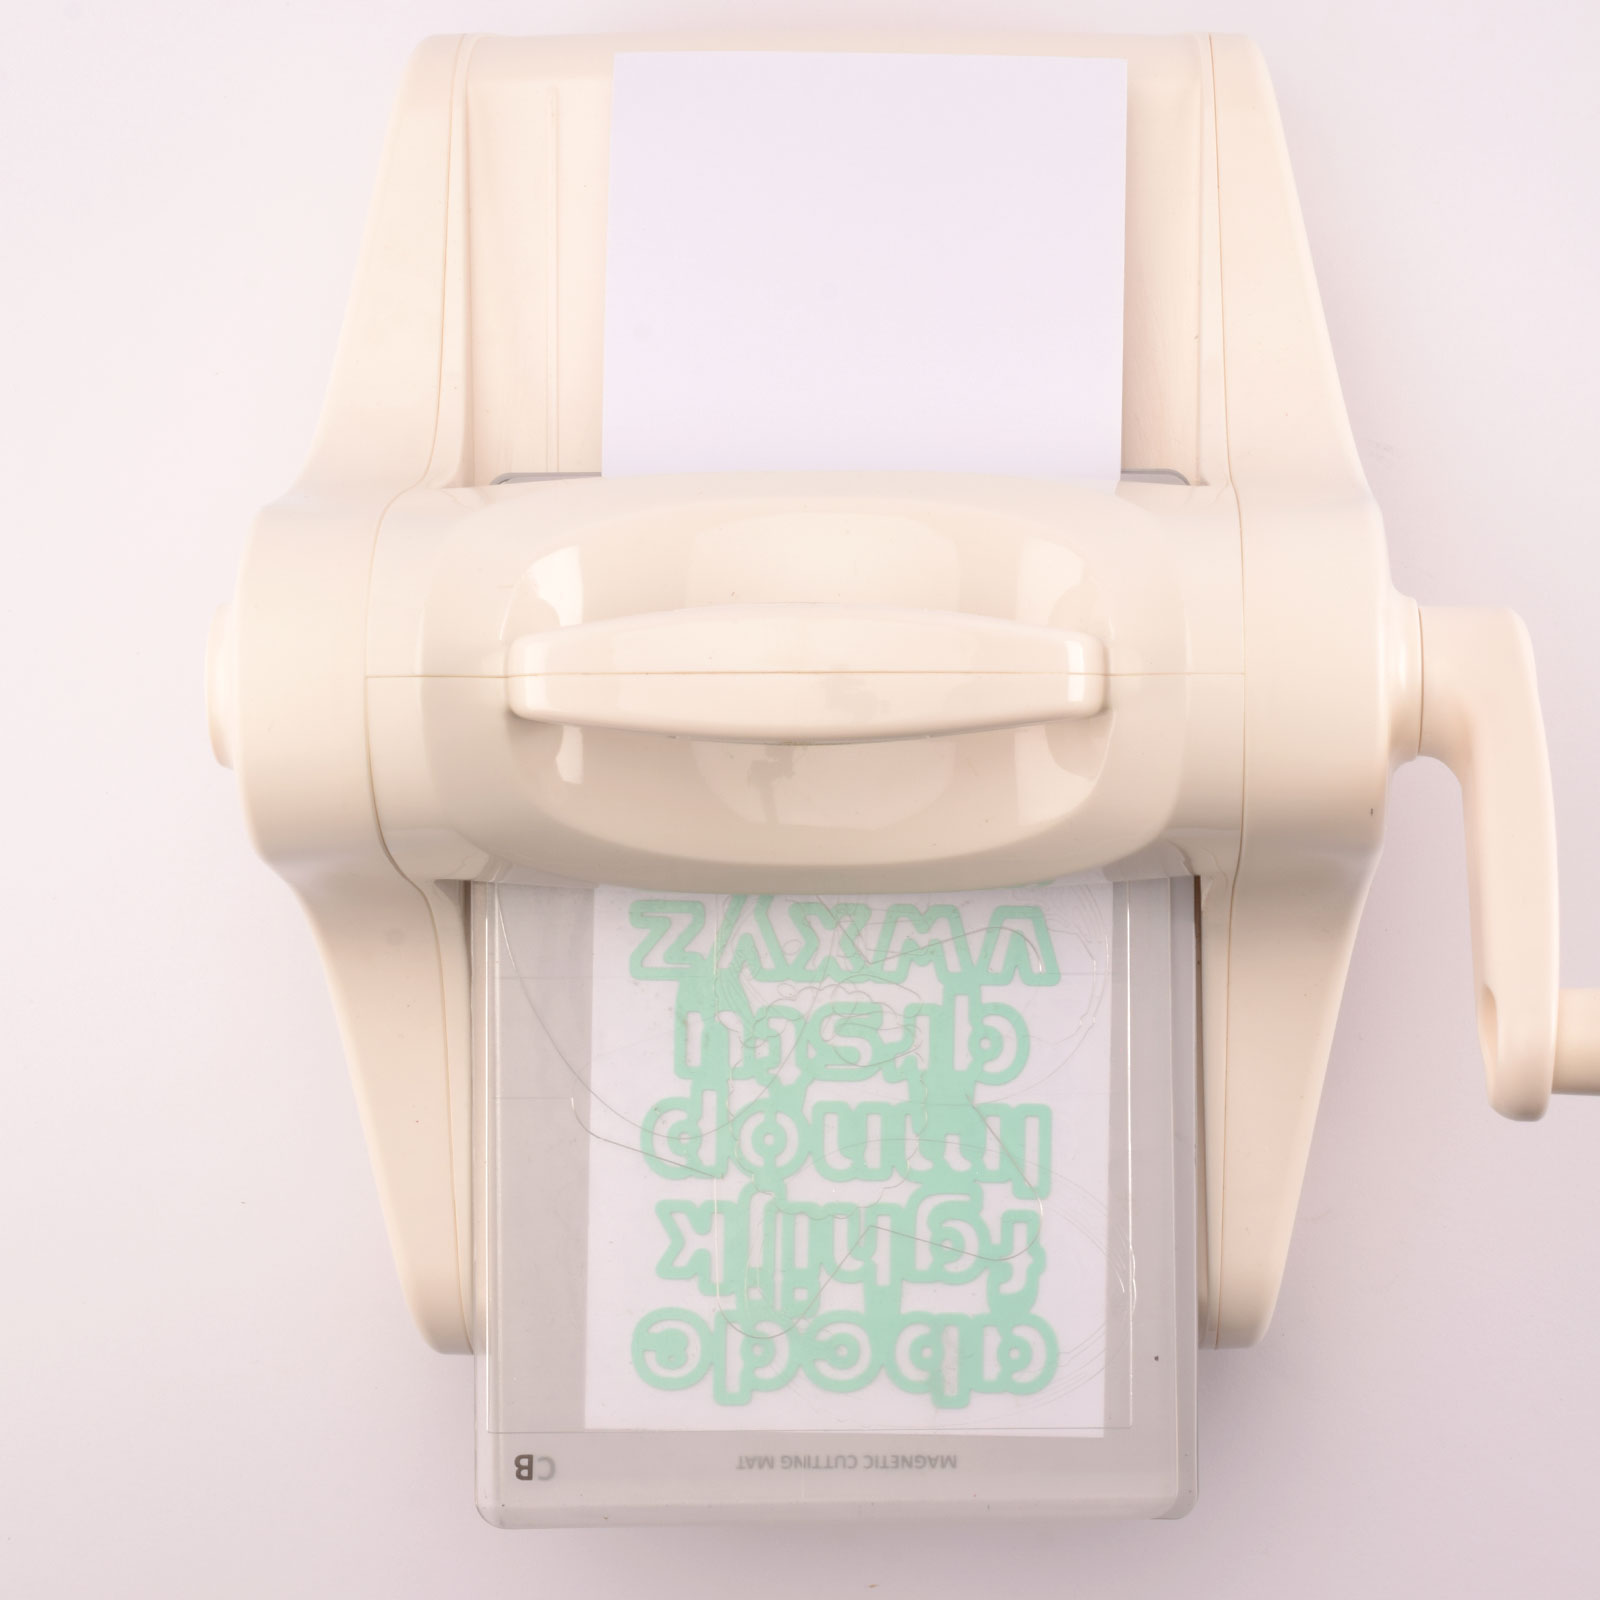
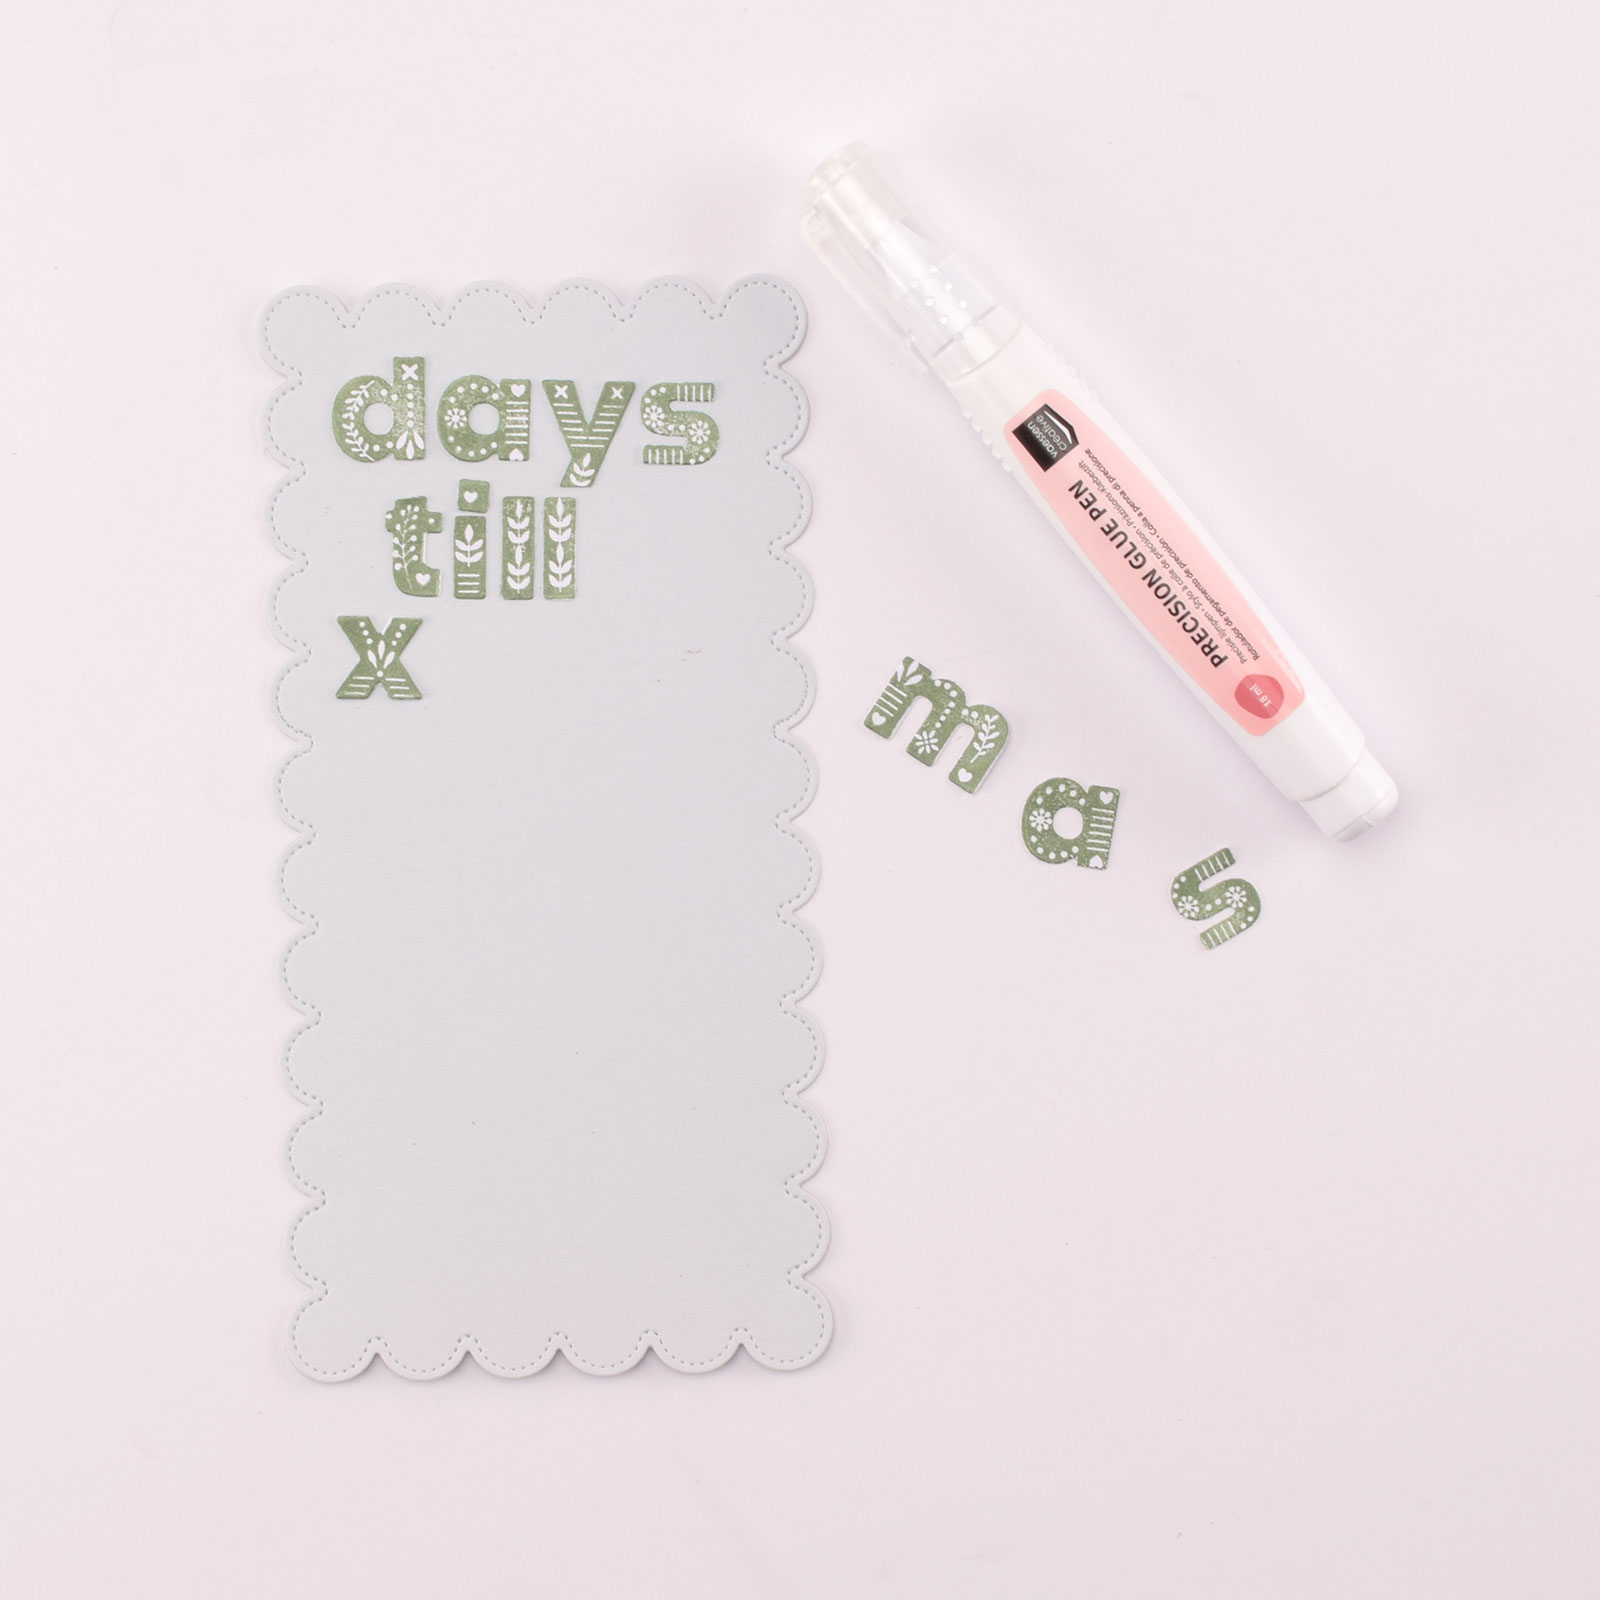
Take the letter dies and run them through the machine twice to spell out the phrase ‘days till xmas’.
7
Place all the die-cut letters and numbers on a sticky cutting mat. Stamp the corresponding numbers and letters onto them using green metallic ink.
8
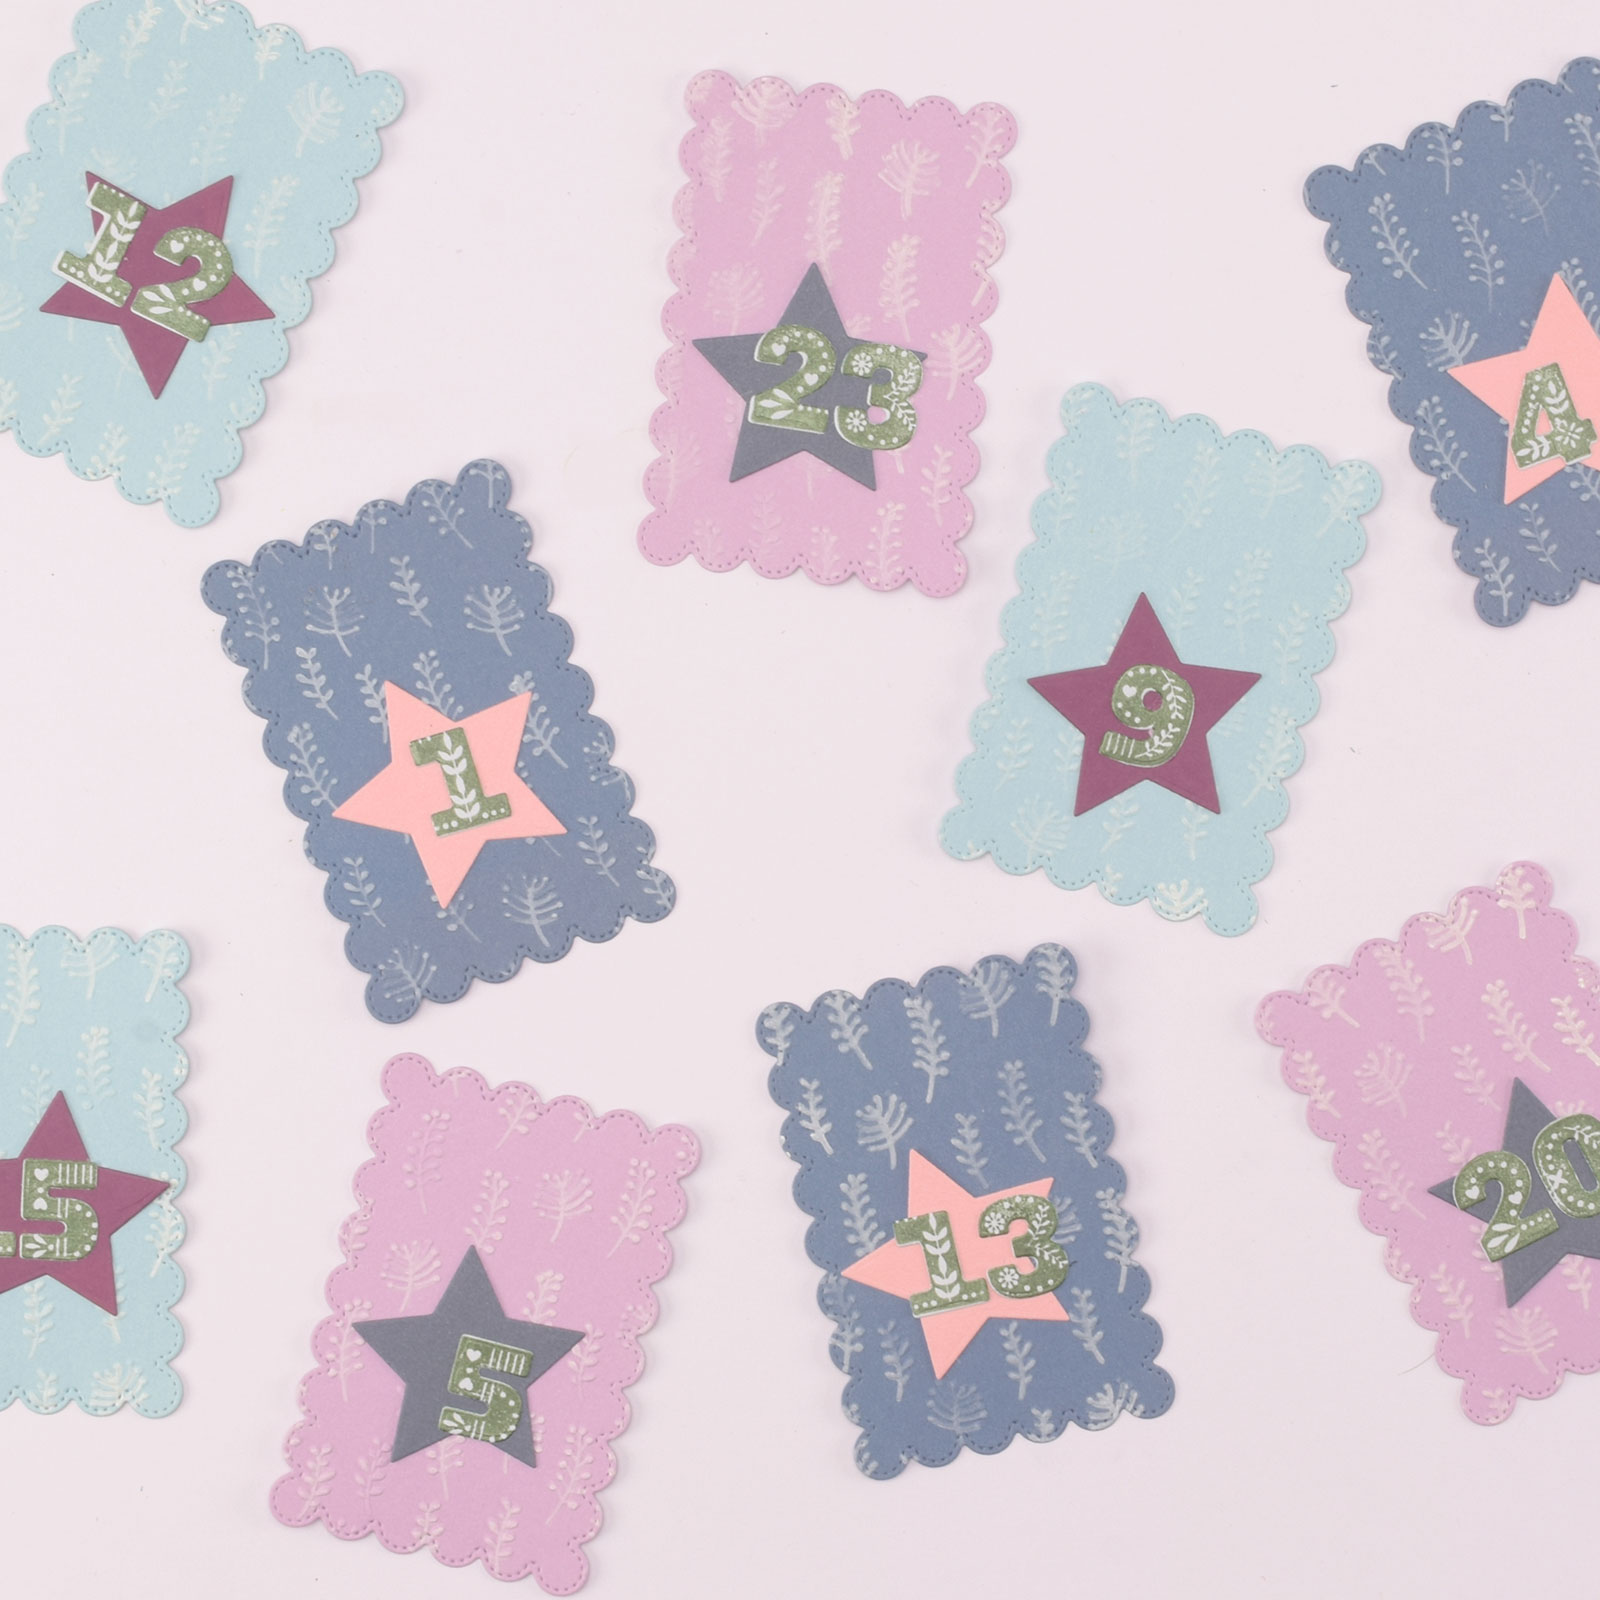
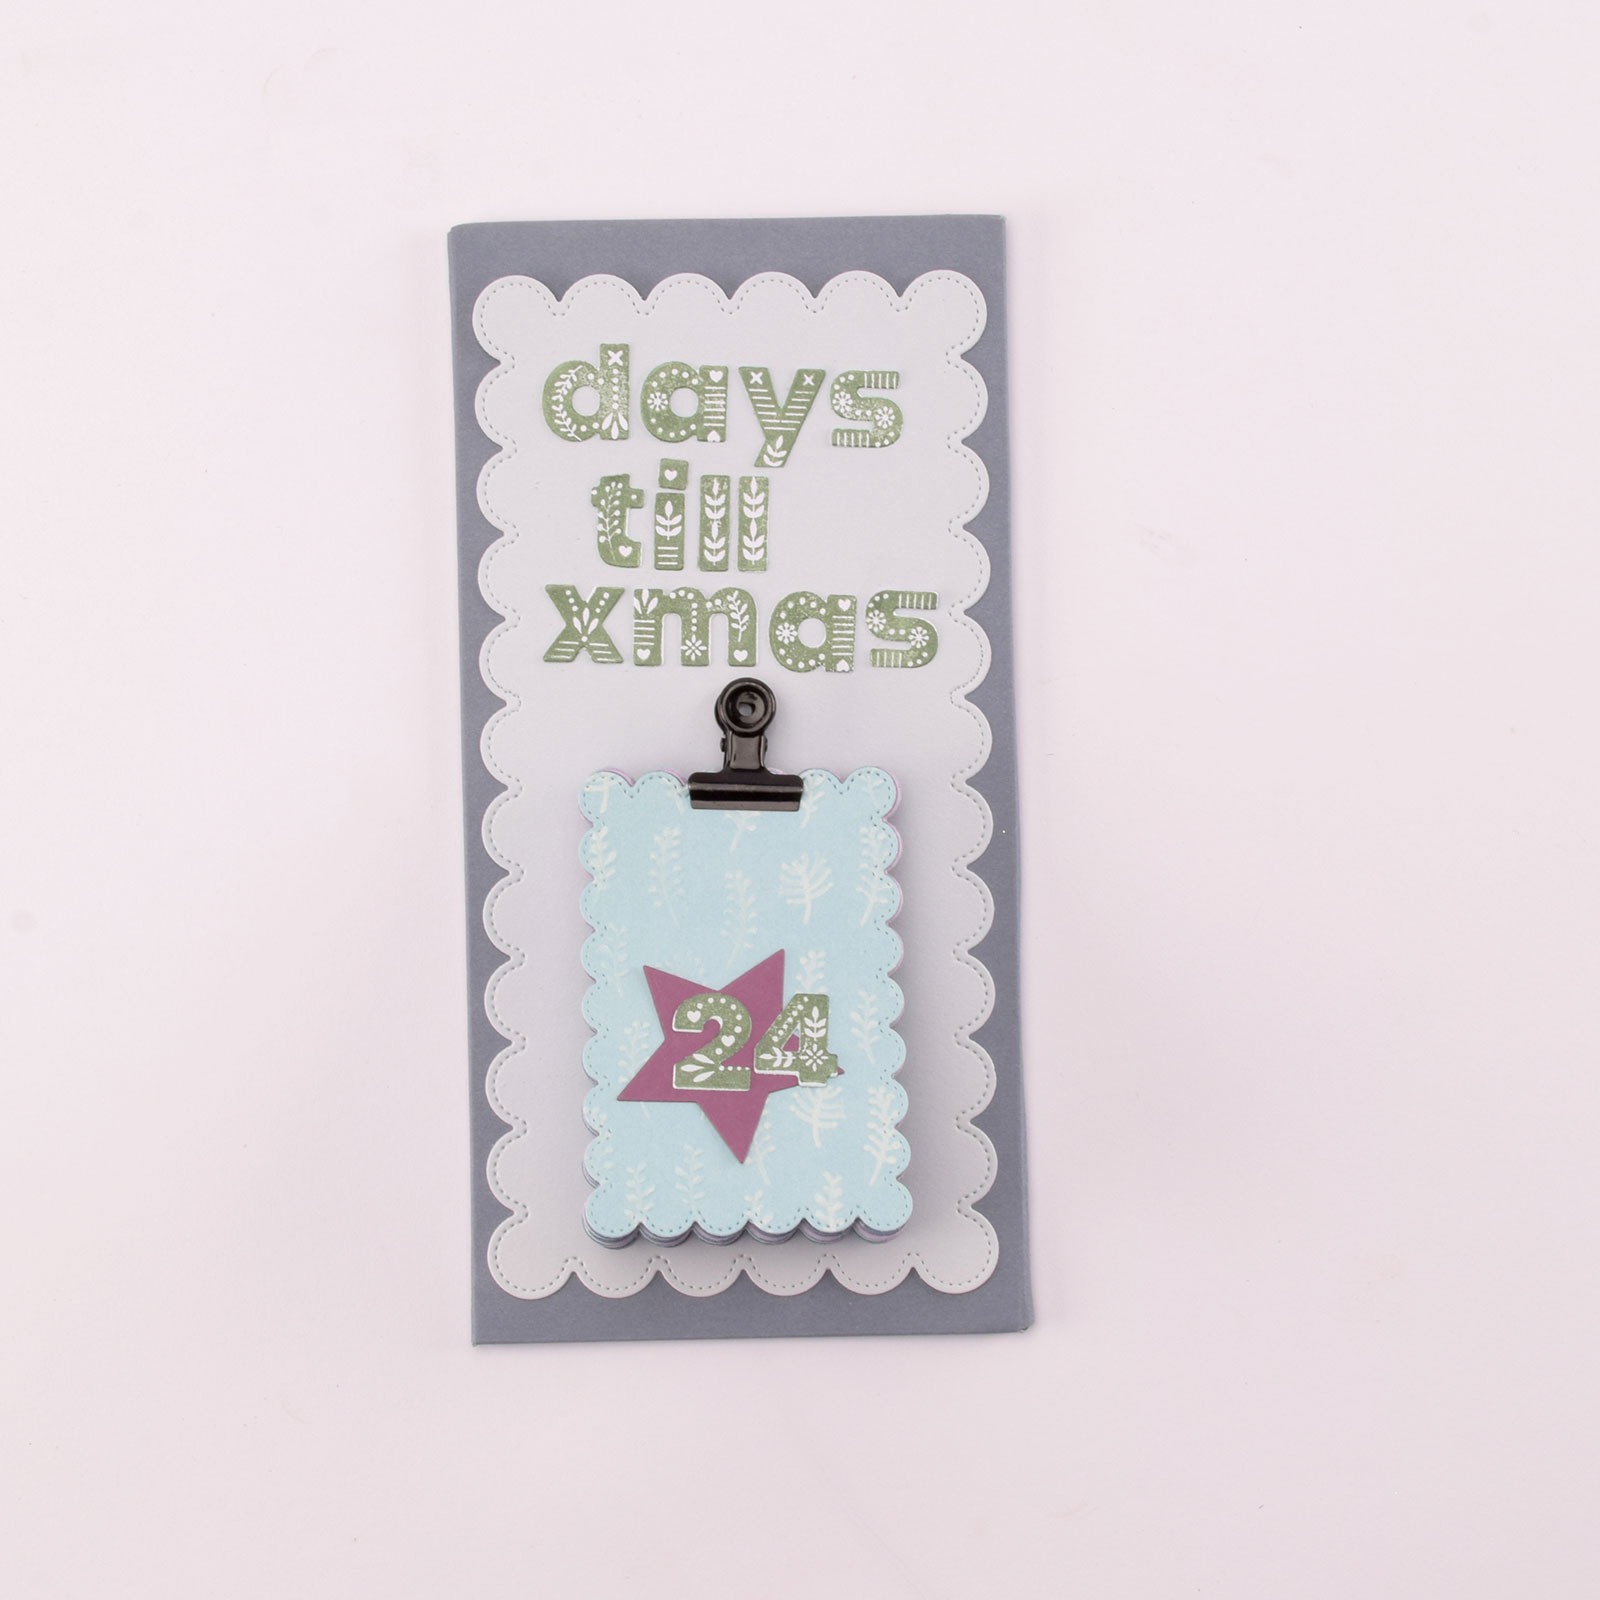
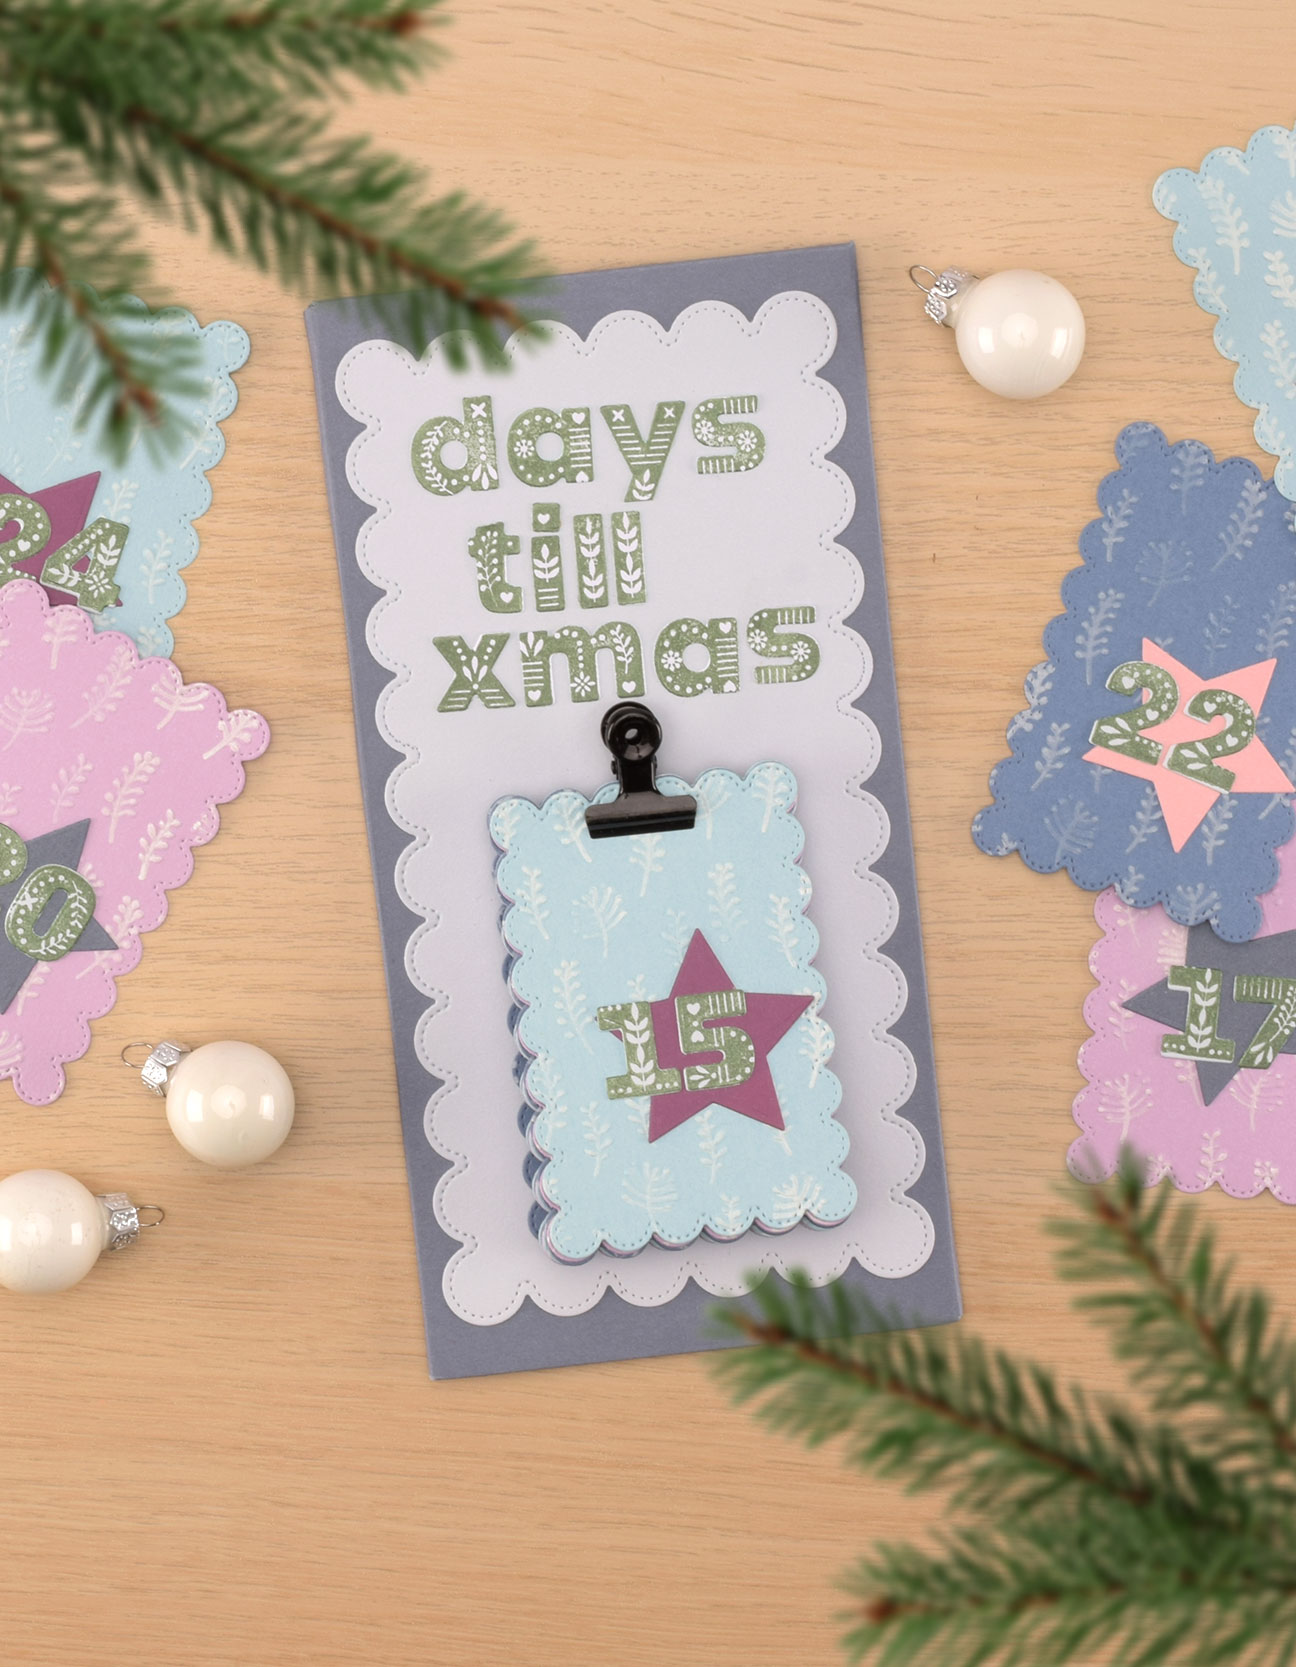
Assemble the ‘day cards’ by combining a scalloped rectangle, a star, and the numbers. For example, make three different combinations.
9
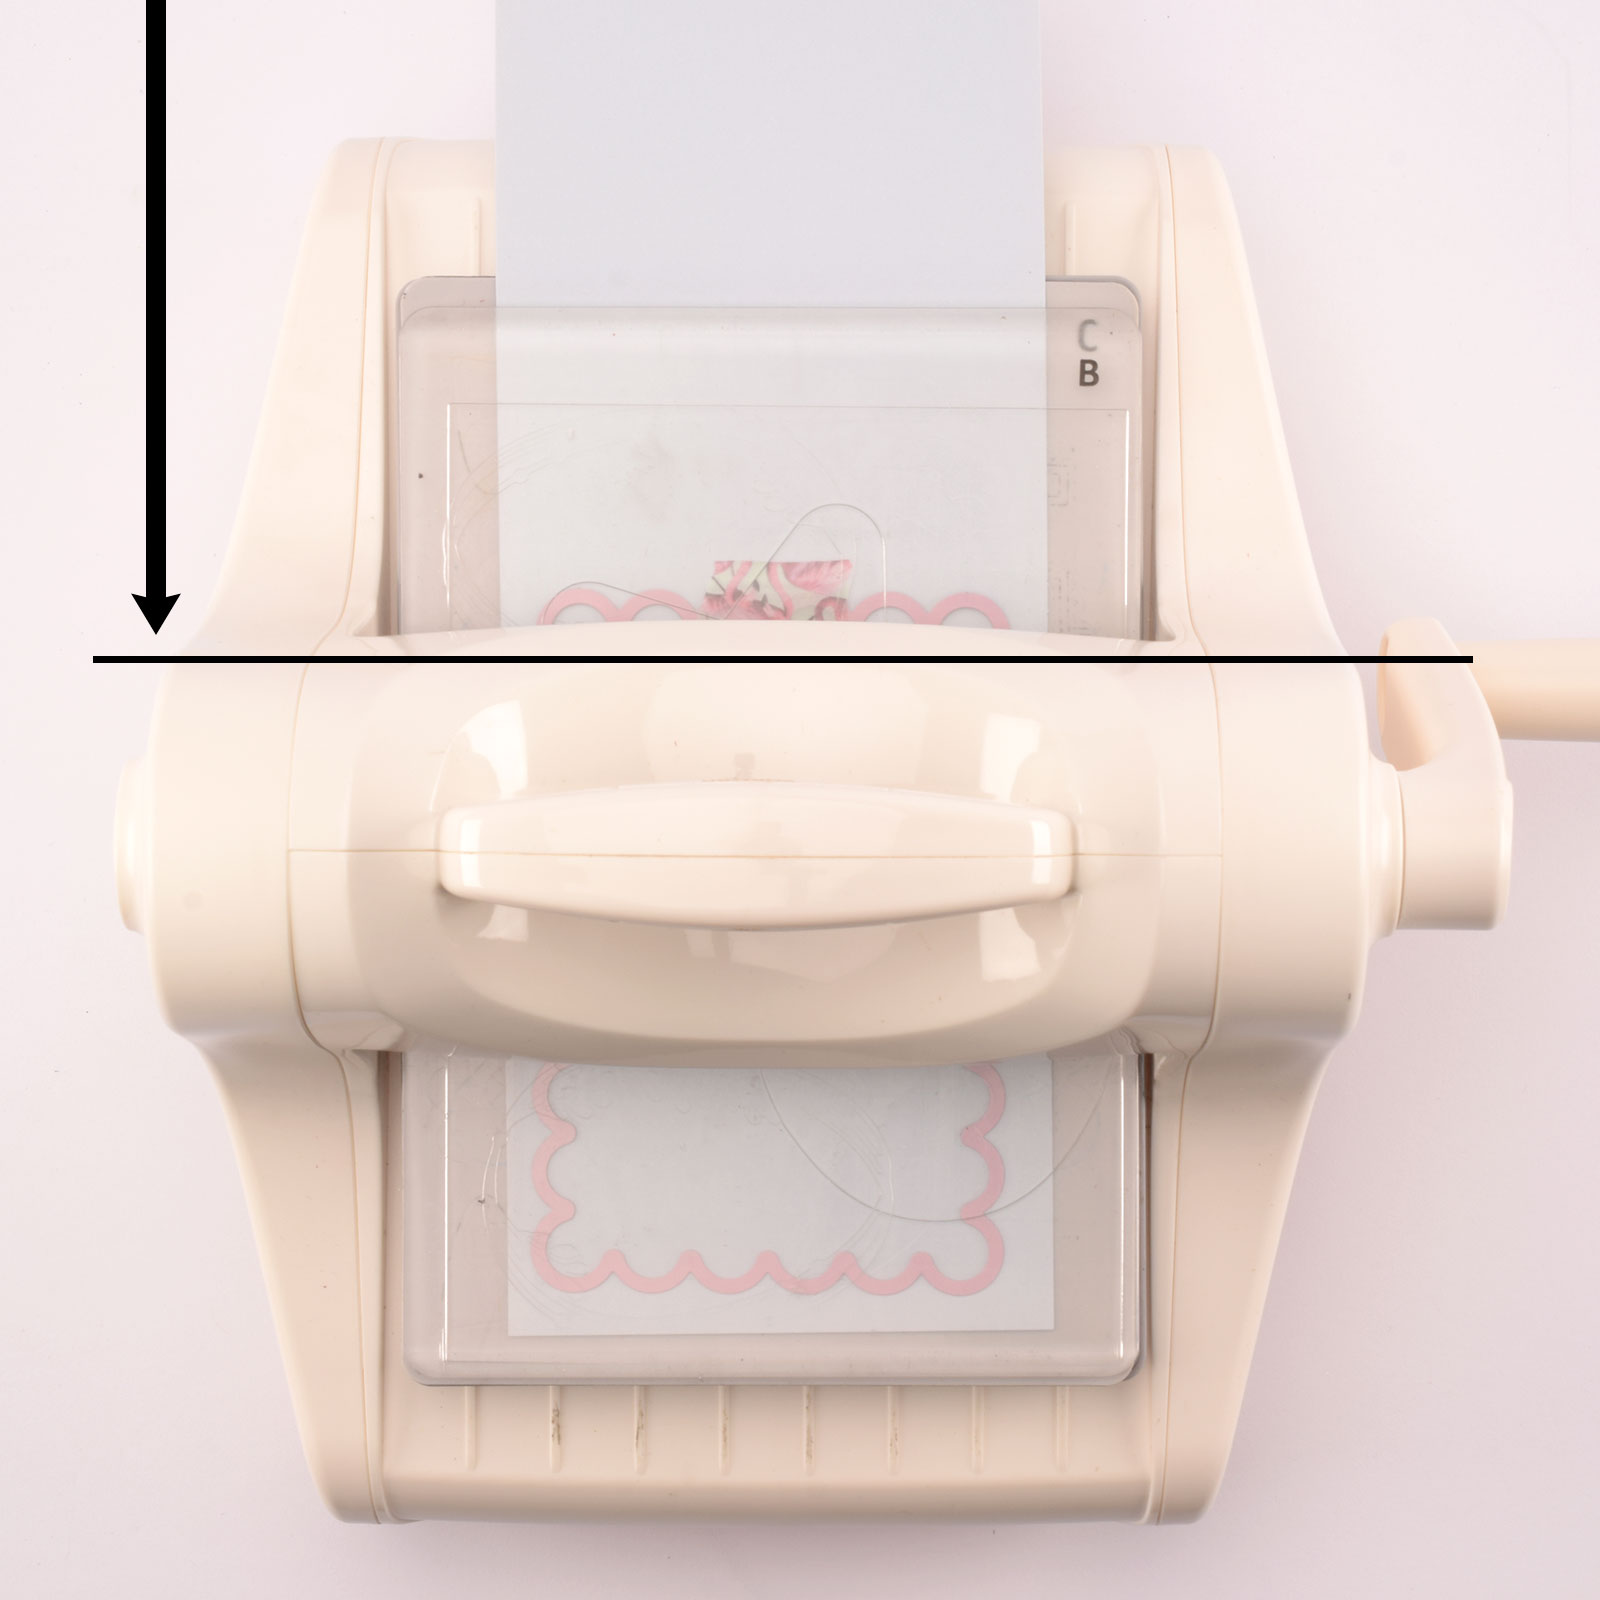
Take the scalloped rectangular die (5.7 x 3.7 inch / 14.5 x 9.5 cm) and place it on a sheet ice-blue paper. Run it through the die-cutting machine from the top, but stop before reaching the last edge (up to the mark shown in the photo). Roll it back to remove the die and paper from the machine.
10
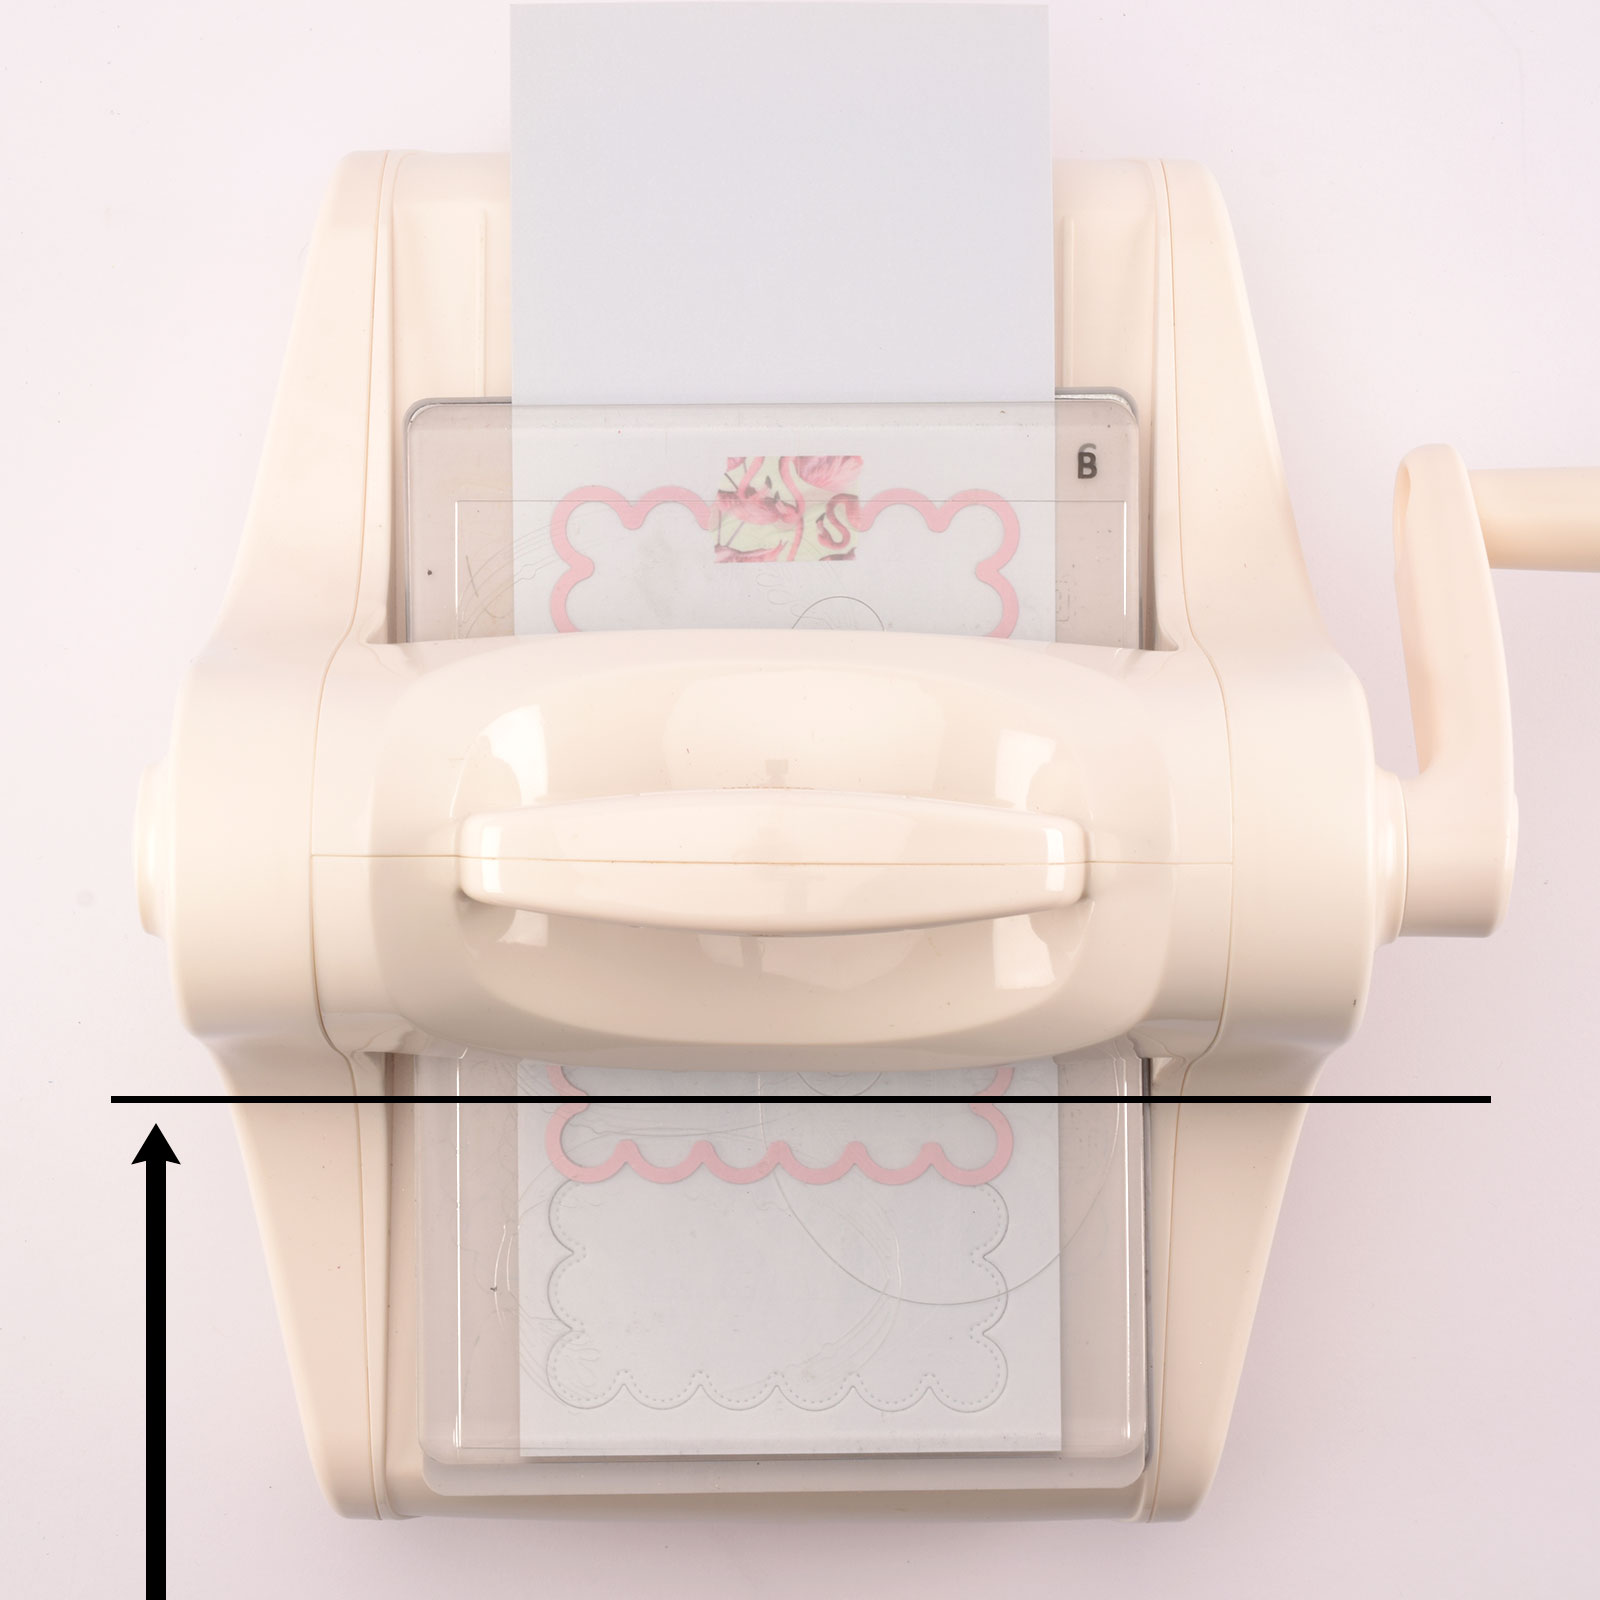
Now, place the die and paper back into the machine and shift them three ‘scallops’ upwards. Run it through the machine from the bottom this time (up to the mark shown in the photo), and then roll it back again to remove the die and paper.
11
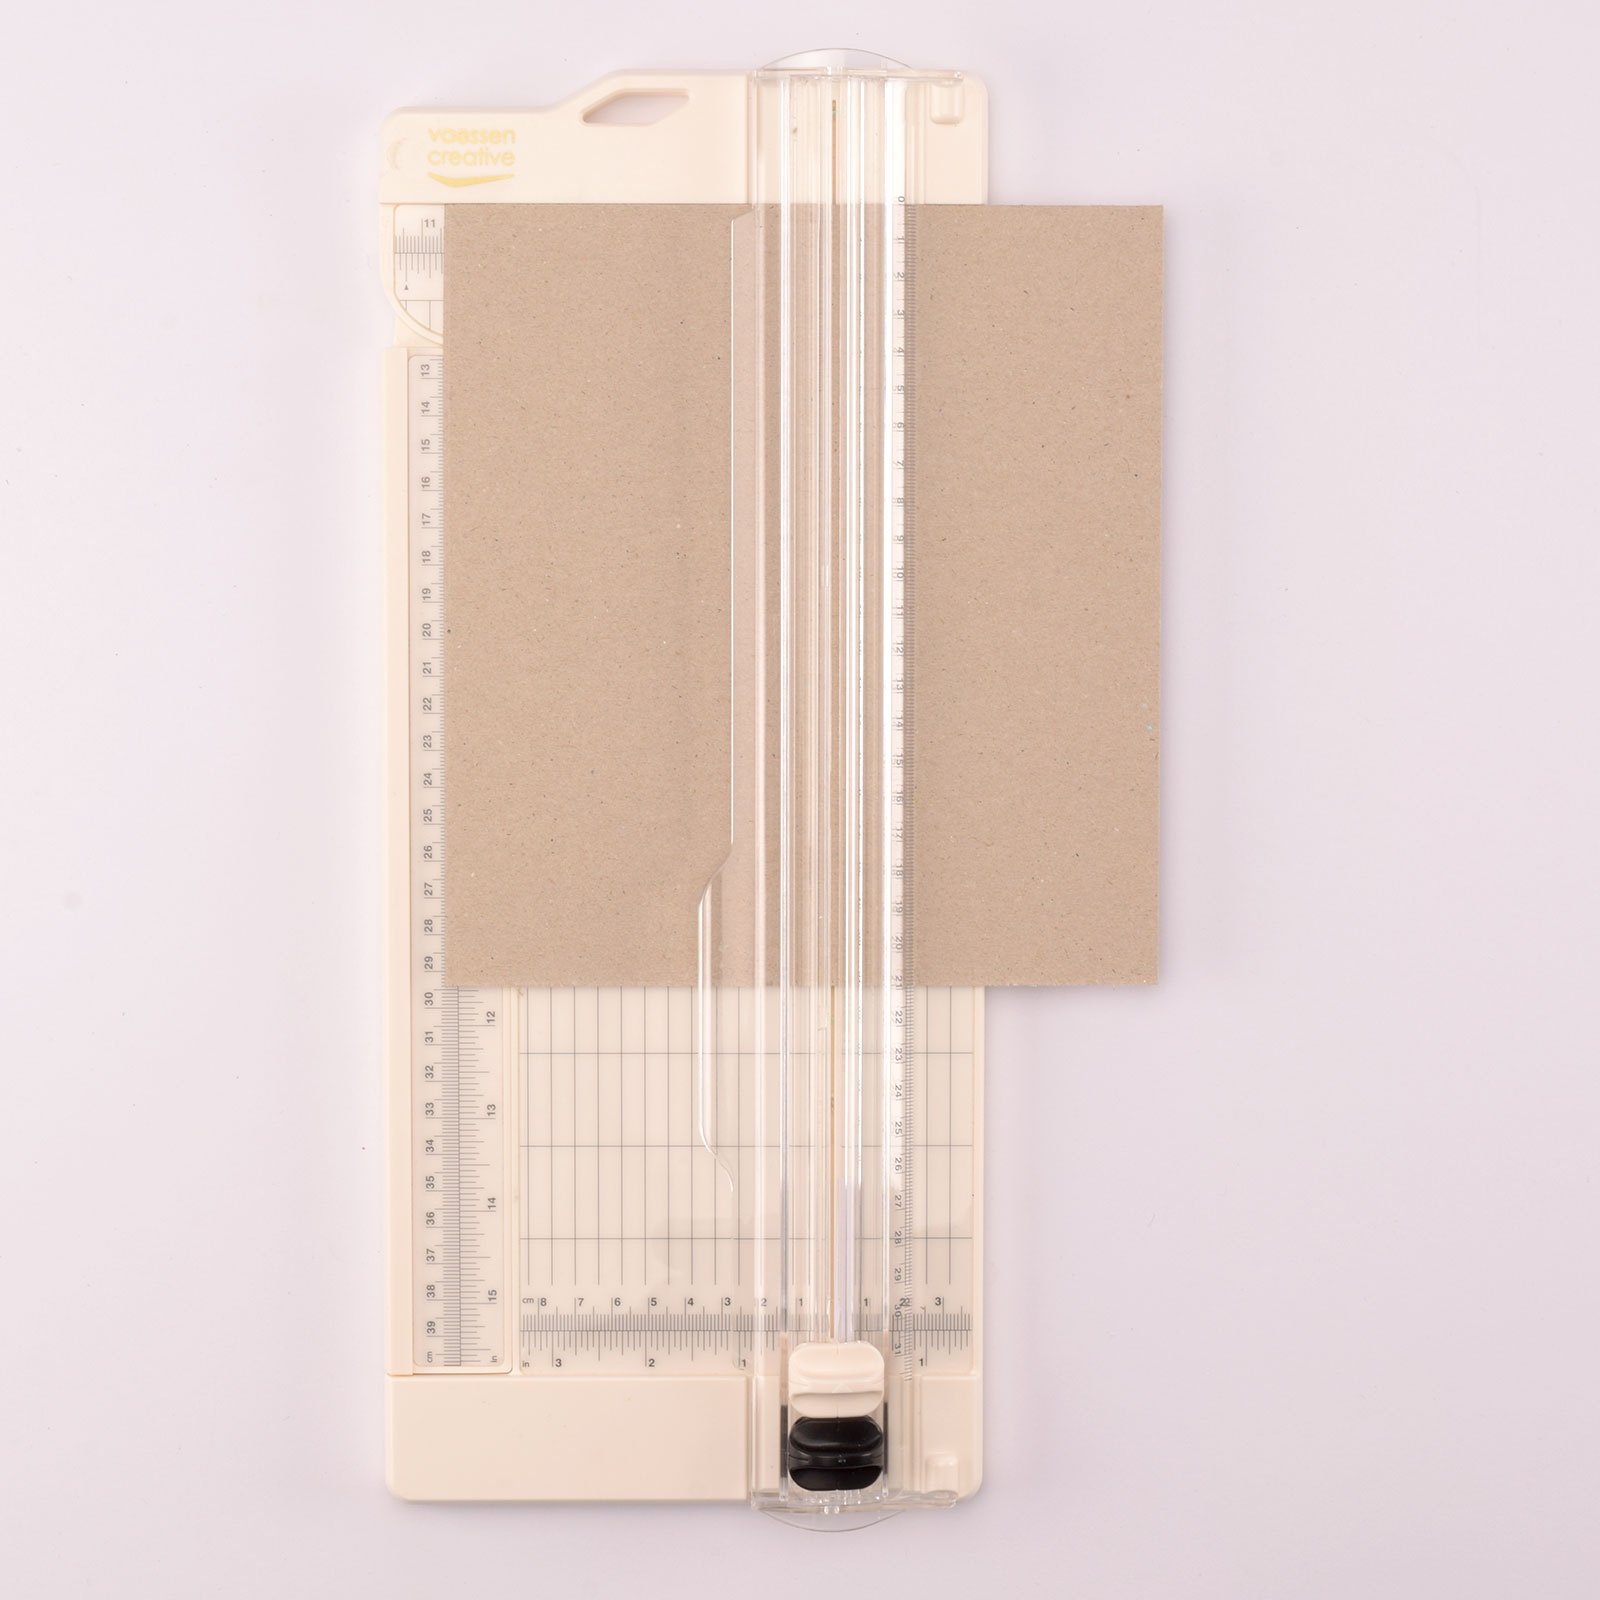
Cut a piece of grey cardboard measuring 4 x 8.2 inch (10.3 x 21 cm).
12
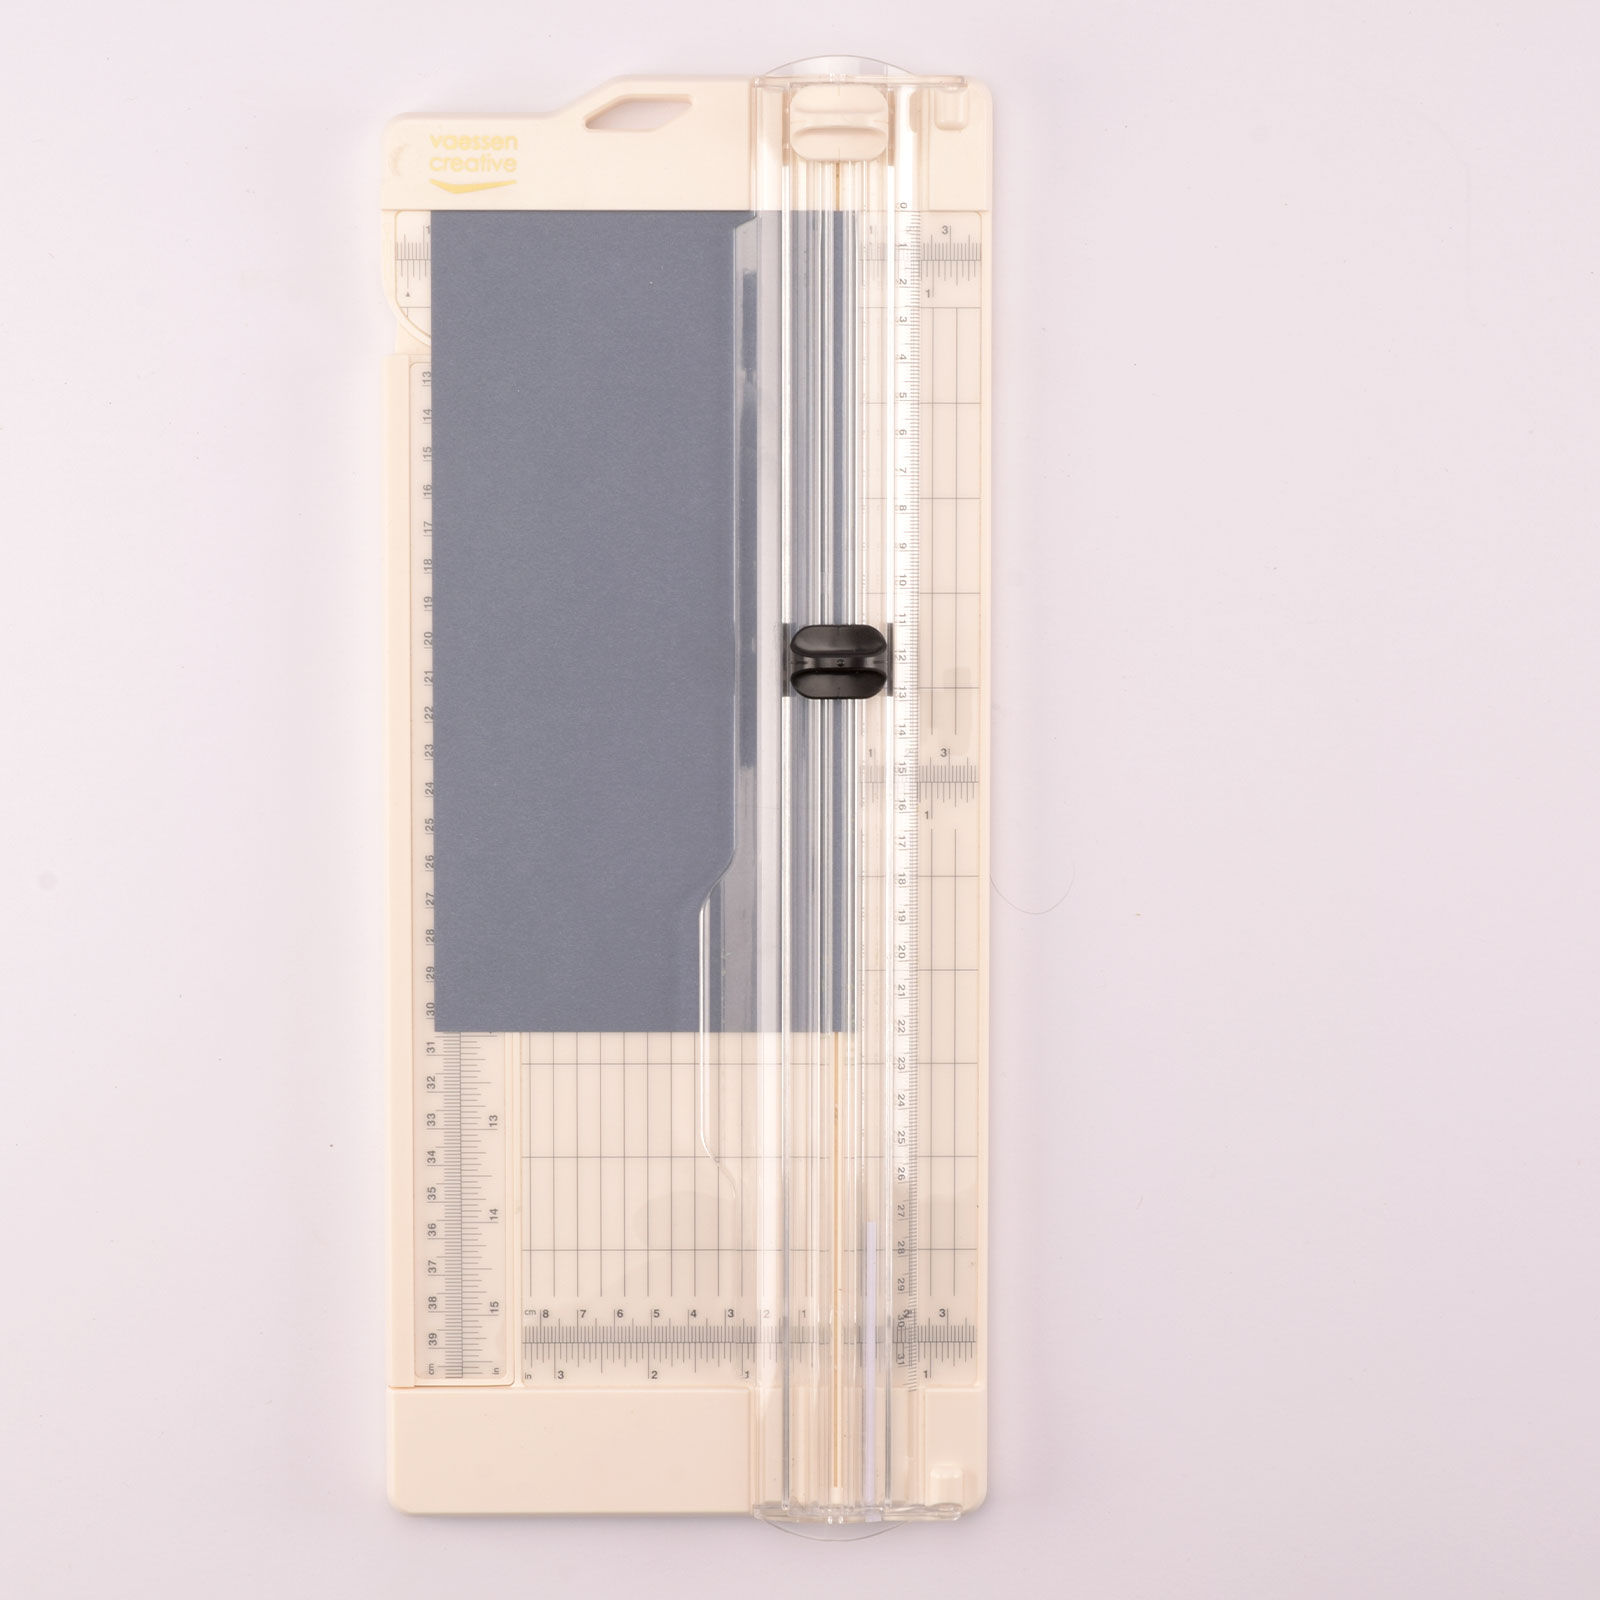
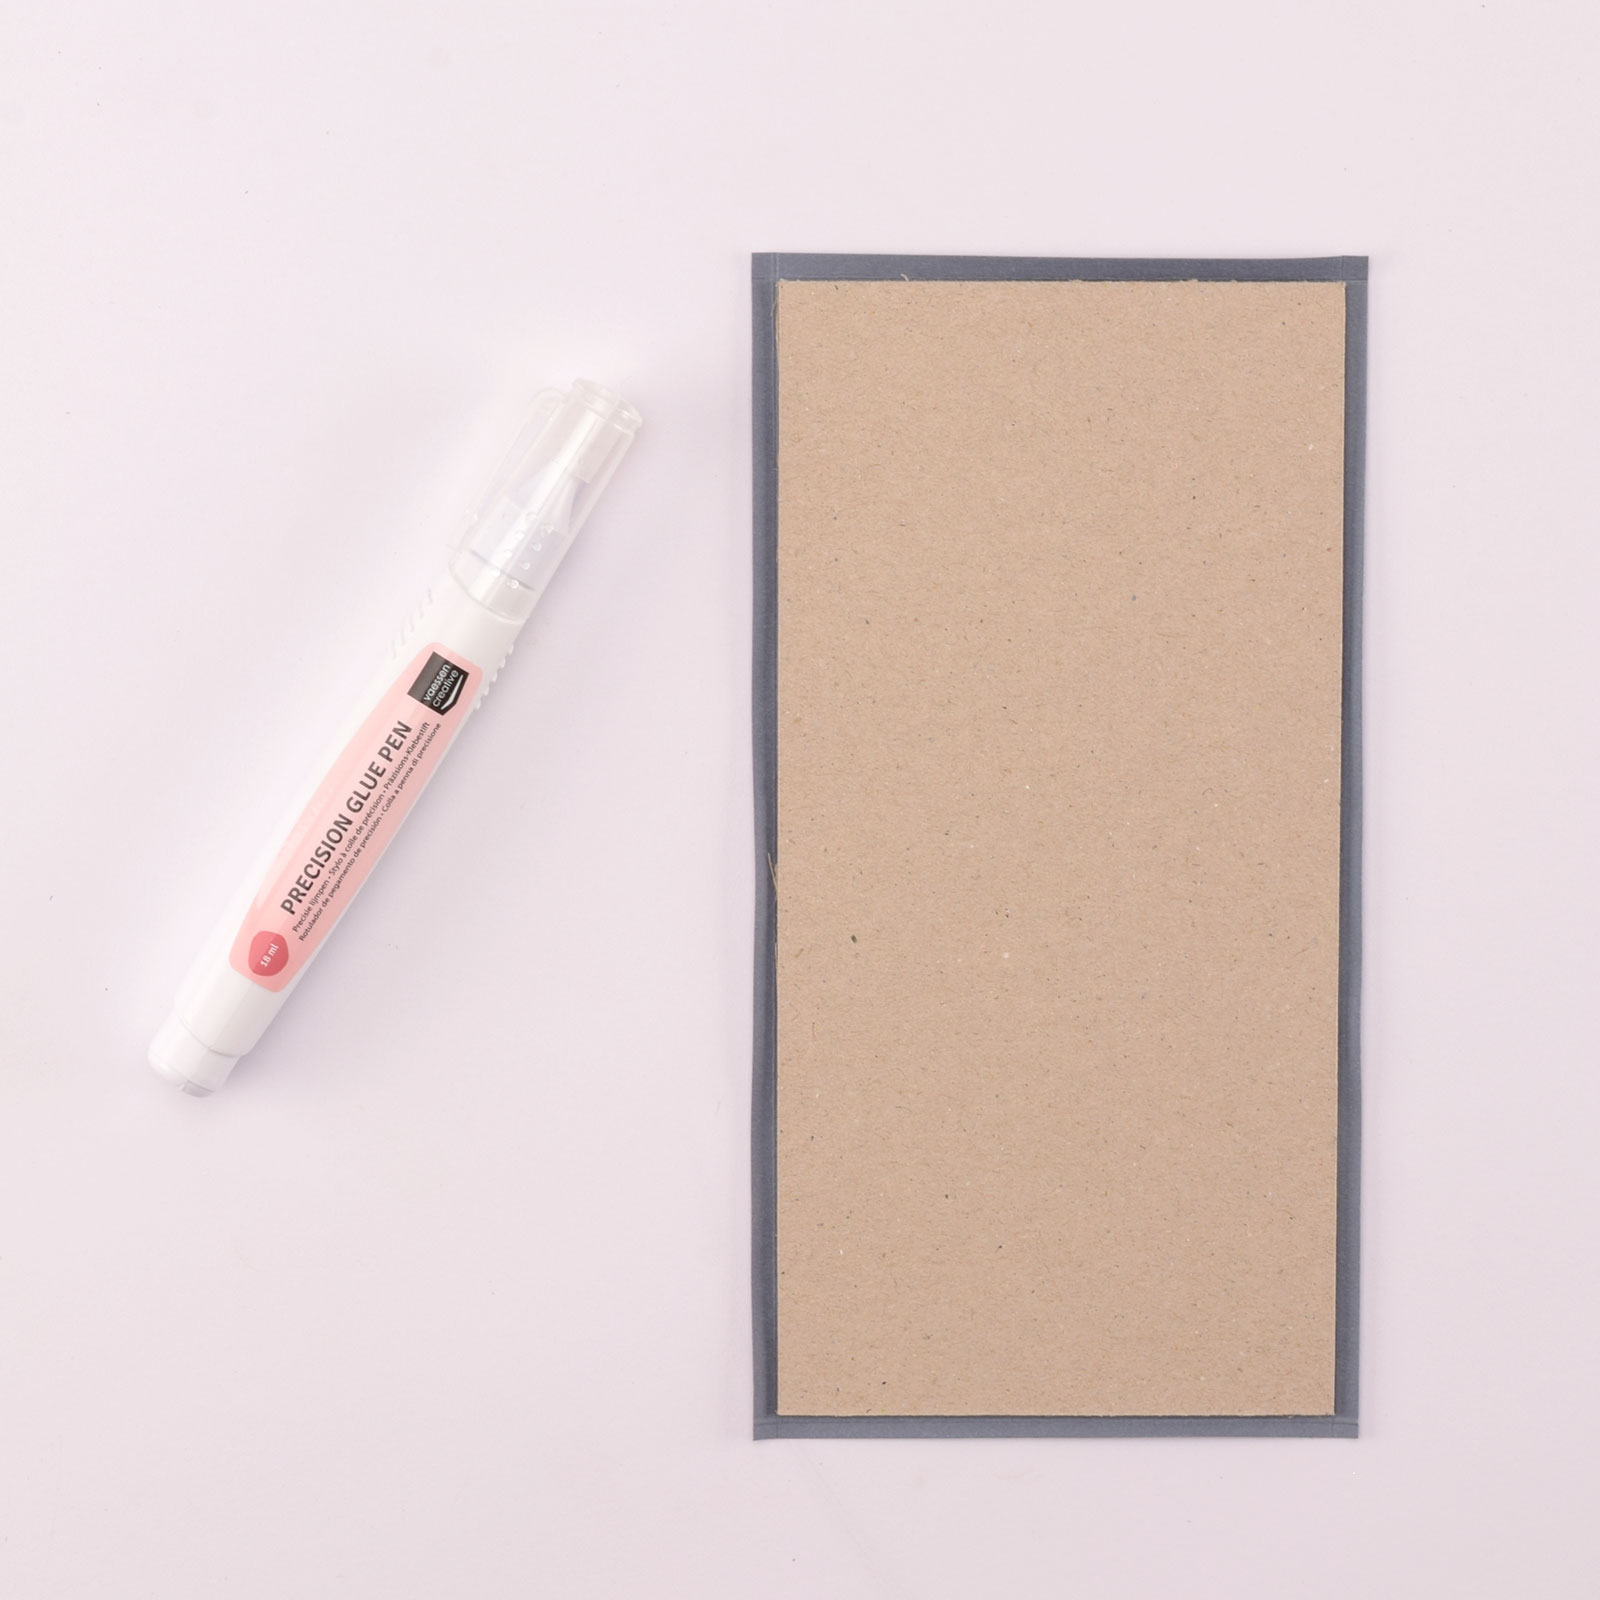
To cover the grey cardboard, cut a piece of dark blue cardstock measuring 4.5 x 8.6 inch (11.4 x 22 cm) and score 0.2 inch (0.5 cm) from each edge.
13
Attach the cardboard to the paper and fold the edges over. Glue them in place.
14
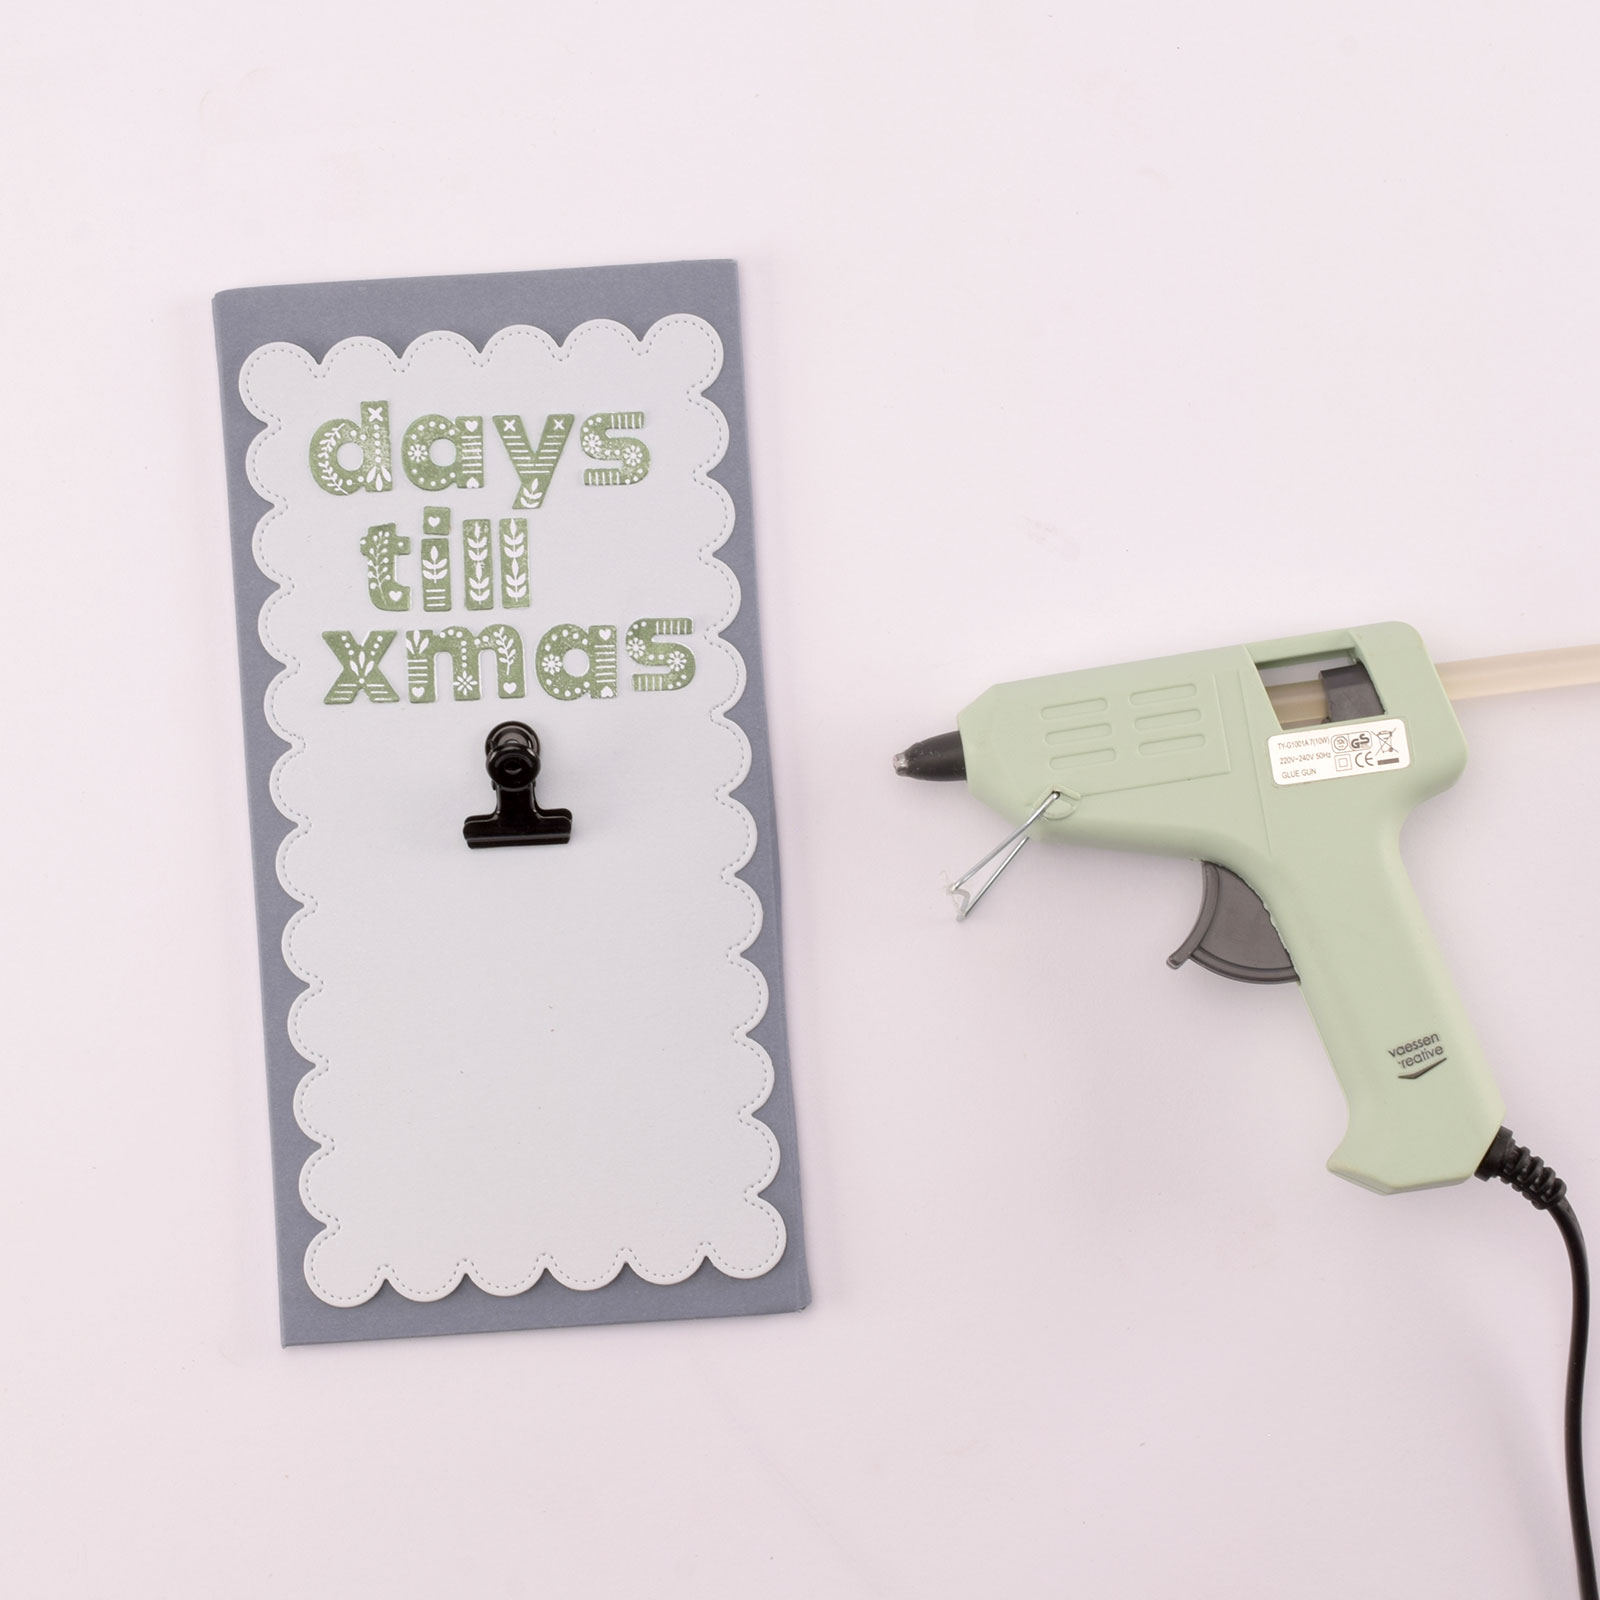
Now, take the stamped letters and stick them onto the scalloped rectangle from step 10.
15
Attach this rectangle to the paper-covered cardboard and use a glue gun to fix an office clip under the text.
16
Arrange all the ‘day cards’ in order and place them in the office clip. Let the countdown to Christmas begin! 😊