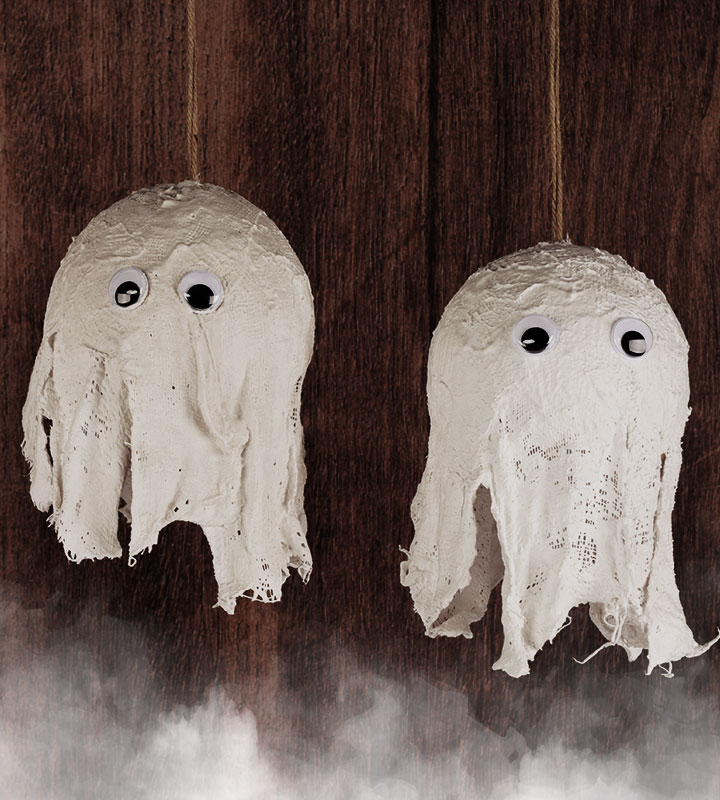
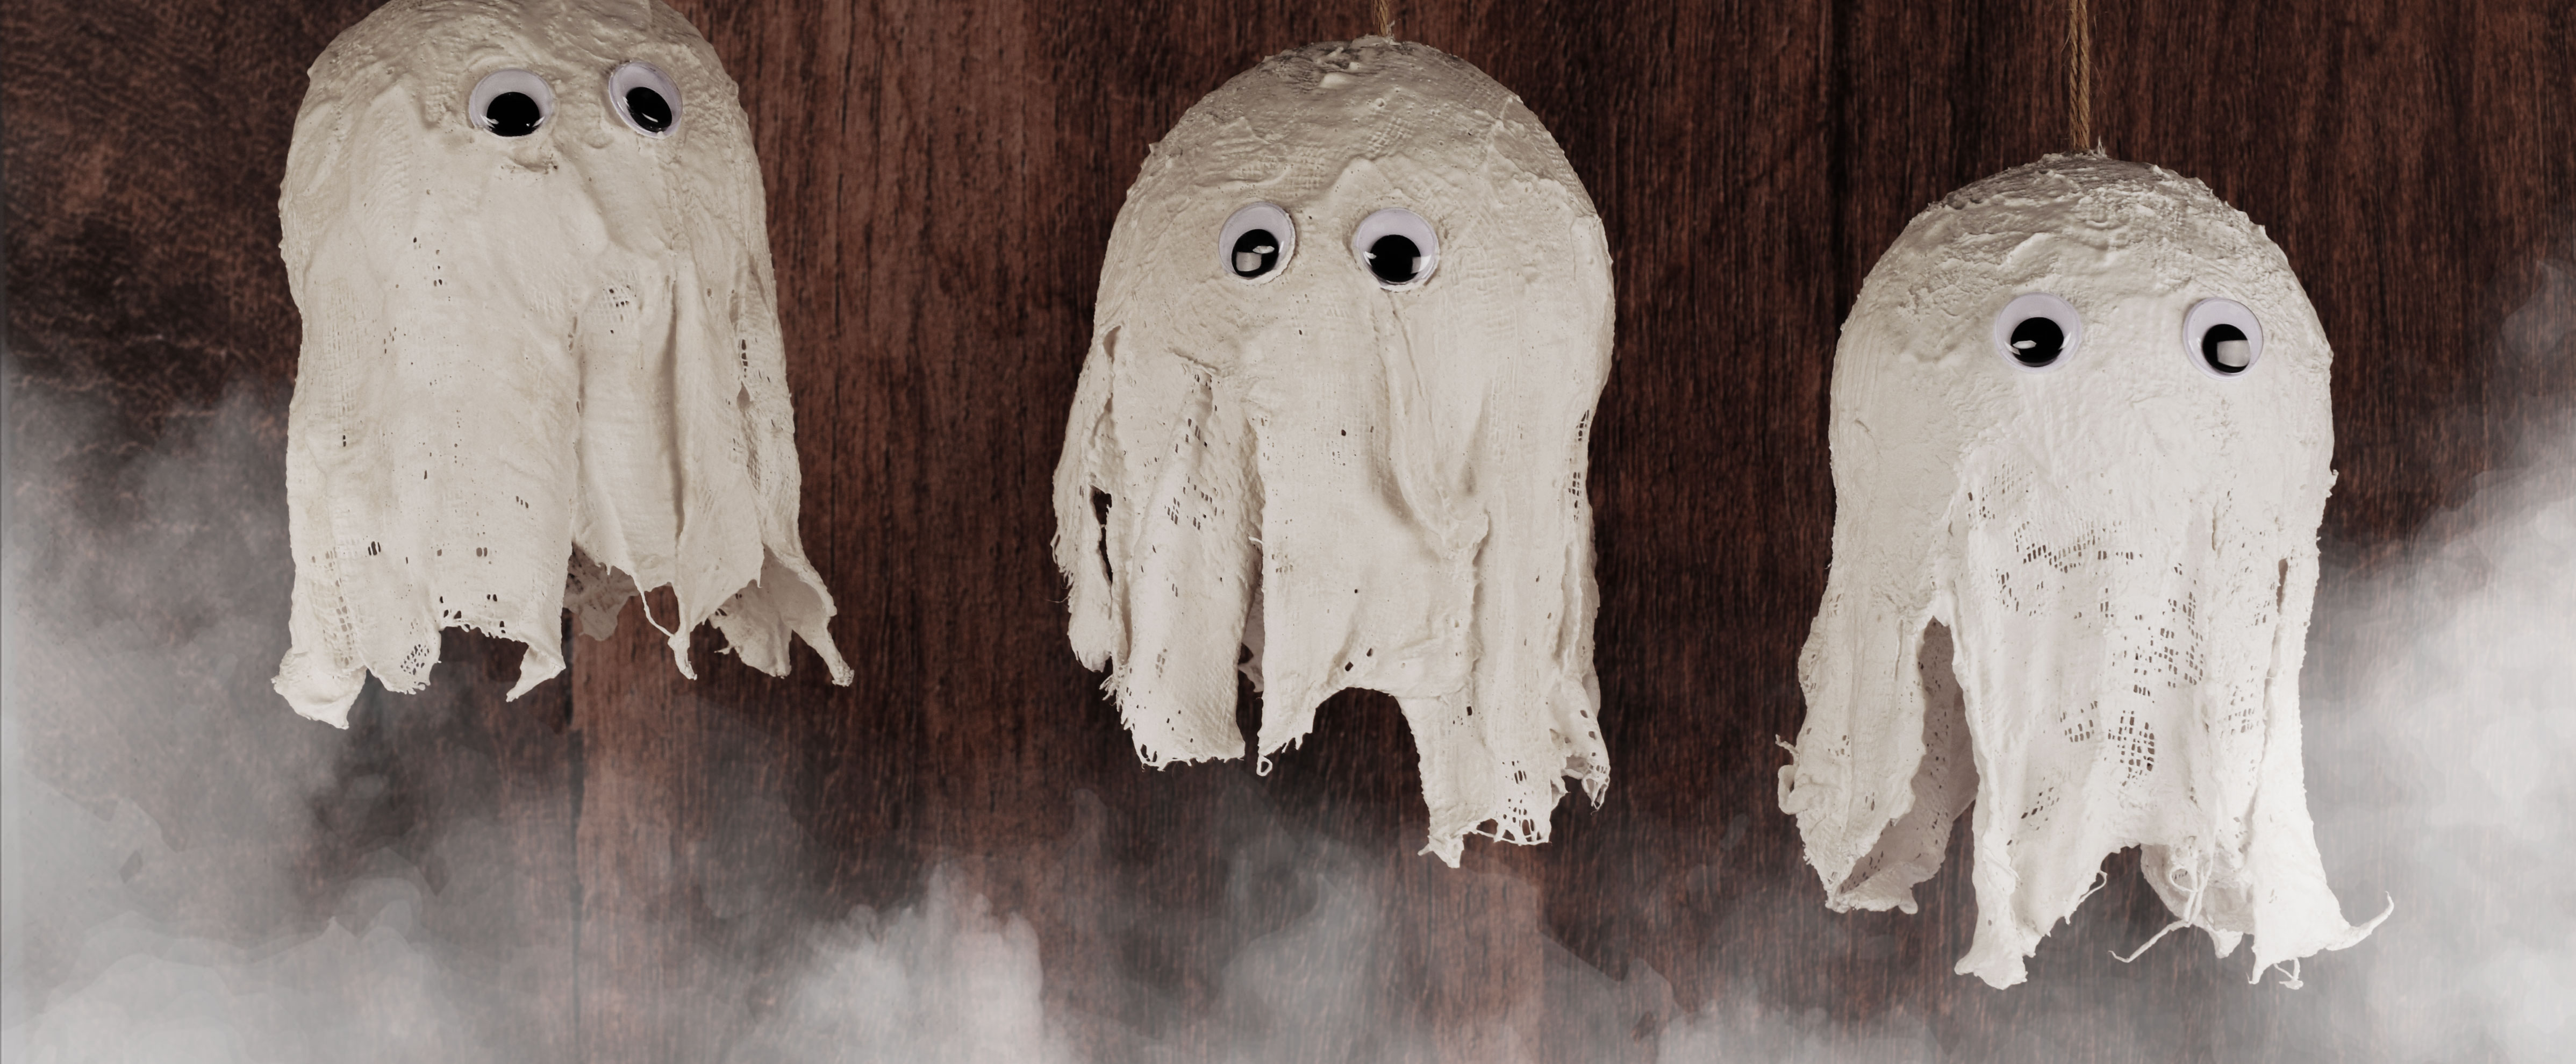
Discover how creative you can get with plaster bandages by crafting these spooky ghosts for Halloween! Use them to decorate your home by hanging them as floating ghosts or string them together to turn your cosy living room into a spooky haunted house.
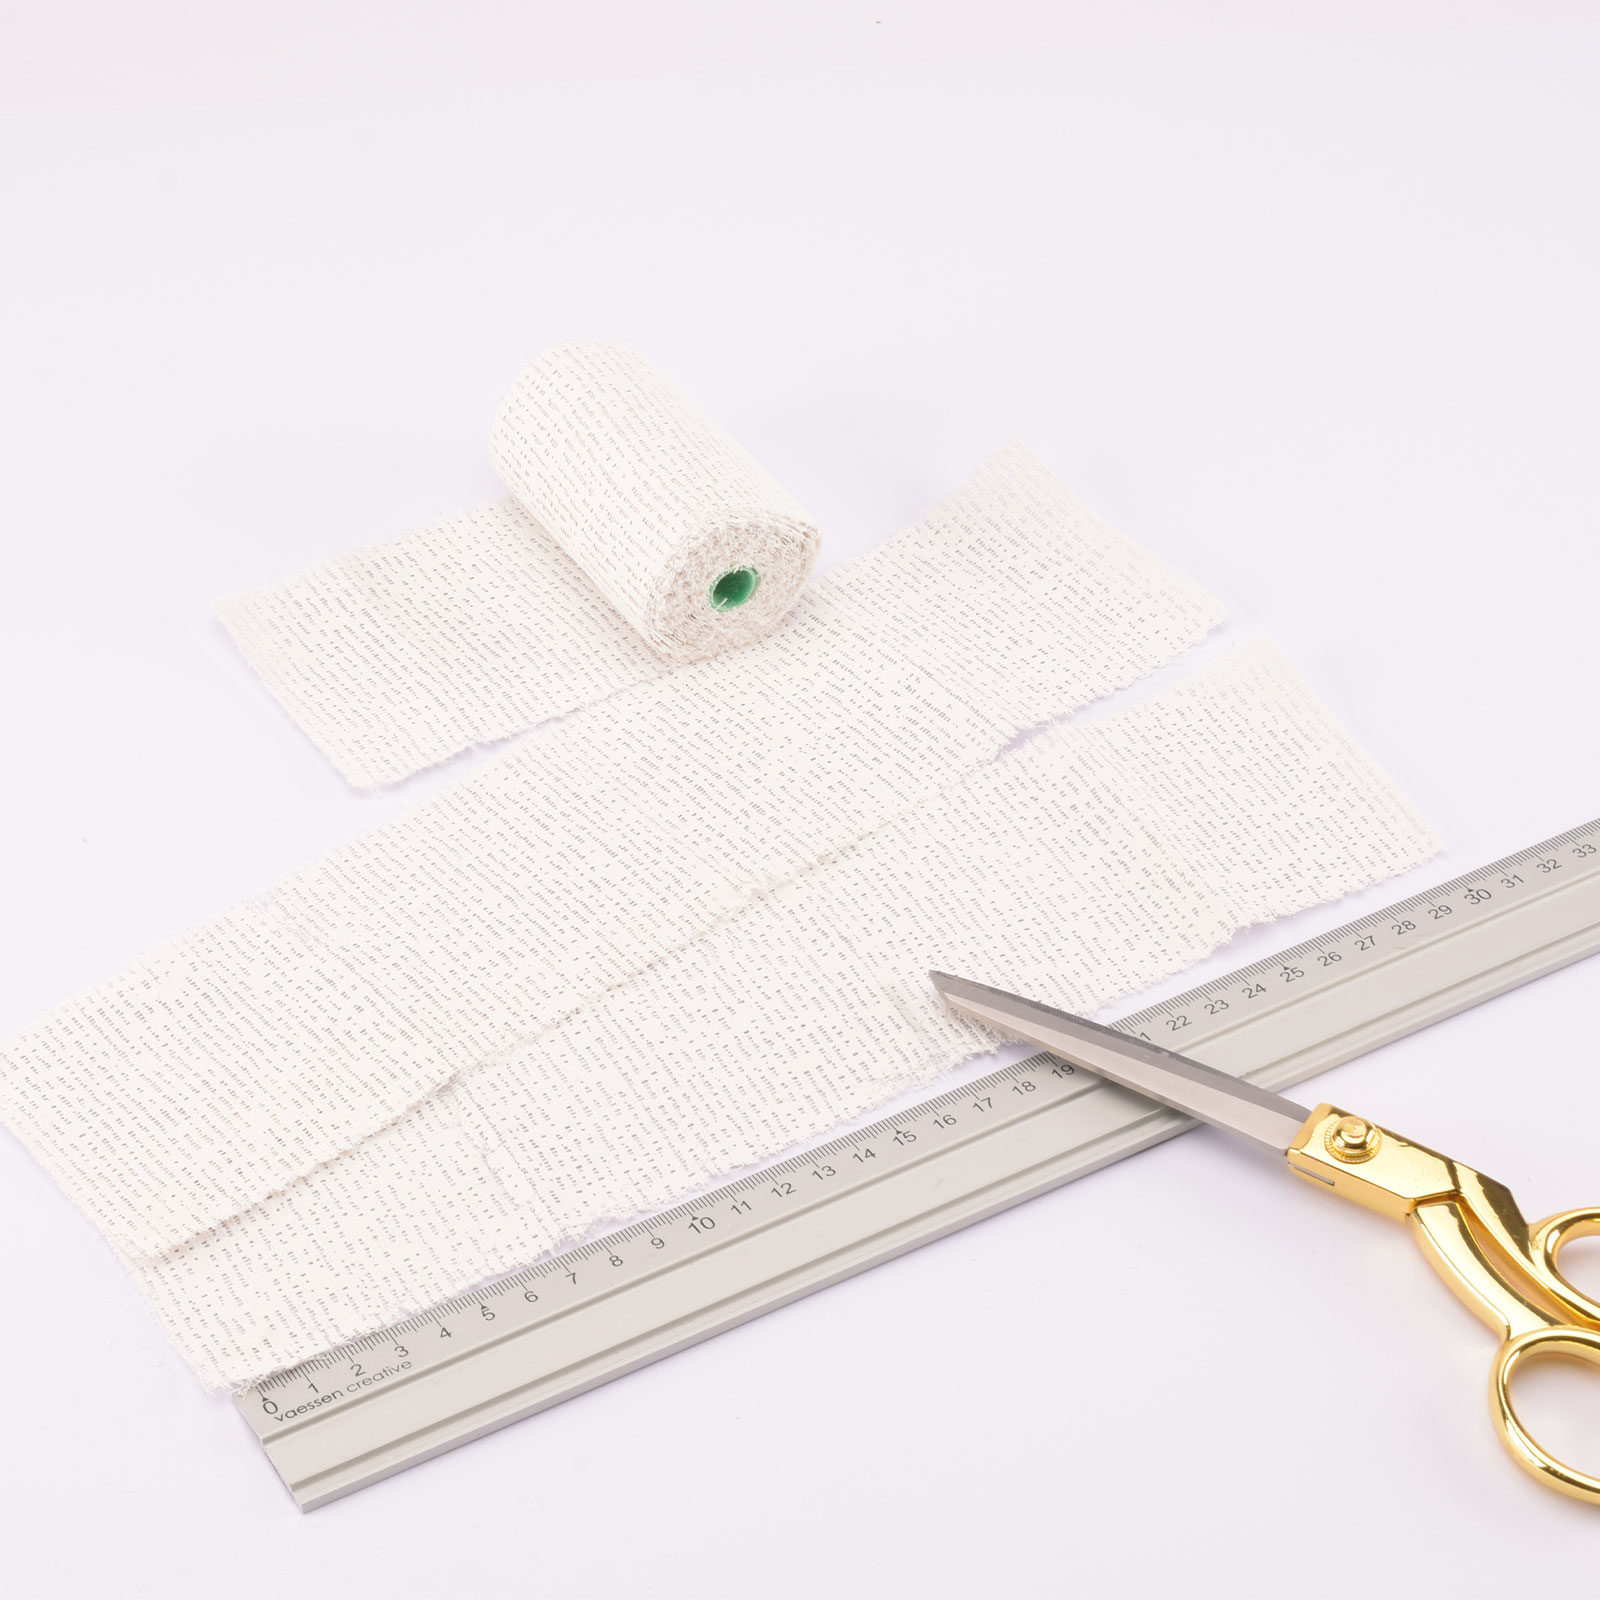
Start by cutting the plaster bandage into strips, each around 30 cm long. You will need 4 strips for each ghost.
2
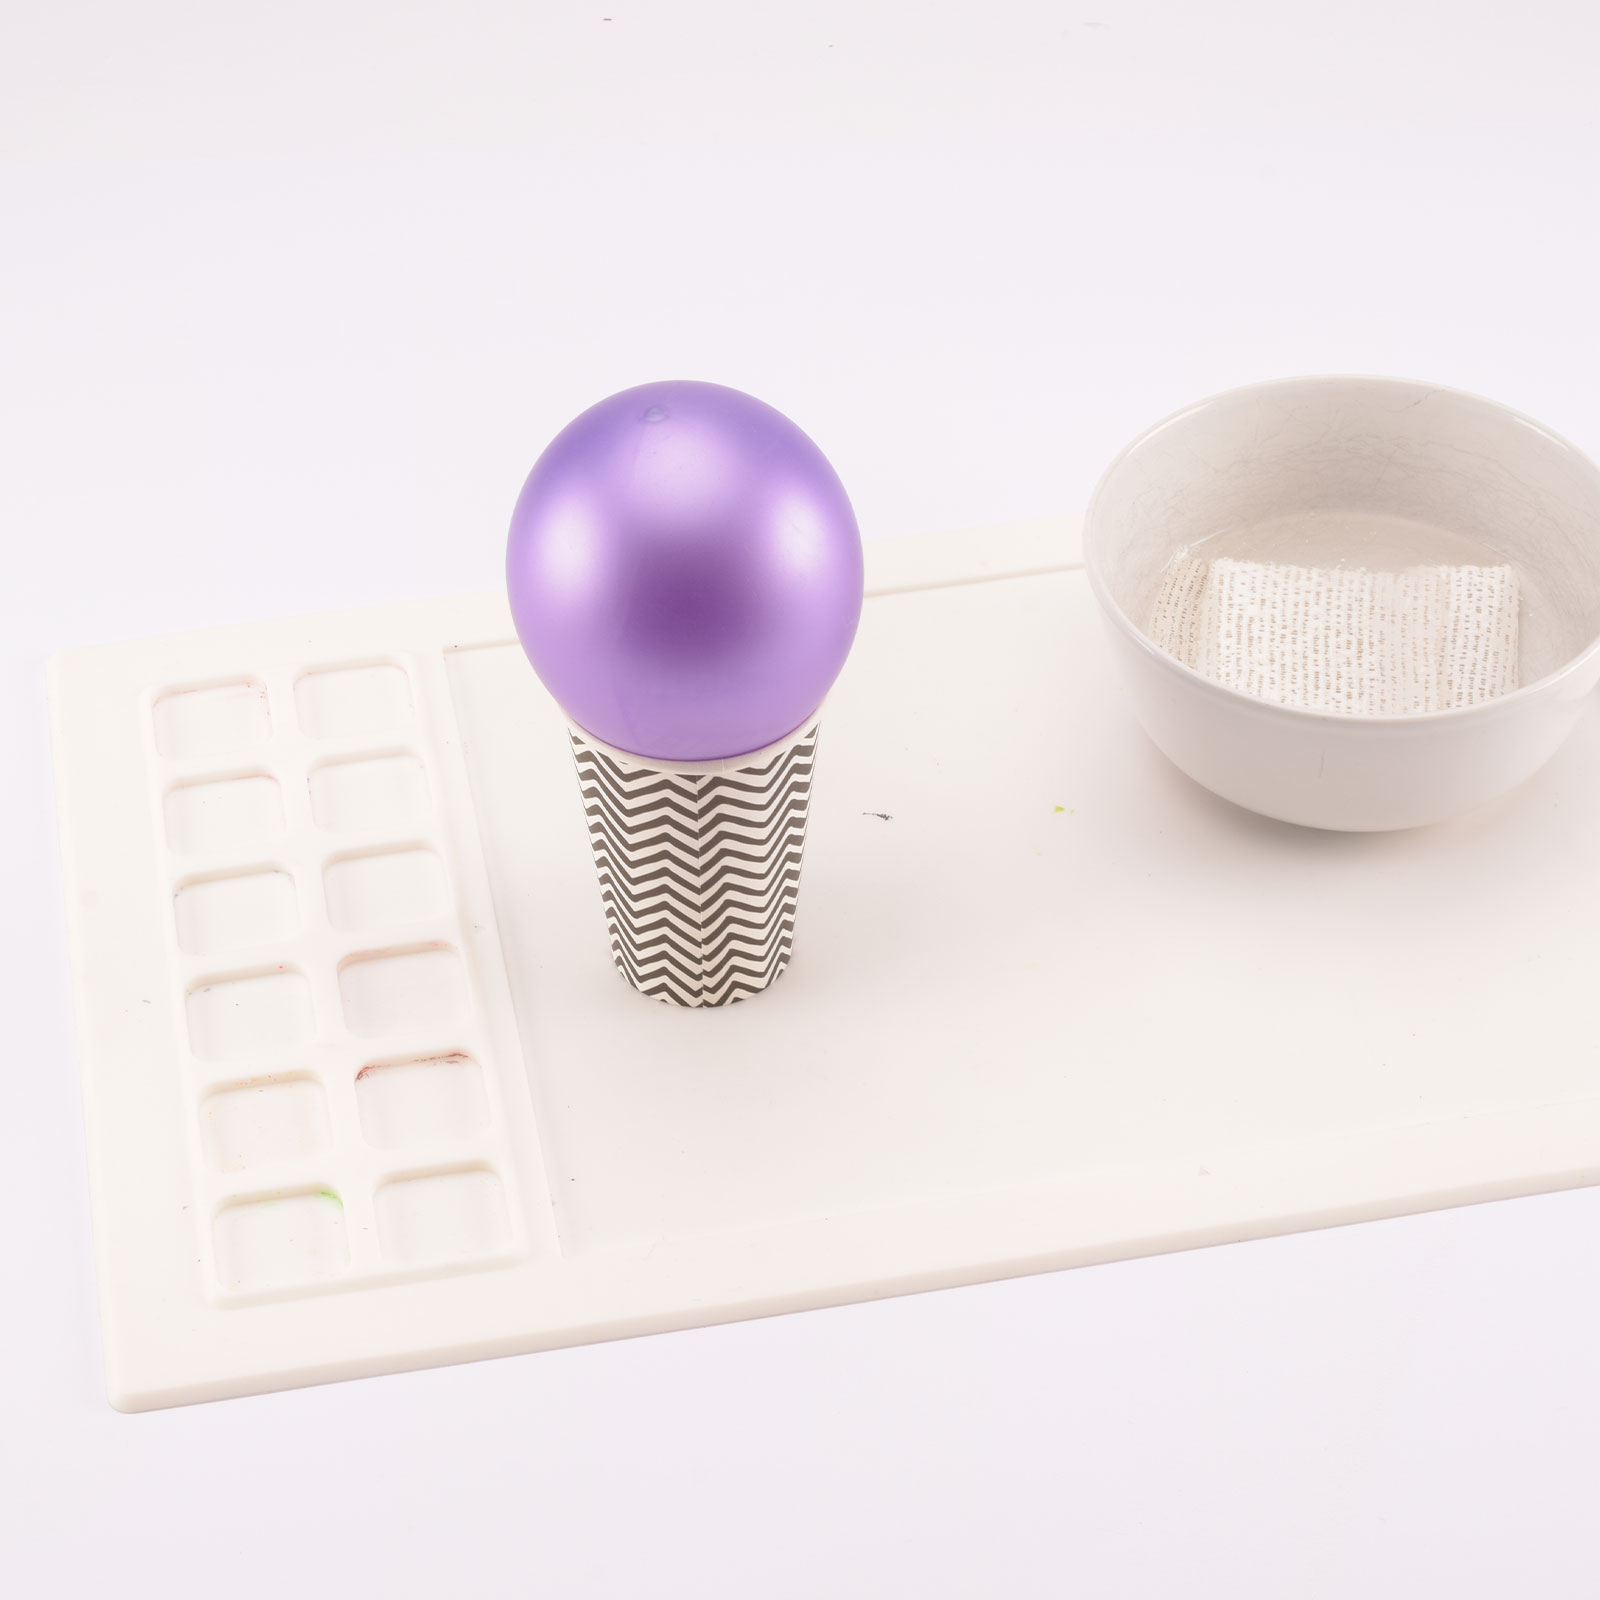
Prepare your workspace by laying down a mat and filling a bowl with lukewarm water. Inflate a balloon to about 10 cm in diameter and place it on a small cardboard cup.
3
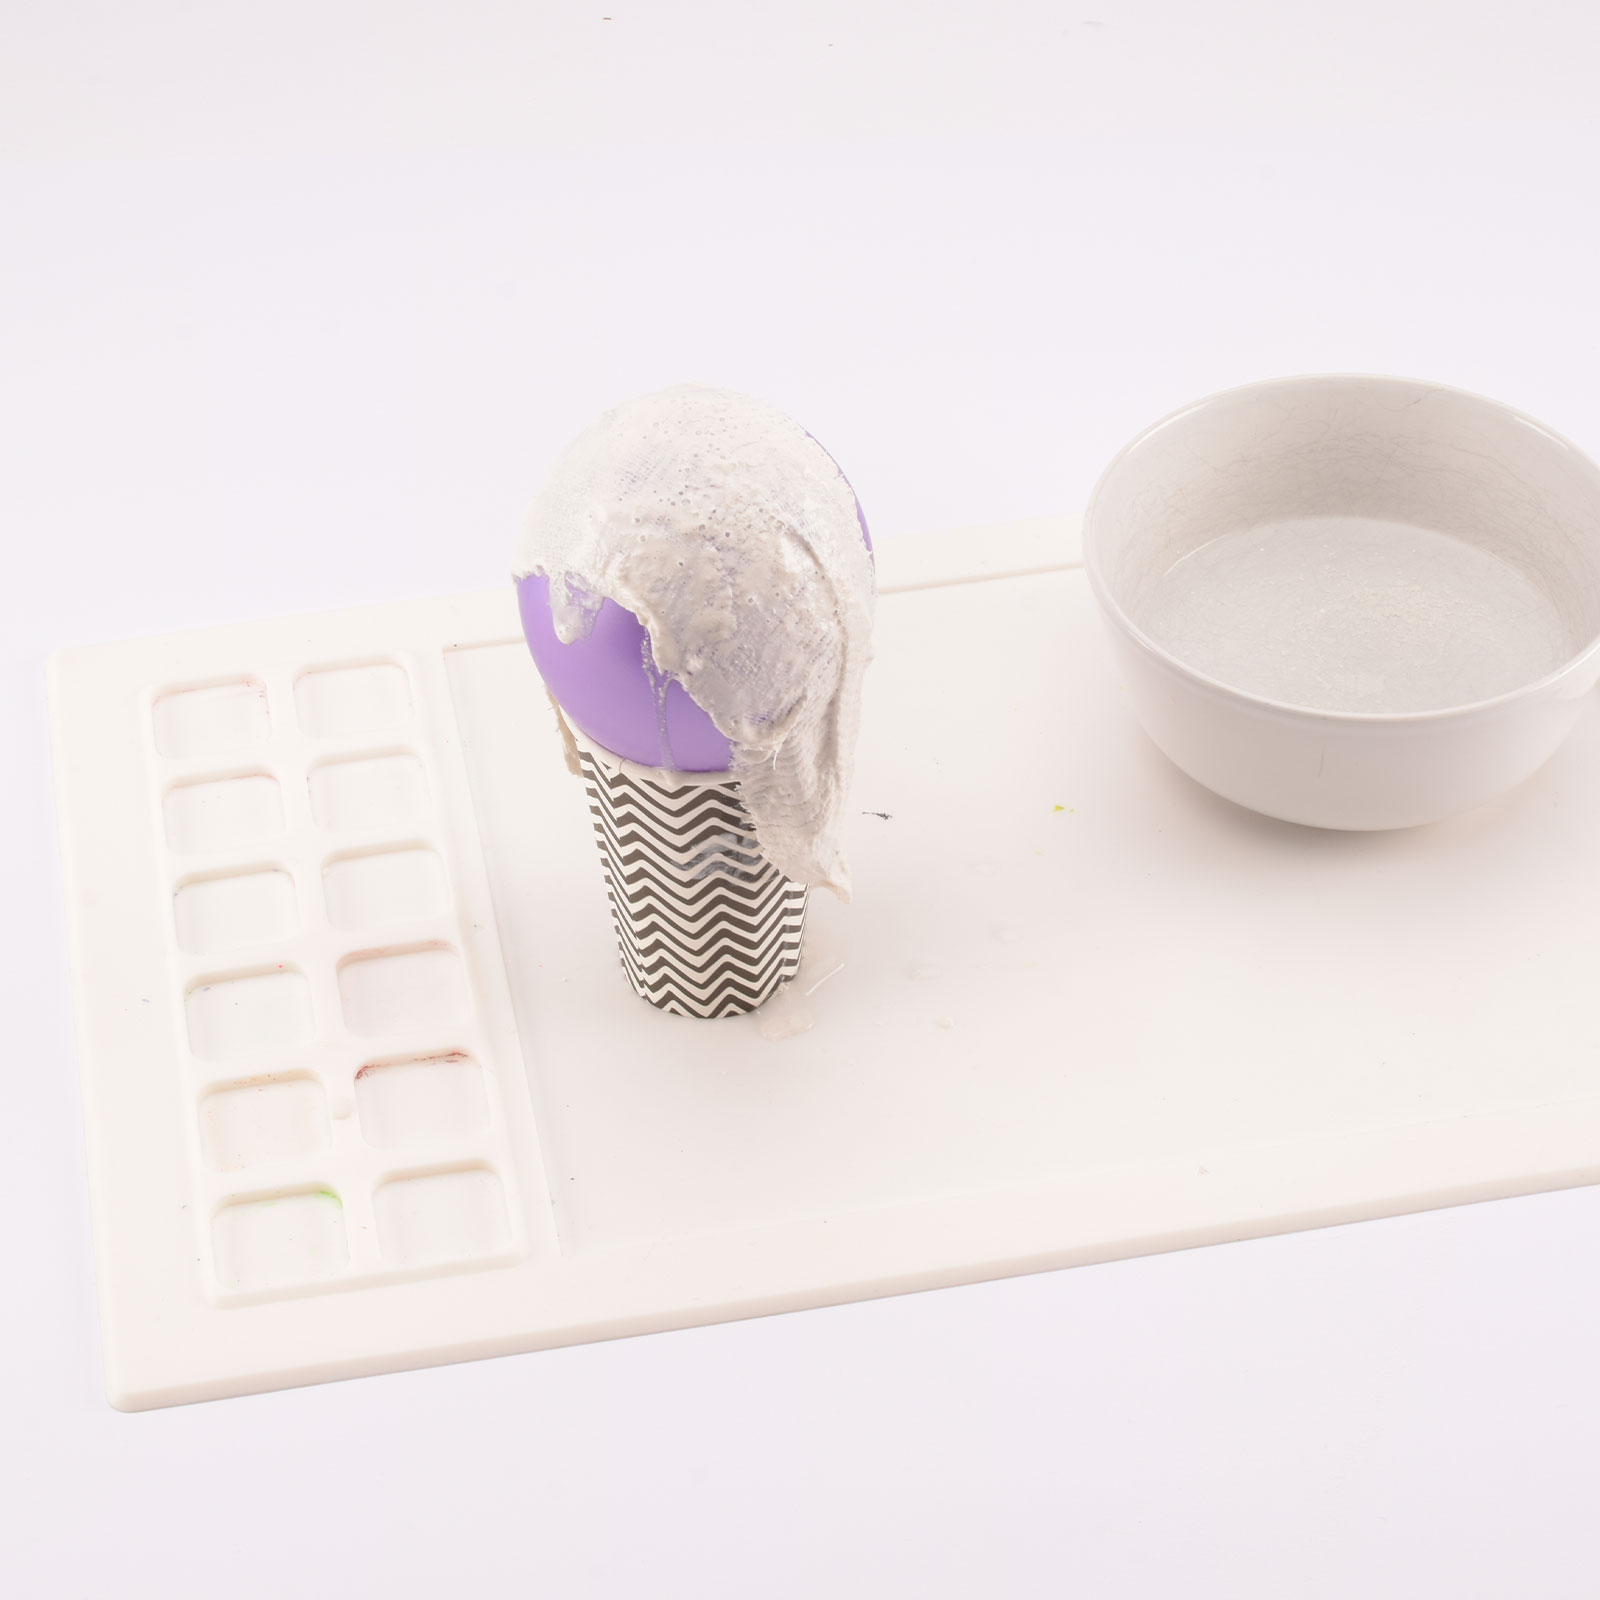
If you prefer, wear gloves for the next steps. Dip the first strip of plaster bandage into the water and allow it to absorb the liquid.
4
Gently squeeze out any excess water and drape the strip over the balloon, smoothing it out as needed.
5
Repeat this process until all 4 strips cover the balloon. Shape the plaster as desired.
6
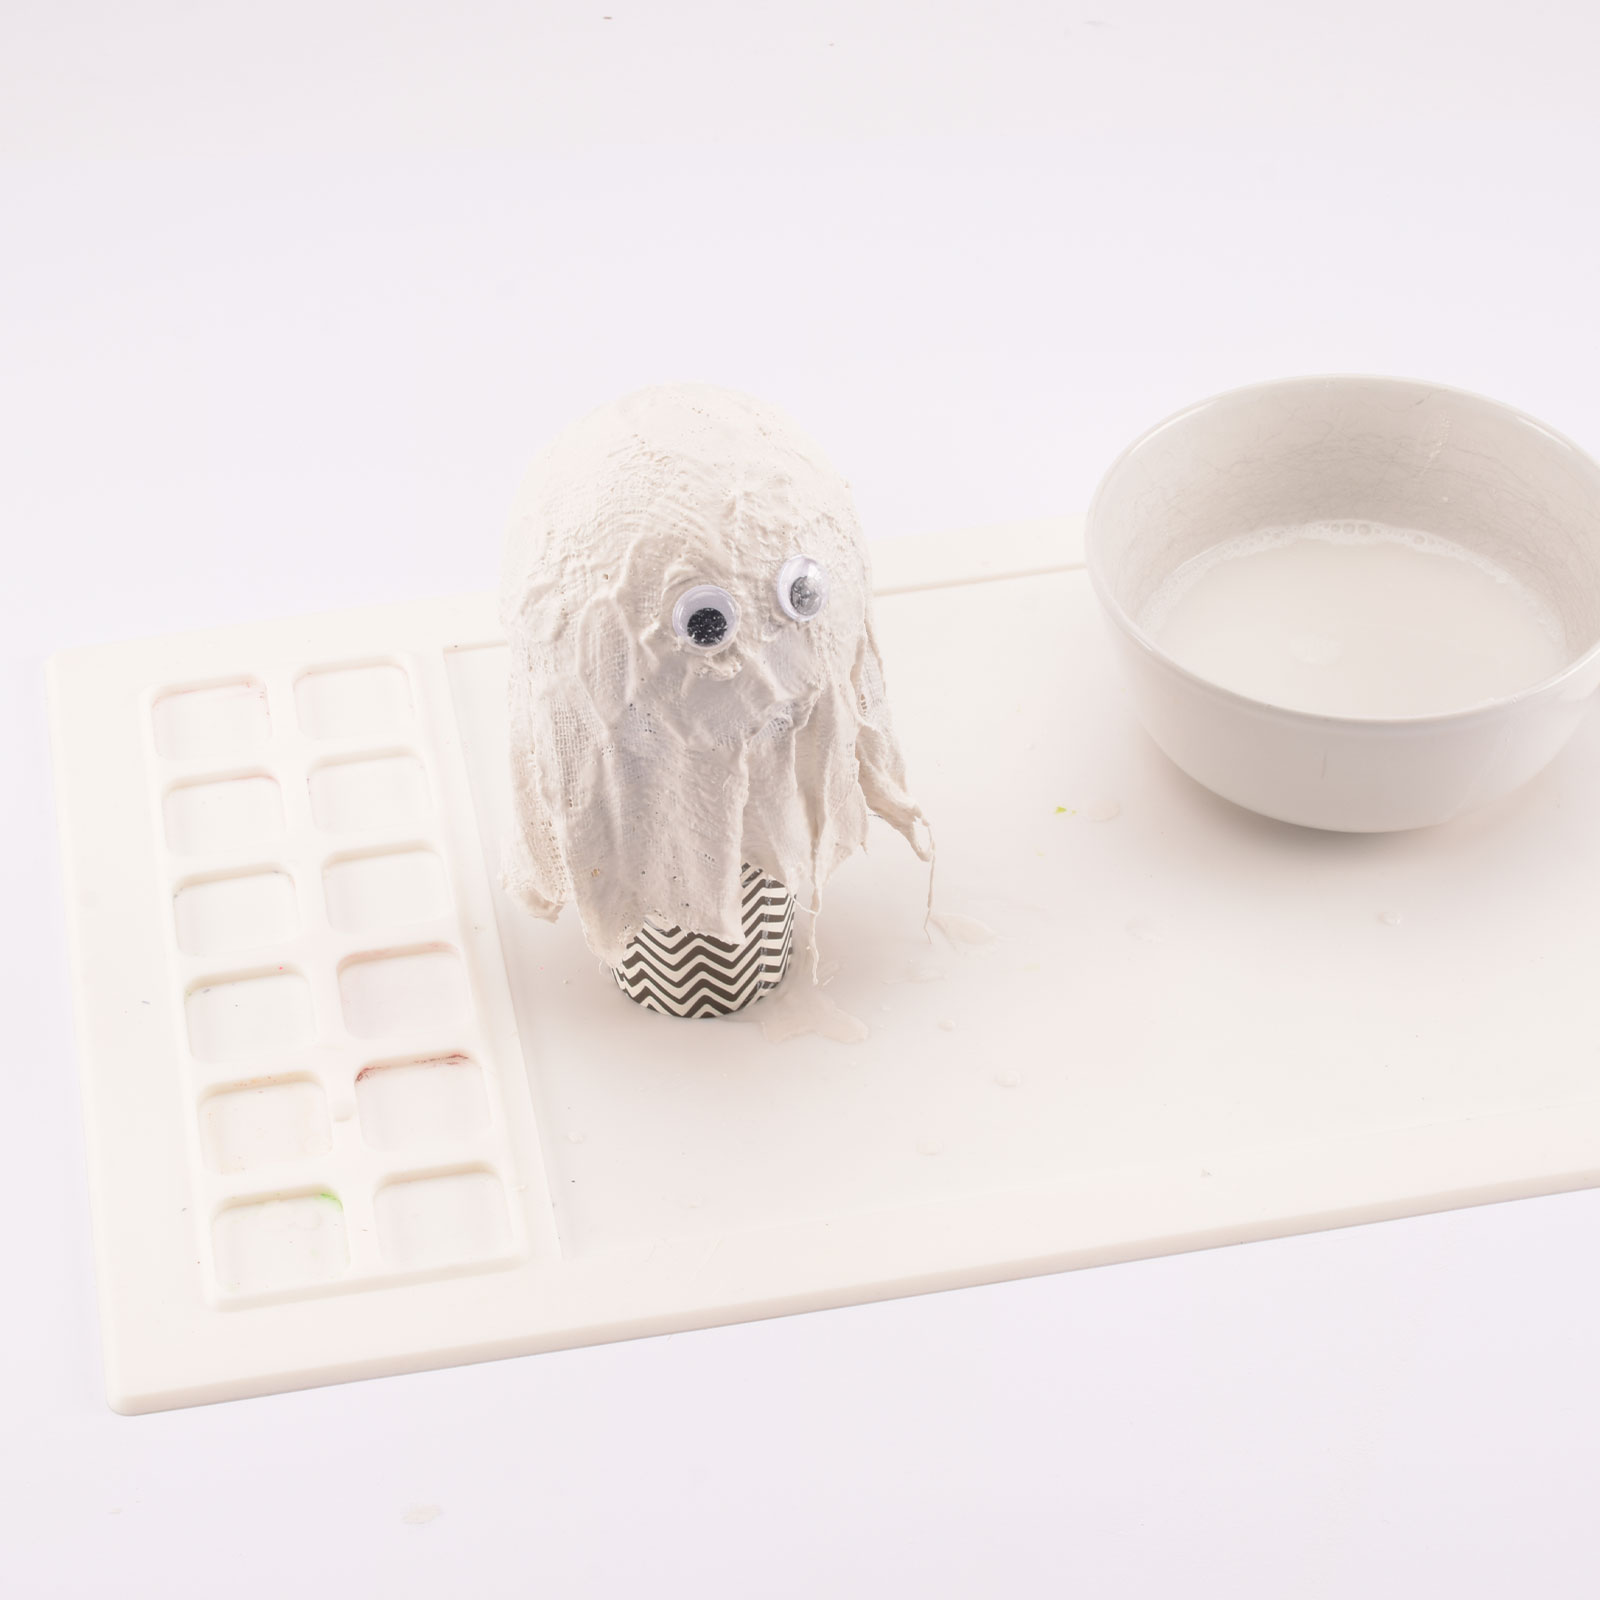
While the plaster is still wet, press two googly eyes into the bandage. Let the ghosts dry completely and harden. Once dry, carefully remove the balloon.
7
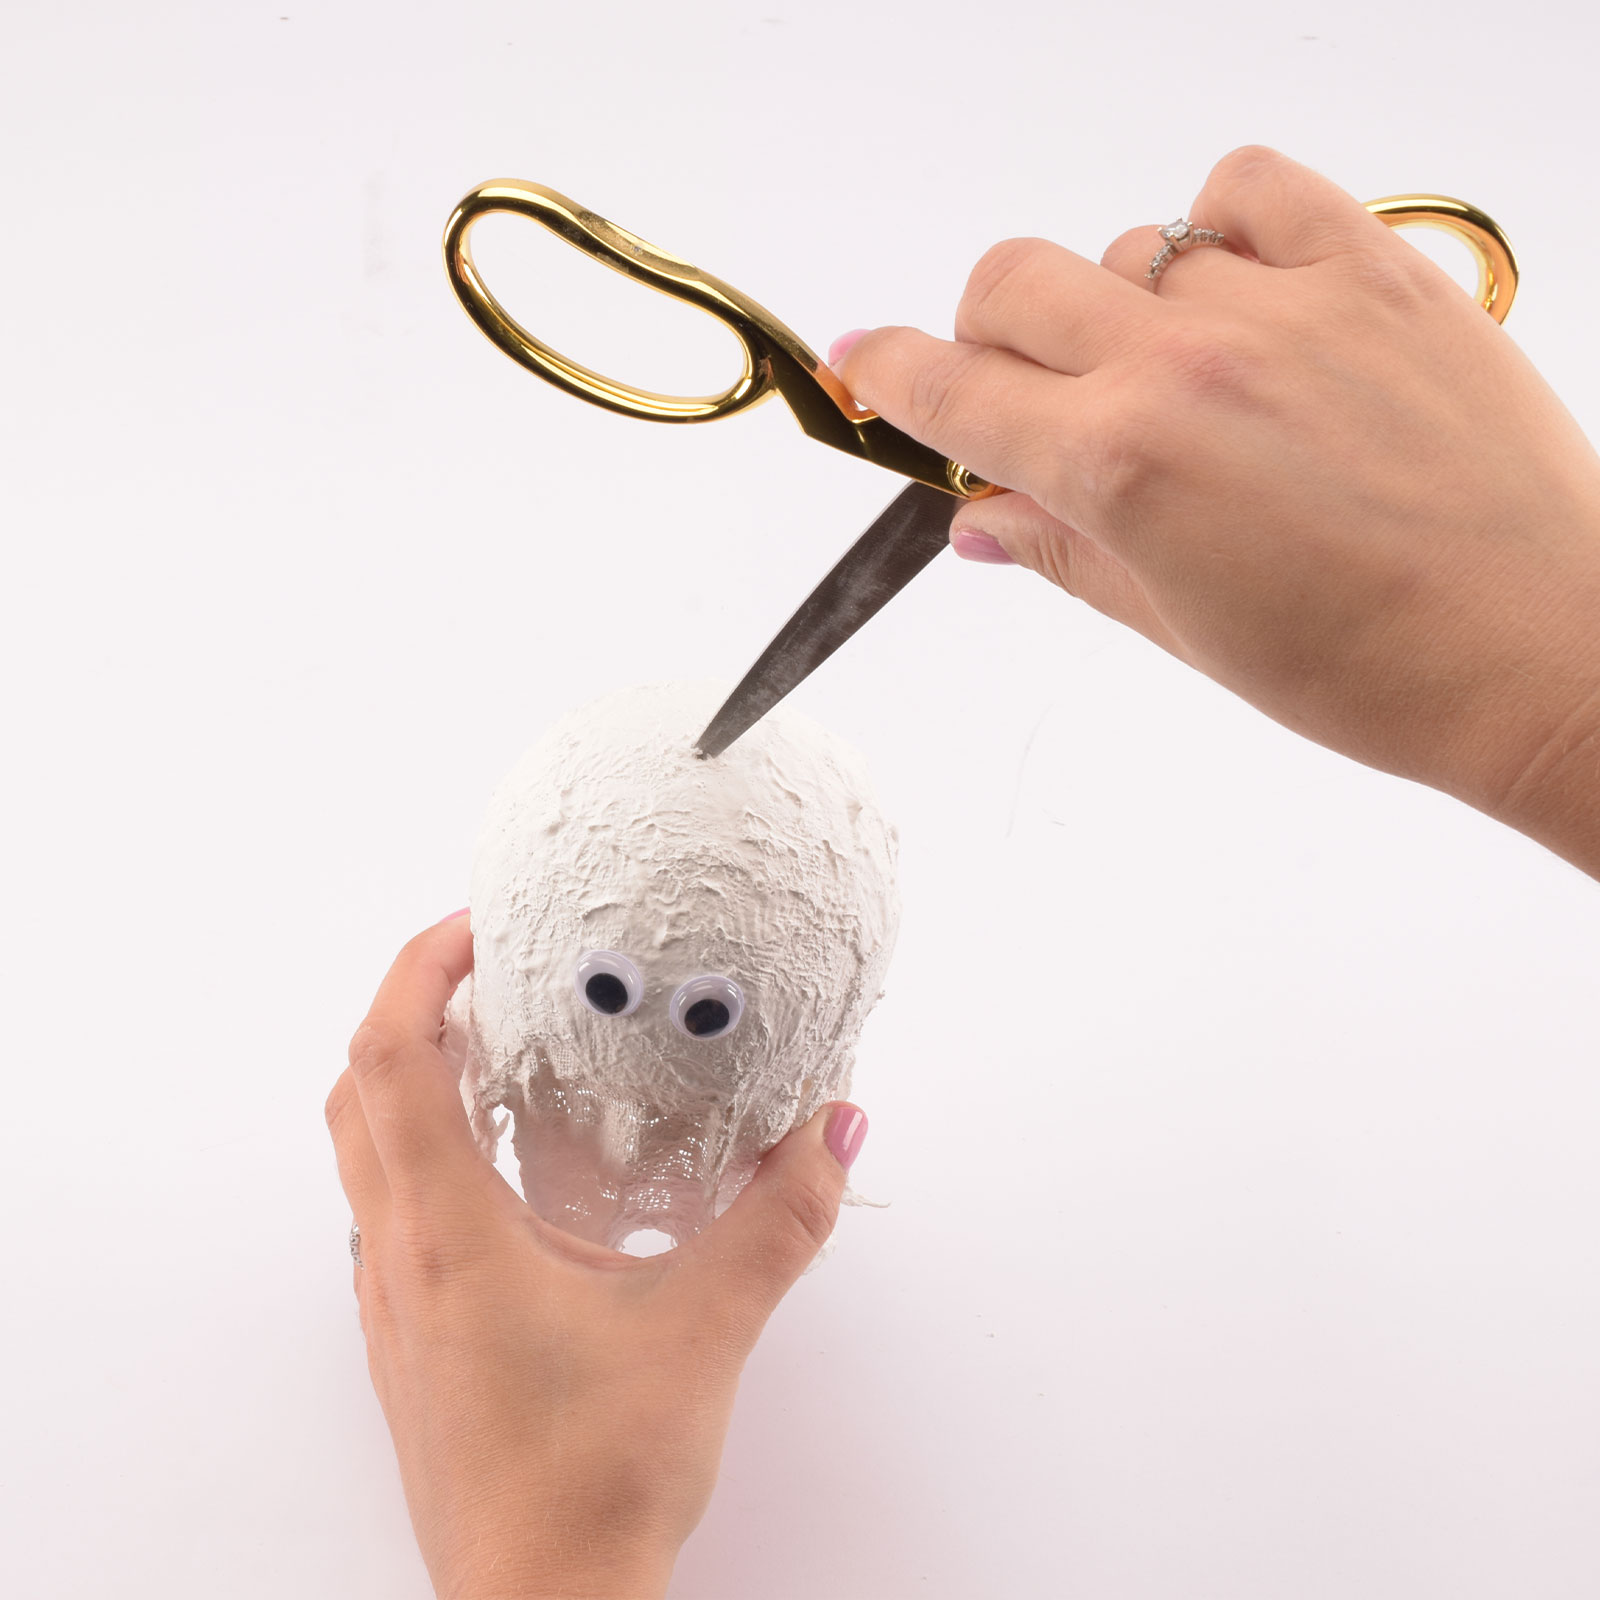
After the plaster has fully hardened, use scissors or a small knife to make a hole at the top of the ghost.
8
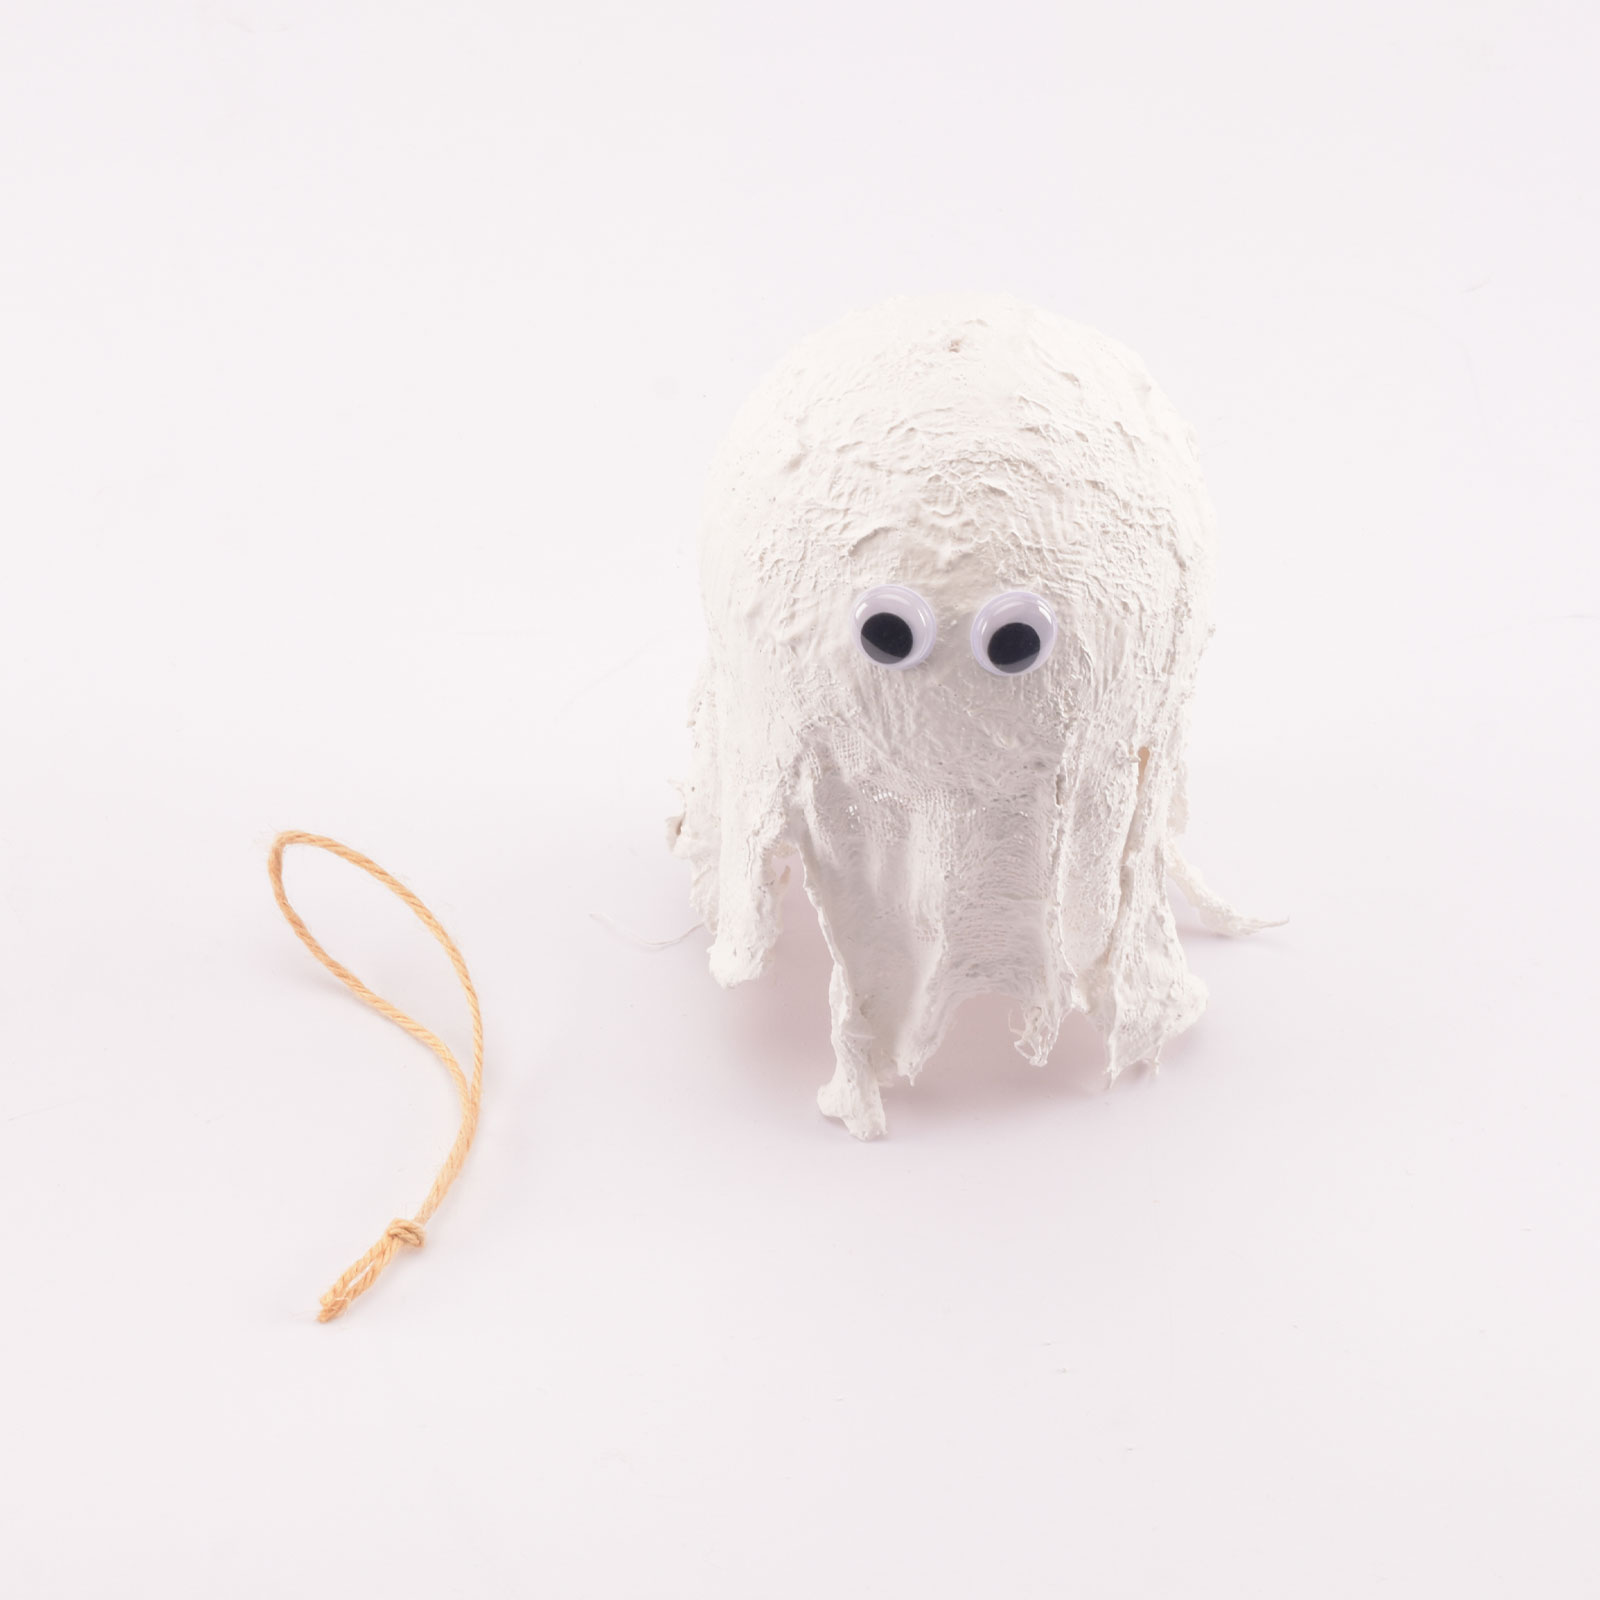
Create a loop with some (jute) cord and thread it through the hole. Your Halloween ghost is now ready. If you’ve made several ghosts, you can string them together to create a fun garland!