Aufgrund des hohen Aufkommens kann sich die Zustellung Ihres Pakets verzögern

Stamping for Beginners
How to get started with stamping
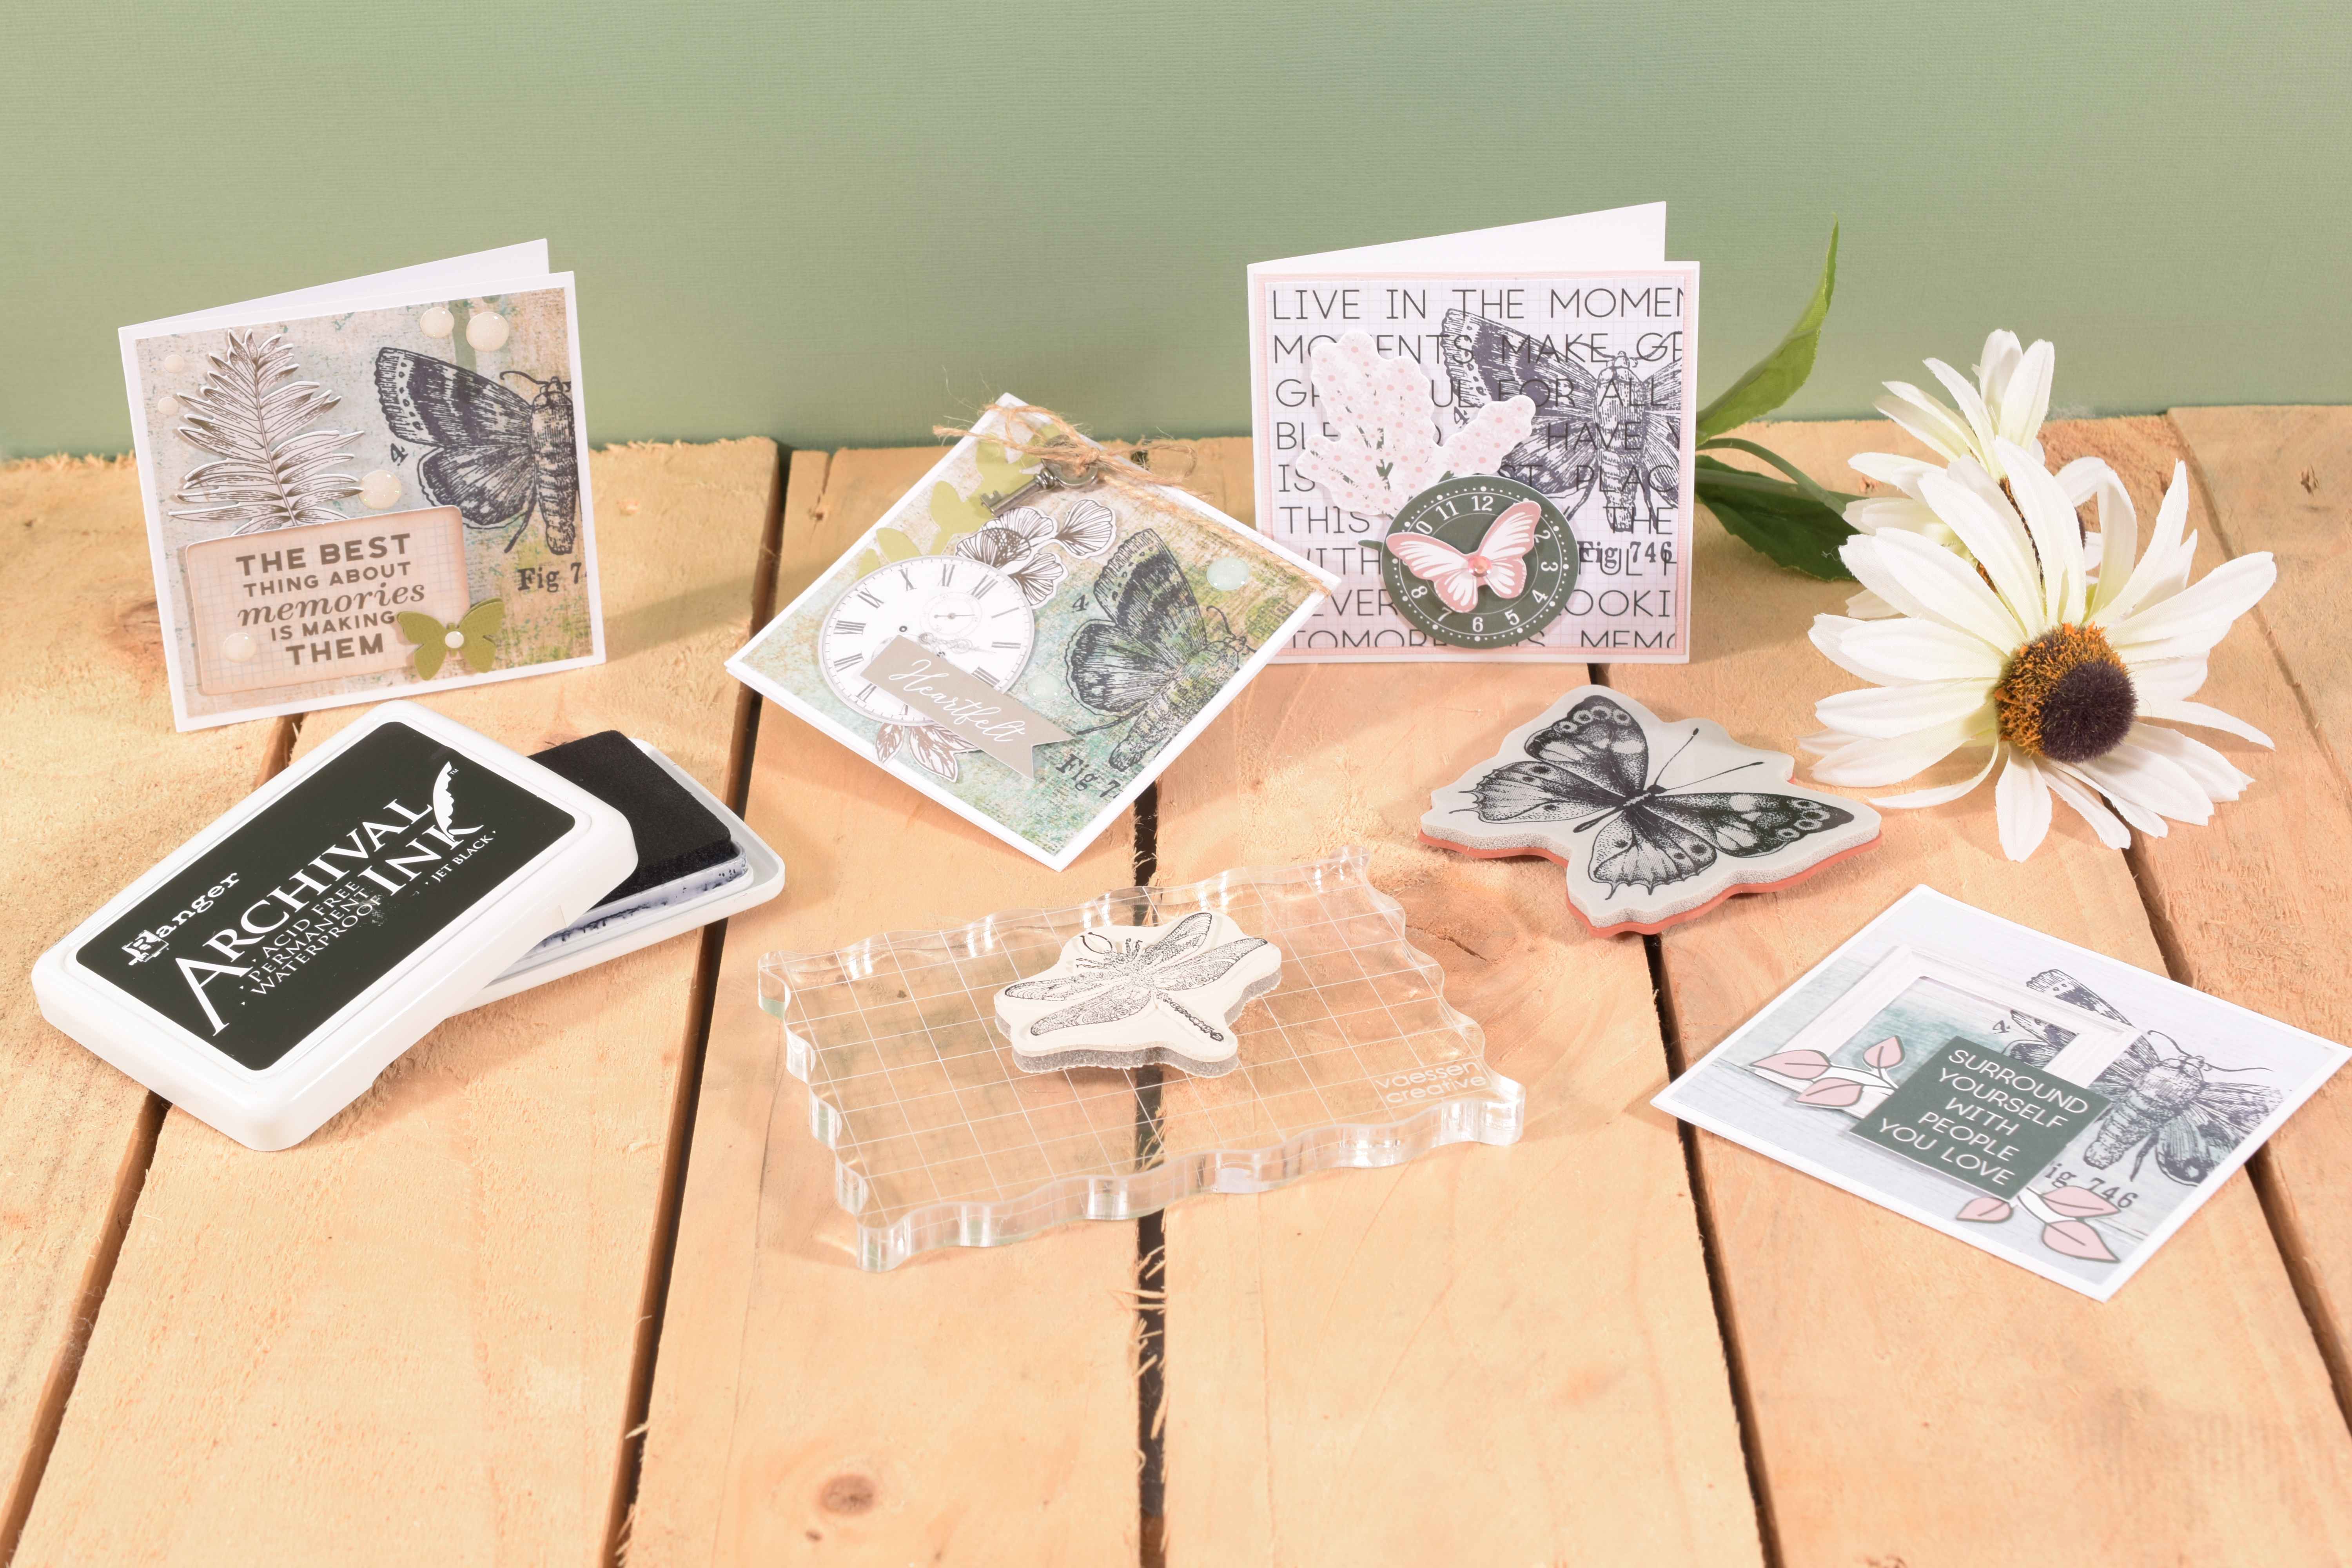
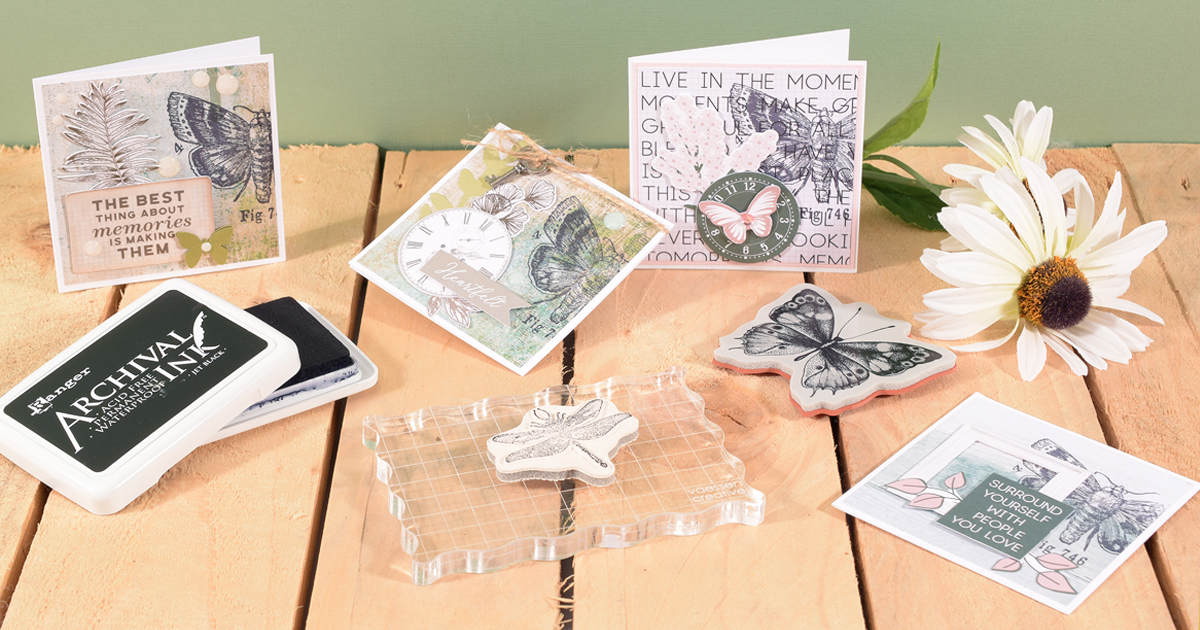
Stamping. Sounds simple. And it is! But are you getting the most out of your stamping projects? Are you choosing the right type of ink? Using the most suitable paper? Could you be taking advantage of handy tools? In this blog, we explain the basic stamping principles and offer you useful tips and tricks for creating the most gorgeous stamp impressions.
Basic stamping materials
You’ll need the following basic materials to get started with stamping.
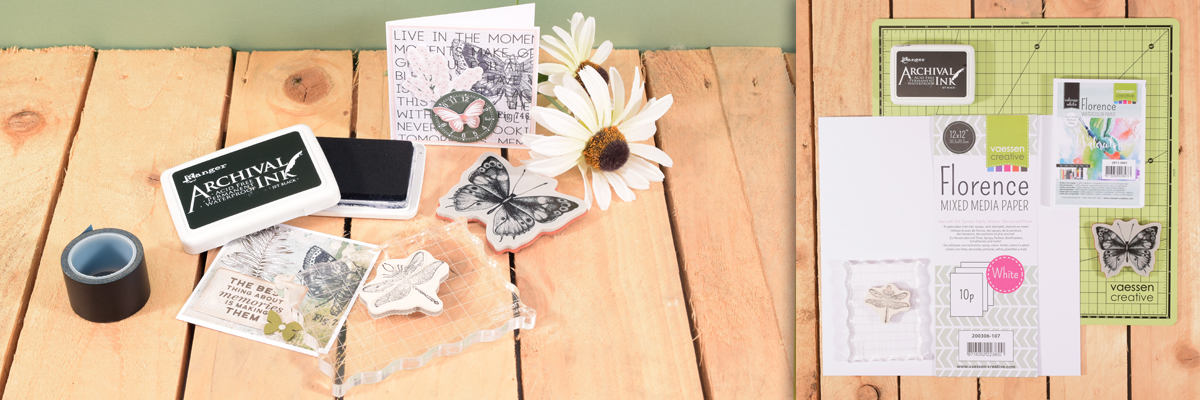
Ensure a flat surface to work on with a work mat. This will give you a nice surface to work off. The mat will also prevent your table from getting dirty or damaged. Naturally, you’ll be wanting a stamp. You’ll find an overview of the different kinds of stamps available, below. Depending on the type of stamp, you’ll need an acrylic block. You’ll fix your stamp to this block to give you a good grip for making a nice impression with. An ink pad. This contains the ink you’ll be using to stamp with. Paper to stamp onto. Choose a smooth surface such as Florence Smooth cardstock, or opt instead for structure, as in watercolour paper. The structure of the paper will determine the stamping effect.
Stamp types
There are various types of stamps, each with their own specific characteristics. We set out the most common ones for you here.
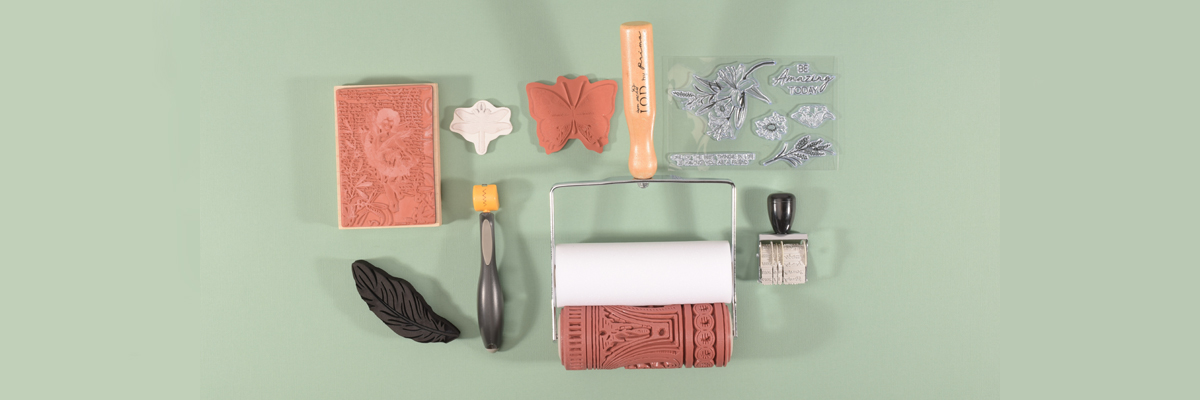
- Wooden rubber stamps. These stamps are mounted on a wooden handle, hence why they are also referred to as ‘mounted’. They are solid and easy to hold, but they also have a few drawbacks: They are relatively expensive to buy, take up a lot of space and it is not easy to see where you are stamping when using them.
- Cling stamps. These are rubber stamps with a sticky back for use with an acrylic block.
- Unmounted rubber stamps These stamps do not have a sticky back for use on an acrylic block, so you need to affix them yourself - to a piece of wood, for instance. Only the very large rubber stamps are suitable for use without a solid reinforcement.
- Clear stamps. These are transparent, flexible stamps made of silicone, which means that they stay firmly put on a smooth surface. Clear stamps are designed for use with a transparent acrylic block, so you can easily see where you are stamping. See how it's done here. Clear stamps are more affordable than most other stamps. A further advantage is that you can manipulate the shape; if there is a part of the stamp you aren’t so keen on, you can cut it off.
- Foam stamps. These ready-made stamps are made of foam and are also suitable for use with acrylic paint, for example.
- Self-inking stamps. You may be familiar with them as an office article, as these stamps are often used as address stamps. A self-inking stamp is a stamp that replenishes itself of ink each time it is used and delivers successive impressions.
- Pen stamps. These pens contain ink and feature a stamp on their tip. You can use these pens to stamp colours and small figures.
- Roller stamp. A stamp on a roller, enabling you to stamp an impression by rolling, which allows you to create continuous patterns.
- Roller date / text stamp These stamps let you create combinations from the stamps available on the holder. The most obvious example of this type of stamp is a date stamp.
How to get started with stamping
Choose a stamp and ink pad that will deliver your desired effect. Apply some ink to the stamp. Next, press the stamp firmly onto the paper without shifting it, so as to create a nice clean impression. Resist pressing too hard, however, as the stamp could become misshapen. Wanting to stamp multiple times in the same spot, or need to stamp more than one transparent stamp at once? There are some handy tools that enable you to do this, such as the StampEasy. This will enable you to make multiple copies of the same card, or line up your various clear stamps for stamping simultaneously. Watch how it works in this video.
Cleaning your stamps
When you have finished stamping, it is important to clean your stamps thoroughly. First, make sure that there is as little ink as possible left on your stamp by continually making impressions until they are barely visible any more. You can then wash your stamps with warm water and some washing-up detergent. This also works well for clear stamps that after a while are no longer adhering properly to the acrylic block.
If you’re wanting to give your stamps a thorough yet gentle clean to extend their lifespan, use a special stamp cleaner spray. There are also stamp cleaning kits with sponges on the inside that will gently but properly clean your stamps.
Bear in mind that many inks can permanently stain your stamp. This will not affect the stamp itself: it will simply no longer look like new.Crafting guru himself, Tim Holtz, simply uses water and a cotton cloth or damp towel. Never use toilet roll or kitchen paper, as these will leave fibres behind on your stamp.
Stamping: learn through experimentation
The best way to master stamping and develop your own style is to experiment. Try working with different types of ink, various paper structures and types of stamps. Combine colours and techniques - the possibilities are endless!


