Create organisers for the Nellie’s Choice Bullet Journal
Create organisers for the Nellie’s Choice Bullet Journal
With Nellie's Choice Bullet Journal dies, you can easily create beautiful and functional pages for your journal. This DIY guide provides two different options for making pages with storage pockets for your decorations, labels, and more!
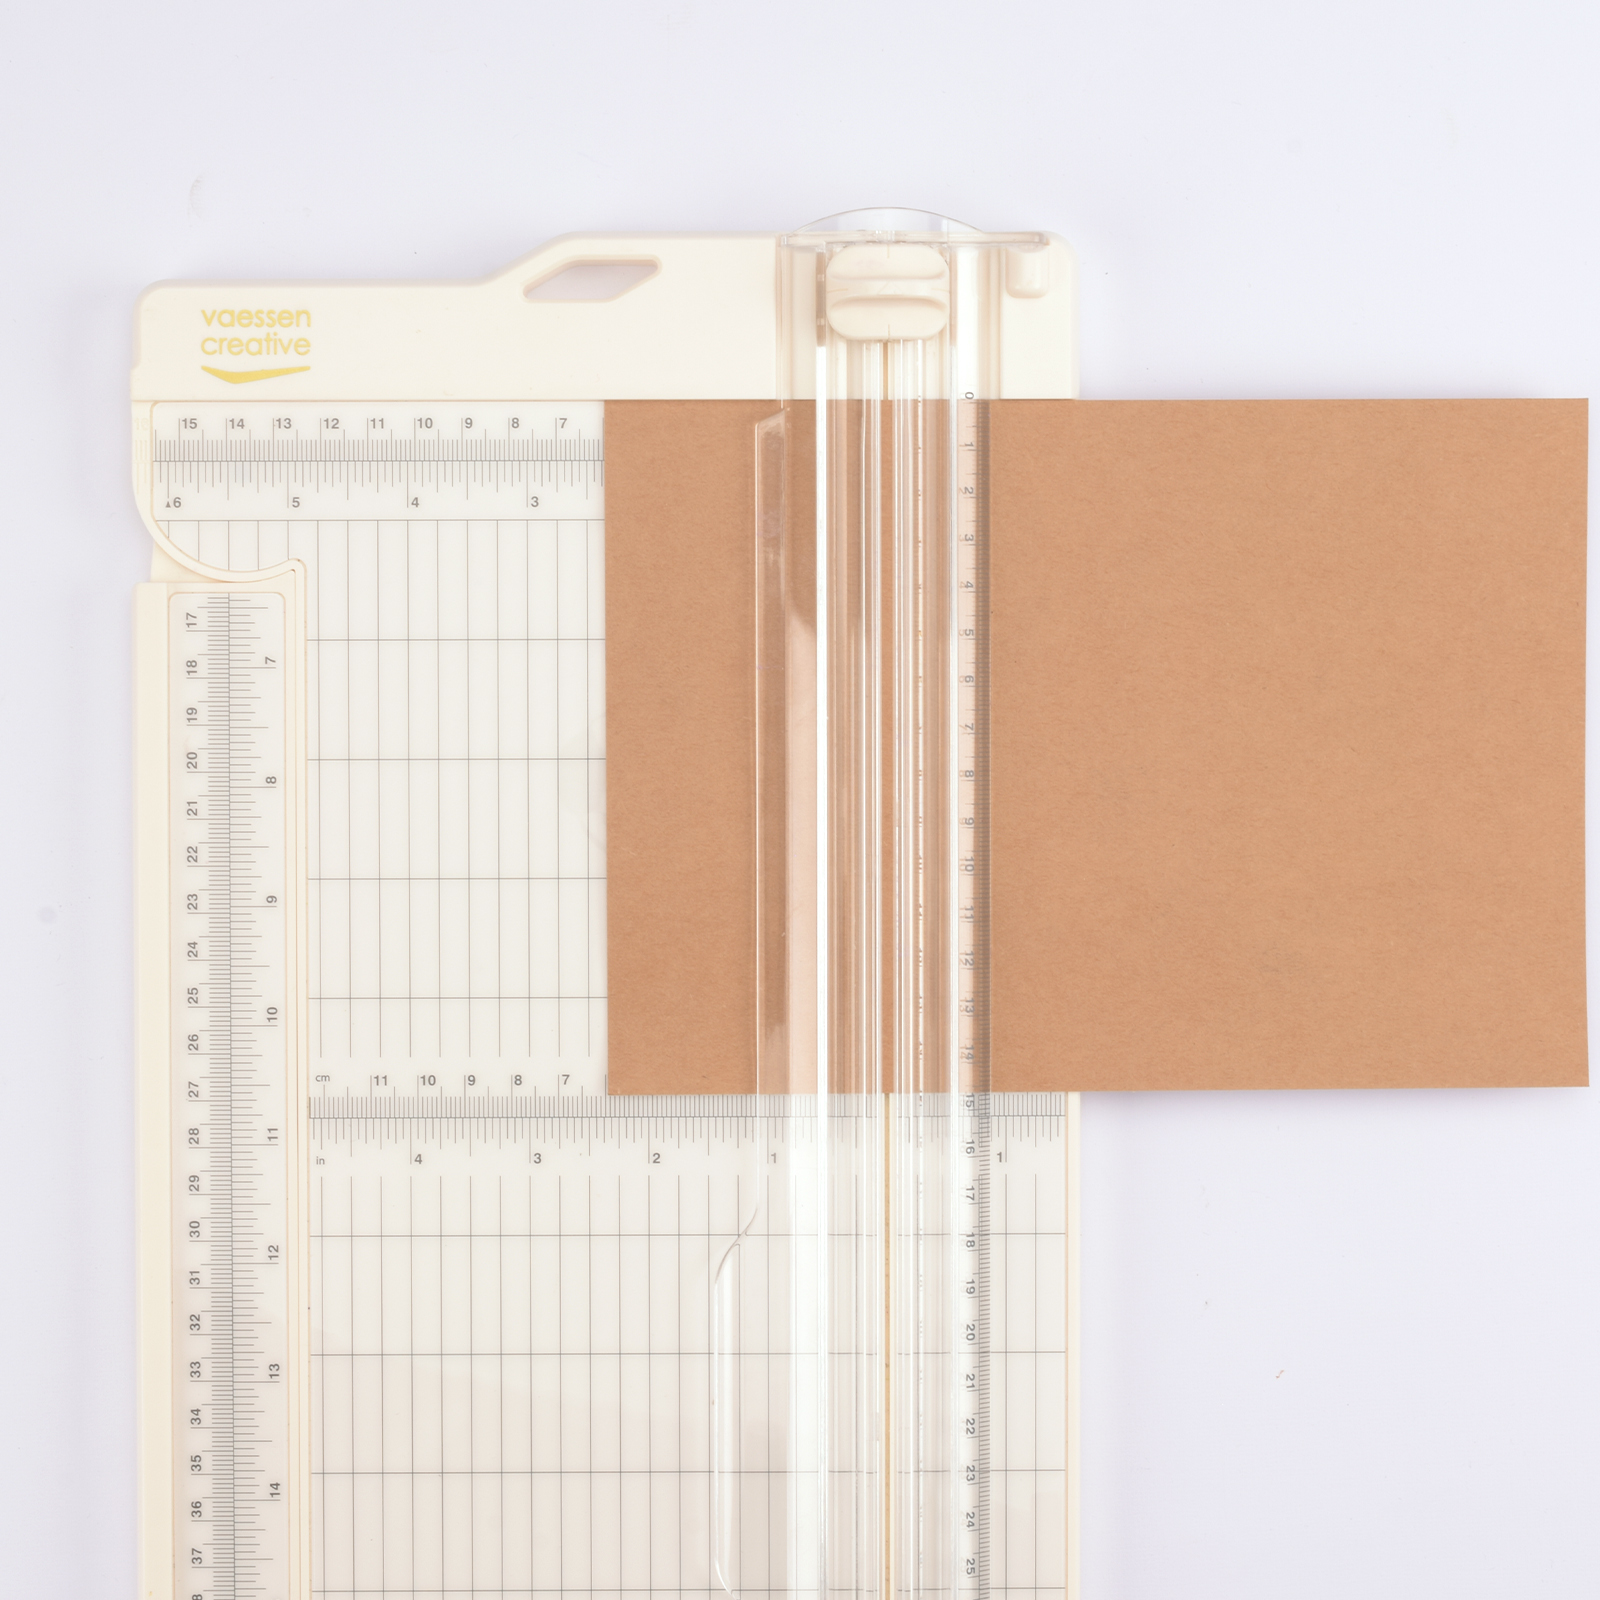
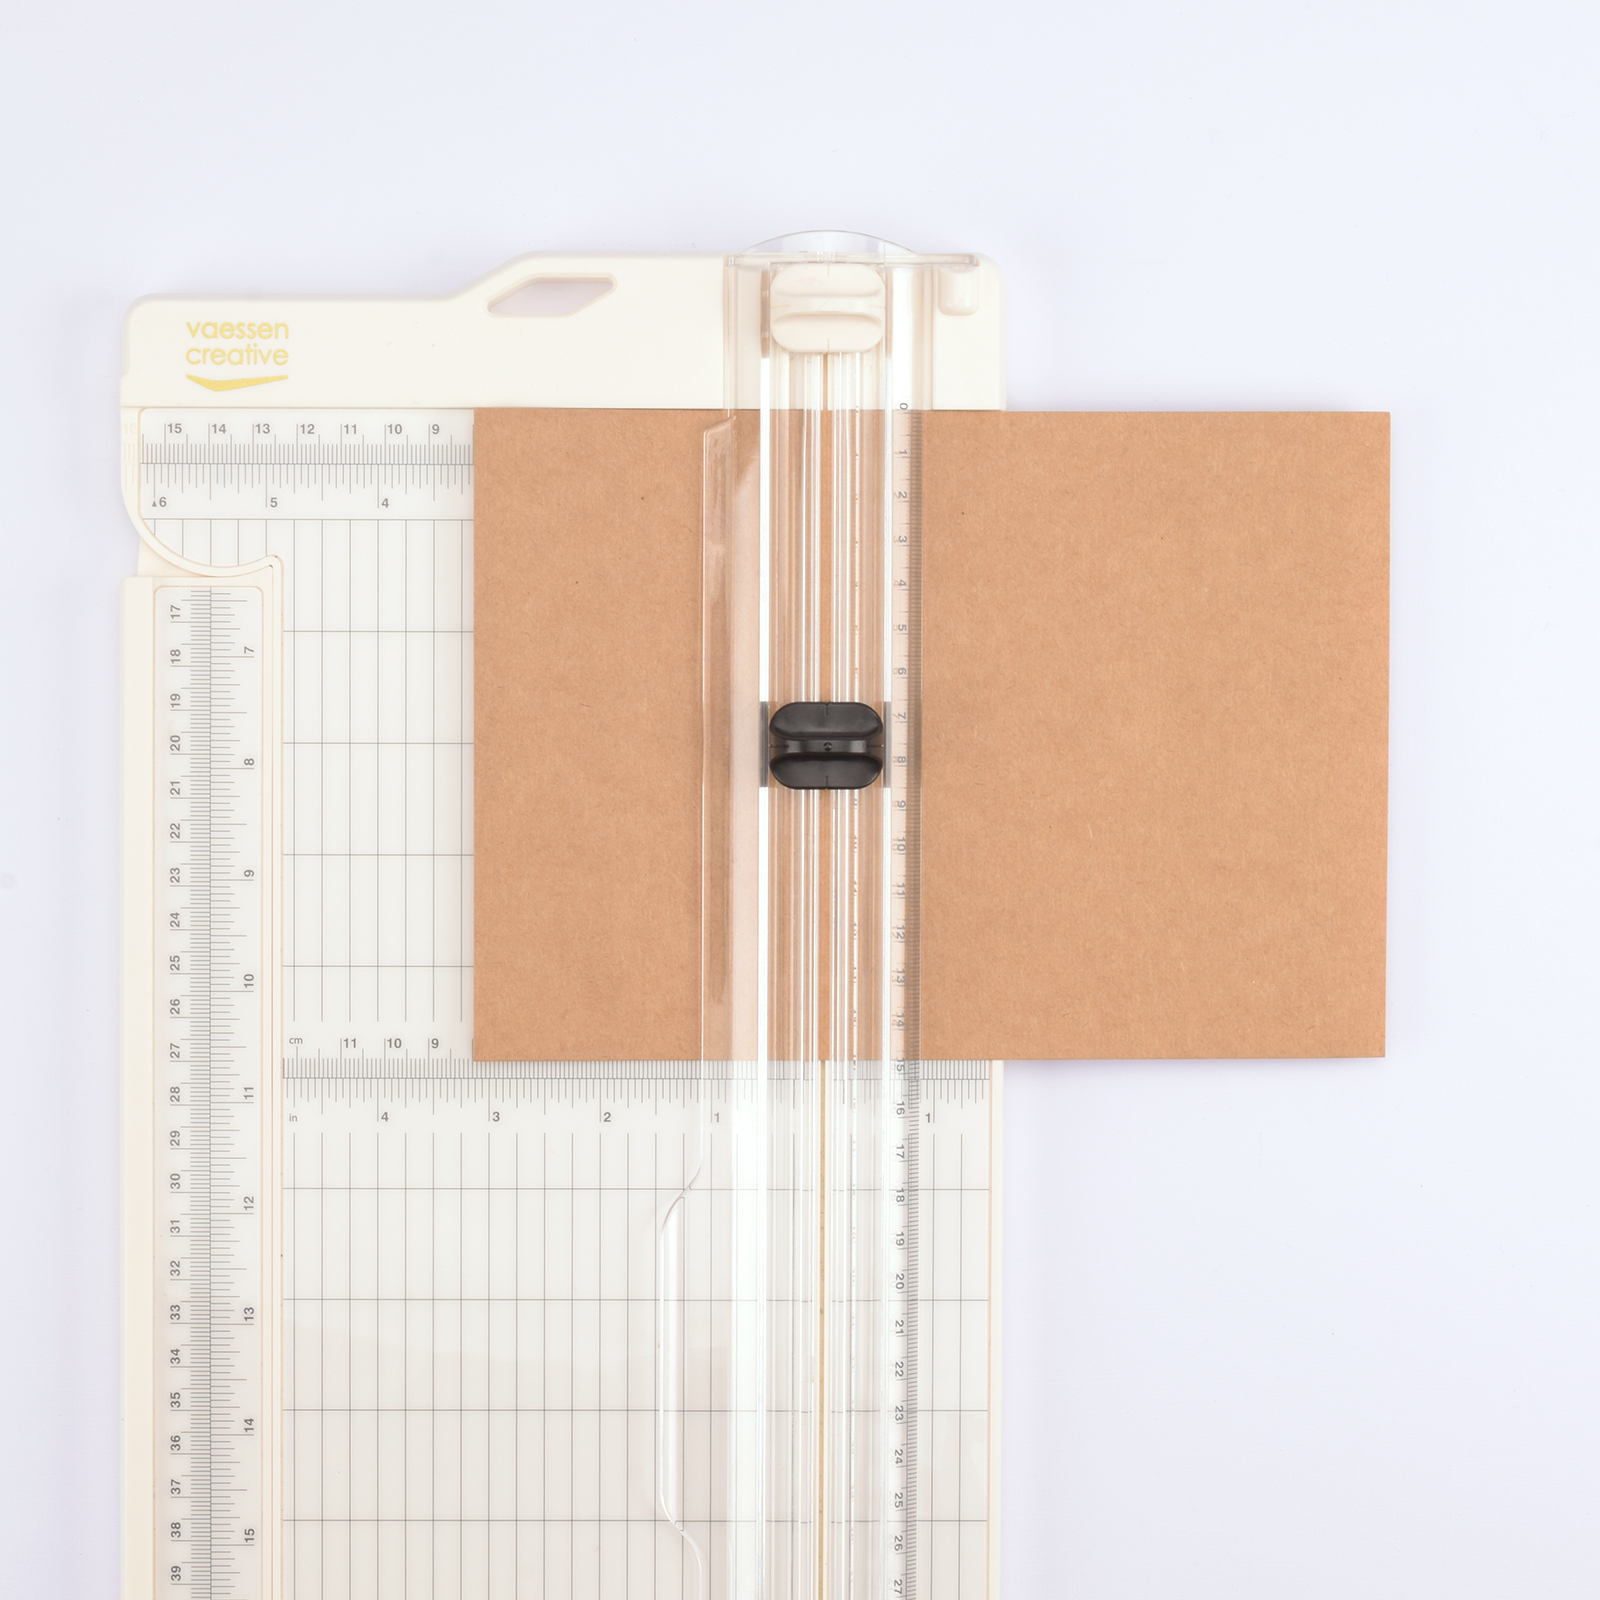
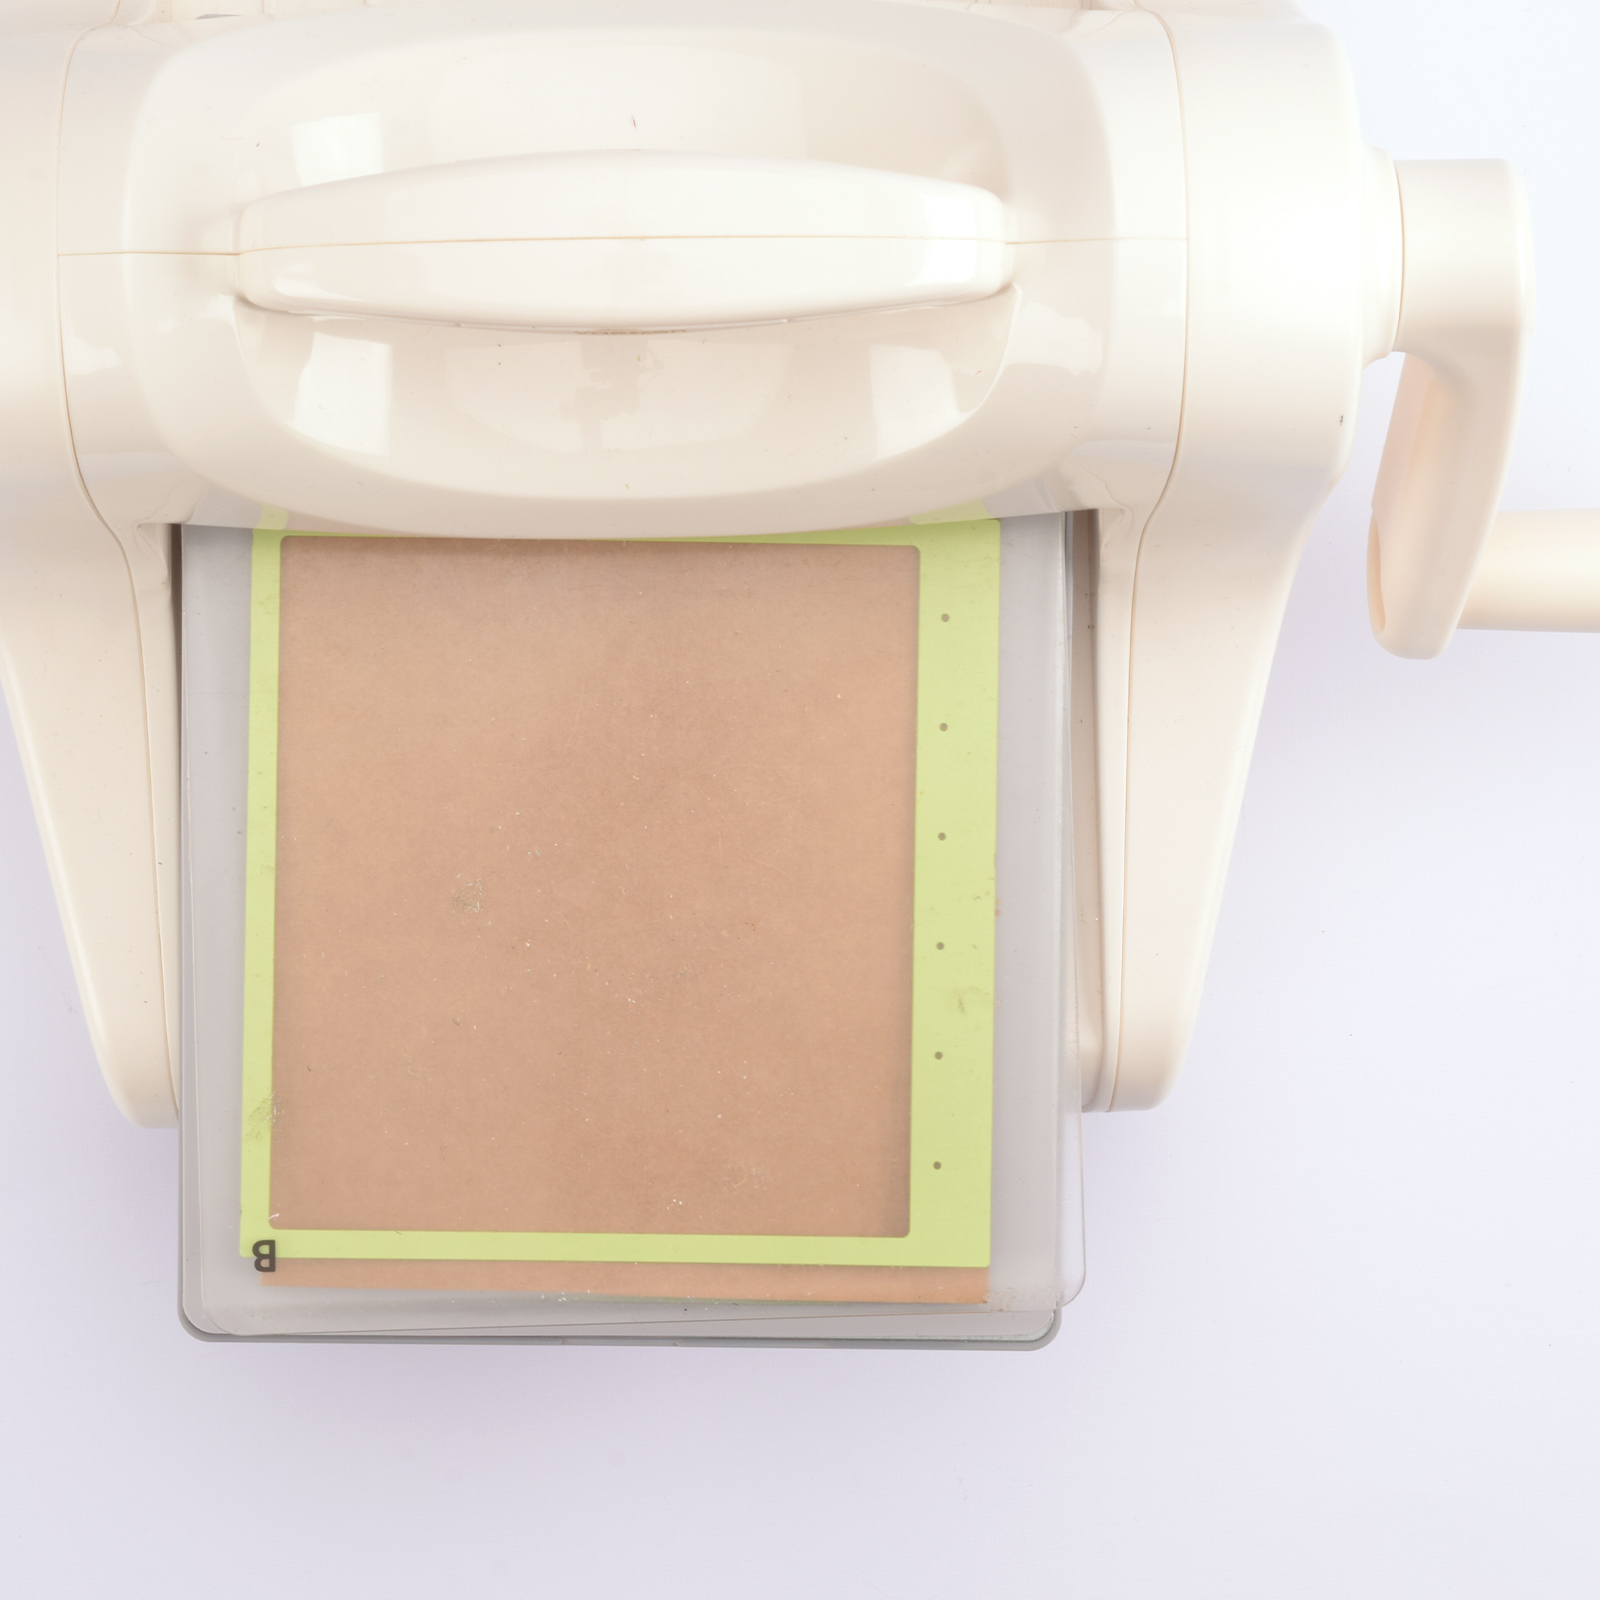
Take the Nellie’s Choice Bullet Journal dies and use the largest die to cut a sheet of Love-It kraft paper to fit perfectly in your bullet journal.
2
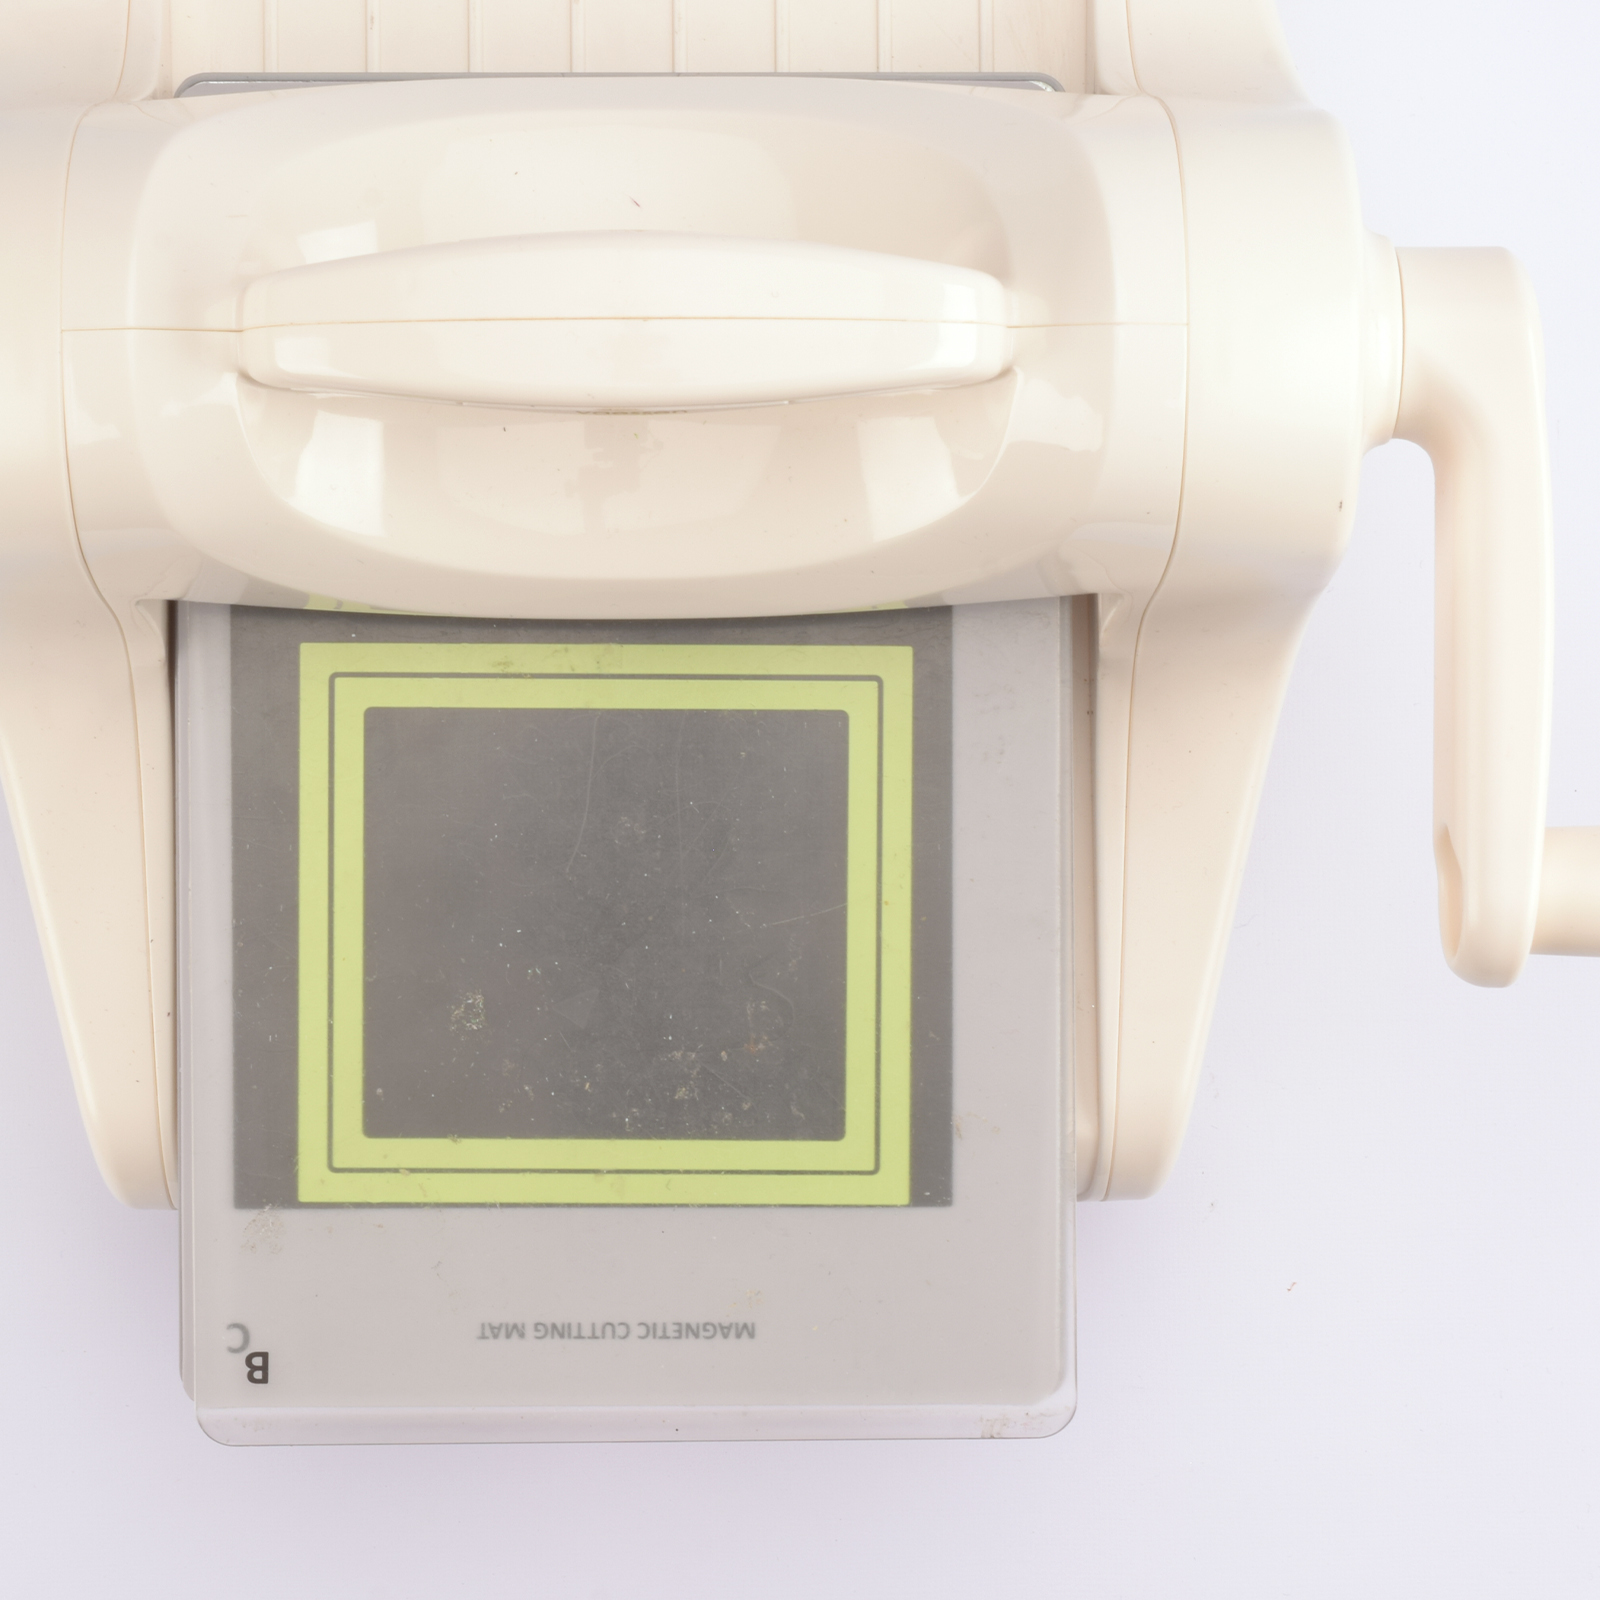
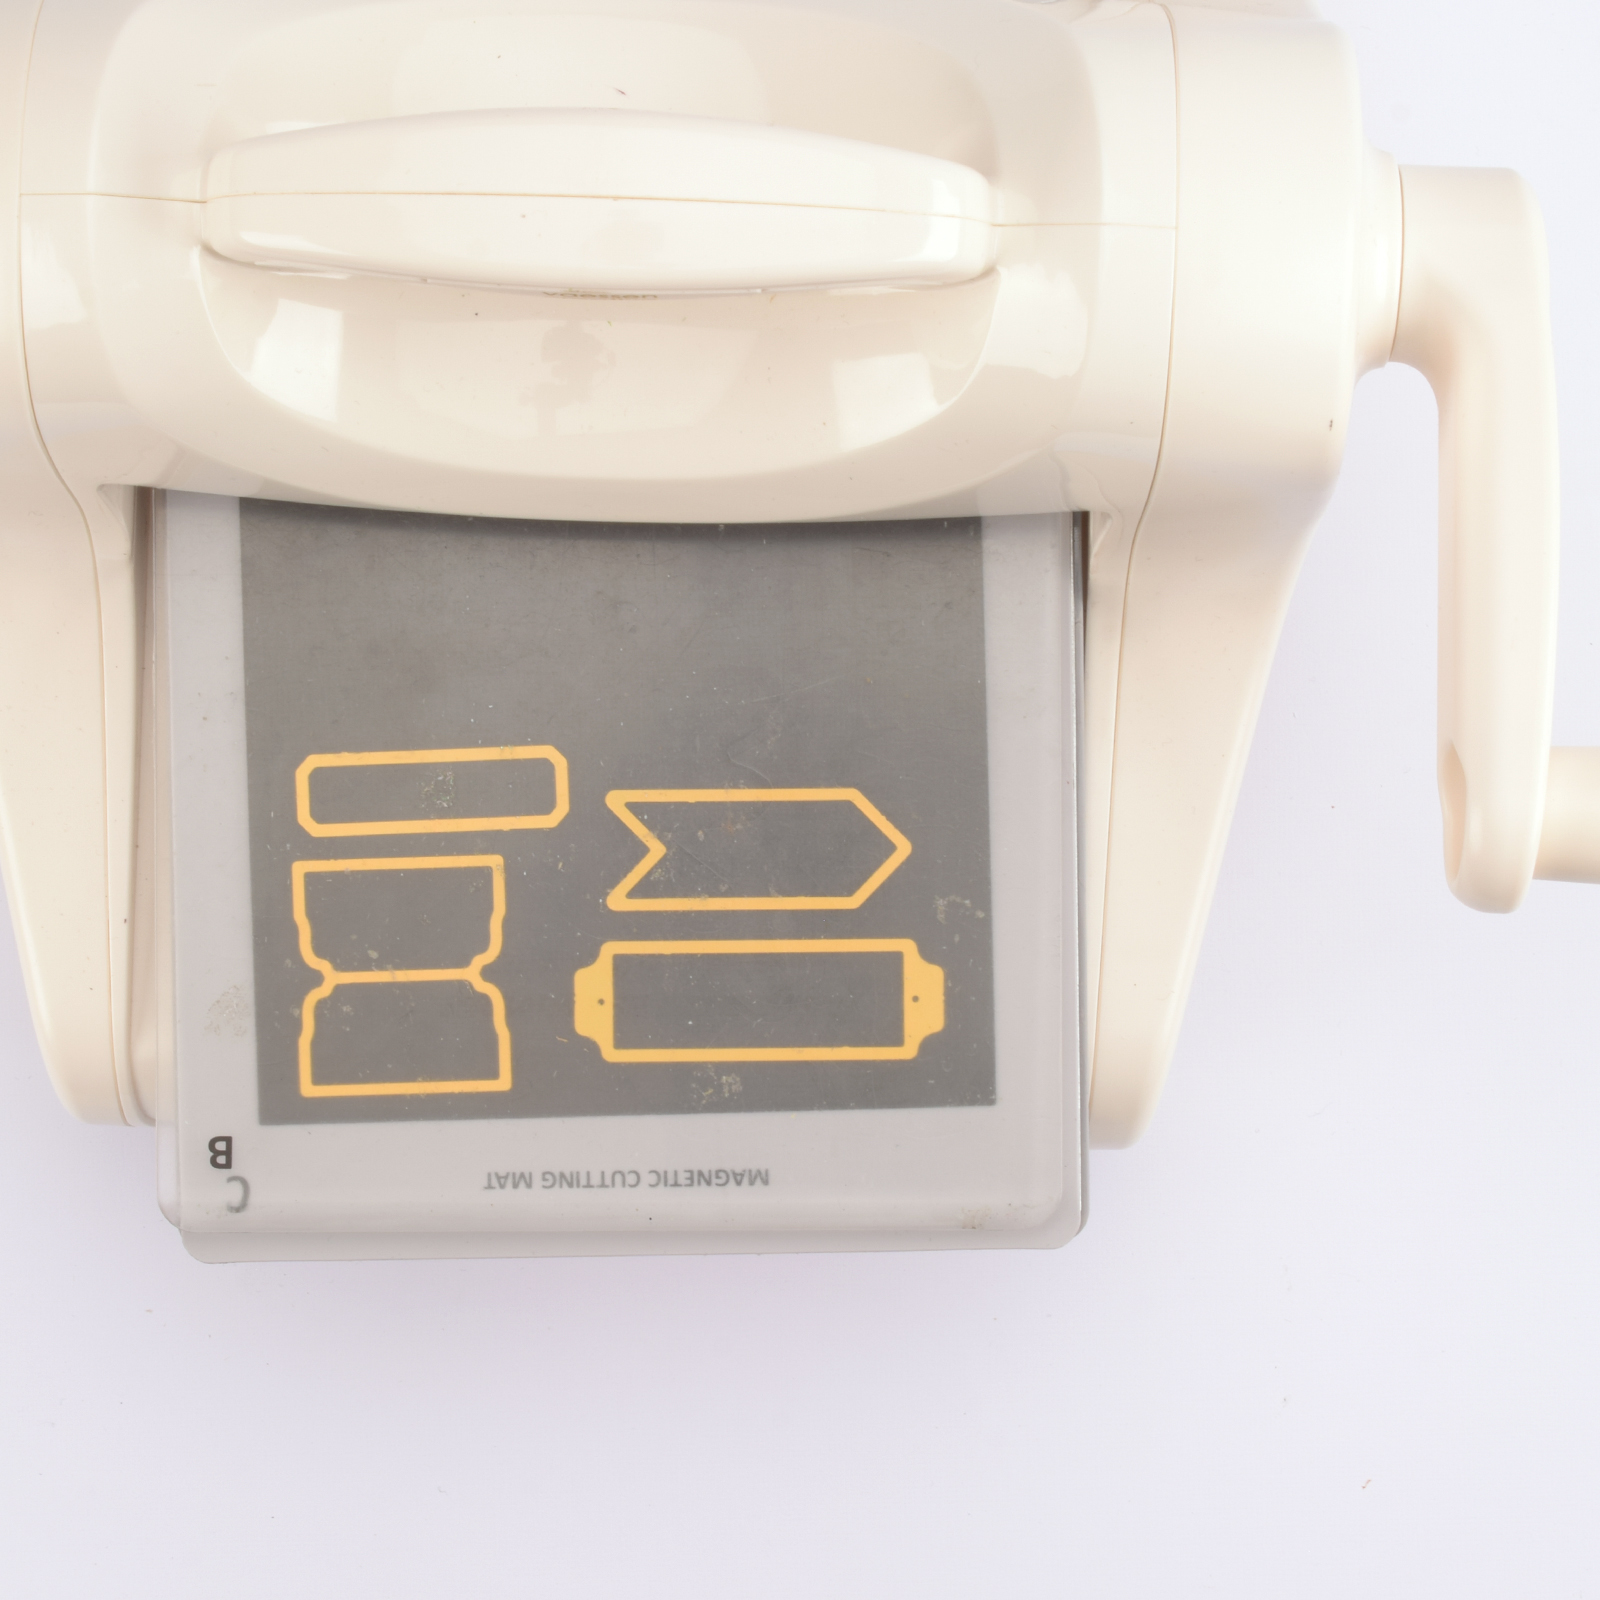
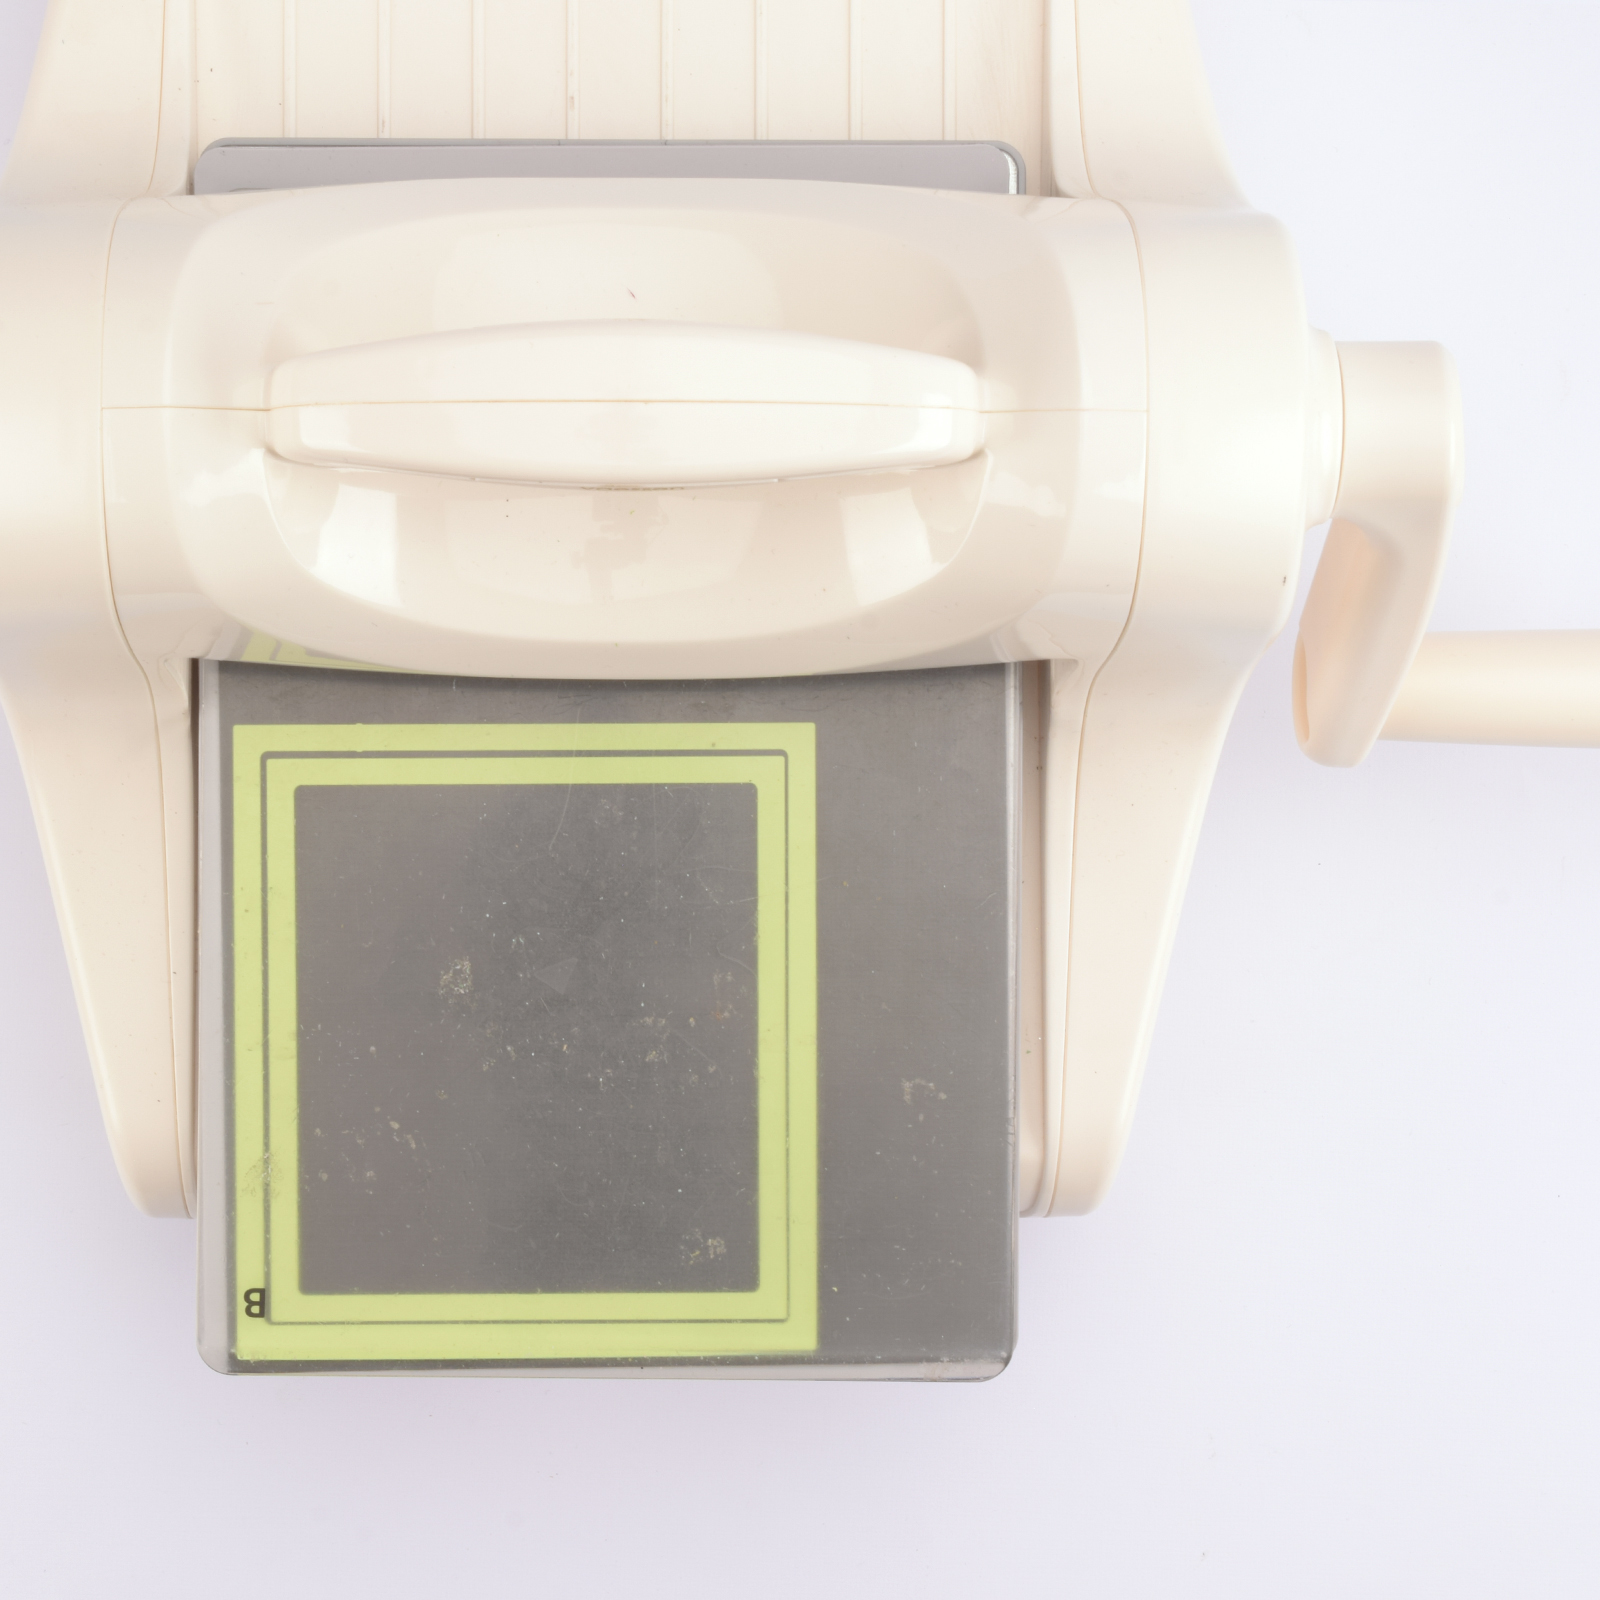
Next, use the third and fourth largest dies. Place them together on a sheet of black cardstock to cut a black frame with the die-cutting machine.
3
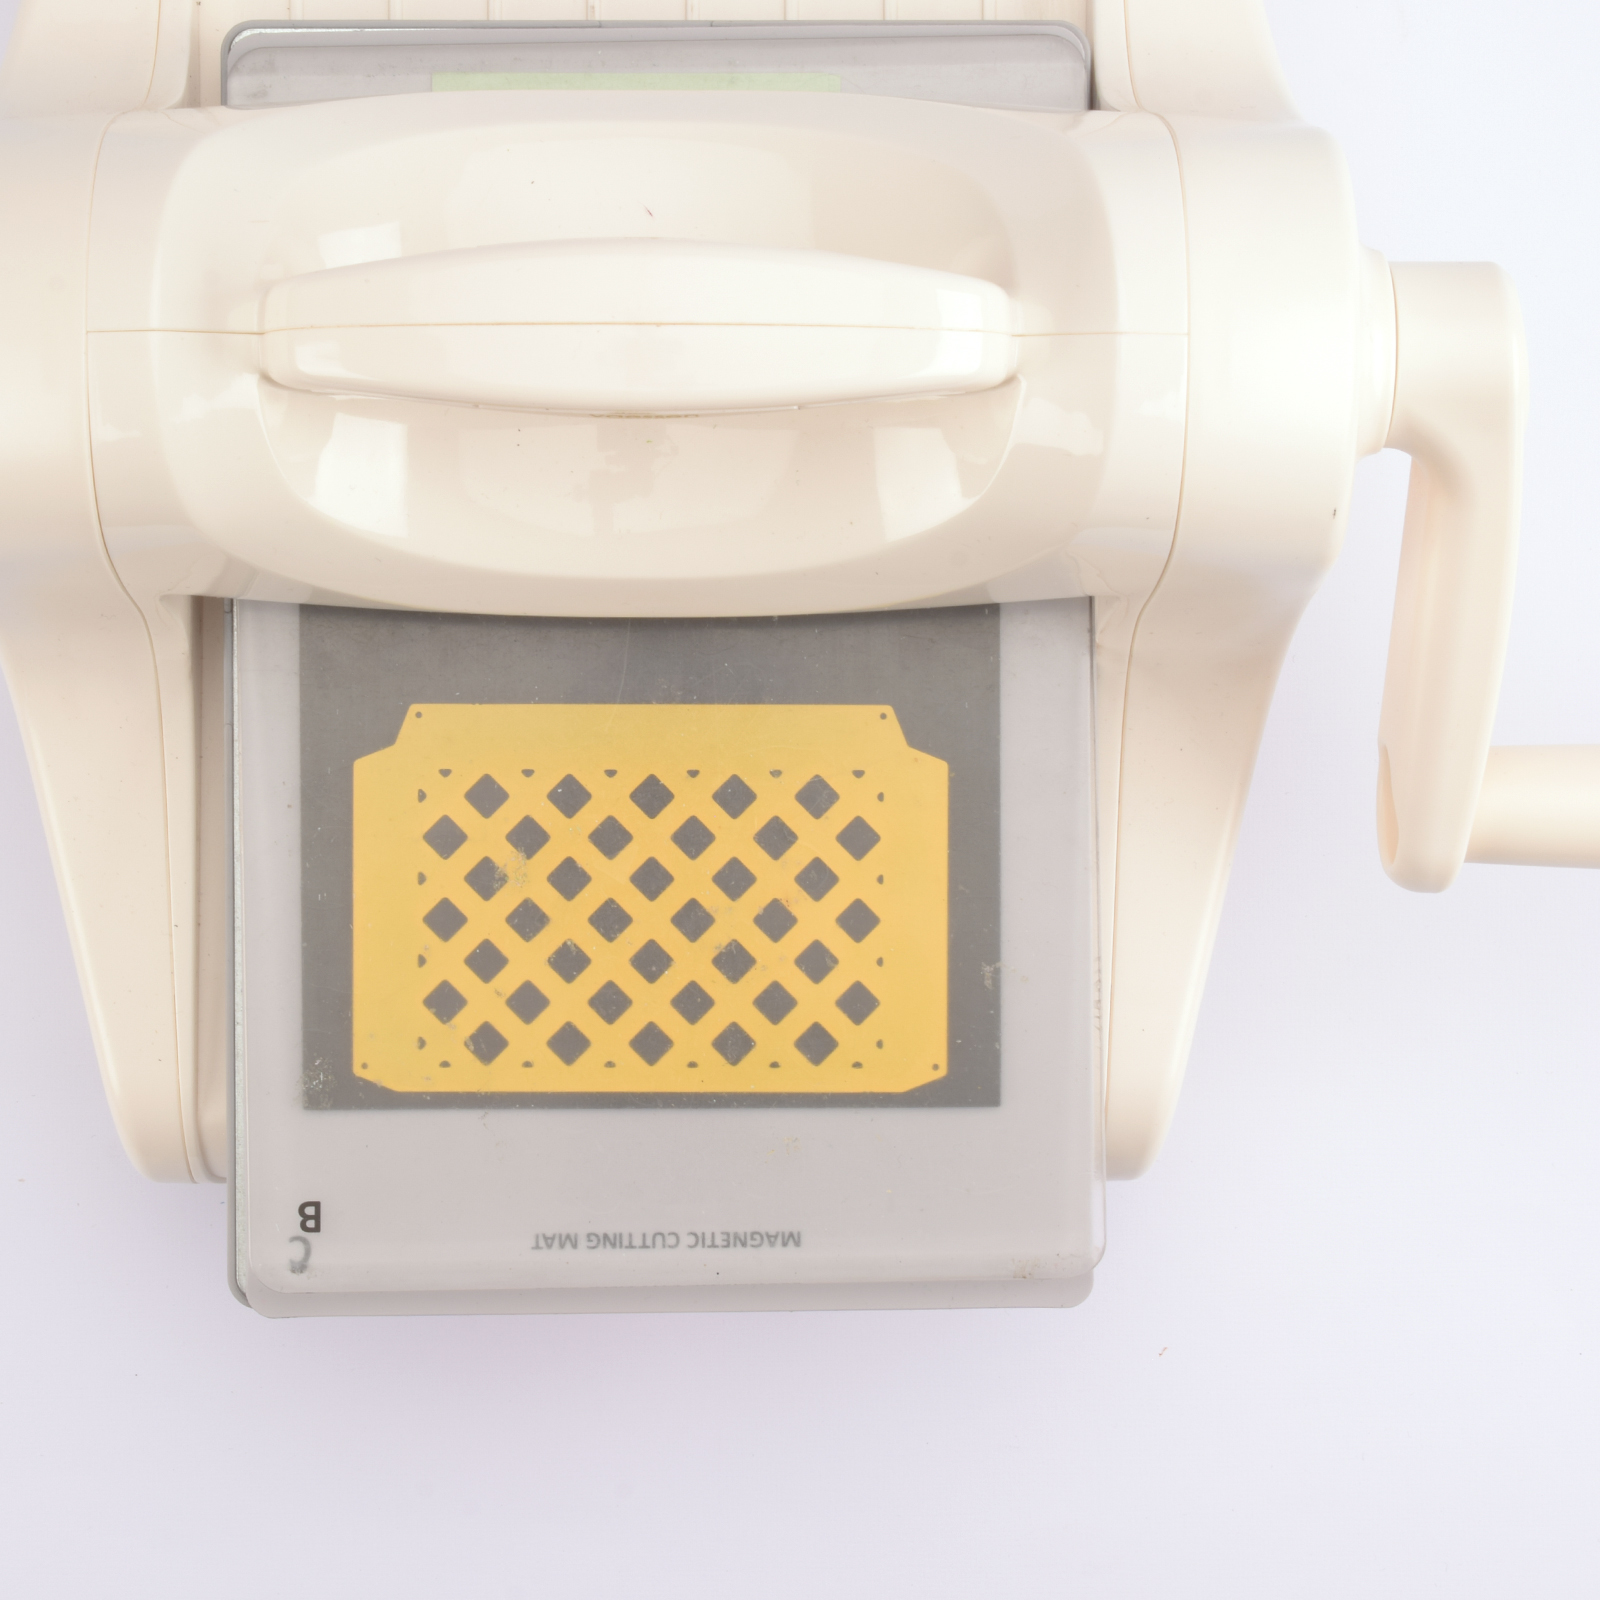
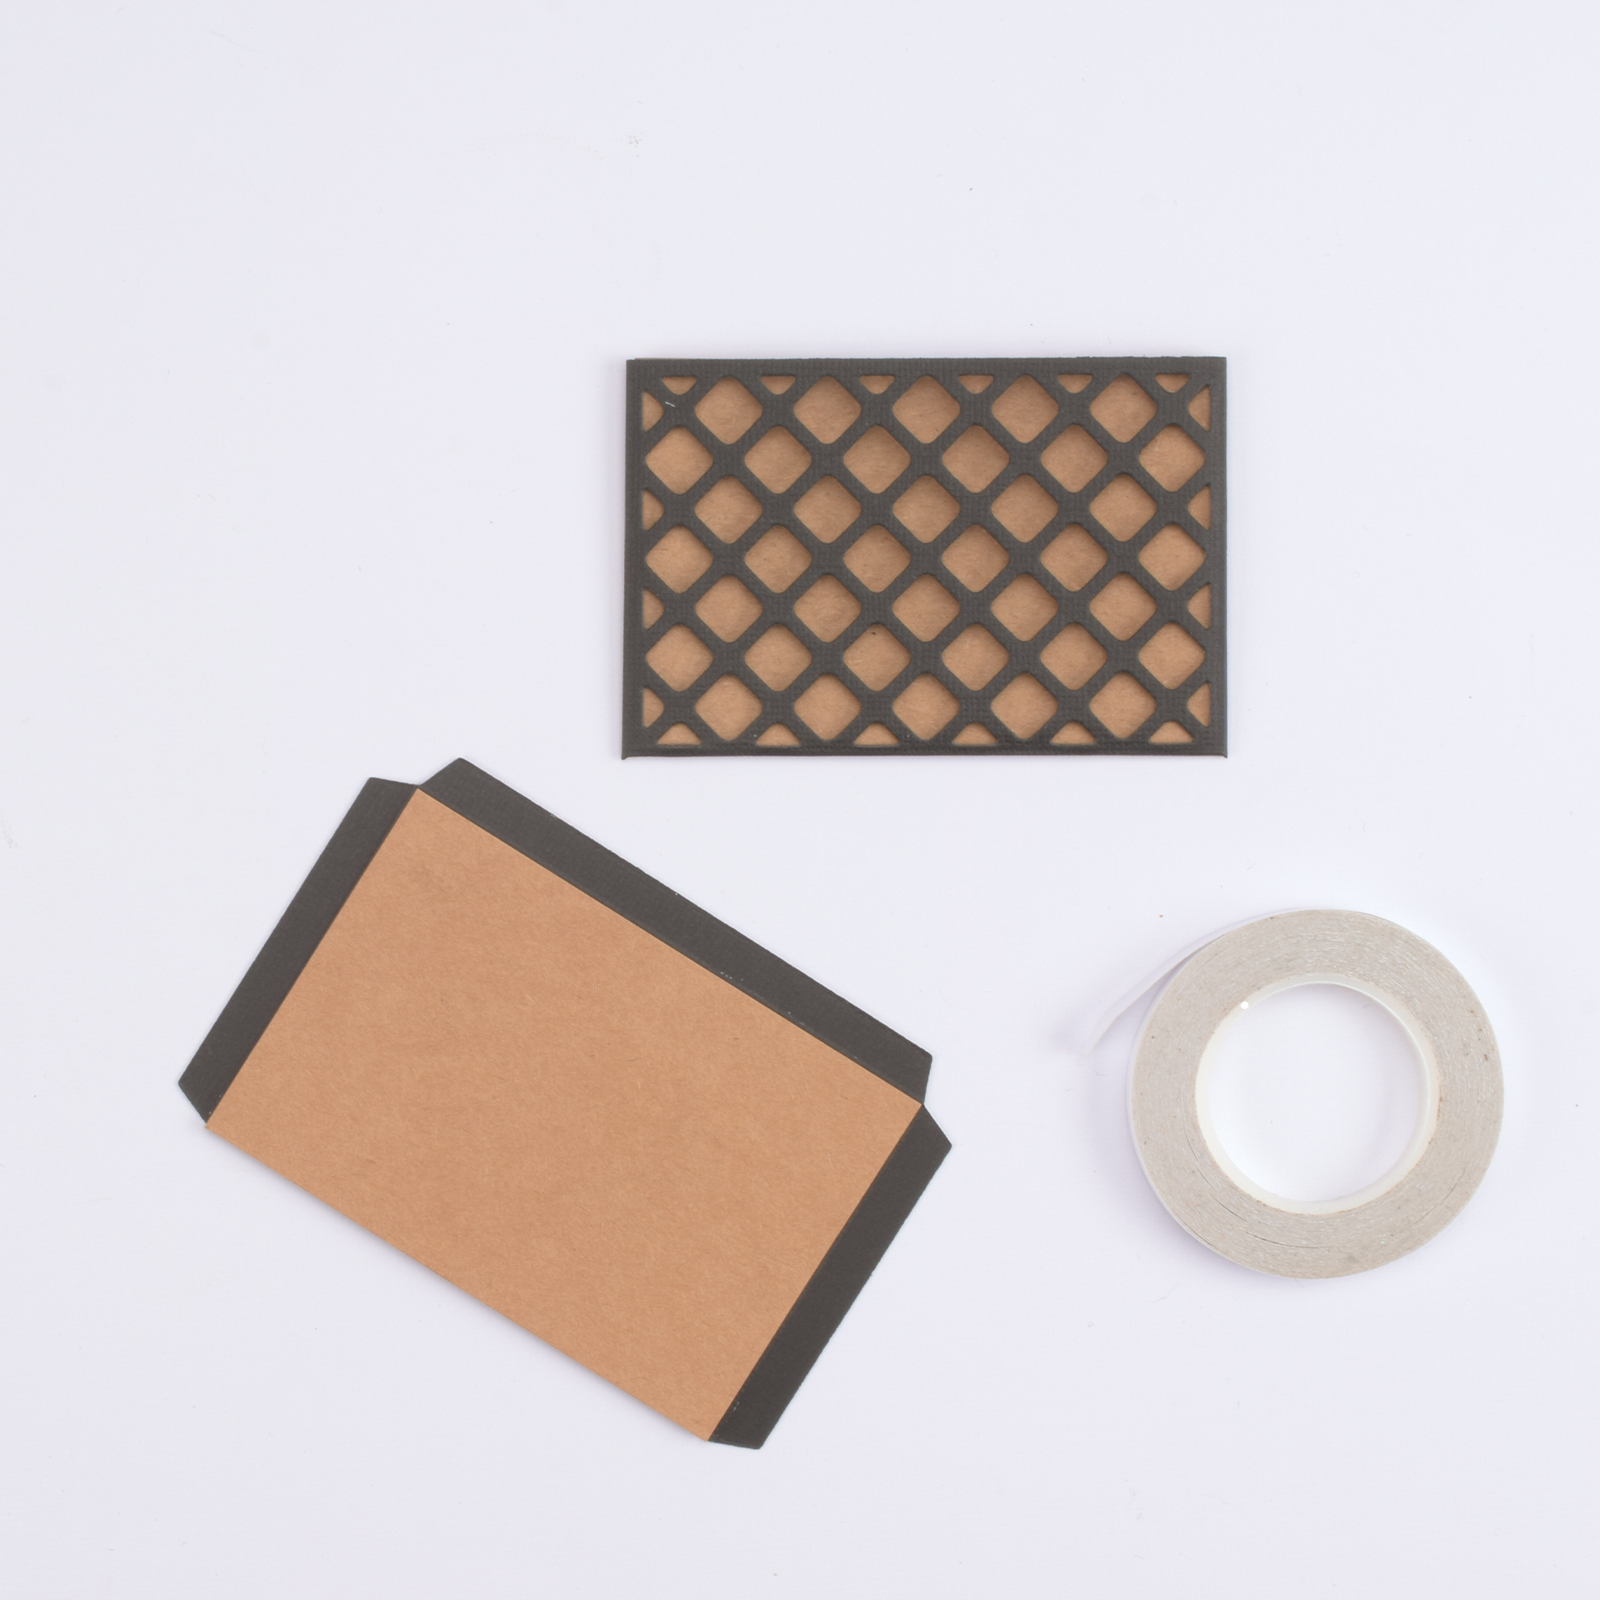
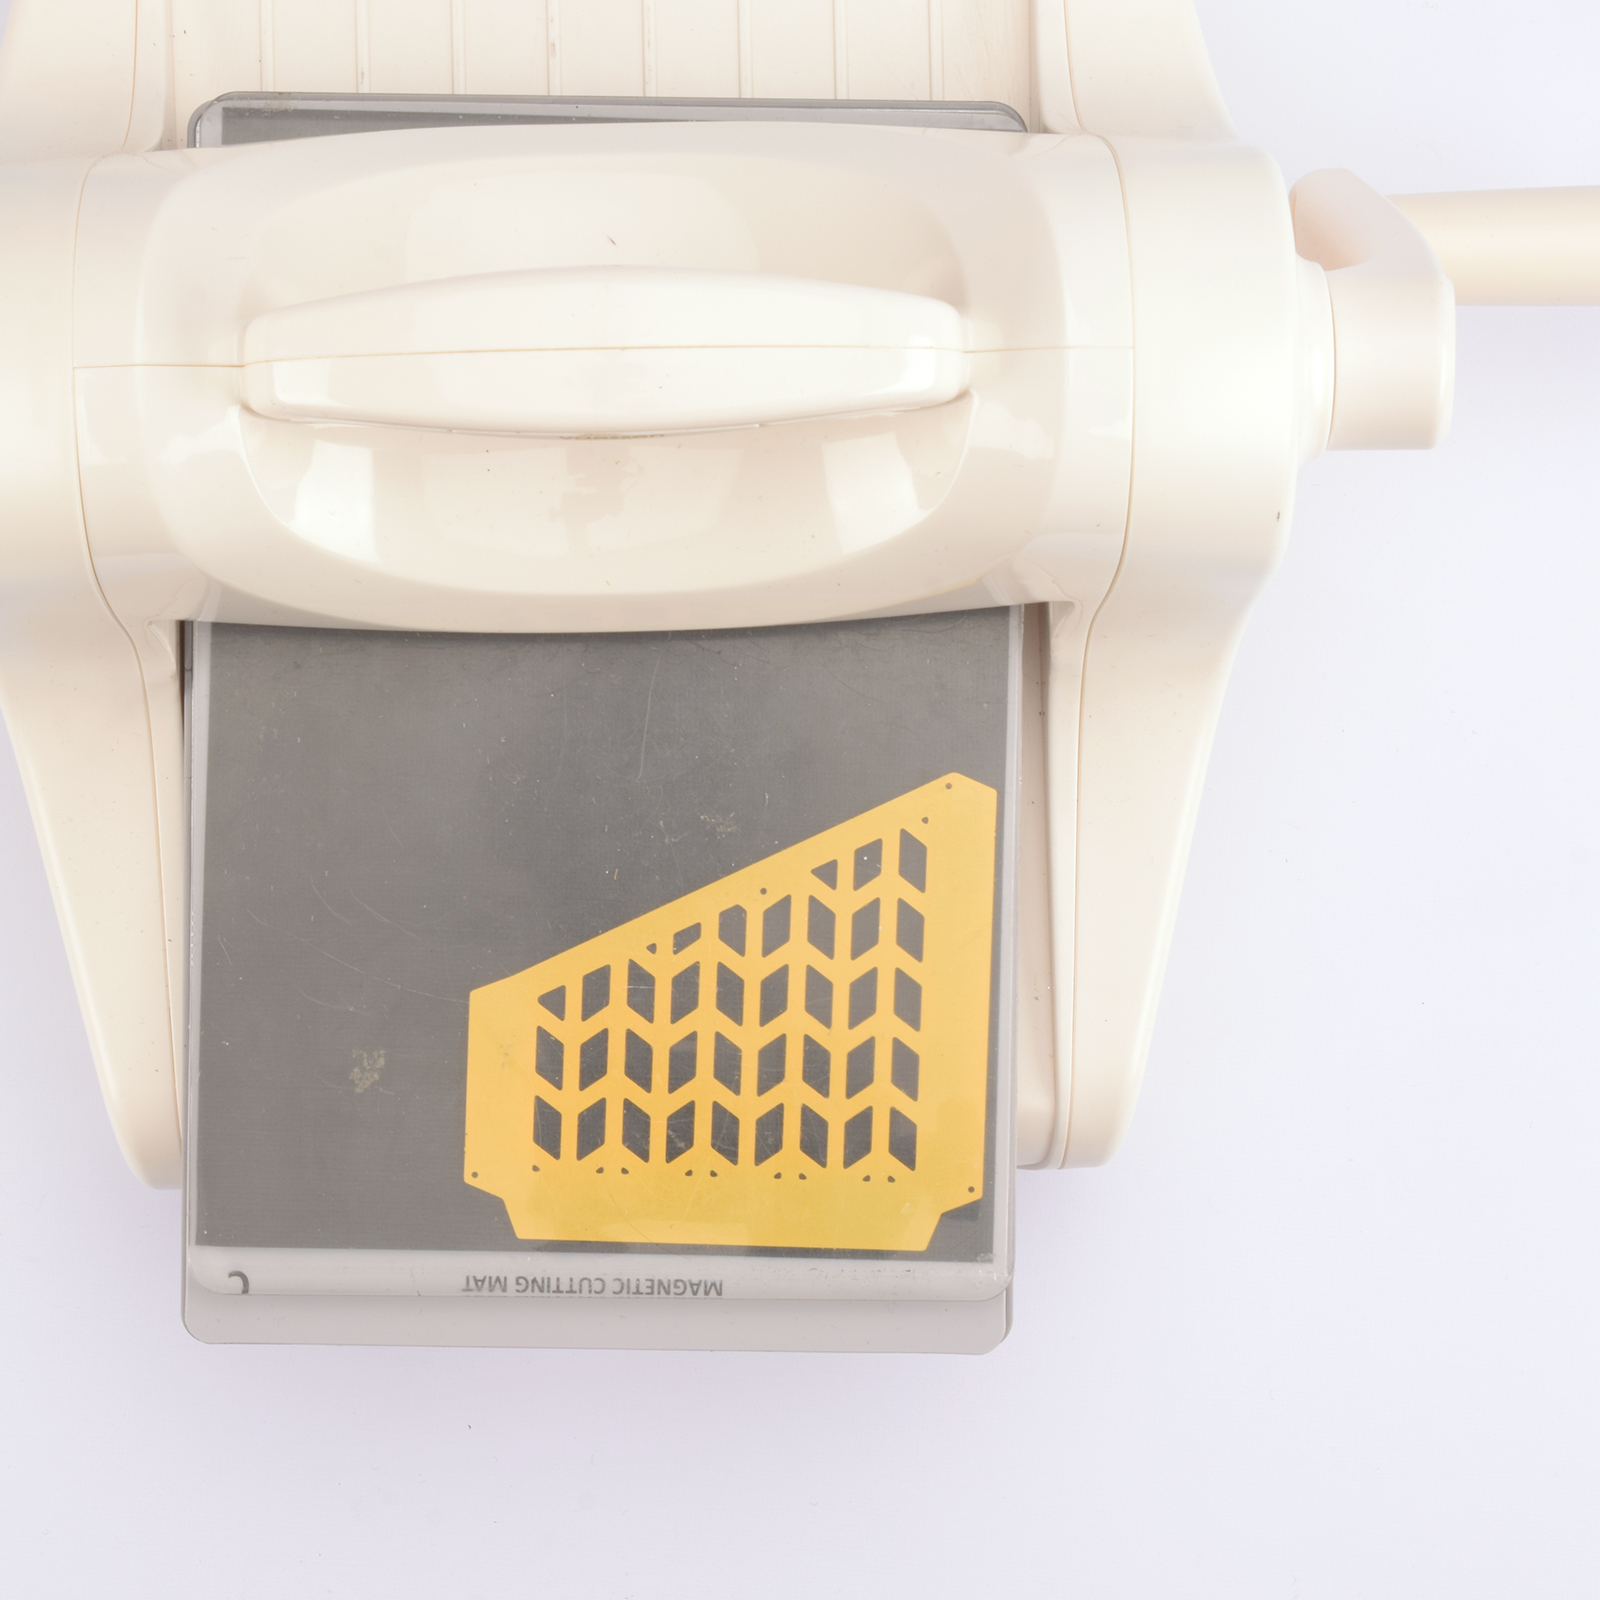
Place the pocket die on a sheet of black cardstock and run it through the die-cutting machine. Carefully remove any excess pieces of paper. Repeat this step twice.
4
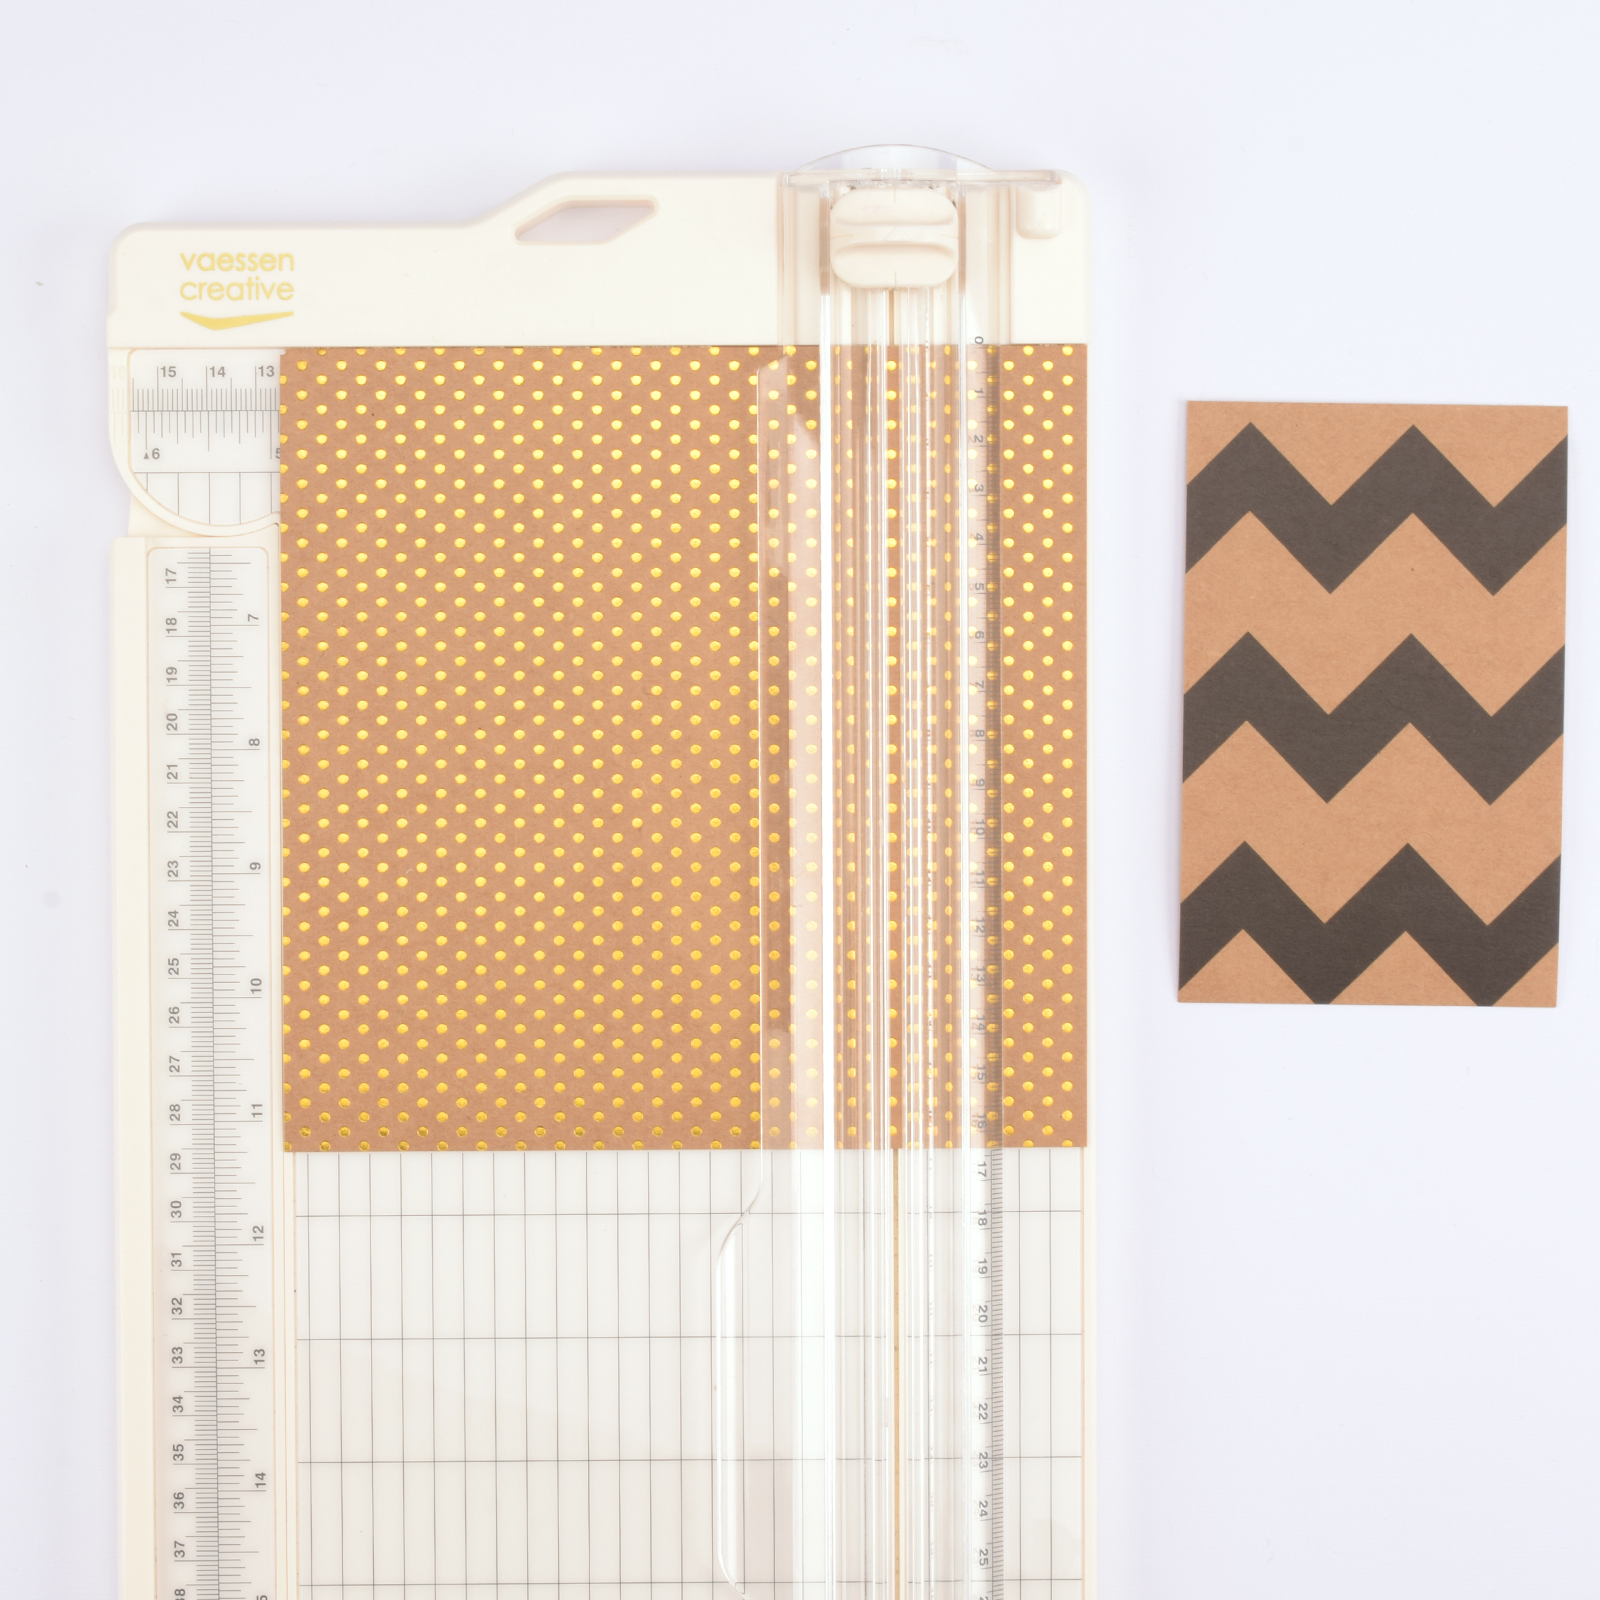
Cut two pieces of kraft paper to 8.8 x 5.8 cm.
5
Place a cut piece of kraft paper on the back of a die-cut pocket. Fold the edges and secure them with double-sided tape. Repeat to make two storage pockets.
6
Use the die-cutting machine to cut various tabs and tickets from paper of your choice. These can be stored in the pockets later.
7
Attach all the components to the base sheet for the bullet journal.
8
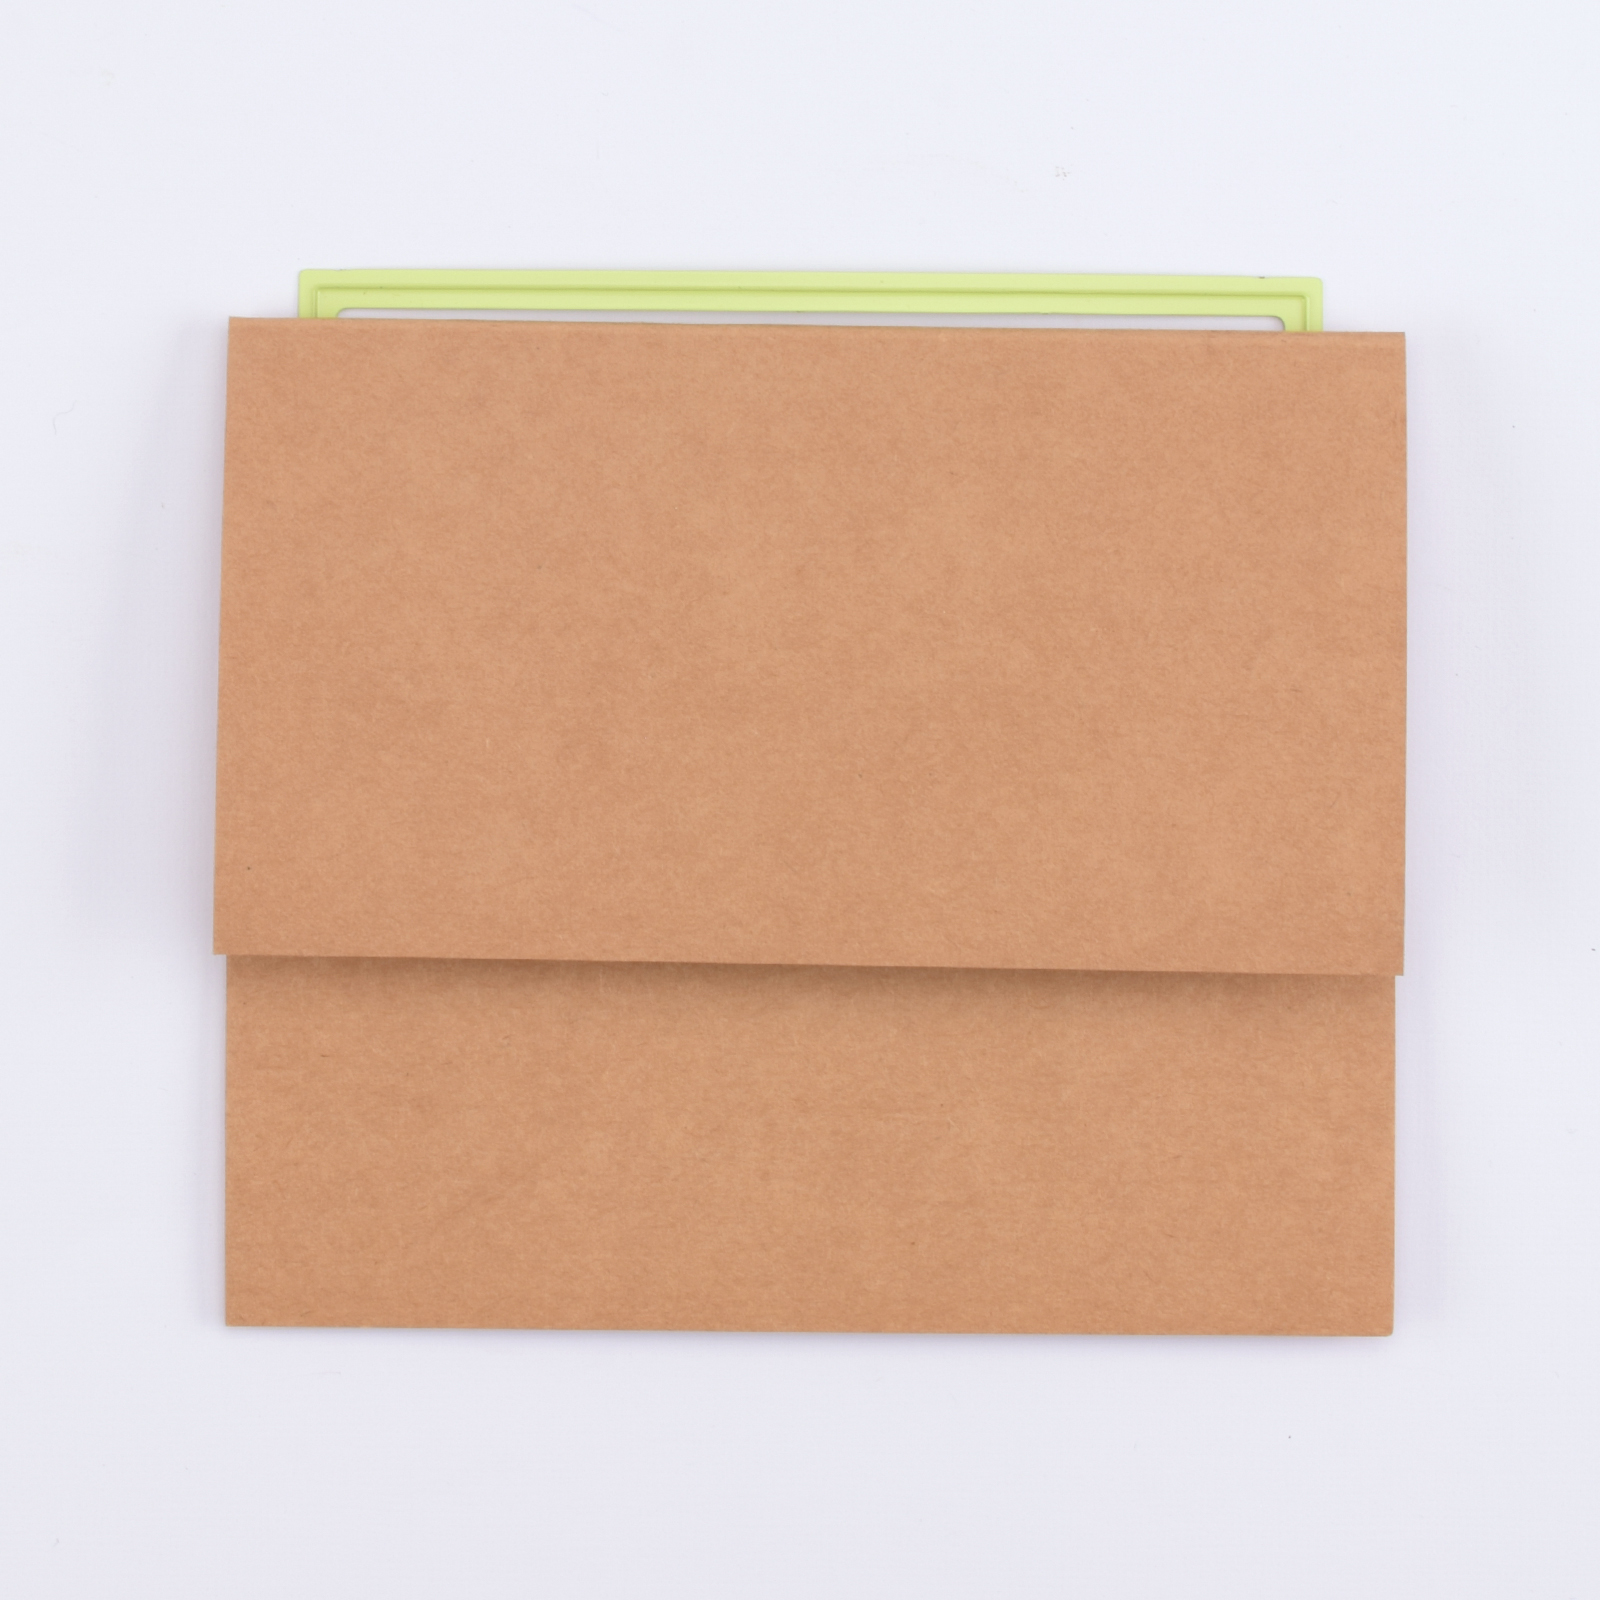
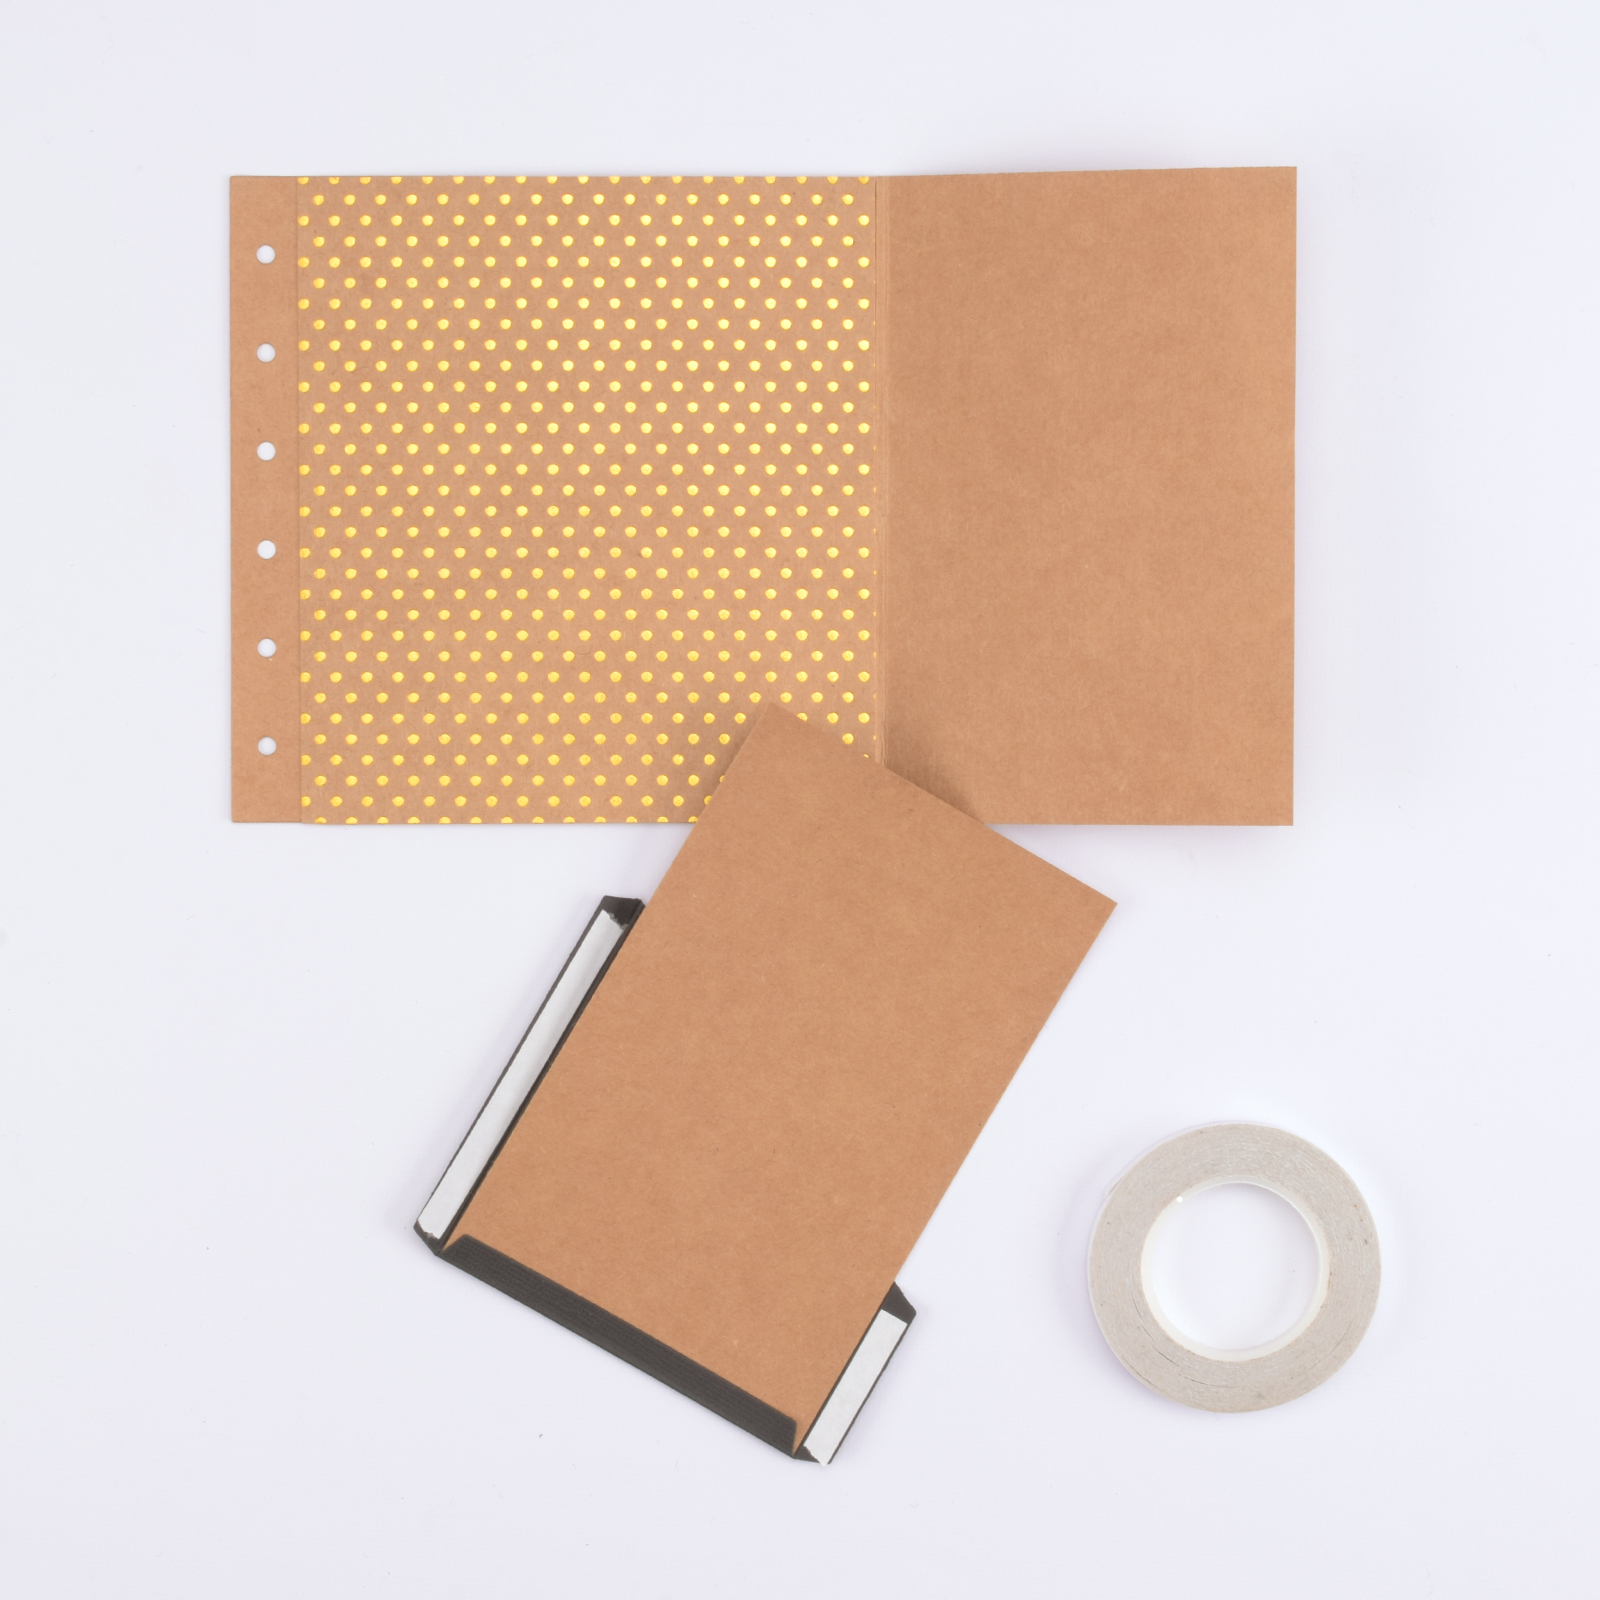
Cut a sheet of kraft paper to A5 size. Score it at 8 and 8.2 cm.
9
Take the page die again. Fold the flap of the paper and place it on the die so the scoreline is just outside the die's cutting edge.
10
Run this through the die-cutting machine.
11
Cut a piece of Love-It paper to 7.9 x 12.5 cm and another piece to 11.2 x 12.5 cm.
12
Take a sheet of black cardstock and the angled pocket die, and run it through the die-cutting machine.
13
Take the die-cut pocket and the small piece of die-cut paper, layer them, fold the flaps, and secure with double-sided tape. Attach these, along with the other piece, to the inside of the organiser.
14
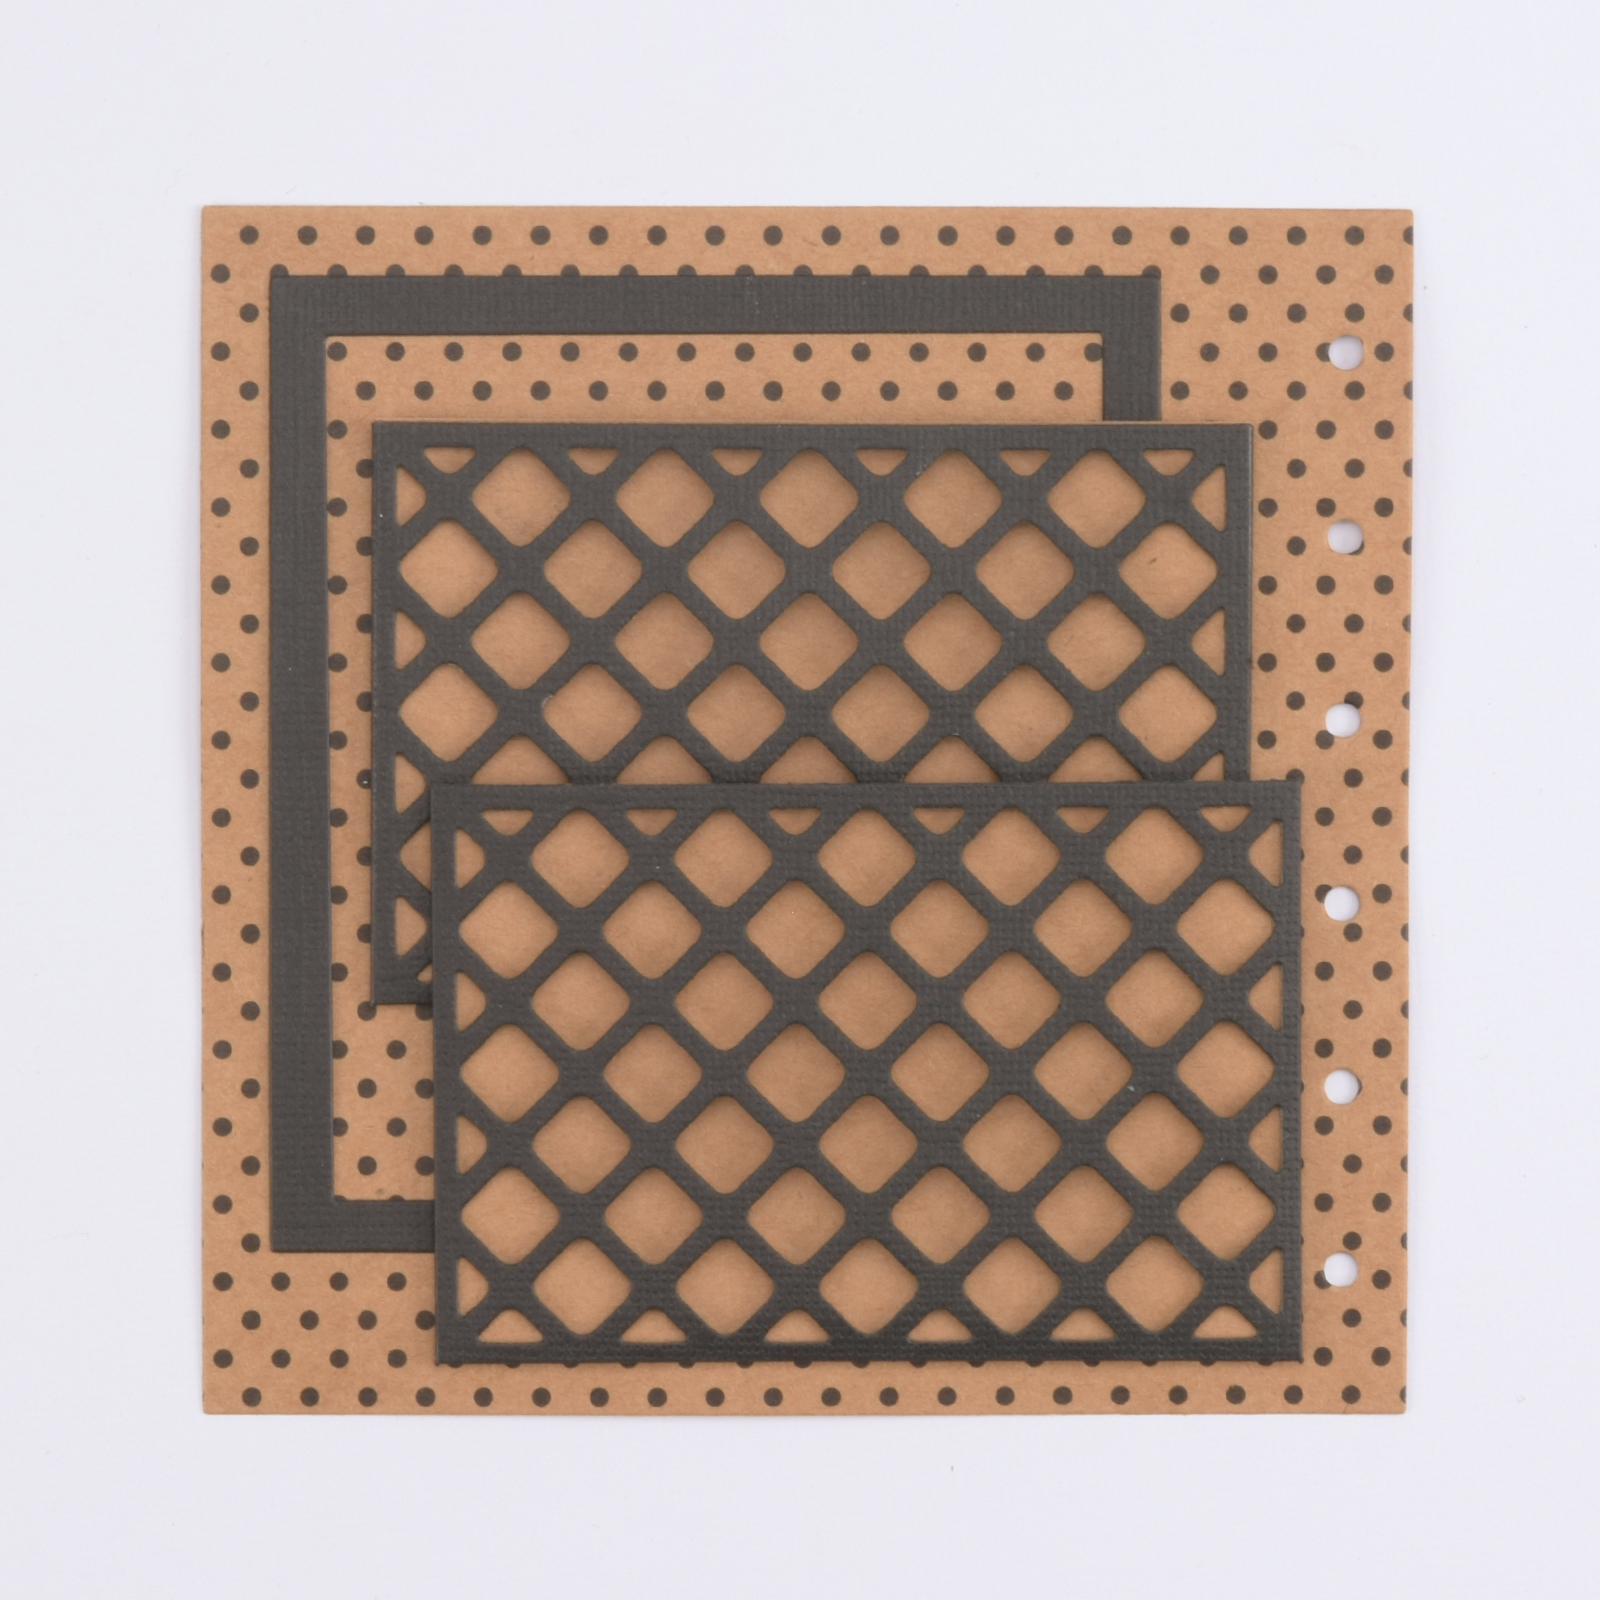
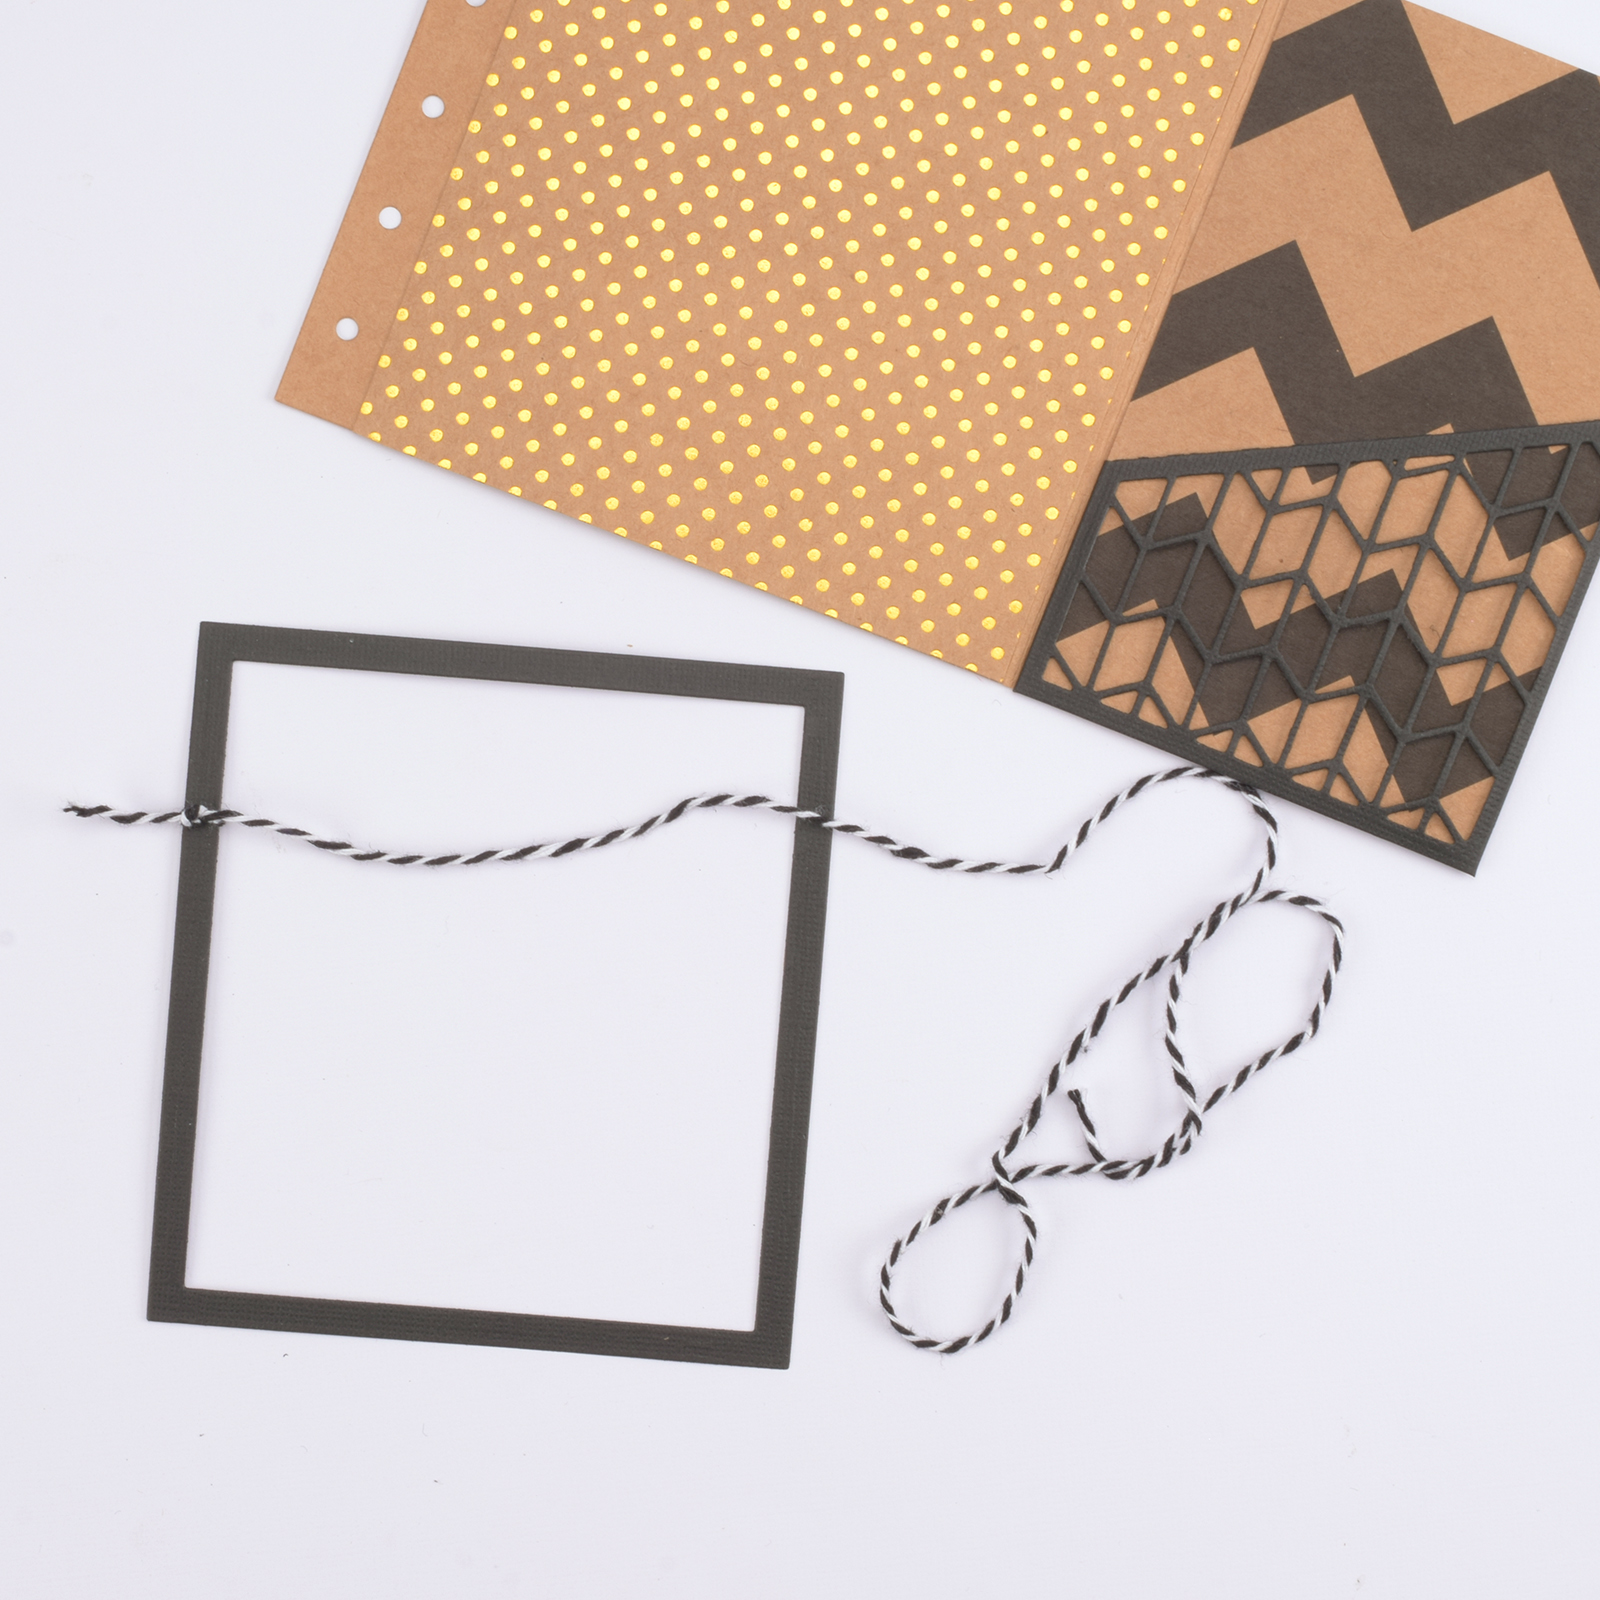
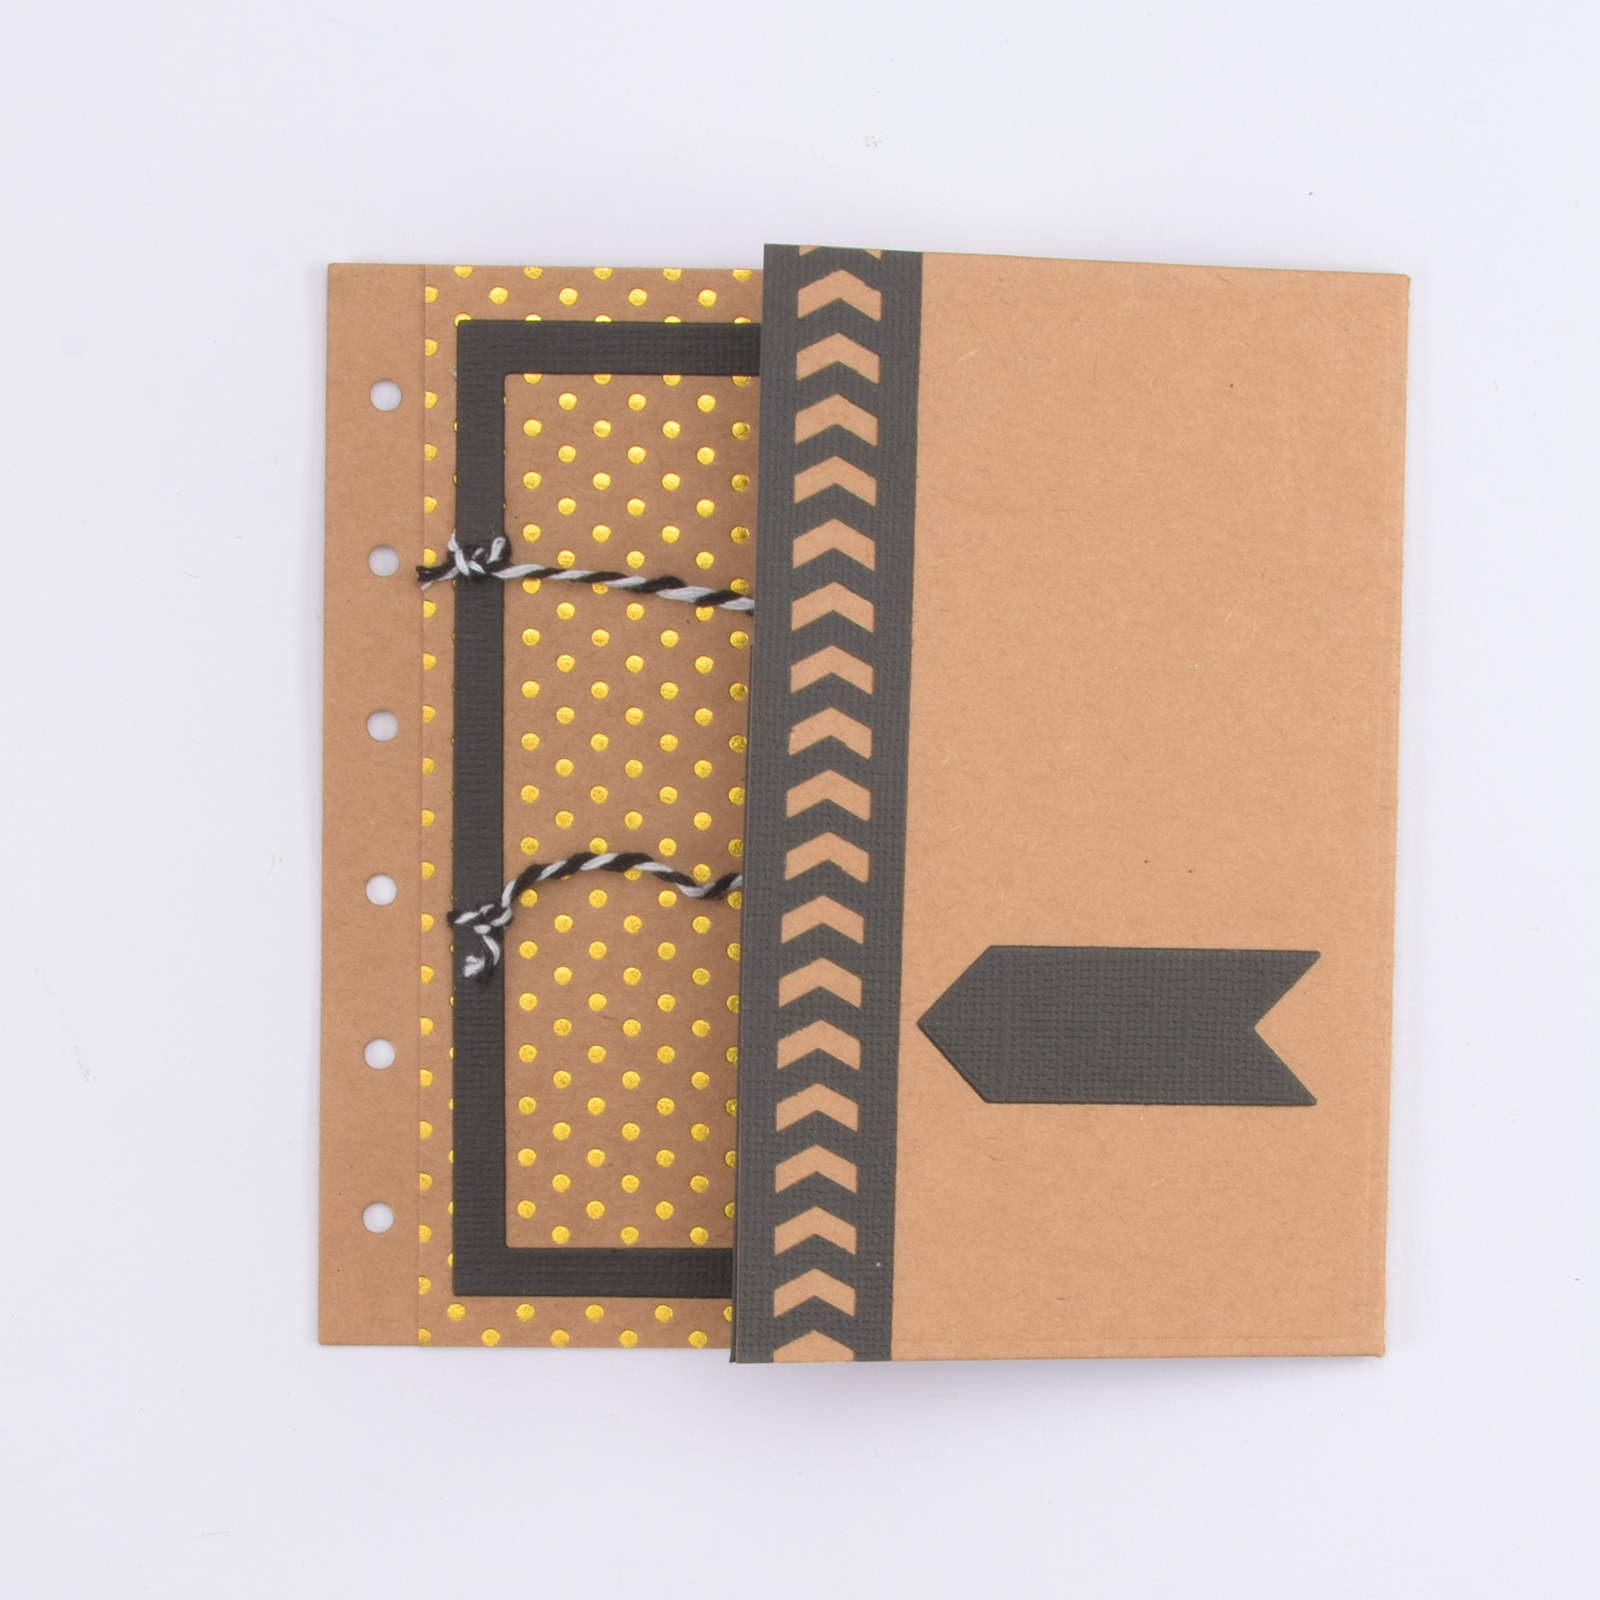
Now use the second and third largest dies from the Nellie’s Choice Bullet Journal set to cut a frame from black paper.
15
Use baker's twine to create a "clothesline" effect within the frame, securing it with double-sided tape.
16
Cut a strip of paper 2 cm wide and punch a pattern along its length with an edge punch. Attach this to the front of the organiser. Finish with labels, tabs, and tags as desired!