Create these 3D perler bead houses and build a colourful little street! Choose your favourite colours, glue the panels together, and make your dream house. Grab your perler beads and glue gun—let’s get started!
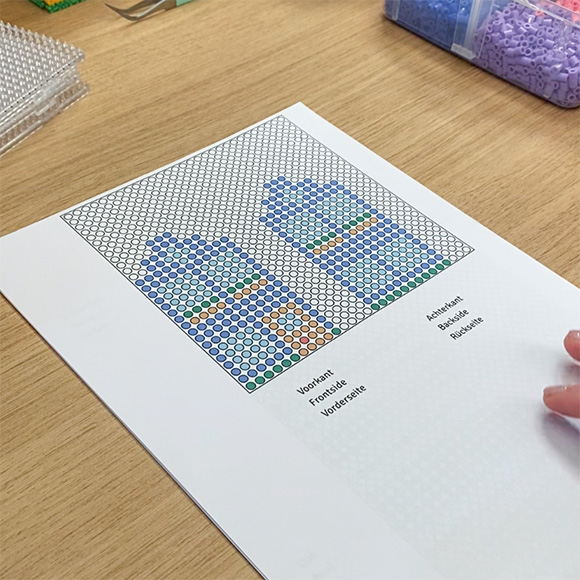
Print the attached PDF and set your printer to ‘actual size’ rather than ‘fit to page’. This ensures the templates remain the correct dimensions. If you can’t print and don’t have a tablet to view the PDF to scale, place the template next to your work and copy the shape manually—this just requires a bit more counting.
2
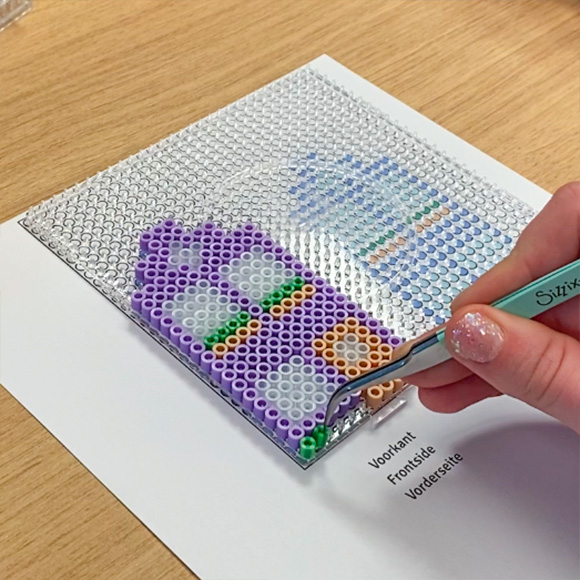
Place a pegboard on the template and fill it completely with Perler beads. The suggested colours are just a guide—feel free to choose your own combinations!
3
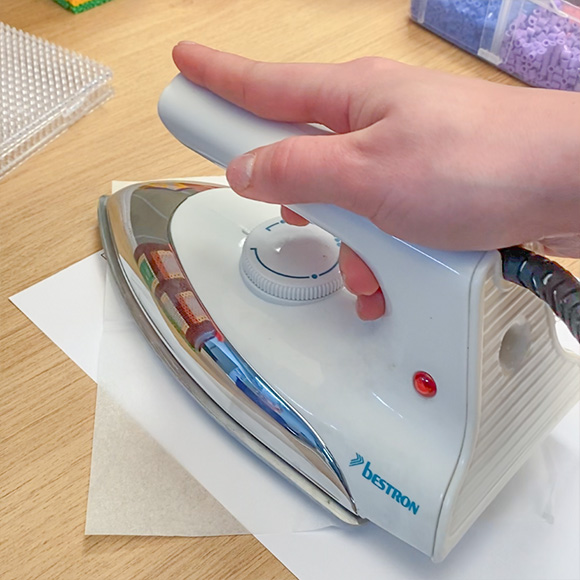
Once all panels (front, back, sides, and roof) are complete, place a sheet of baking paper over the beads and iron them until they fuse together. Let the panel cool, carefully remove it from the pegboard, and iron the other side. If a panel warps, let it cool slightly and gently bend it back into shape.
4
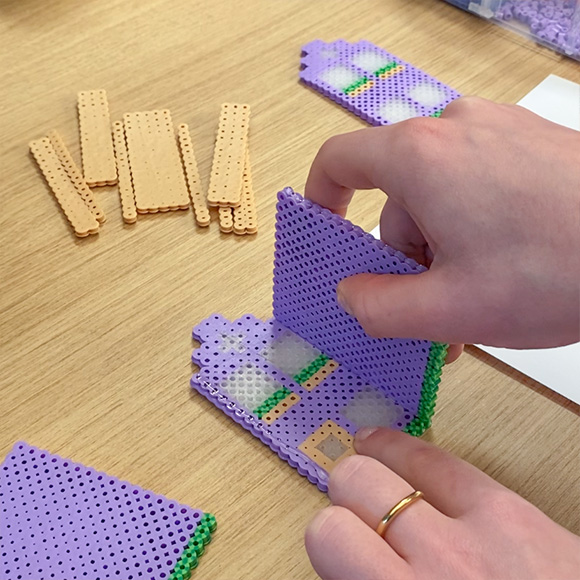
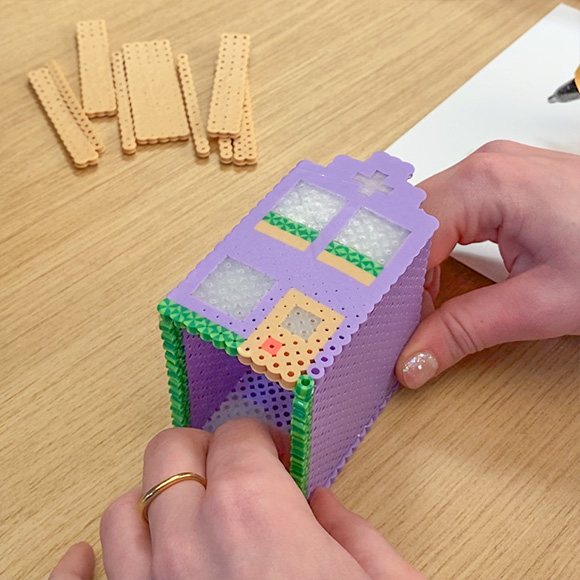
Use a glue gun to attach the panels together. If the glue doesn’t hold well (for example, if your glue gun isn’t hot enough), apply glue to both surfaces before pressing them together for a stronger bond.
5
Lay the front panel flat on the table and apply glue along the left and right edges from top to bottom. Attach the side panels perpendicularly to the front panel, creating a U-shape.
6
Place the back panel flat on the table and apply glue to the left and right edges, just as you did with the front. Flip the front section (with the attached sides) over and press it onto the back panel.
7
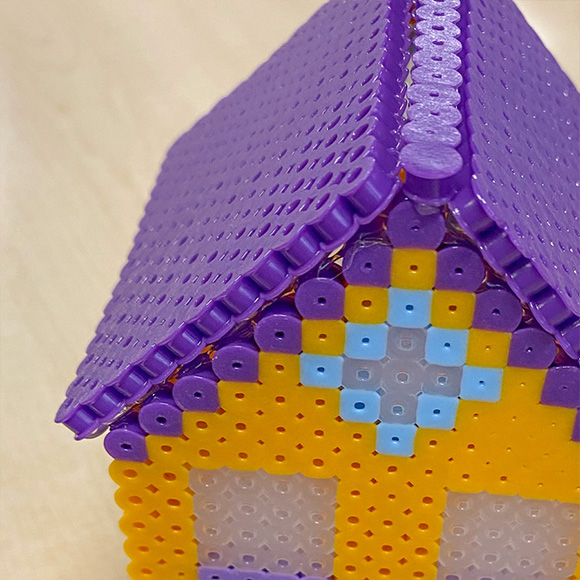
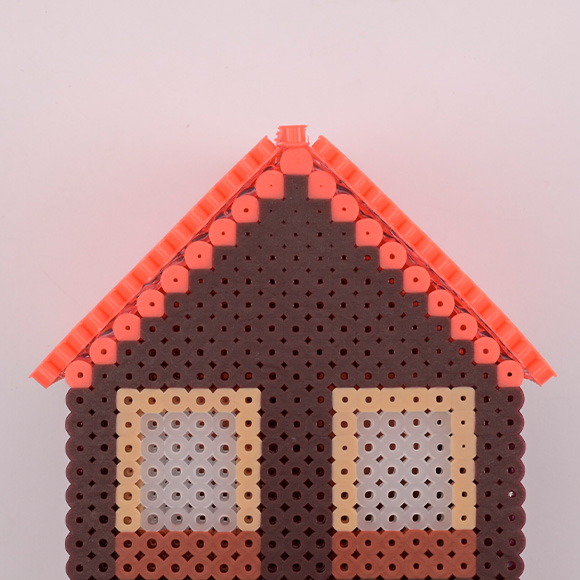
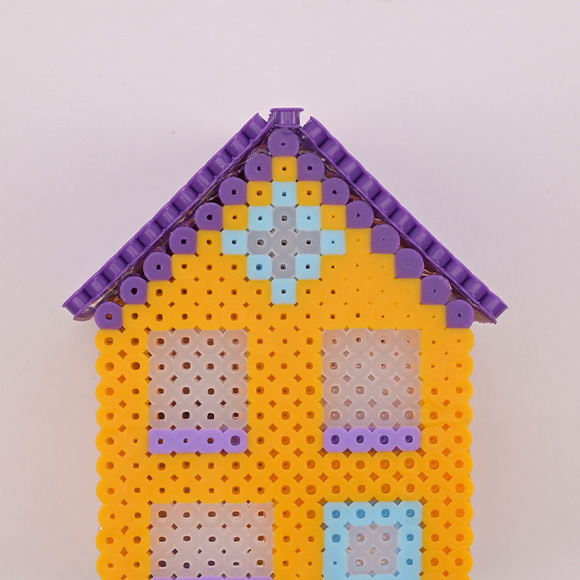
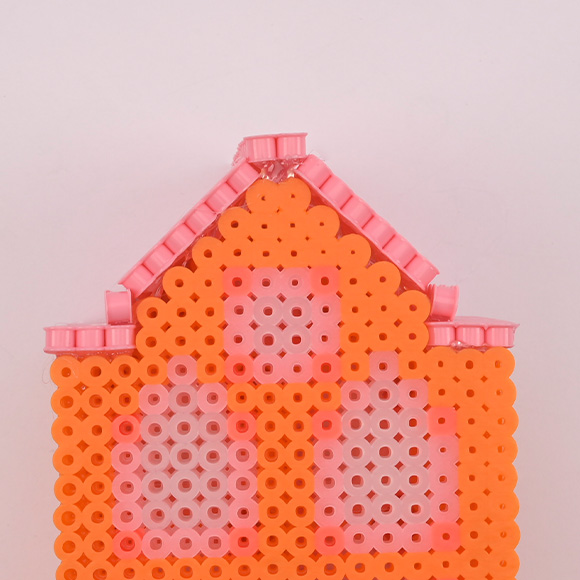
For a slanted roof, first glue the small ridge piece onto the peak of the house. Then, attach the two roof panels on either side.
8
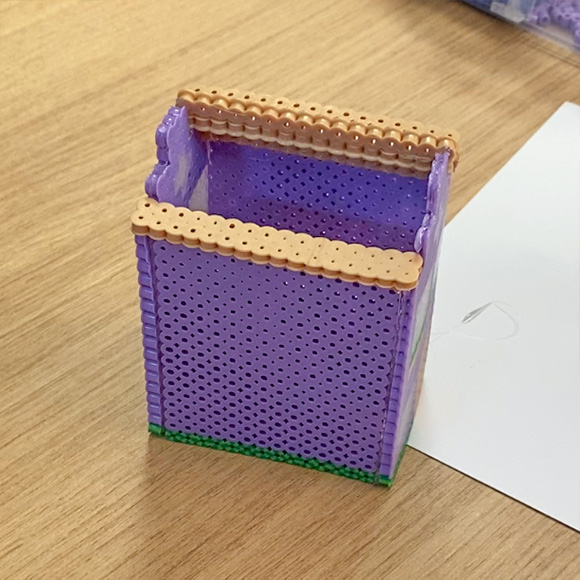
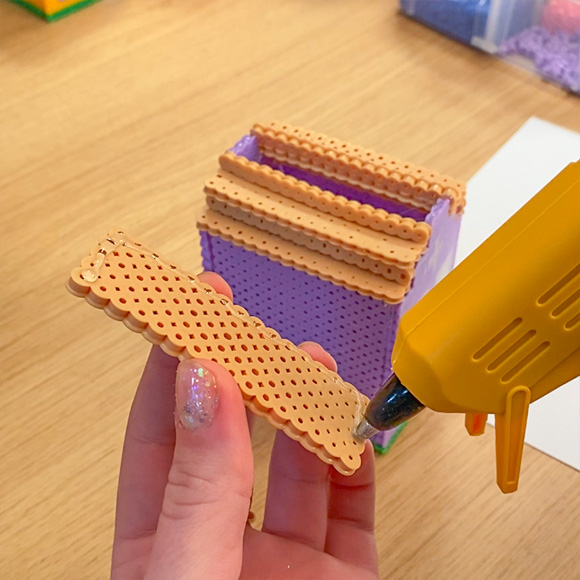
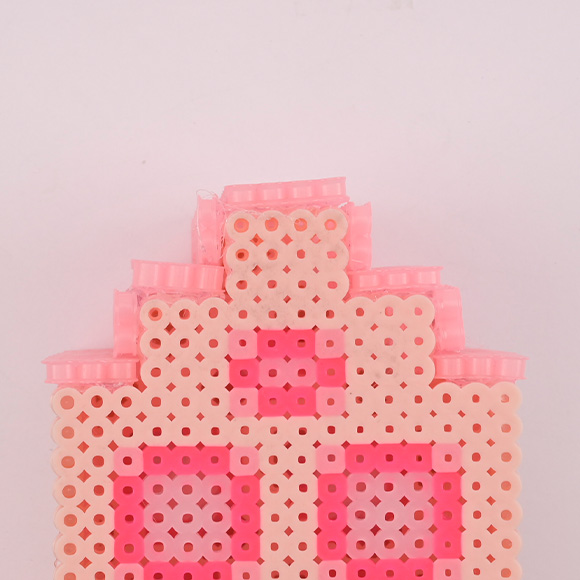
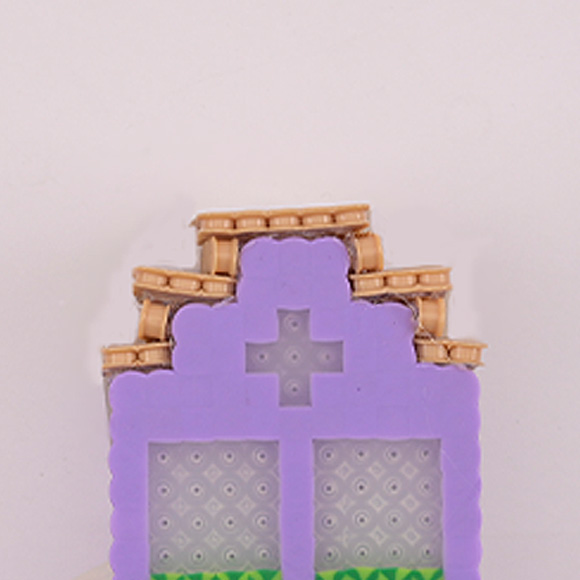
For a canal house with a stepped gable, start with the lowest horizontal step. The width of this step should match the strips you have made. For example, if the step is 3 beads wide, glue a strip of the same width on top.
9
Continue layering narrow strips upwards to cover the sides until you reach the roofline. Not sure about the placement? Lay the strips loosely in position before gluing them down. And there you have it—your very own fuse bead house is complete! Now just find the perfect spot to display it!