Create this eye-catching card using products from the Nellie's Choice origami collection. The playful diagonal pattern and sleek geometric butterfly give the card a unique look, perfect for any occasion. Plus, there's no folding required!
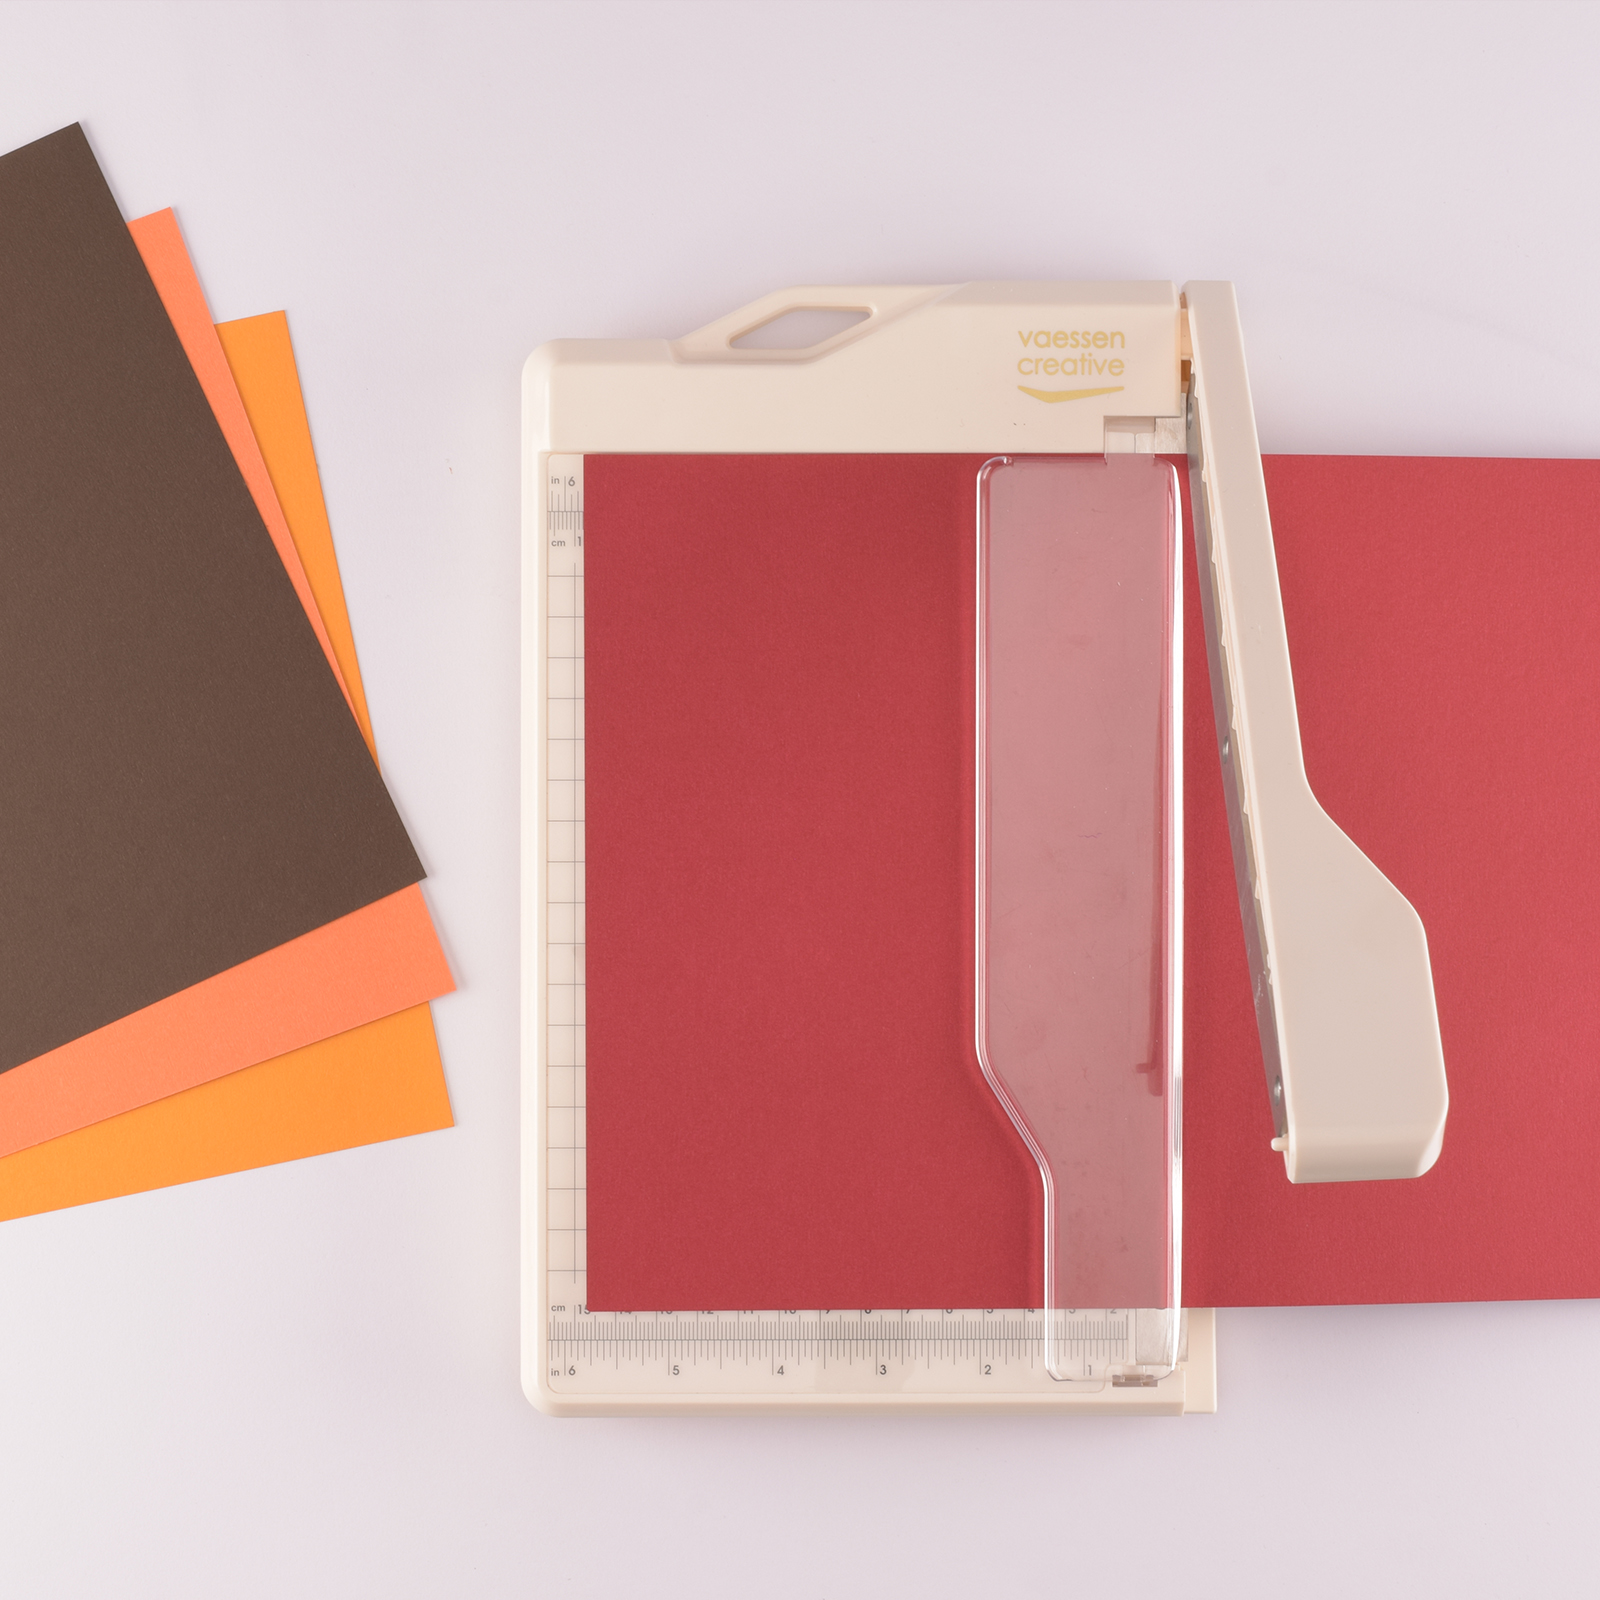
Take four different colours of stickable cardstock and cut them in half at 14.8 cm to create A5 sheets.
2
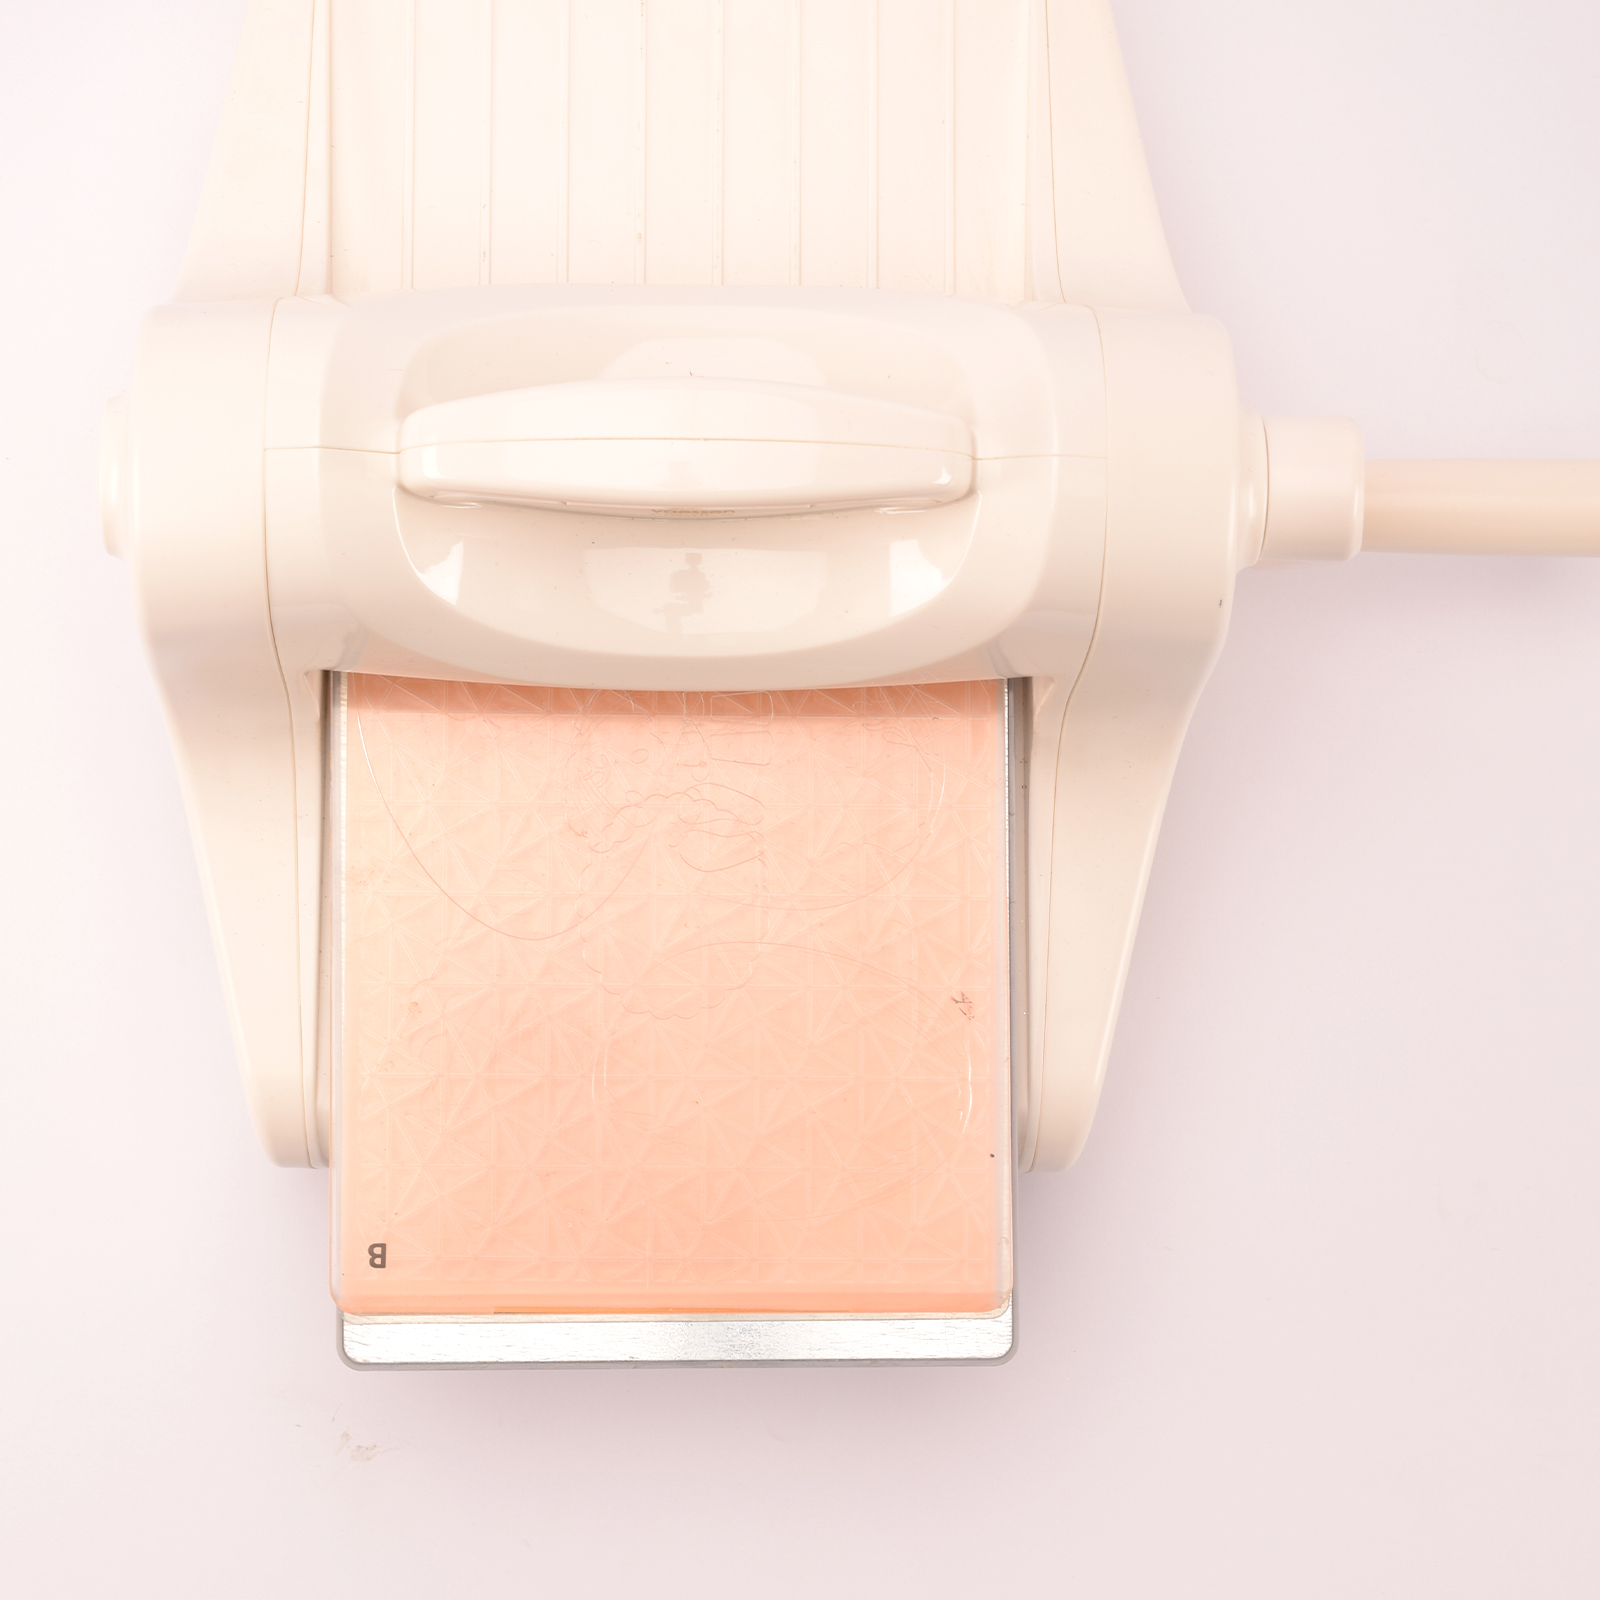
Place each sheet, one by one, into the origami embossing folder and run them through the die-cutting machine.
3
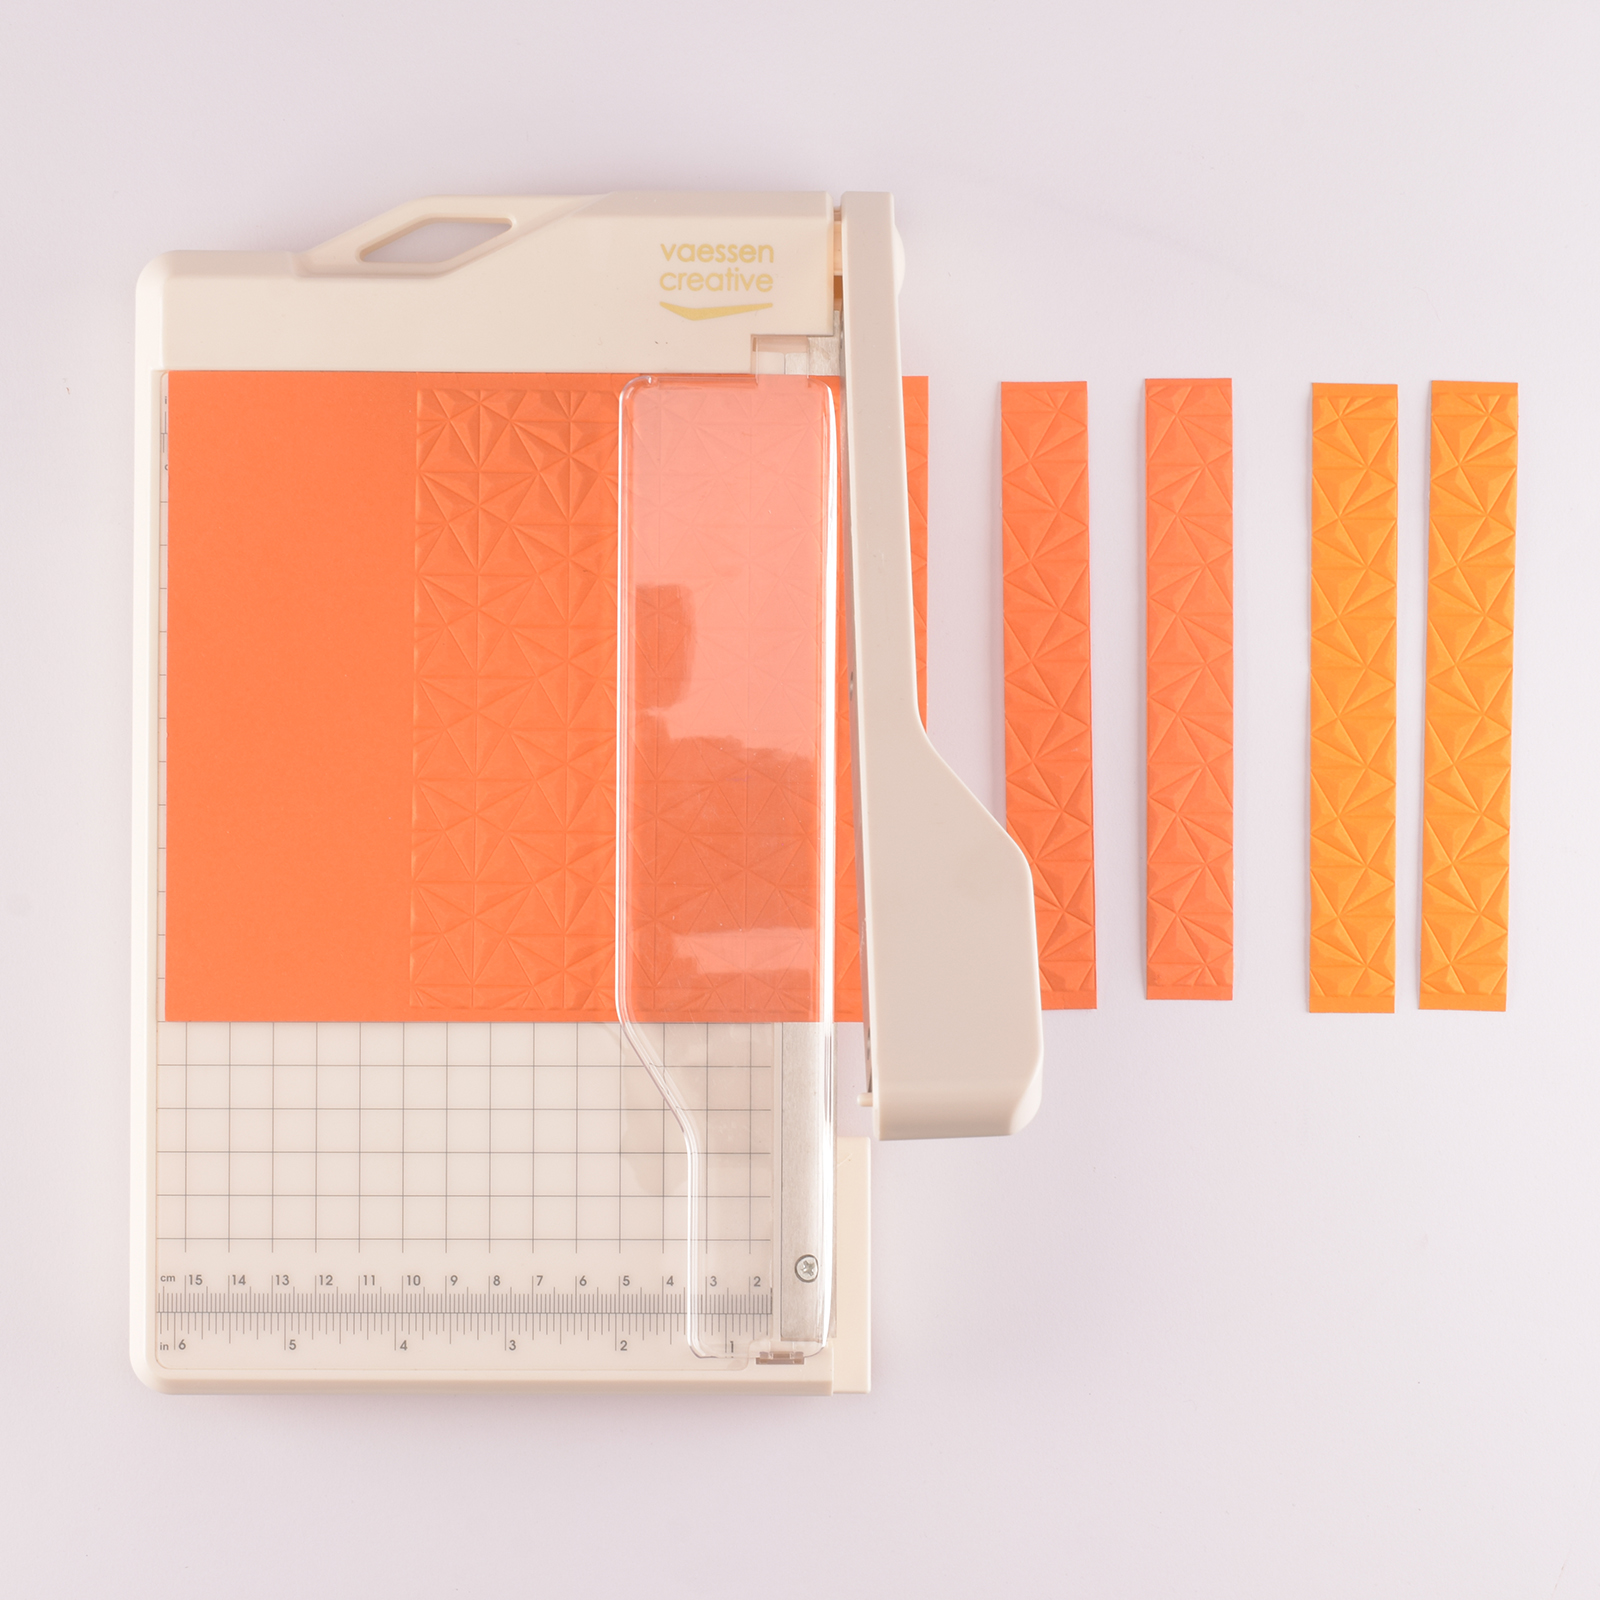
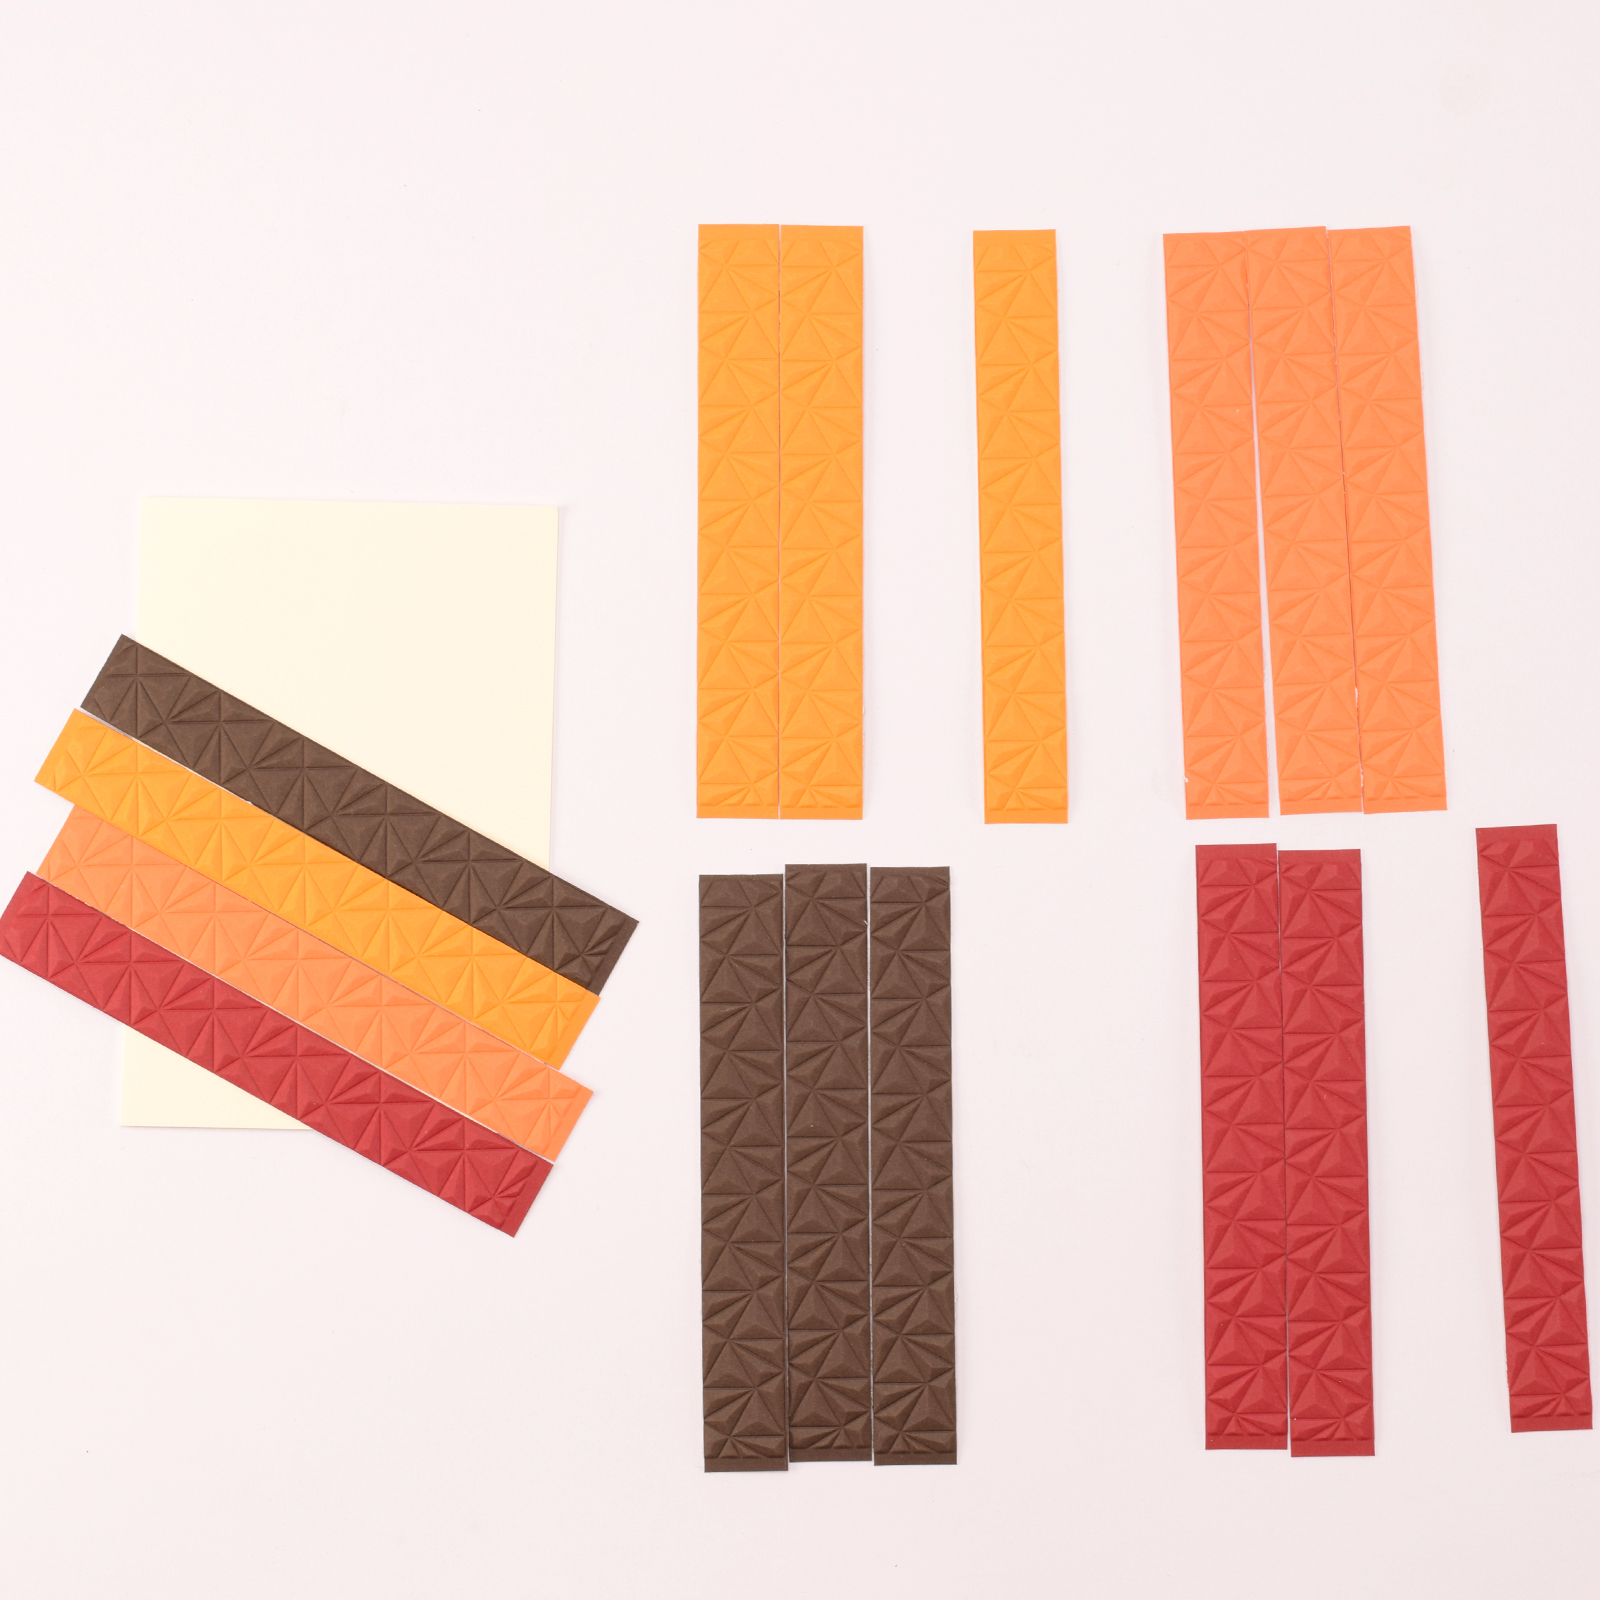
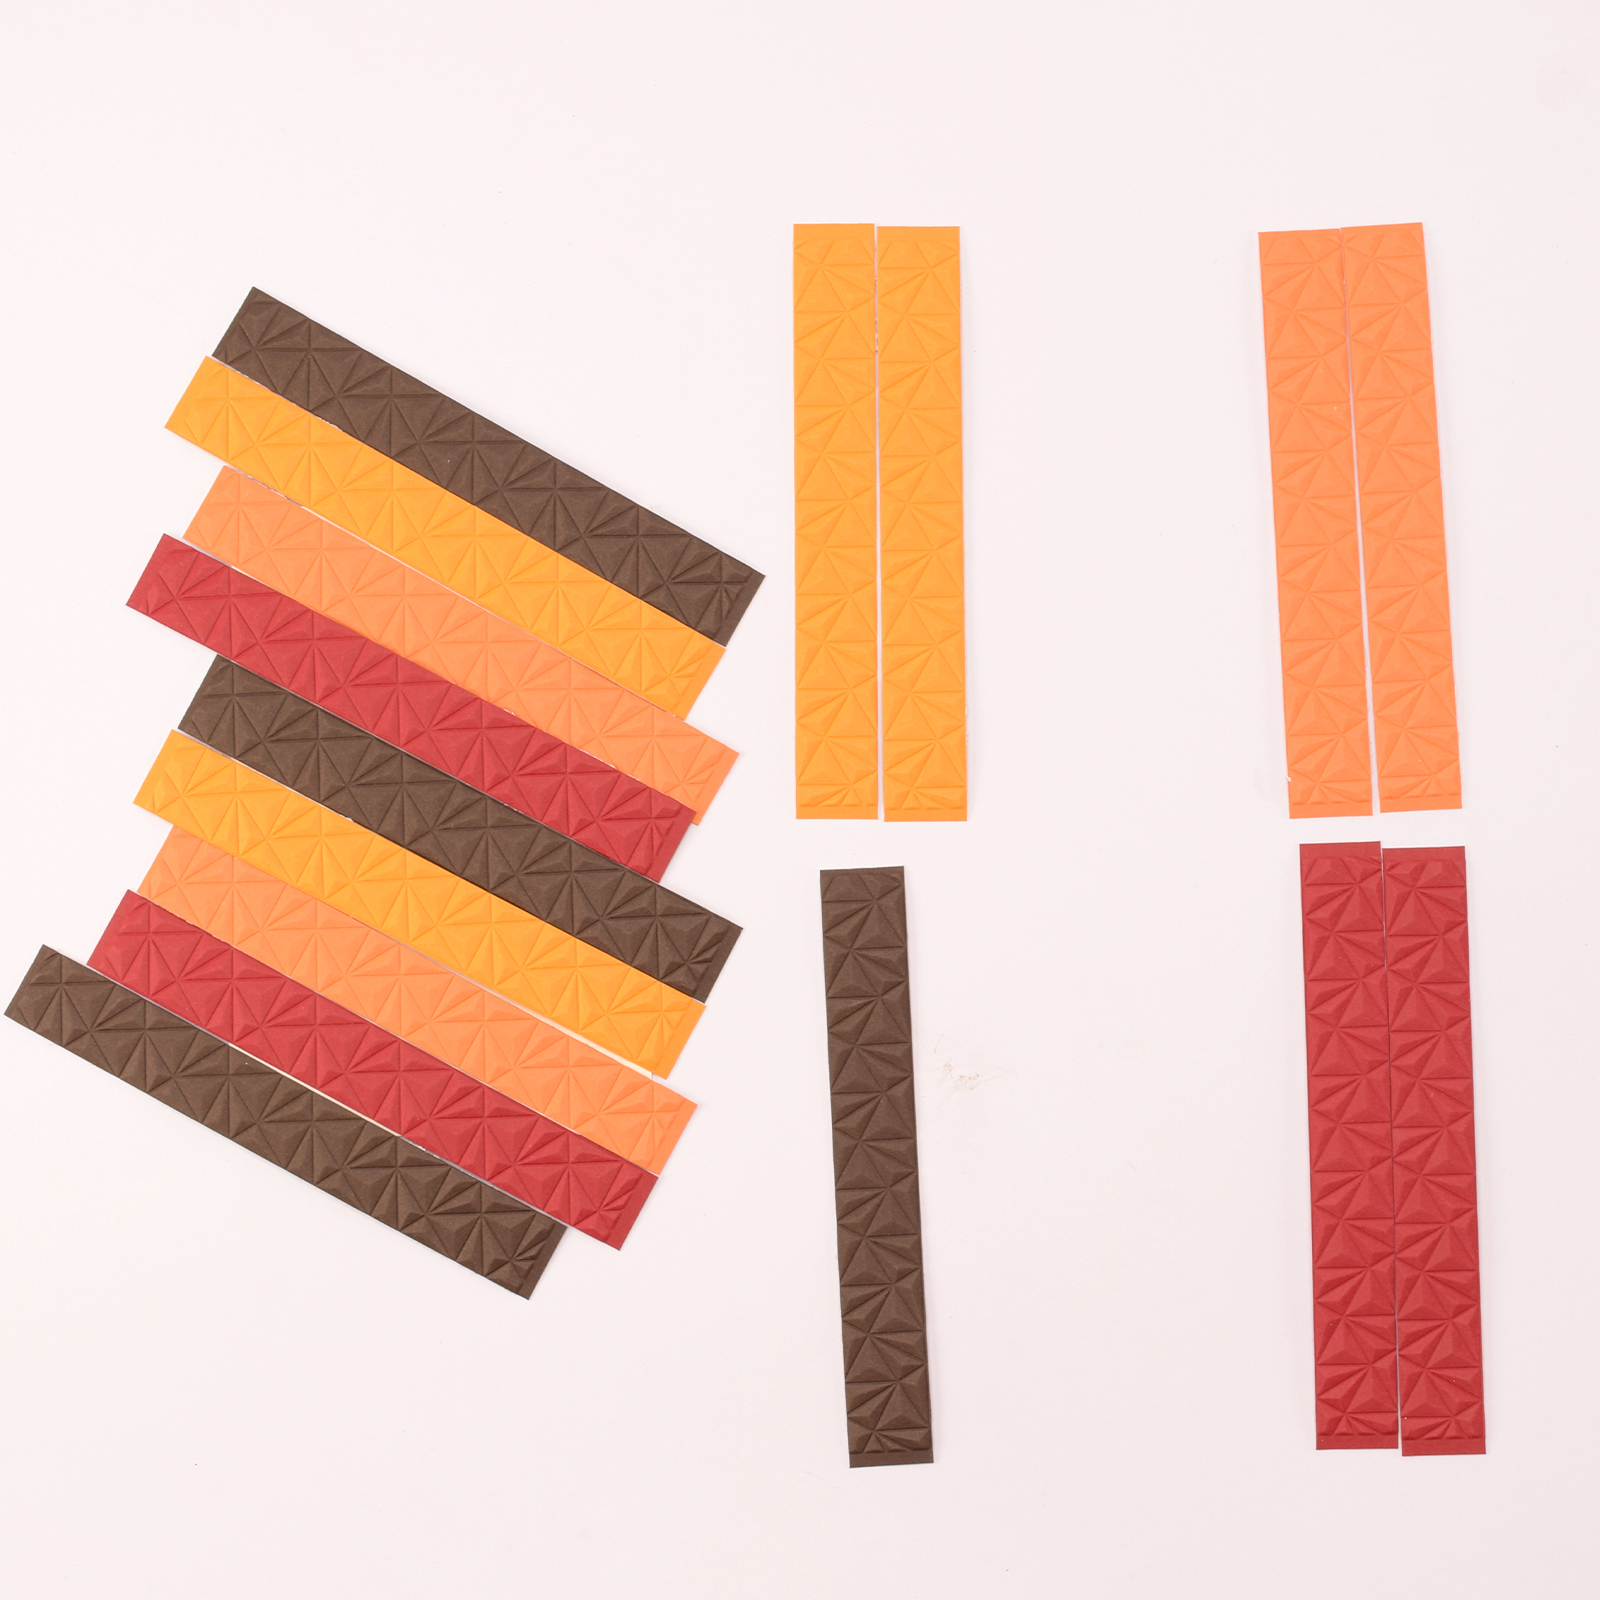
You’ll notice some straight lines on the embossed paper. Cut along these lines to create strips about 2.1 cm wide. Keep the strips in the order you cut them; this is important for forming the diagonal pattern.
4
Take a double card from Florence and arrange the cut strips in your preferred colour sequence. Start with the first strip from the first colour and place it diagonally on the card. Then, use the second strip from the second colour, the first strip from the third colour, and the second strip from the fourth colour. Make sure the pattern aligns and flows smoothly.
5
Repeat the process until the entire card is covered with strips.
6
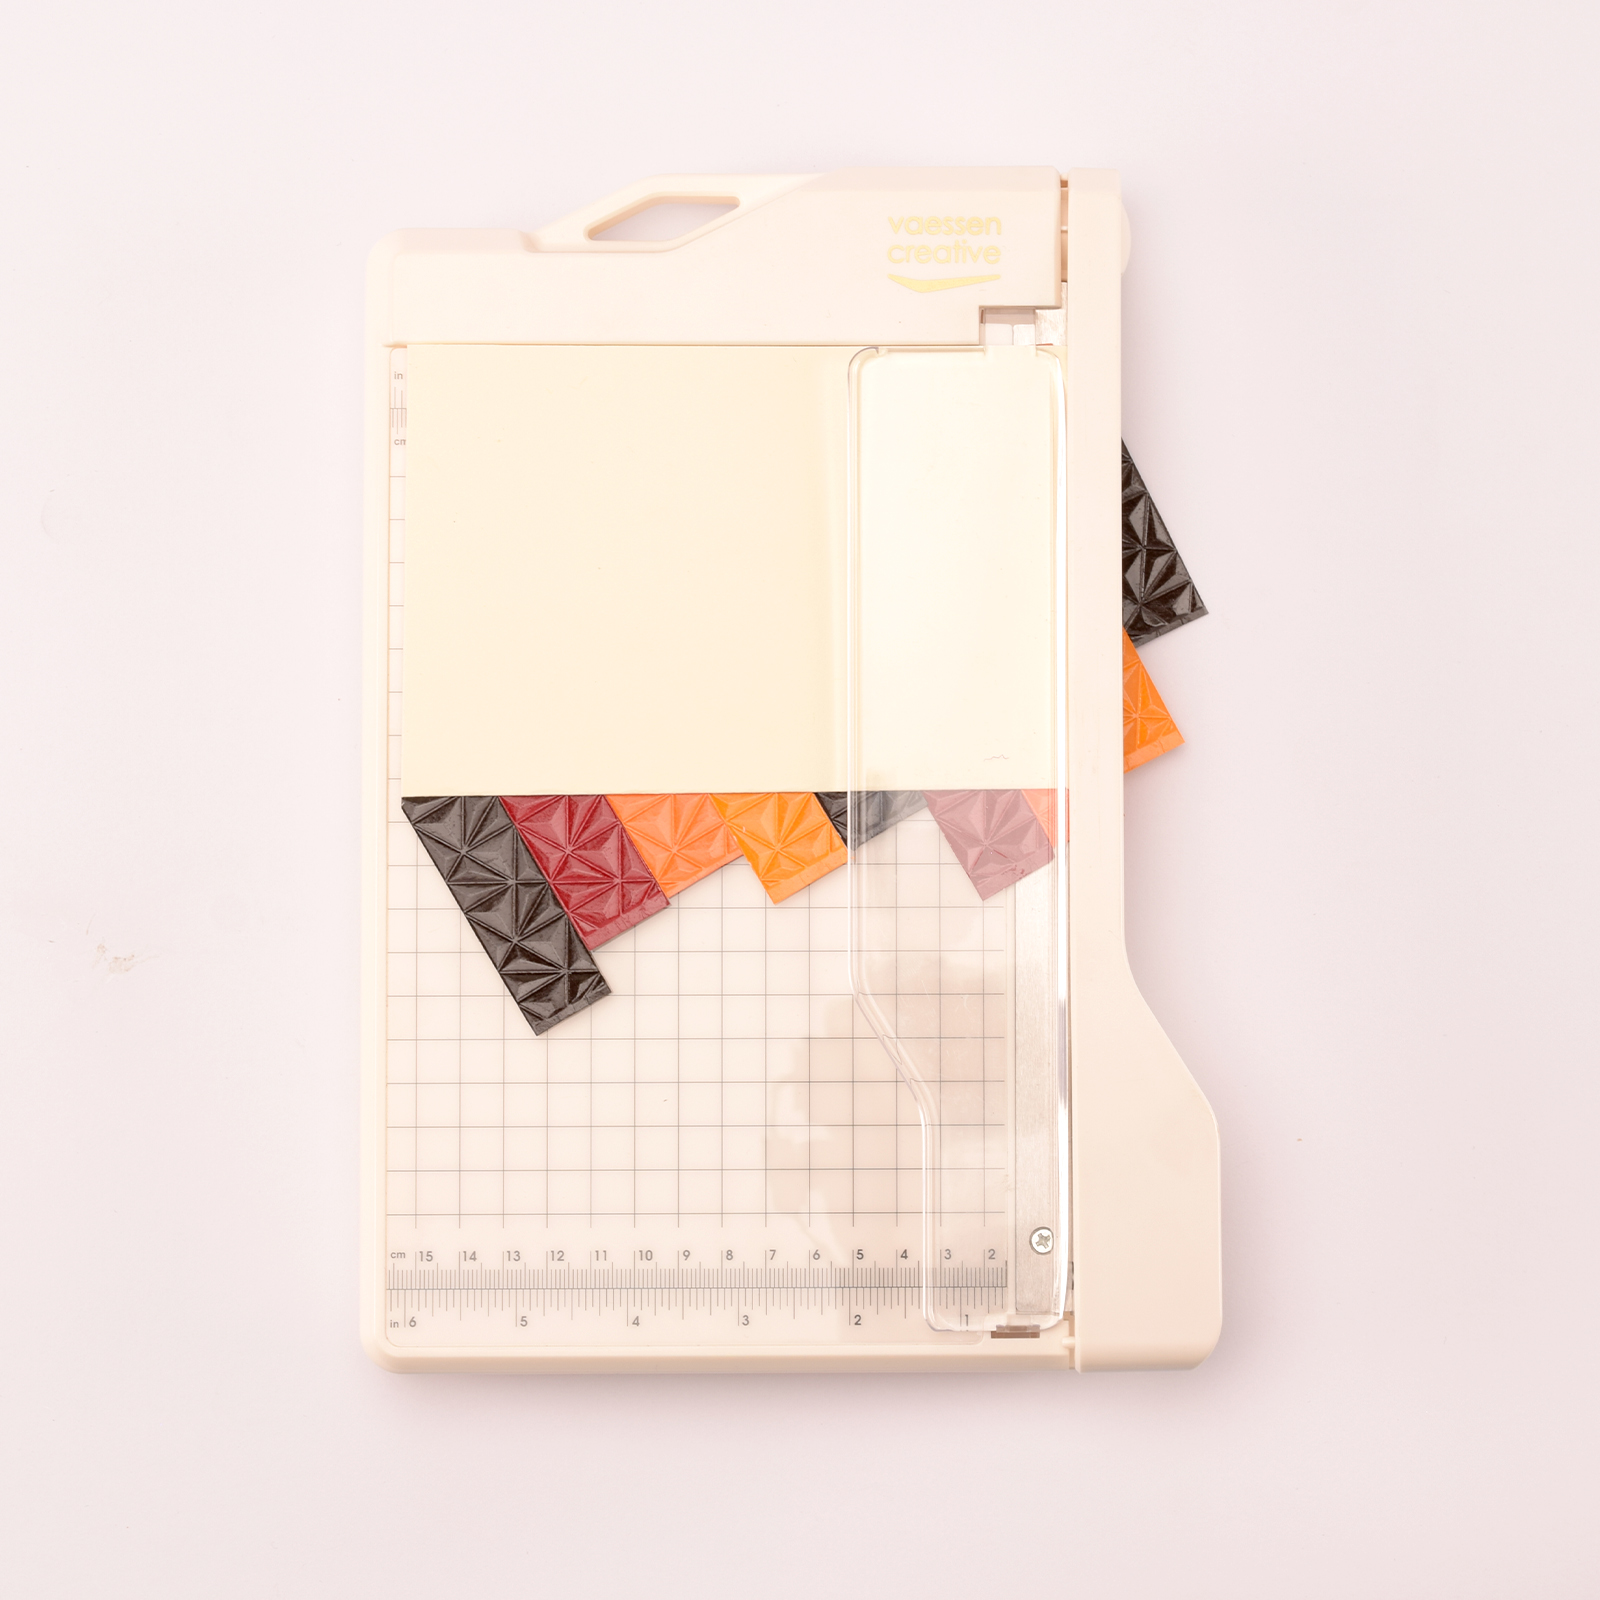
Turn the card over and trim any strips that extend beyond the edges.
7
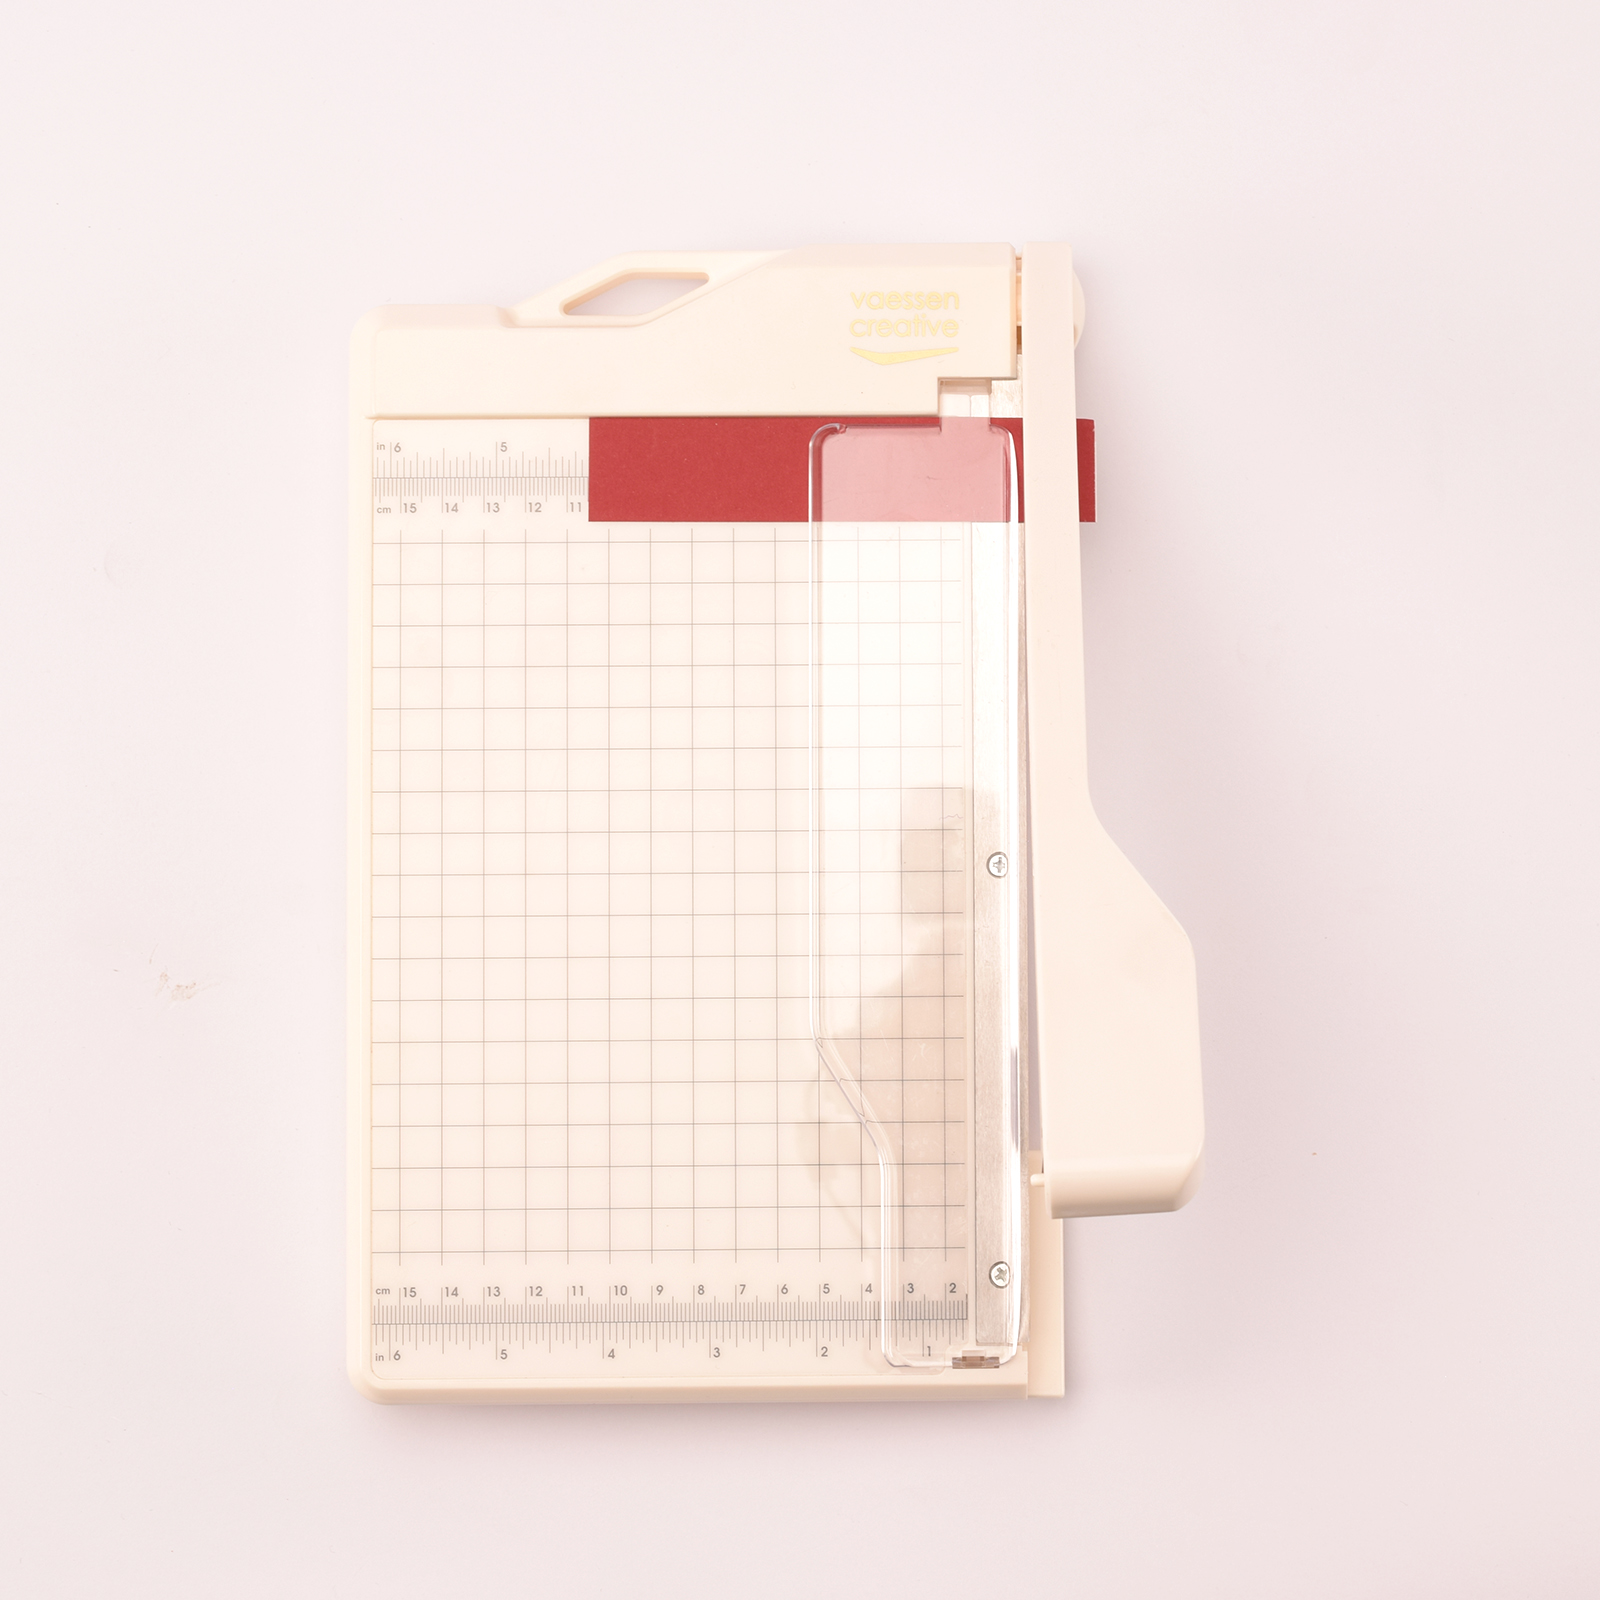
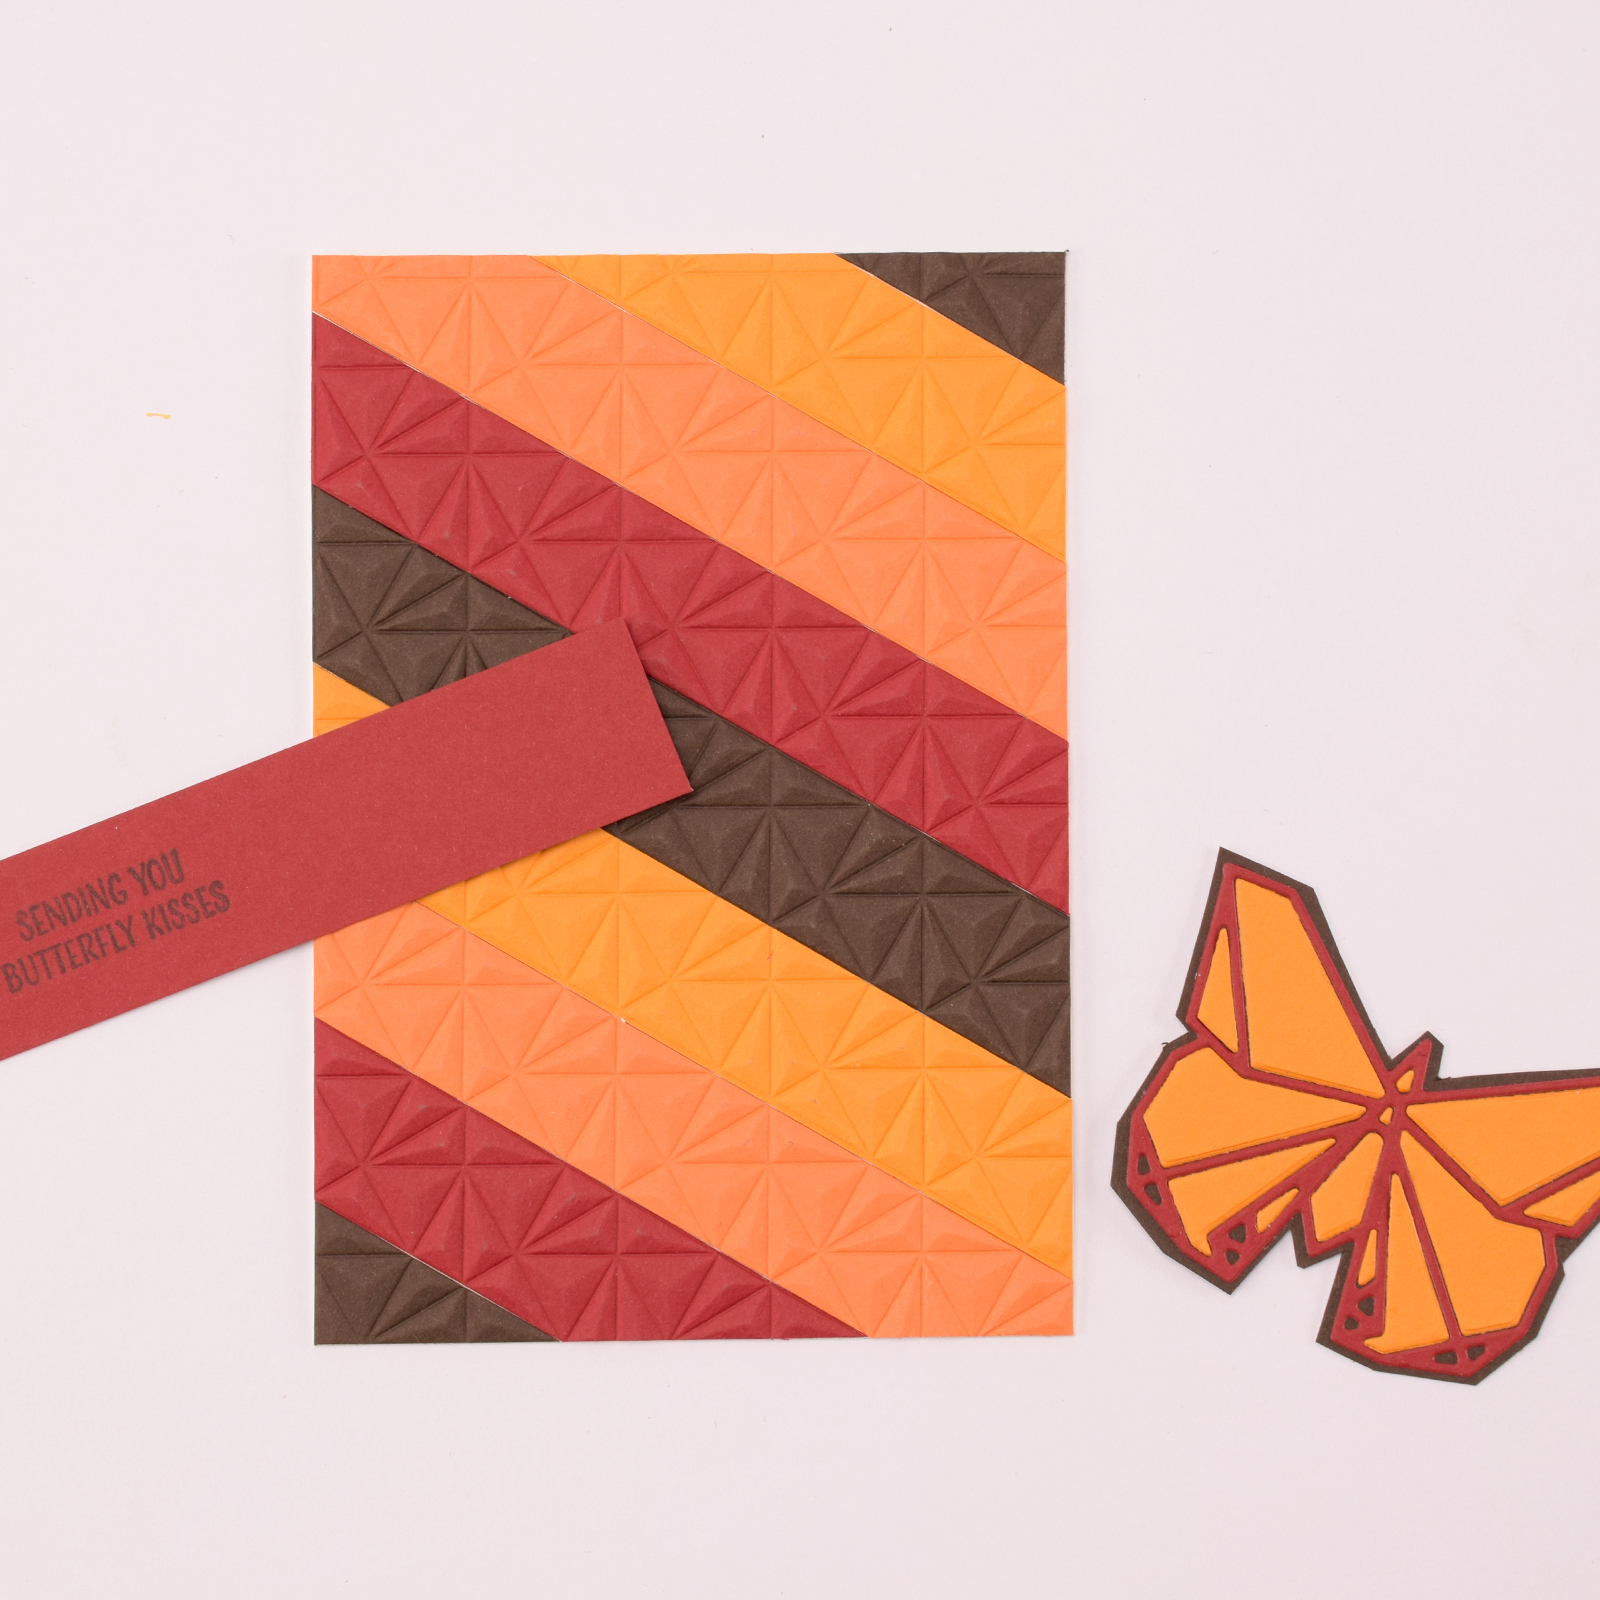
Cut an additional piece of paper into a strip measuring 10.5 x 2.5 cm.
8
Choose a stamp with a message you like and stamp it onto the strip.
9
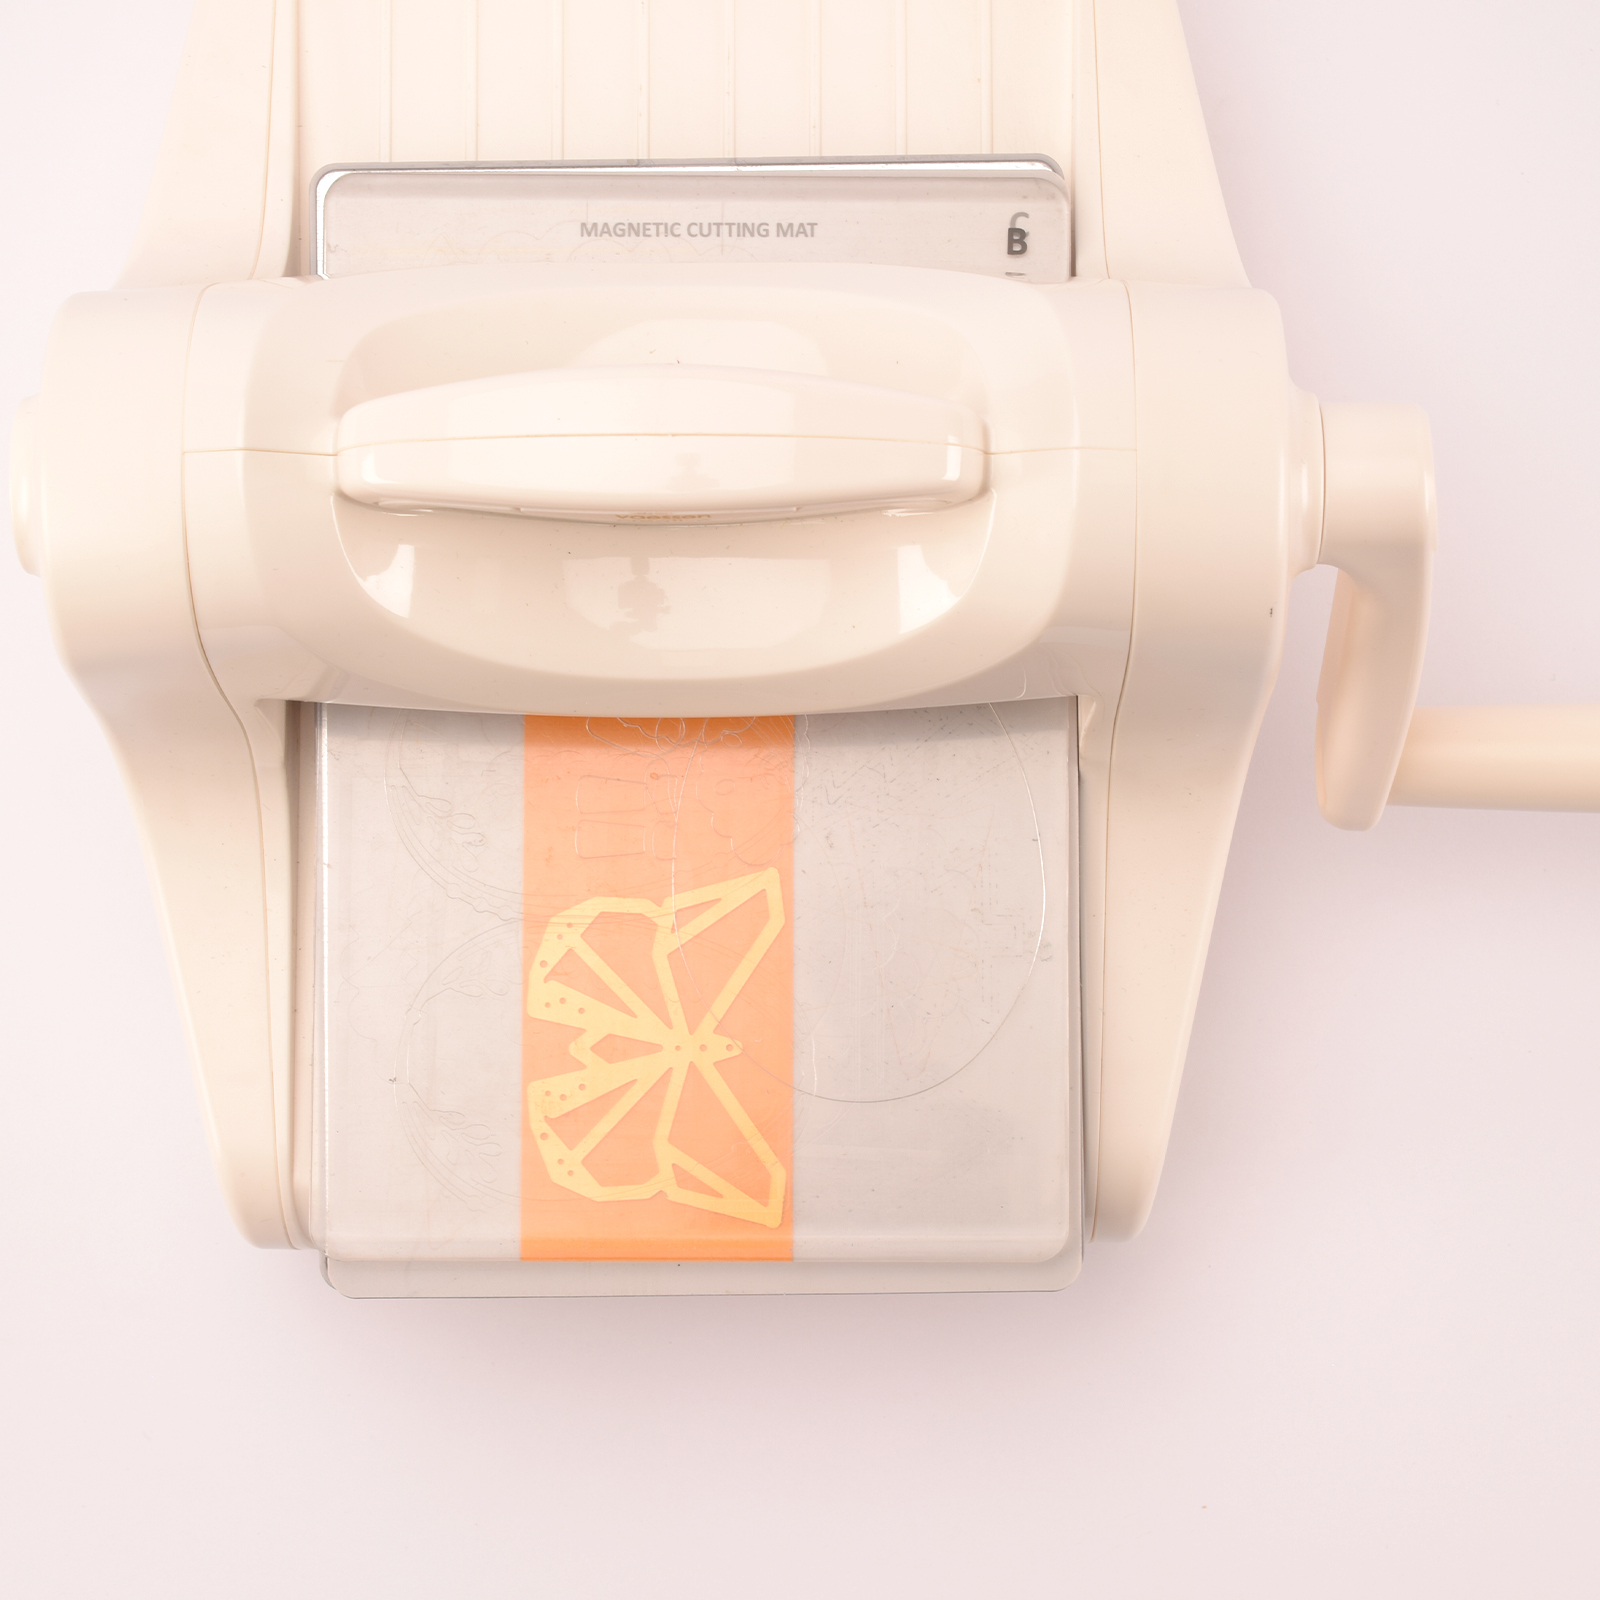
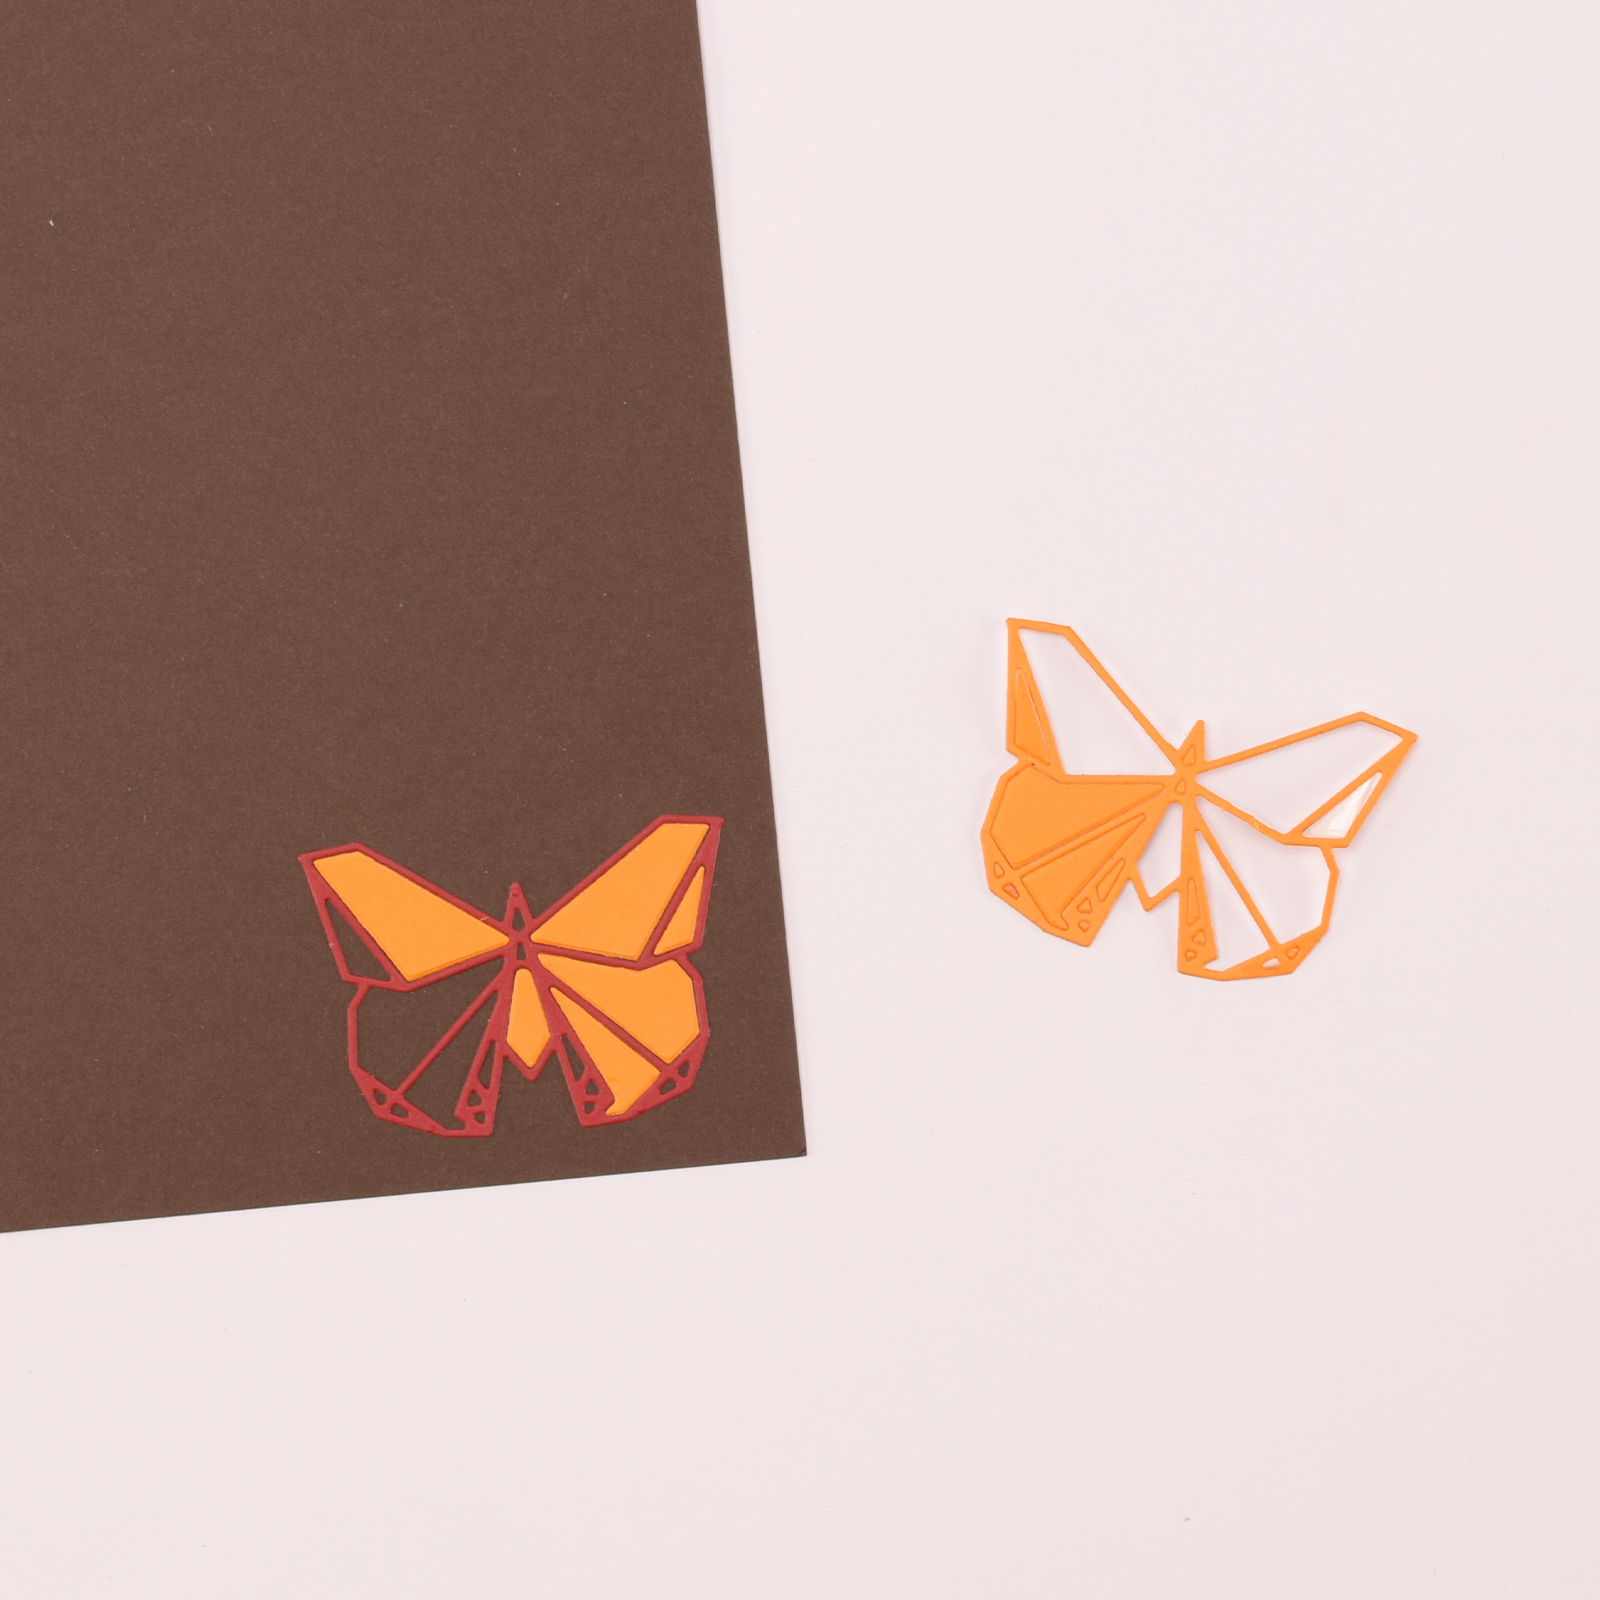
Use the butterfly cutting die to cut out shapes from two different colours of self-adhesive paper.
10
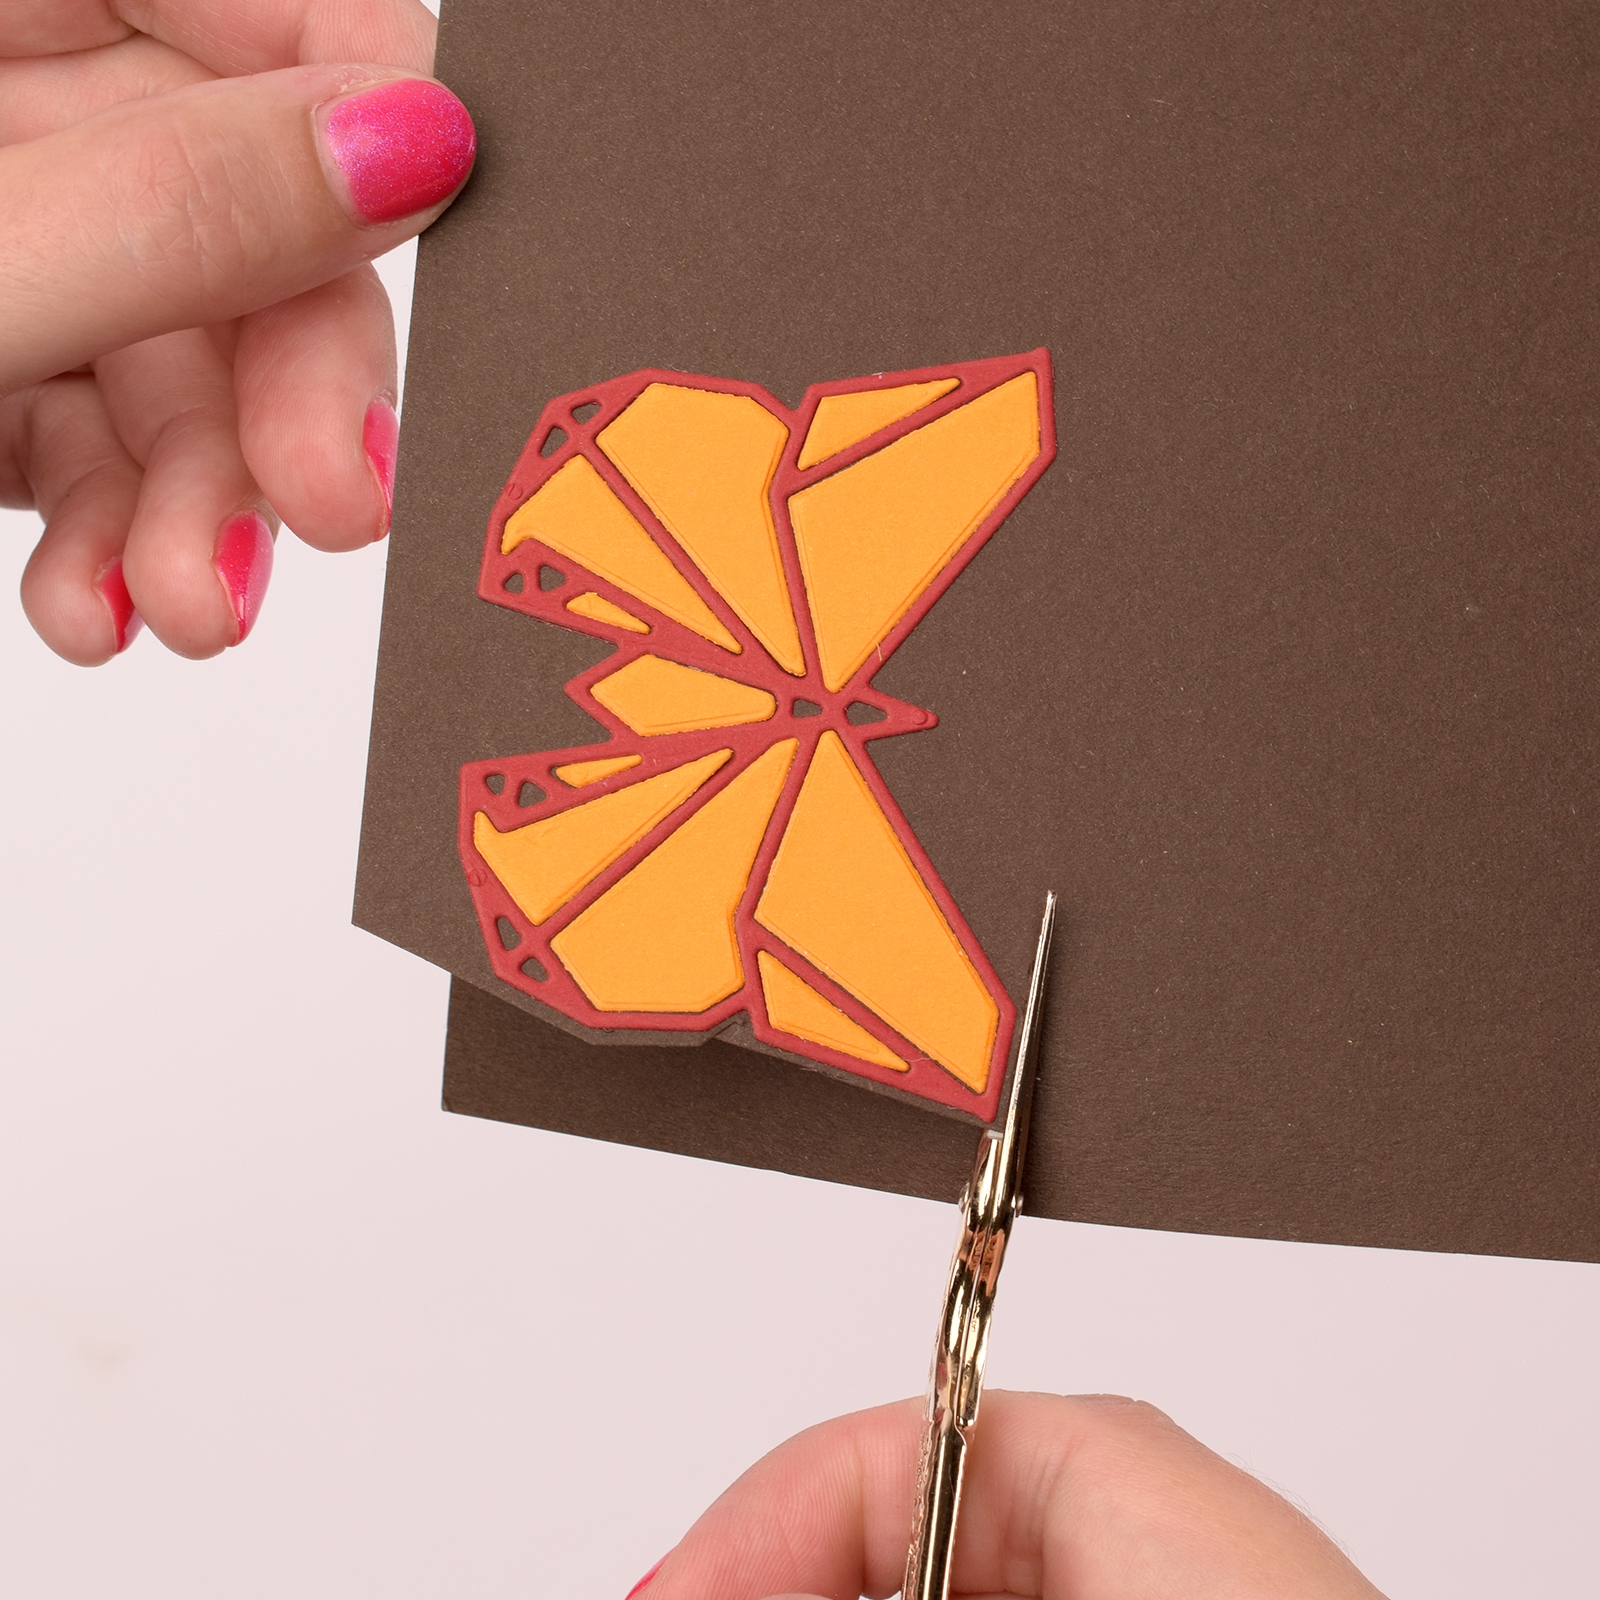
Adhere the ‘line drawing’ of one colour onto another piece of paper. Fill in the sections of the line drawing with the second colour.
11
Cut out the butterfly, leaving a small border around the edges.
12
Assemble everything on the card. Your card is now ready!