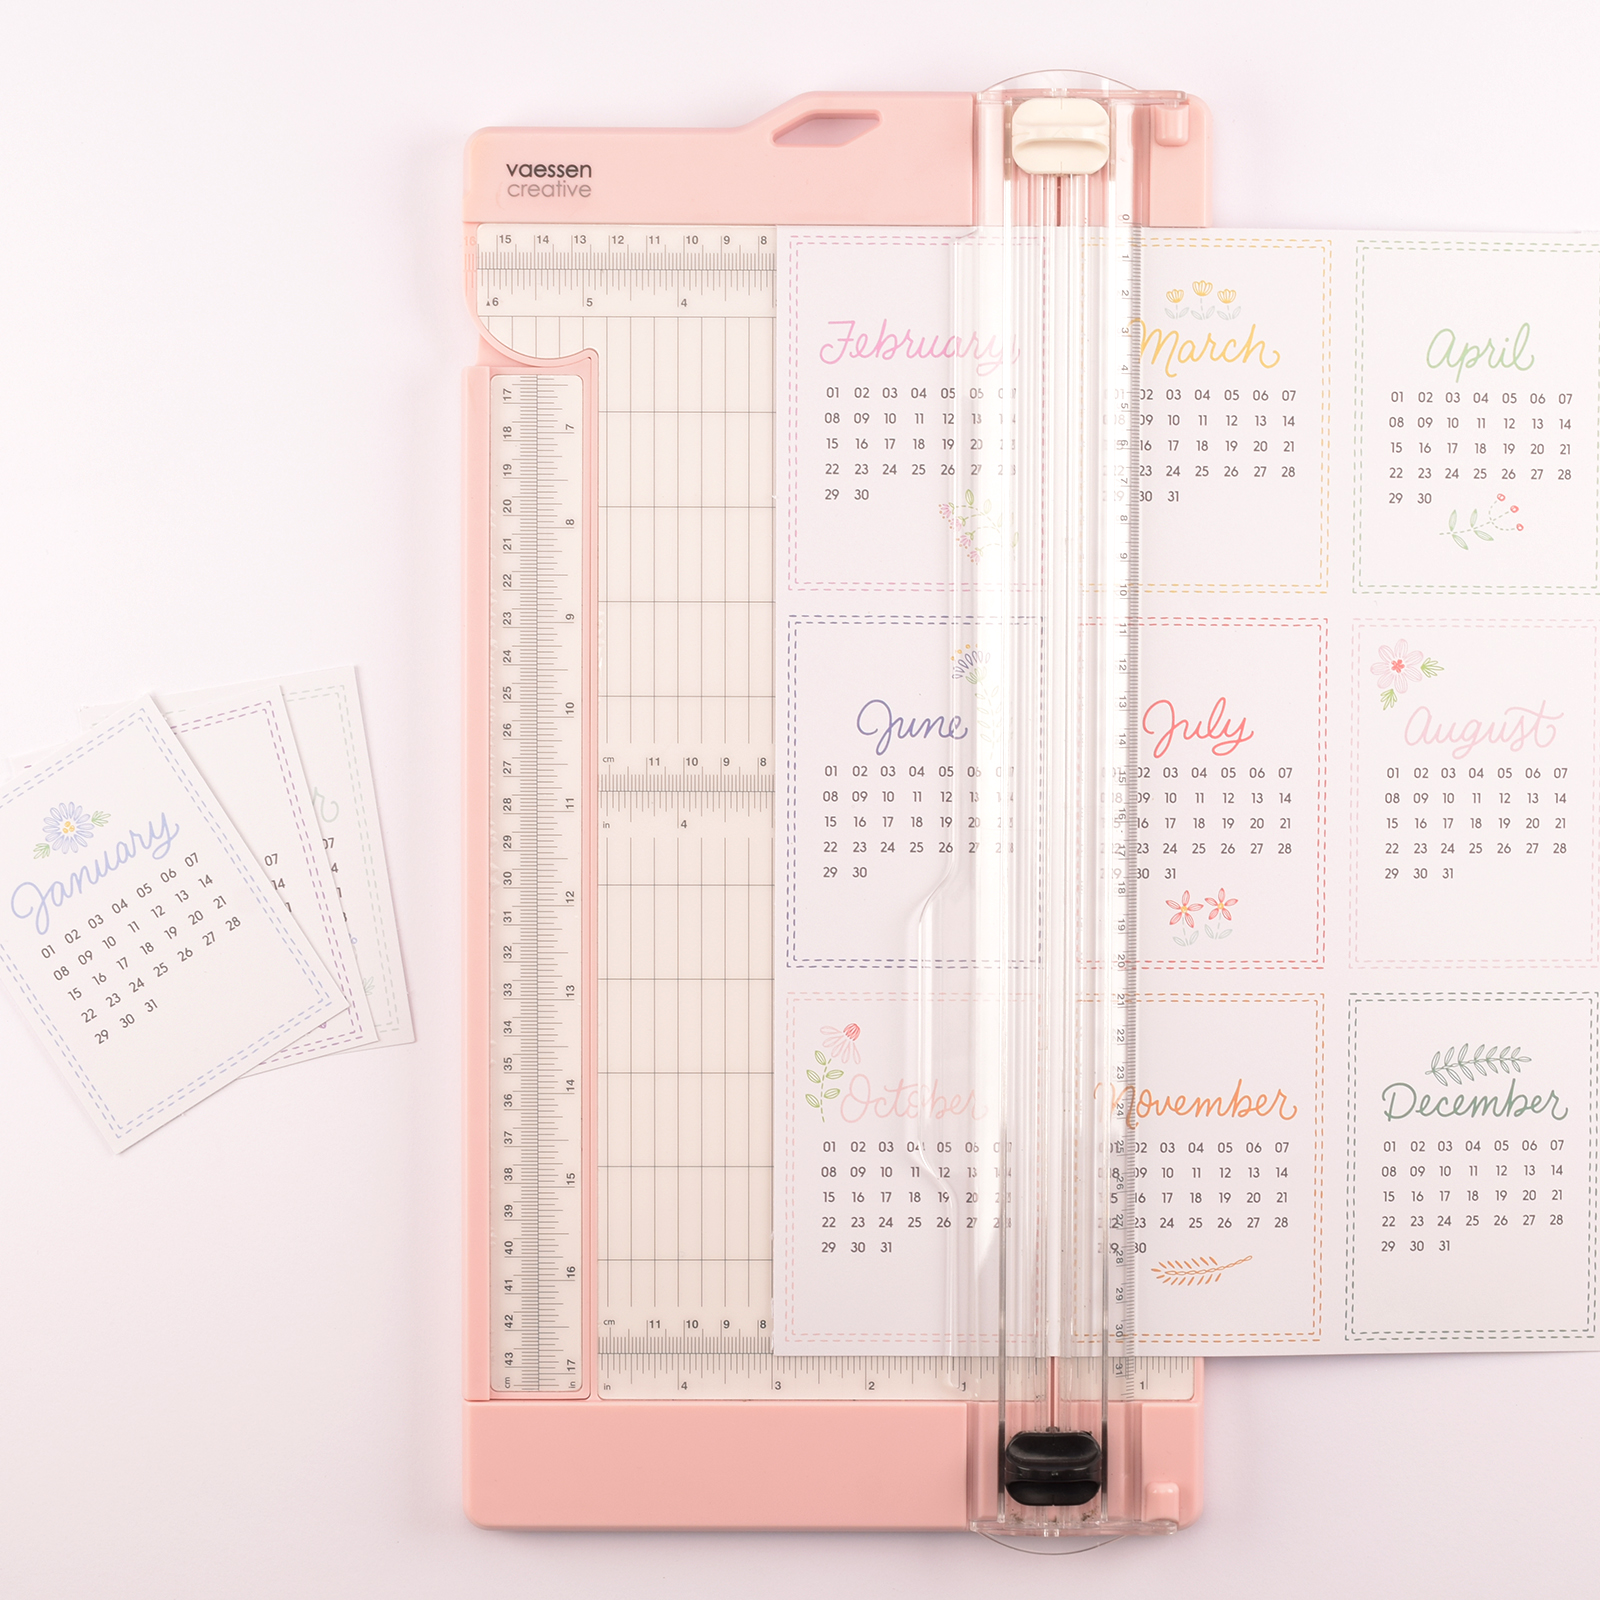
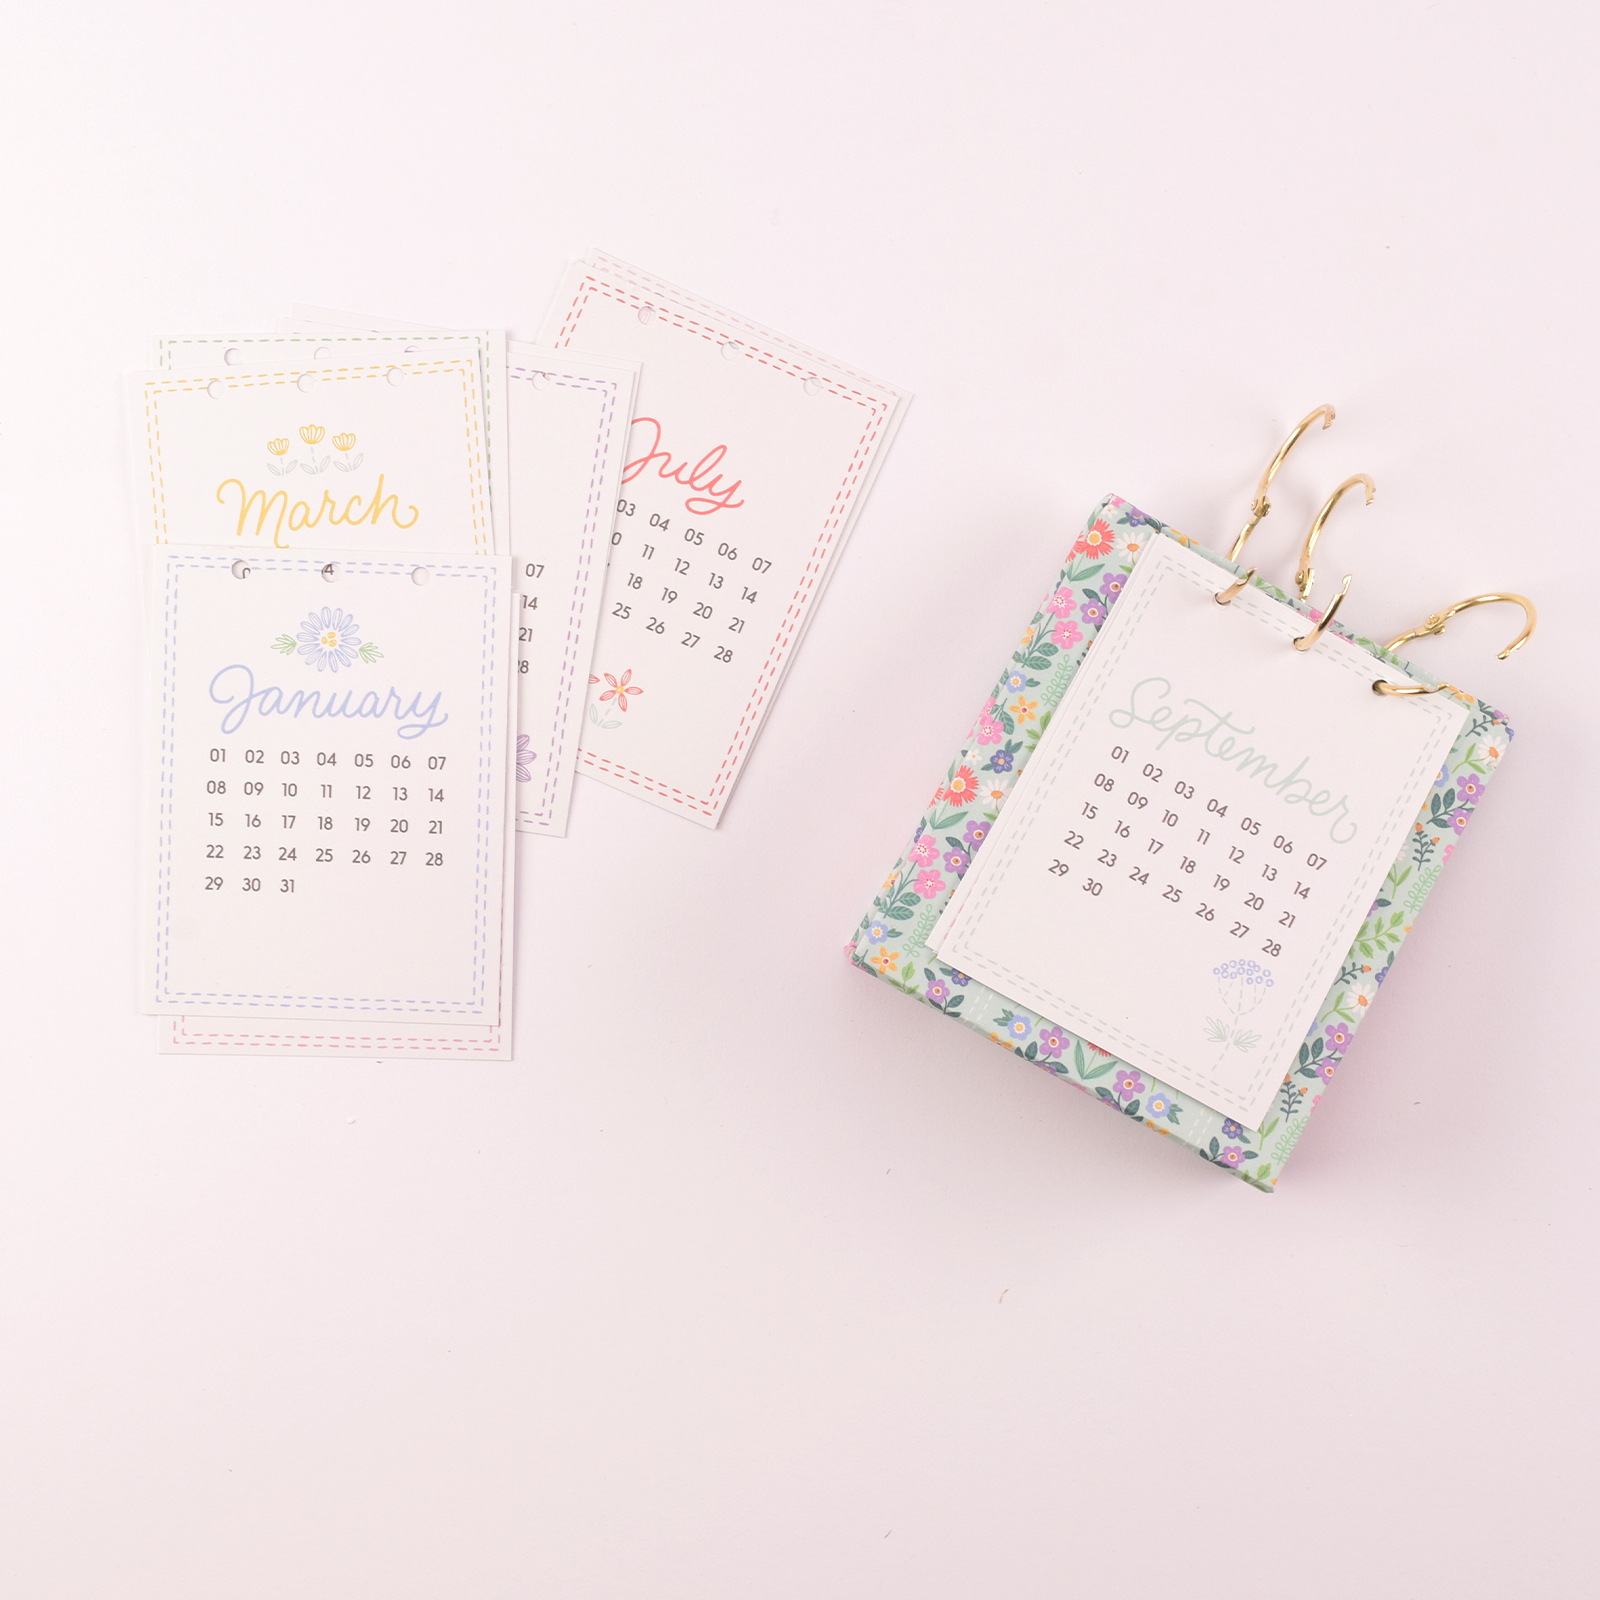
Create this adorable desk calendar and enjoy it month after month, year after year! Using beautiful scrapbook paper from American Crafts, the We R Makers Book Cover Guide, and the Vaessen Creative planner border punch, you'll craft a small desk calendar that’s as functional as it is charming.
Start by selecting the scrapbook paper with the calendar layout from the American Crafts Poppy & Pear paper pad. Cut out each month into 7.6 x 10 cm pieces.
2
Use the planner border punch to make three holes along the top of each monthly piece.
3
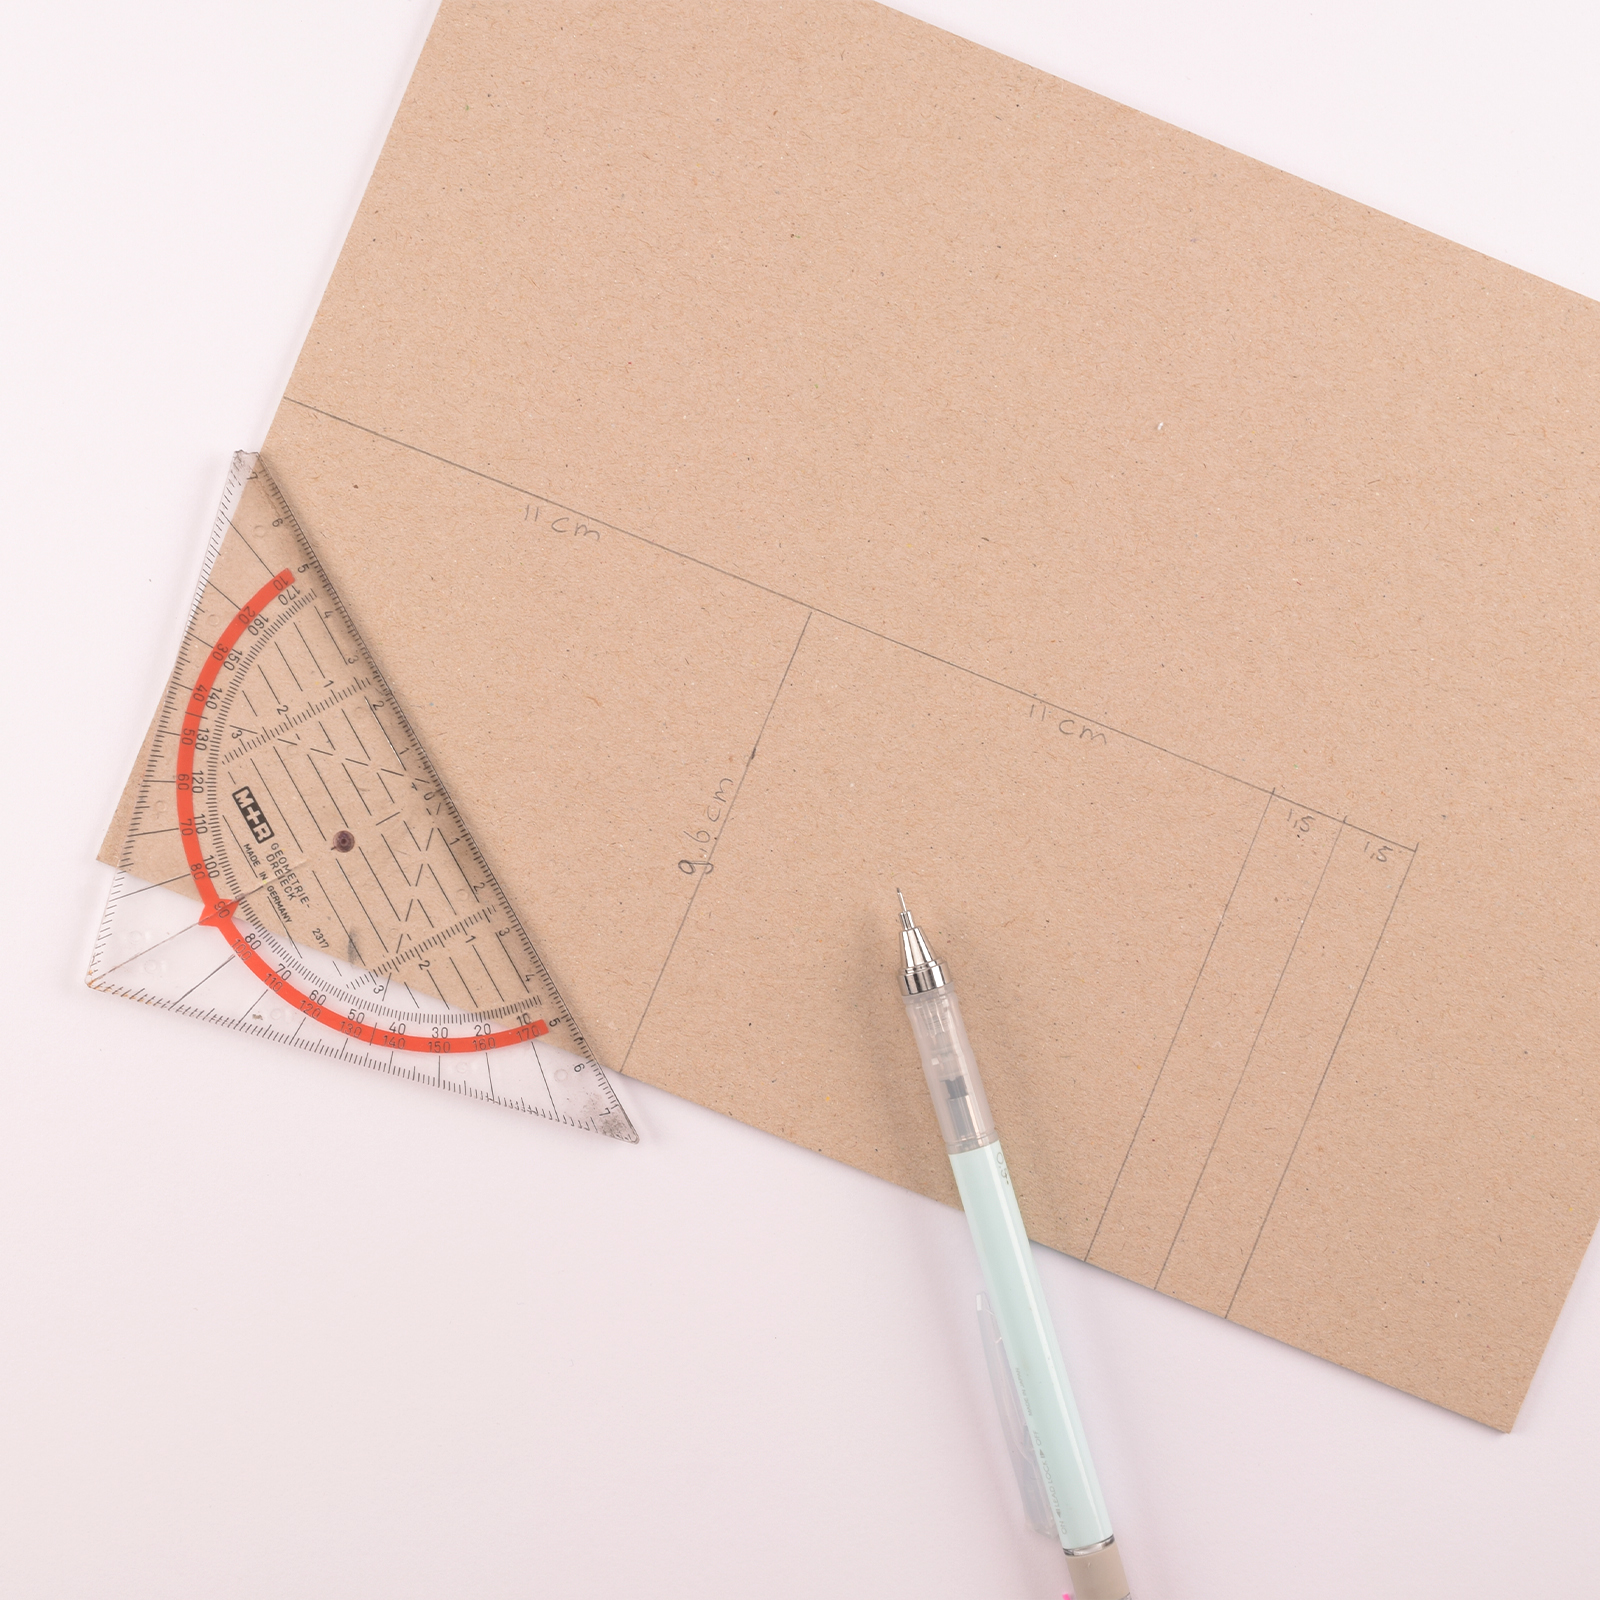
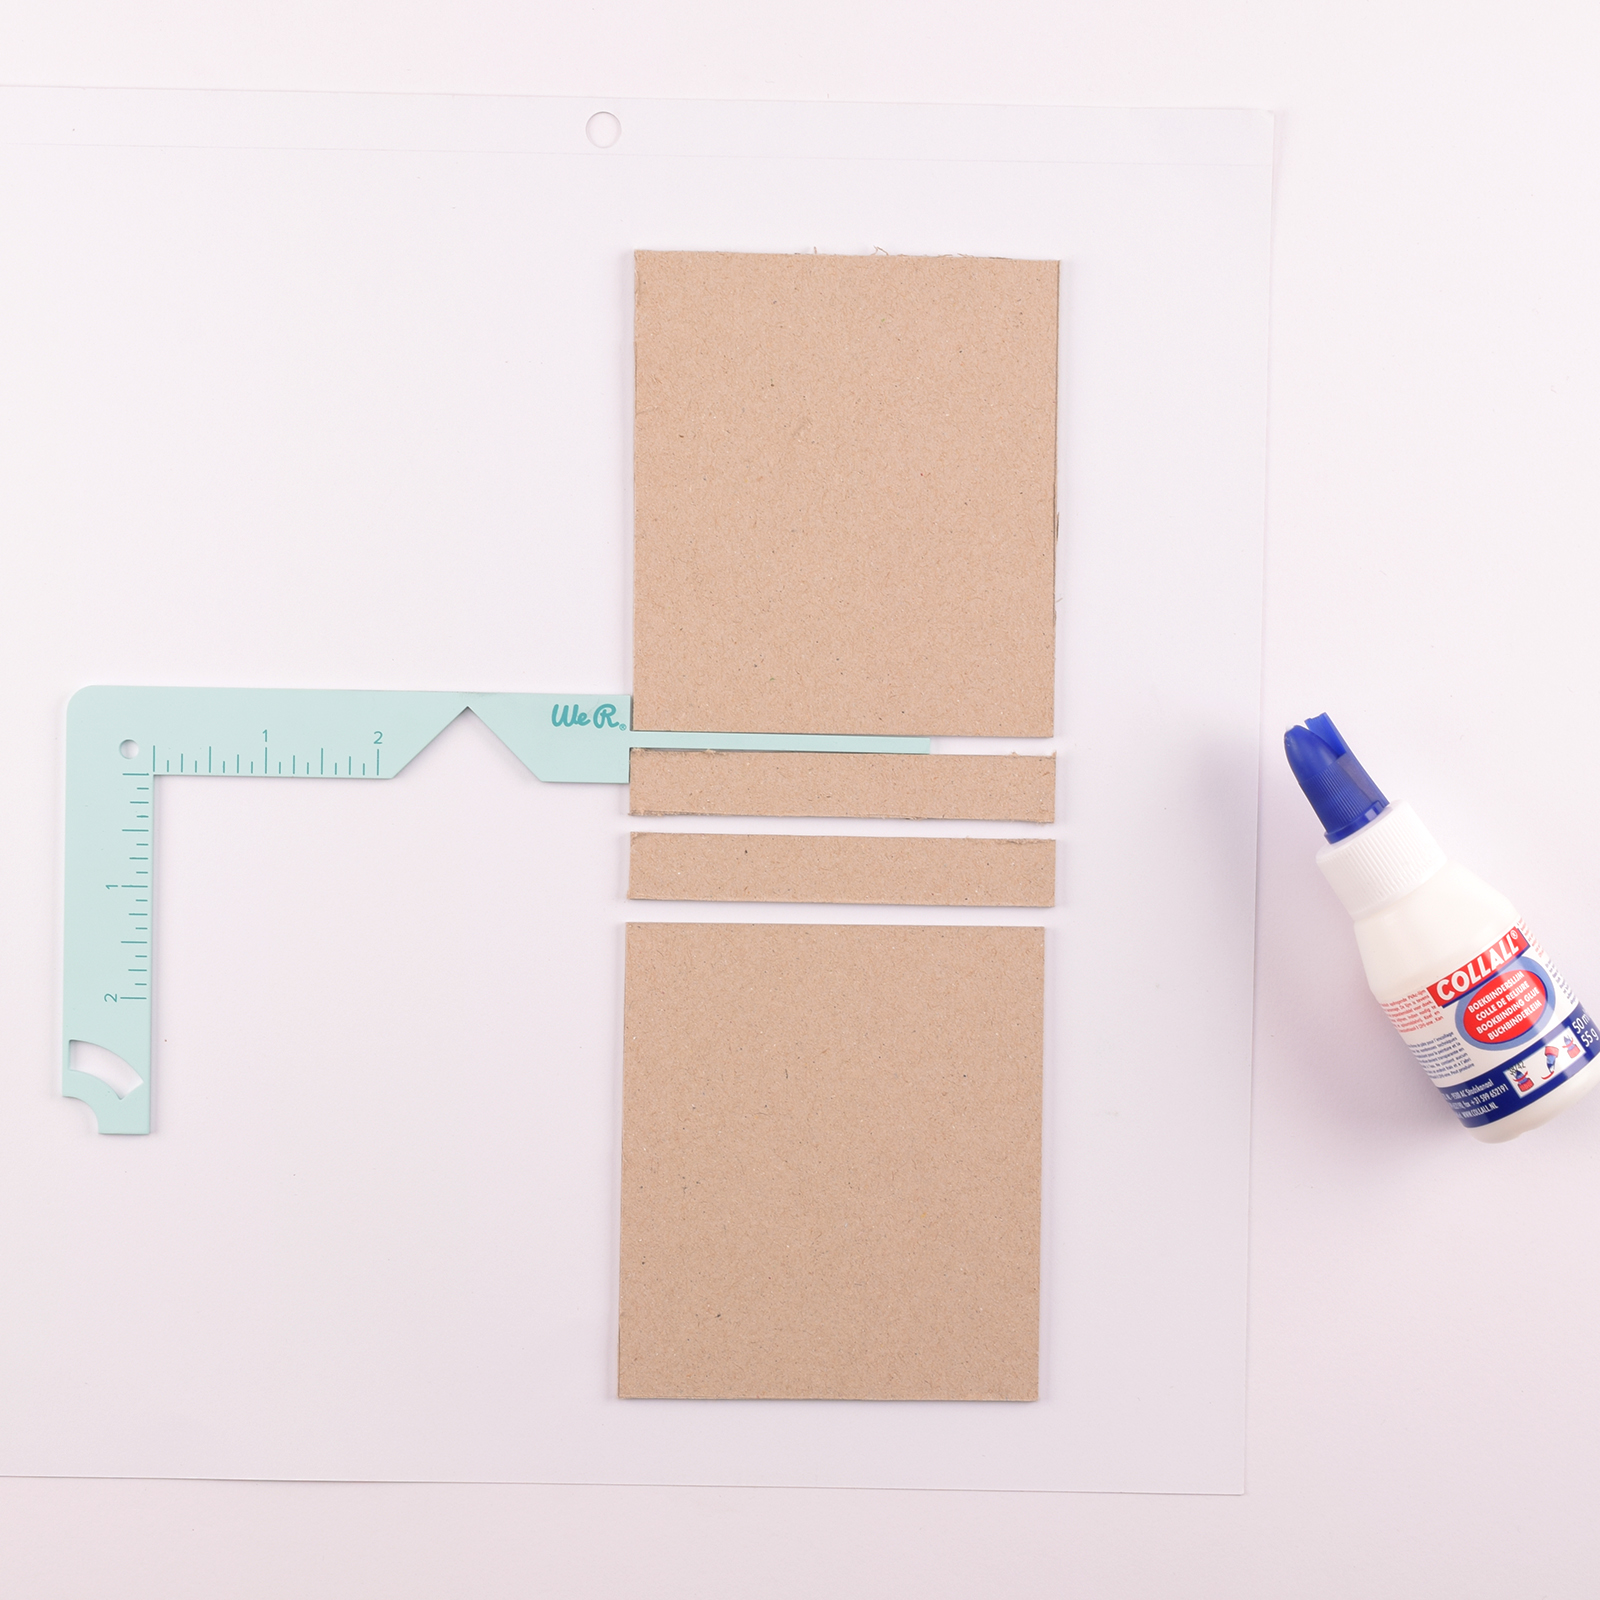
On a sheet of grey cardboard, draw two squares measuring 9.6 x 11 cm and two rectangles measuring 9.6 x 1.5 cm.
4
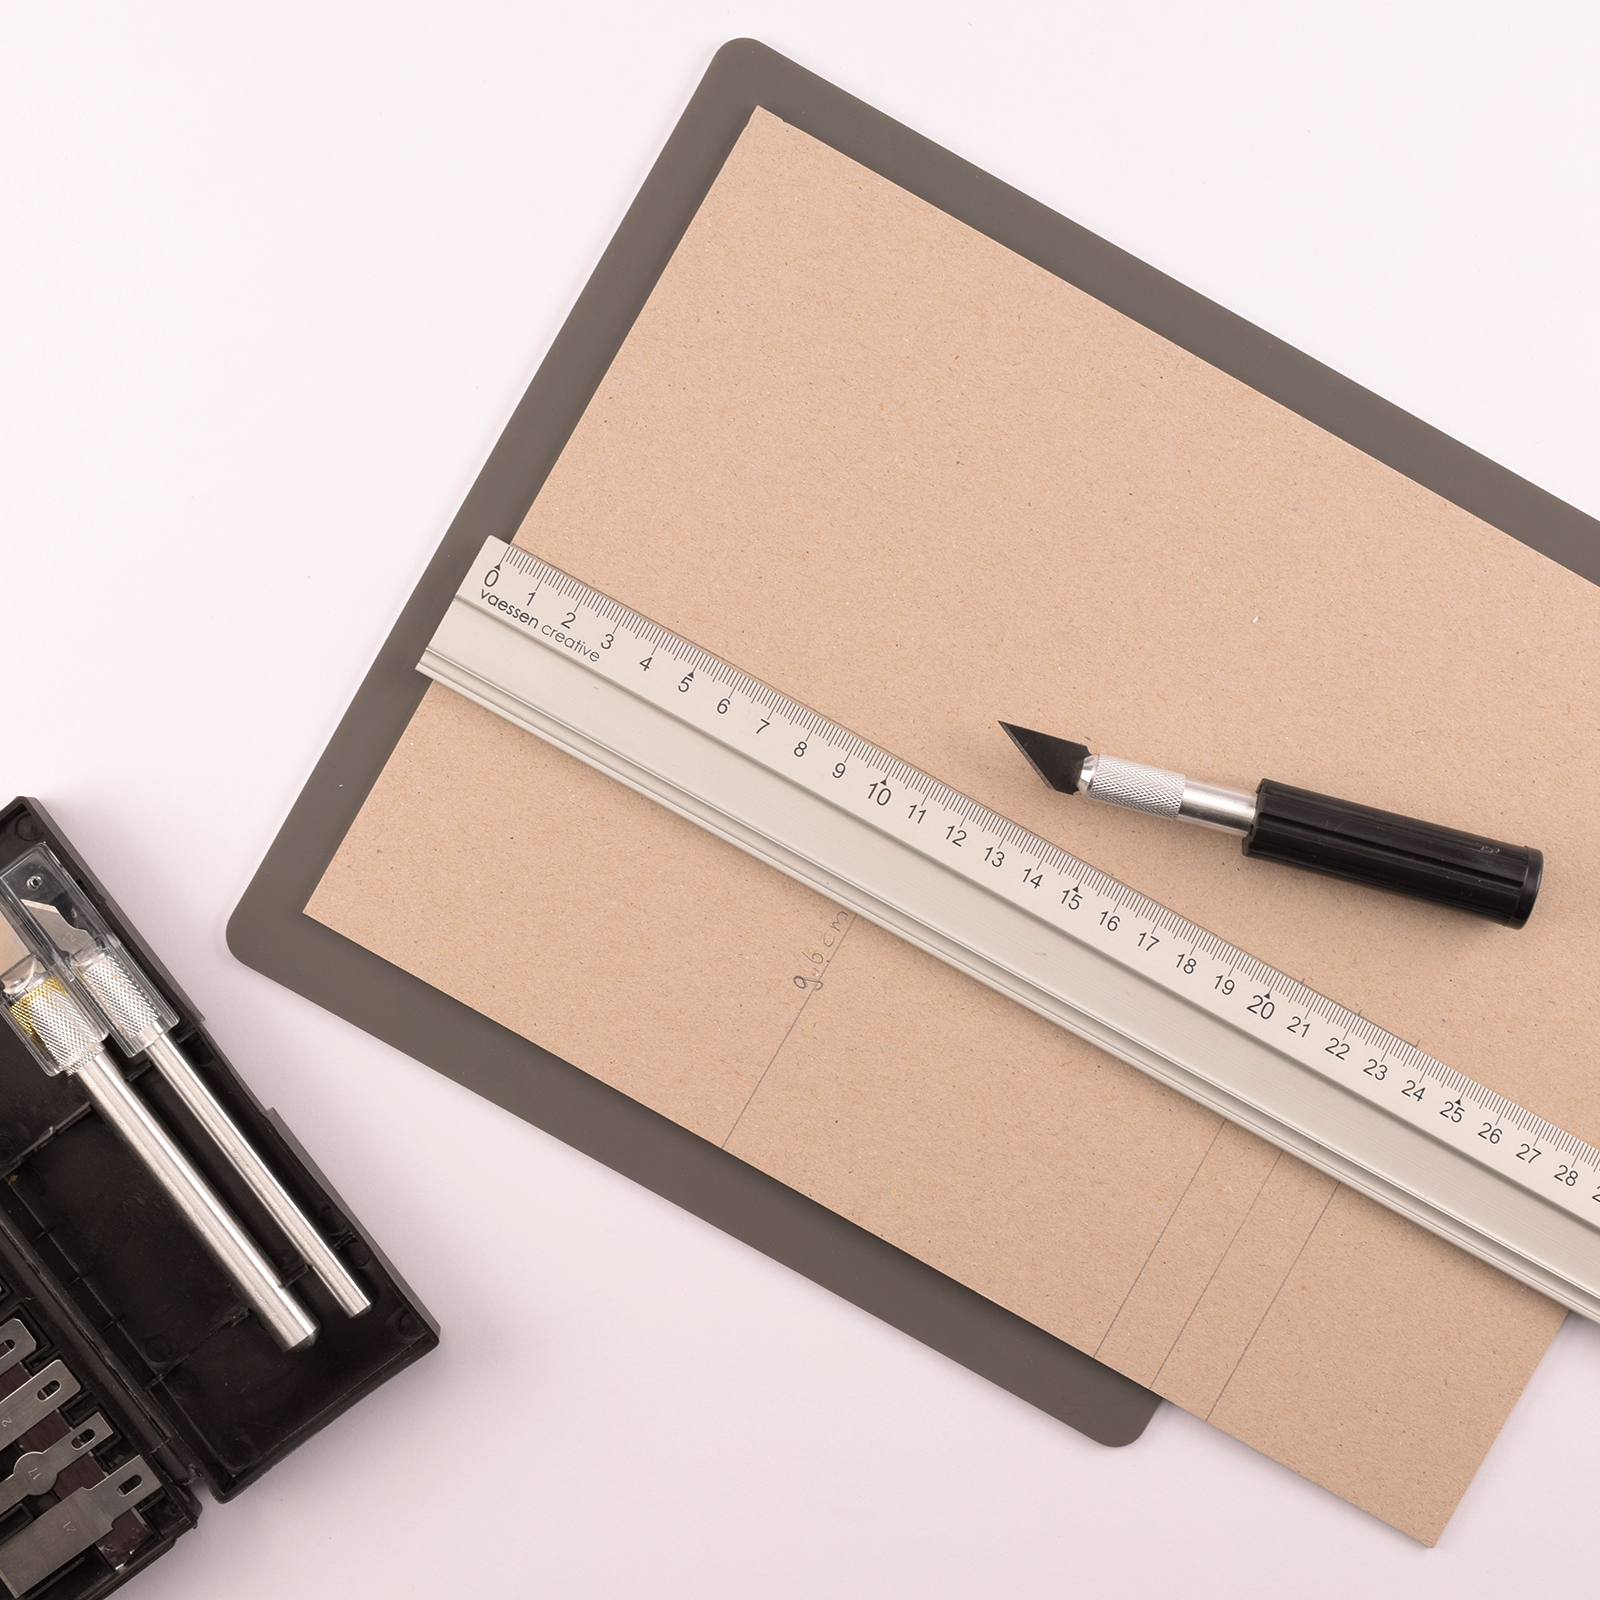
Place the grey cardboard on a cutting mat and use a craft knife and ruler to cut out the drawn shapes.
5
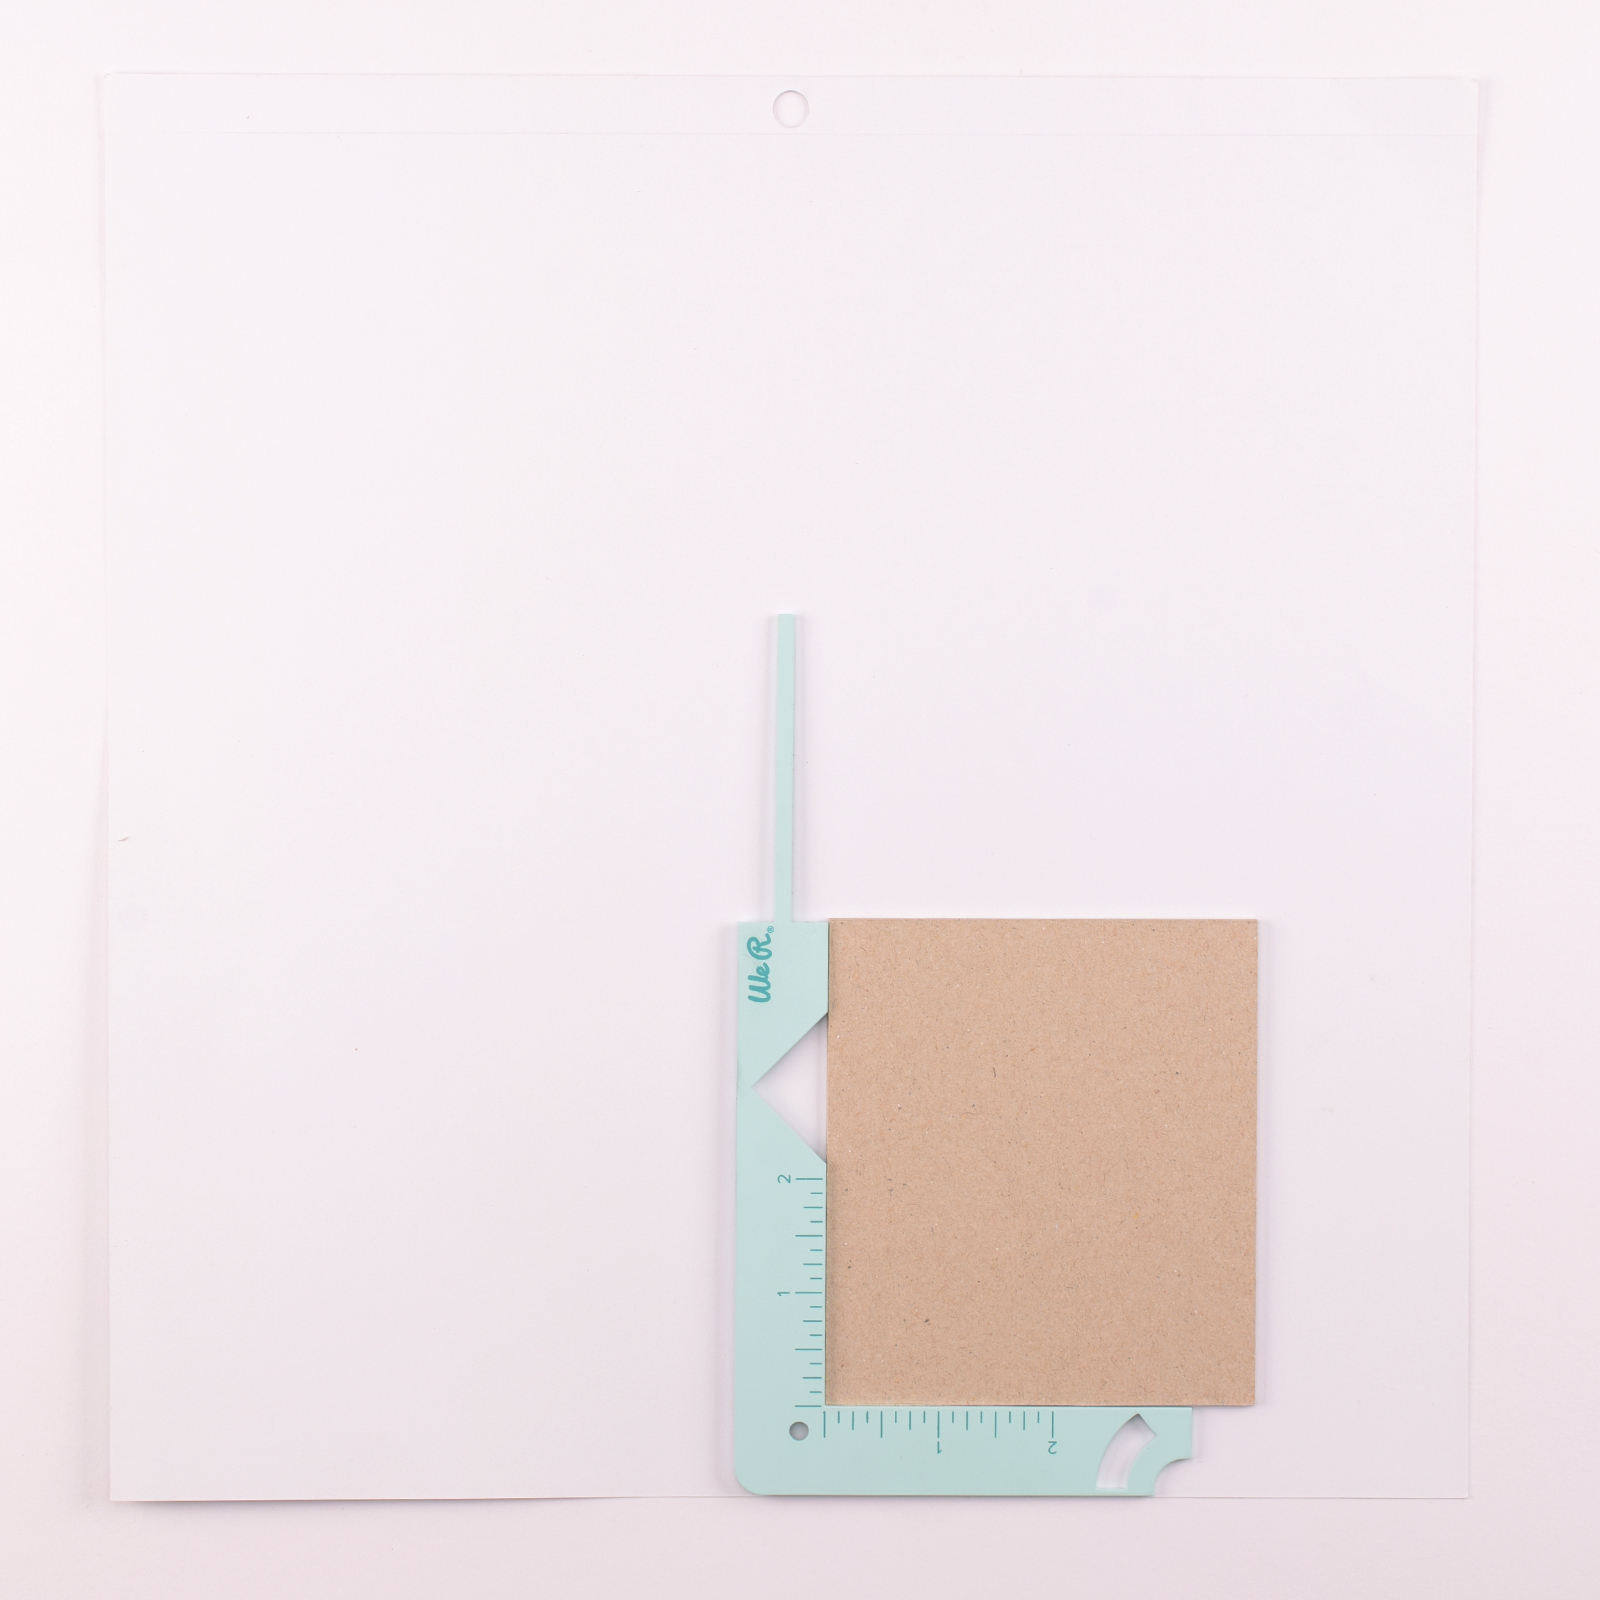
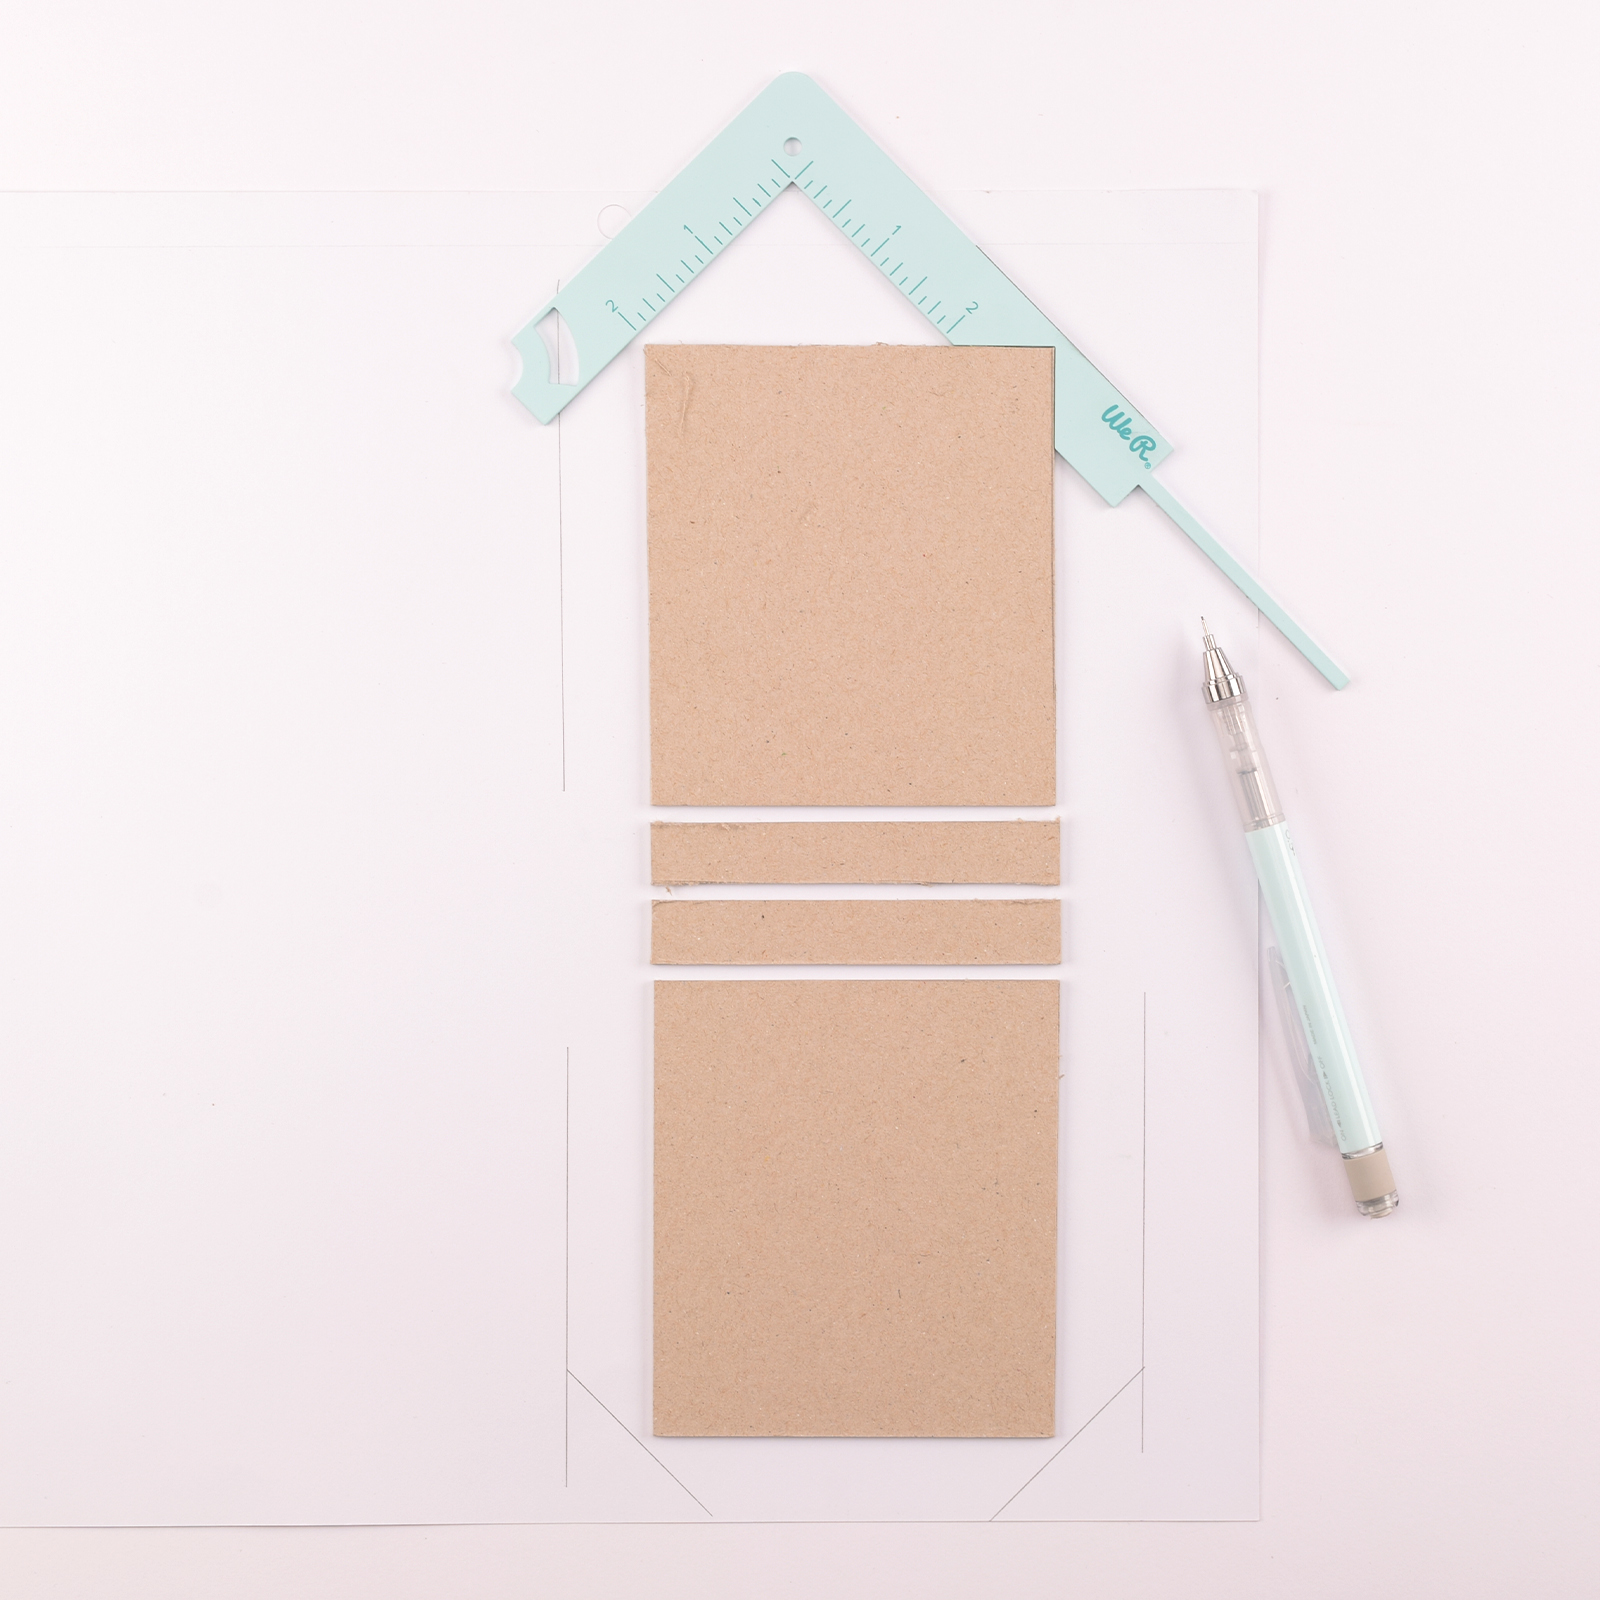
Take another sheet of scrapbook paper from the pad. Using the We R Makers Book Cover Guide, align and glue the first large square to the back of the paper.
6
Flip the Book Cover Guide over and use the narrow section to determine the spacing for the remaining cardboard pieces. Align and glue everything in place as shown in the photo.
7
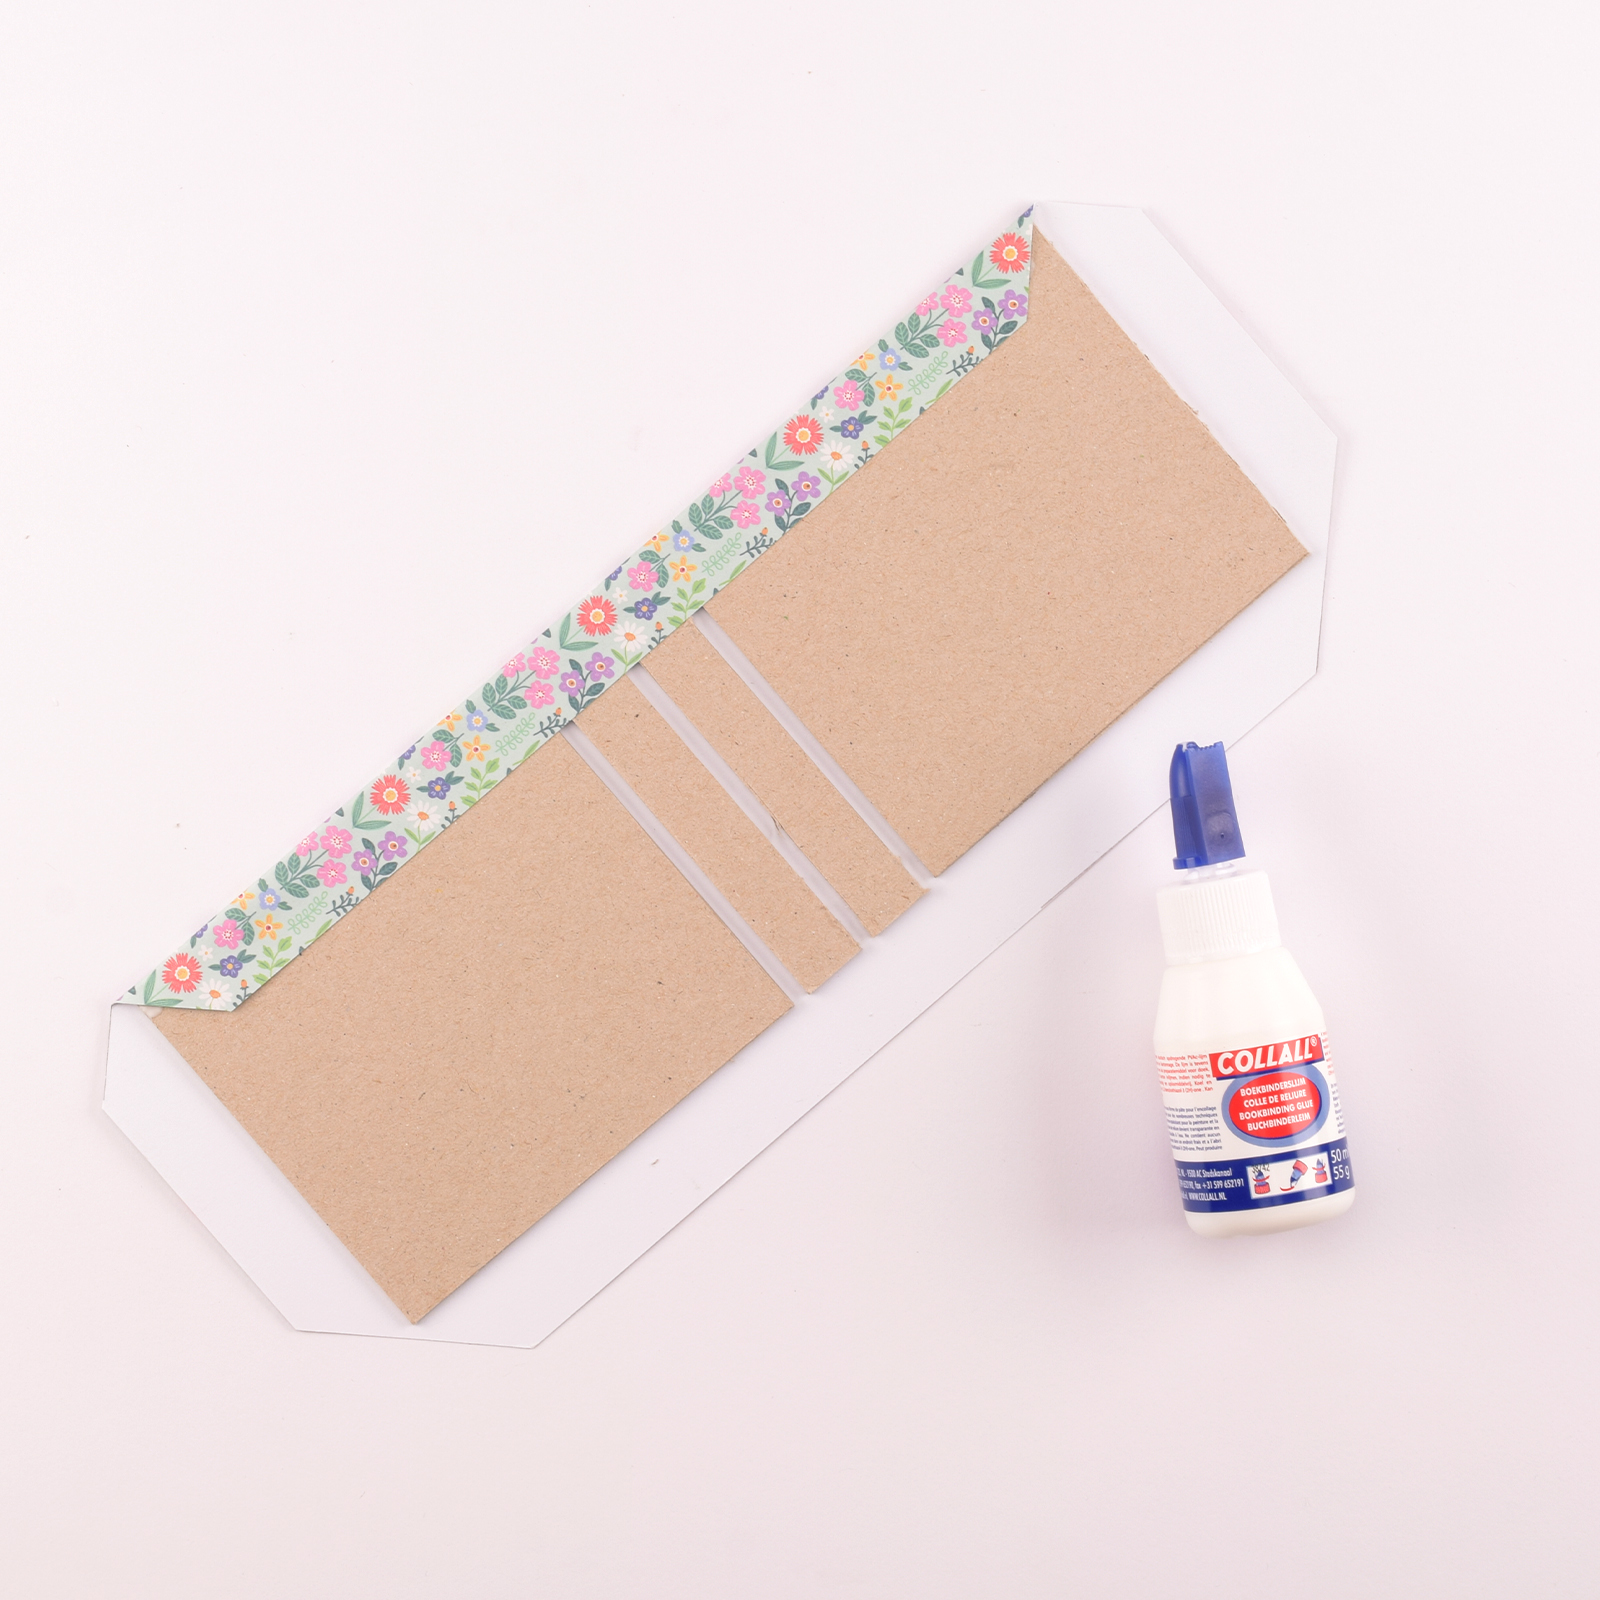
Use the guide’s notches to mark angled cuts for the corners, and use the tool’s width to draw straight edges, then cut them out.
8
Fold the paper flaps tightly around the cardboard and glue them down.
9
Cut another sheet of paper to 9 x 25 cm and glue it in place.
10
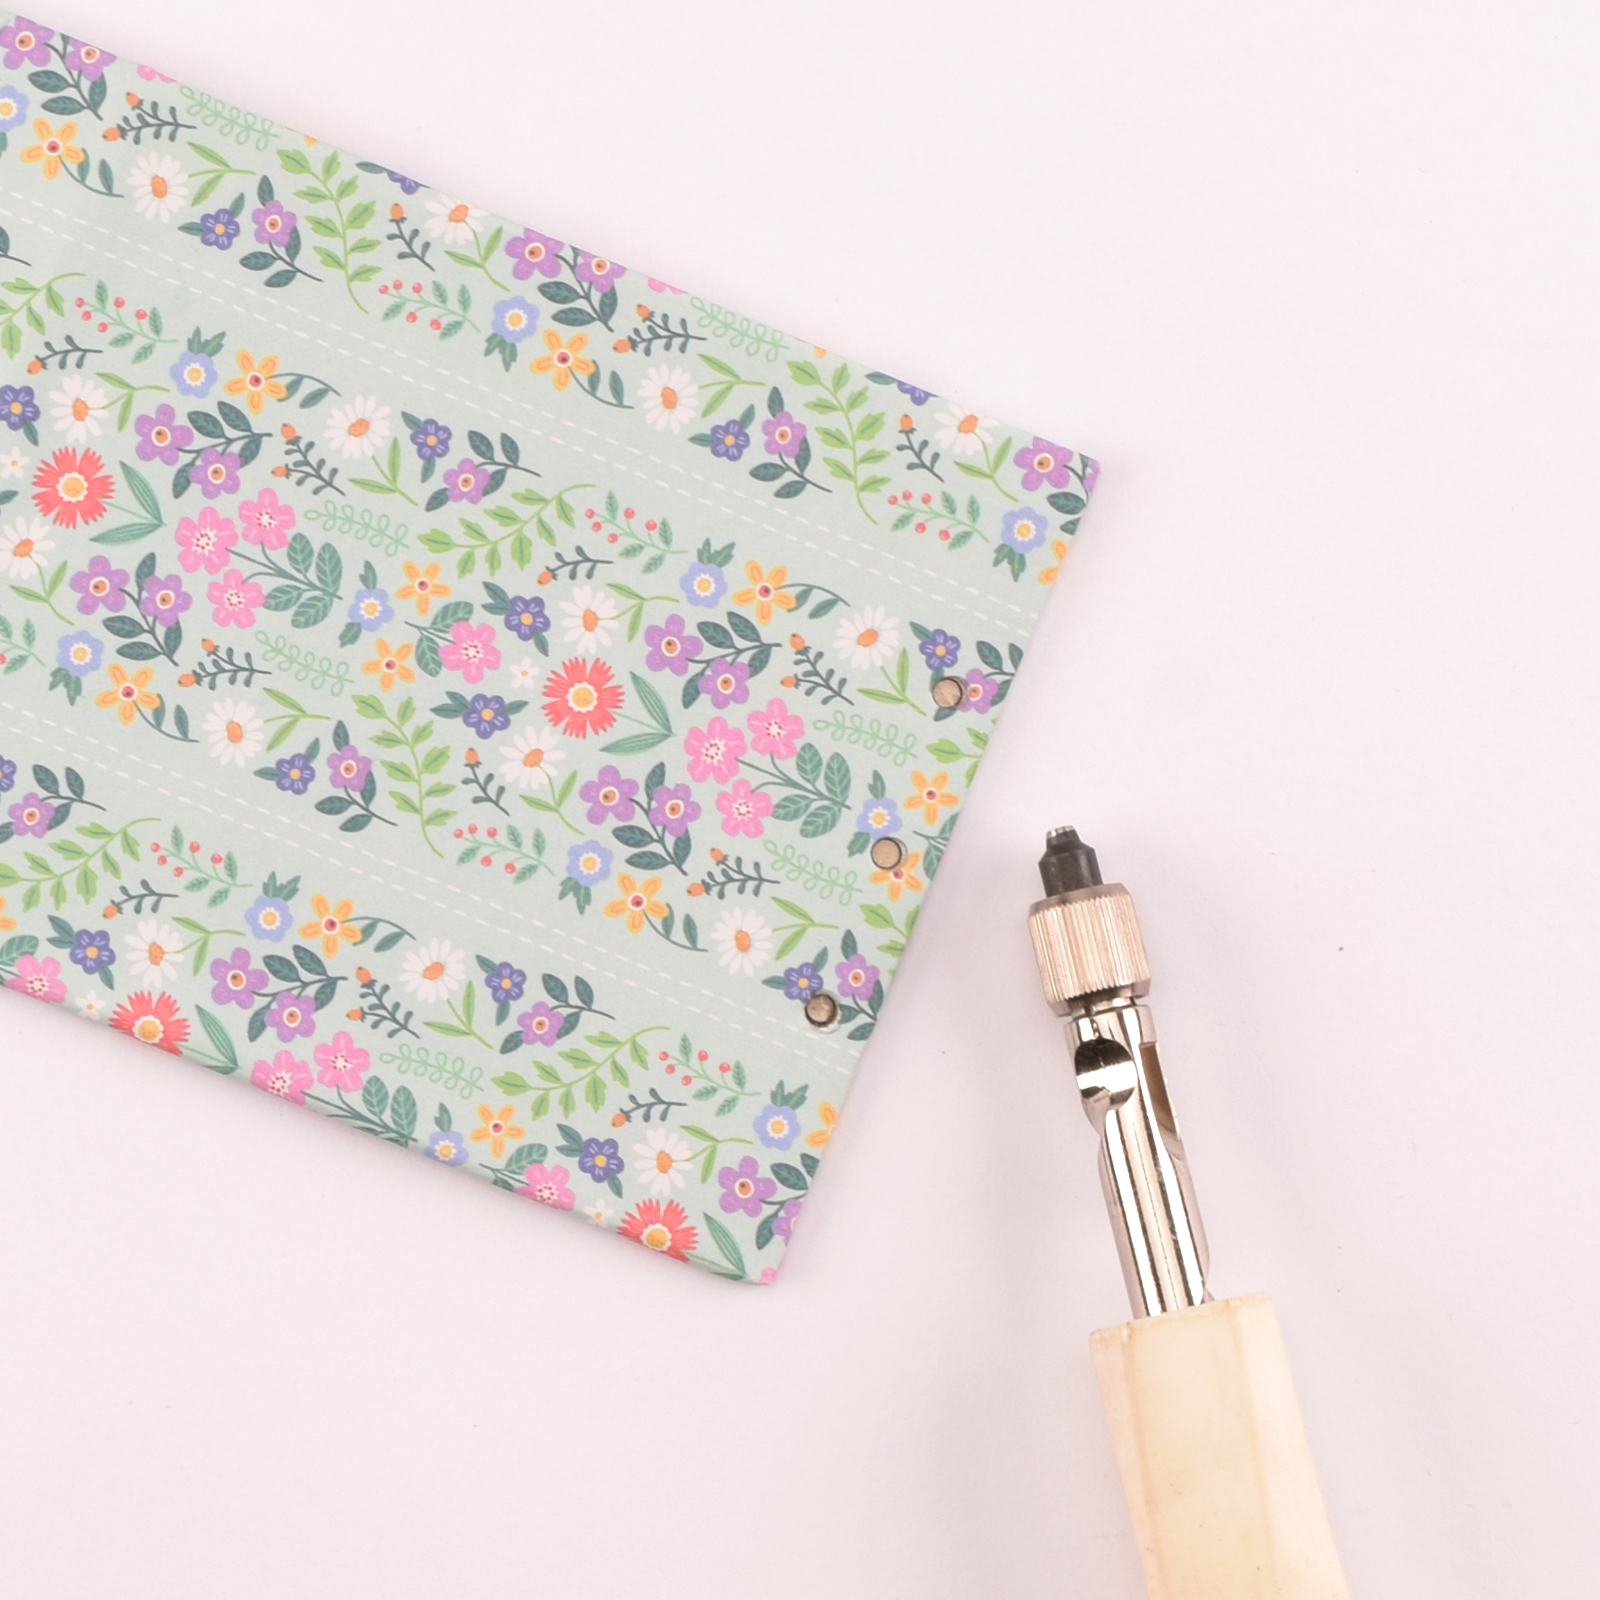
With a screw punch, make three holes along the narrow sides of the cardboard base, ensuring they are evenly spaced to match the holes punched earlier. You may want to mark the measurements before punching.
11
Fold along the scored lines in the cardboard base, insert three binding rings through the holes, and attach the cut-out months to the rings.