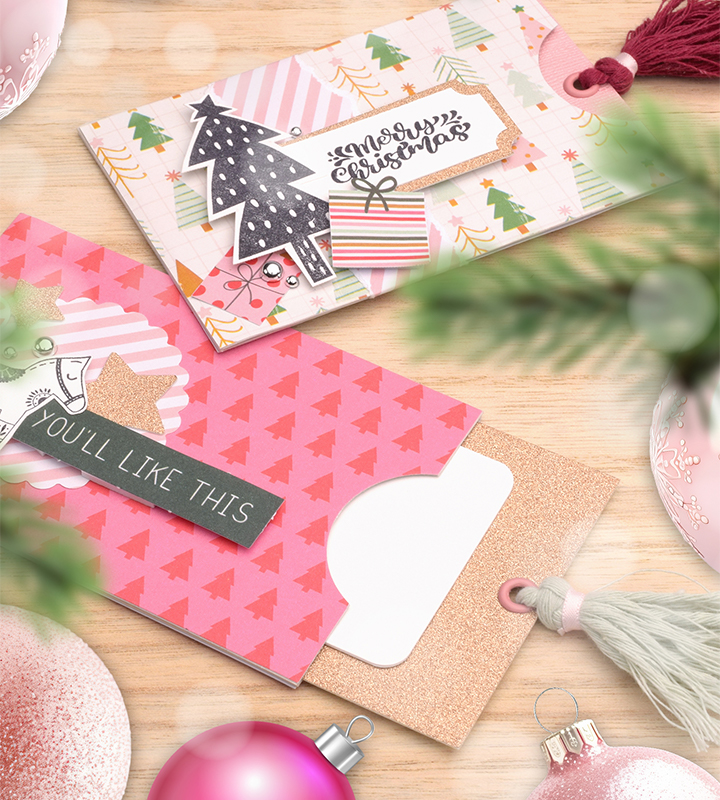
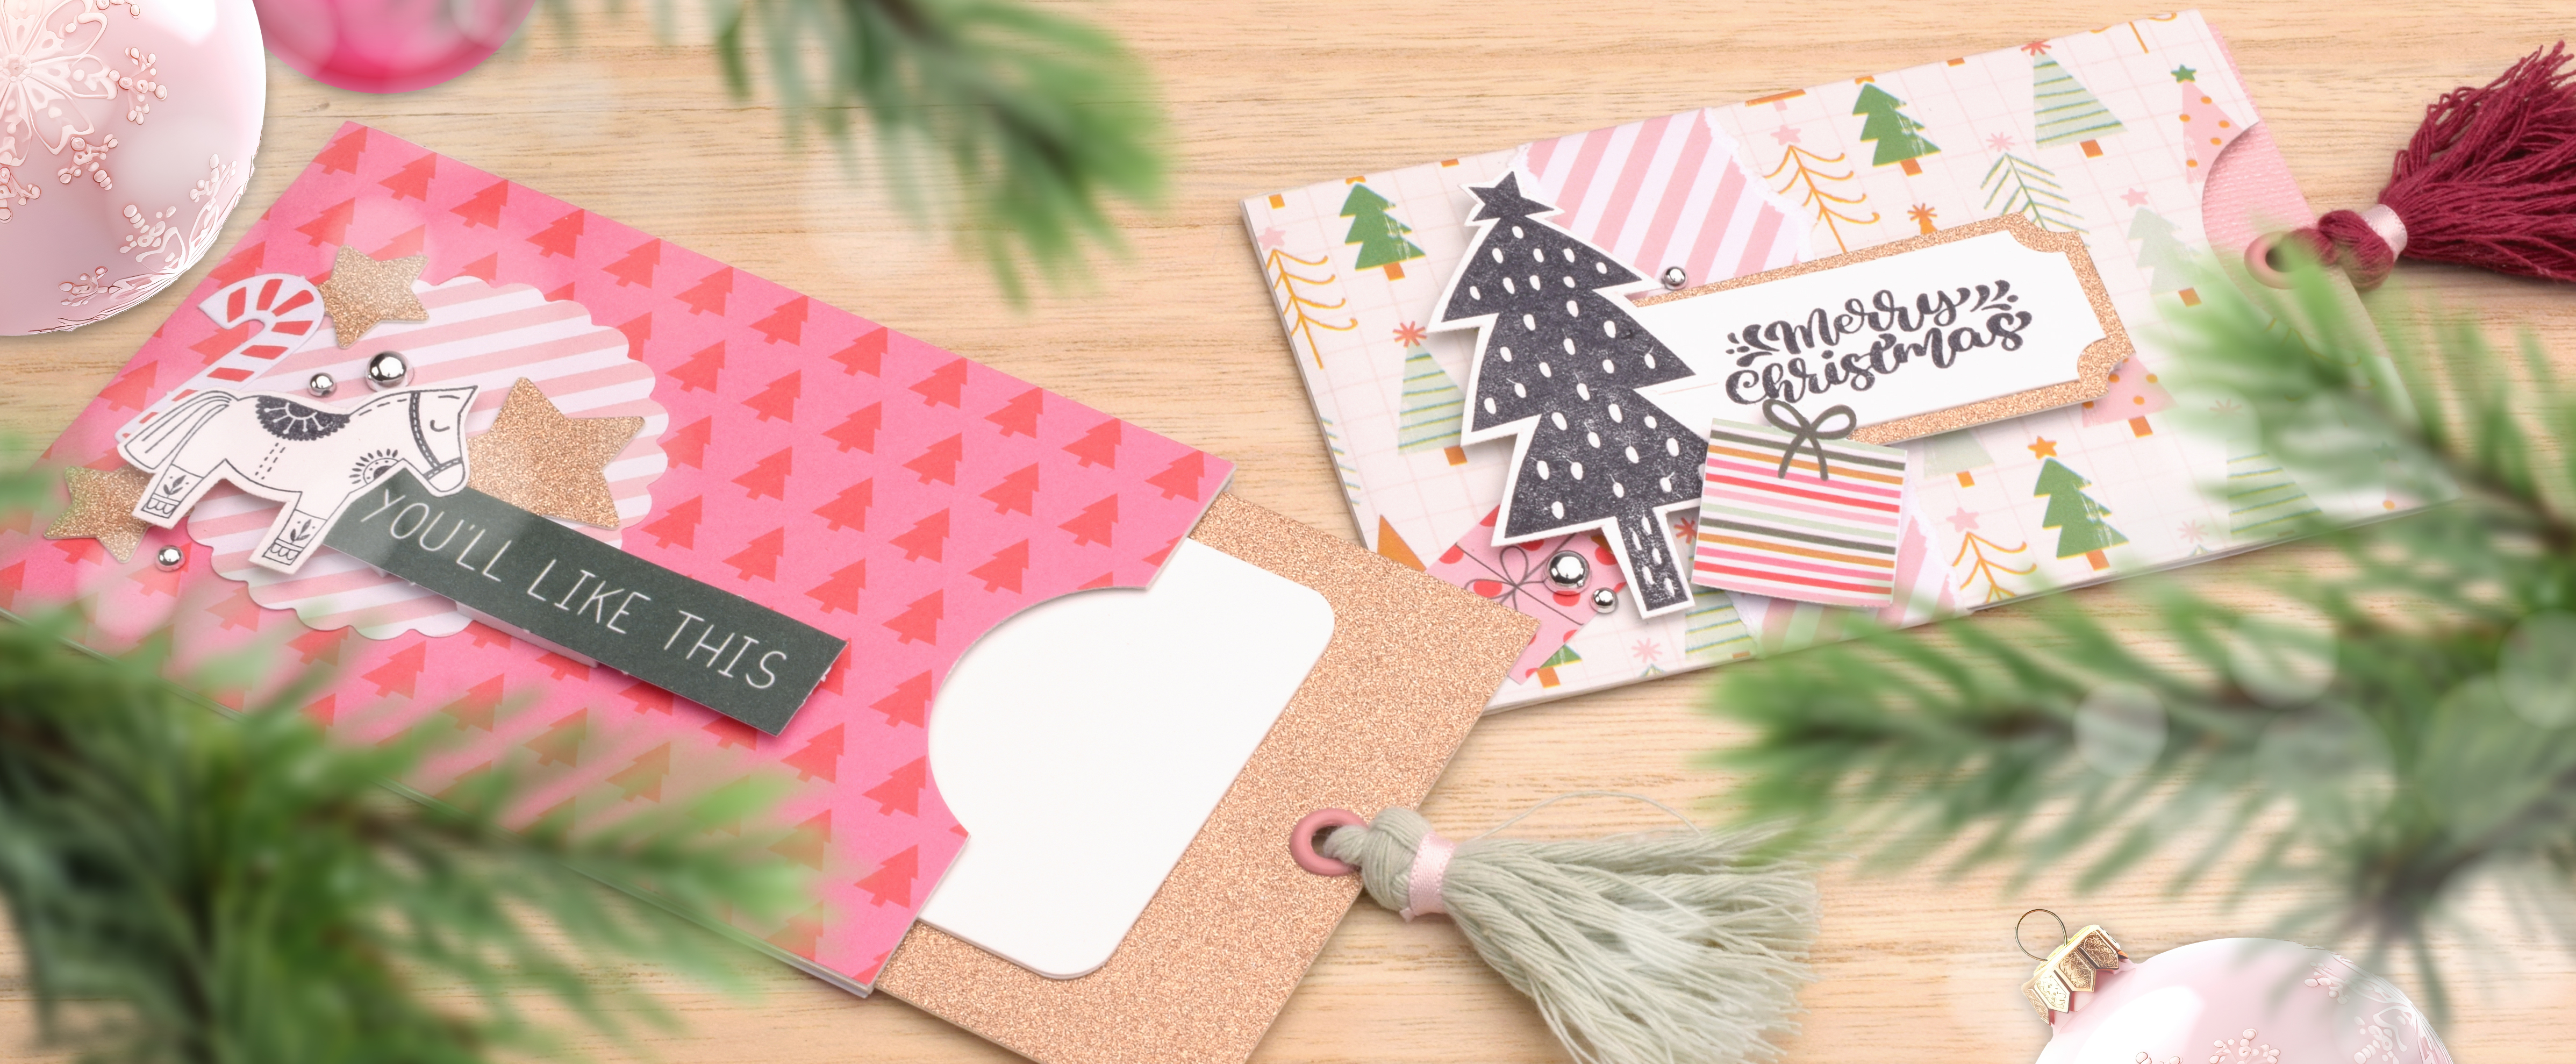
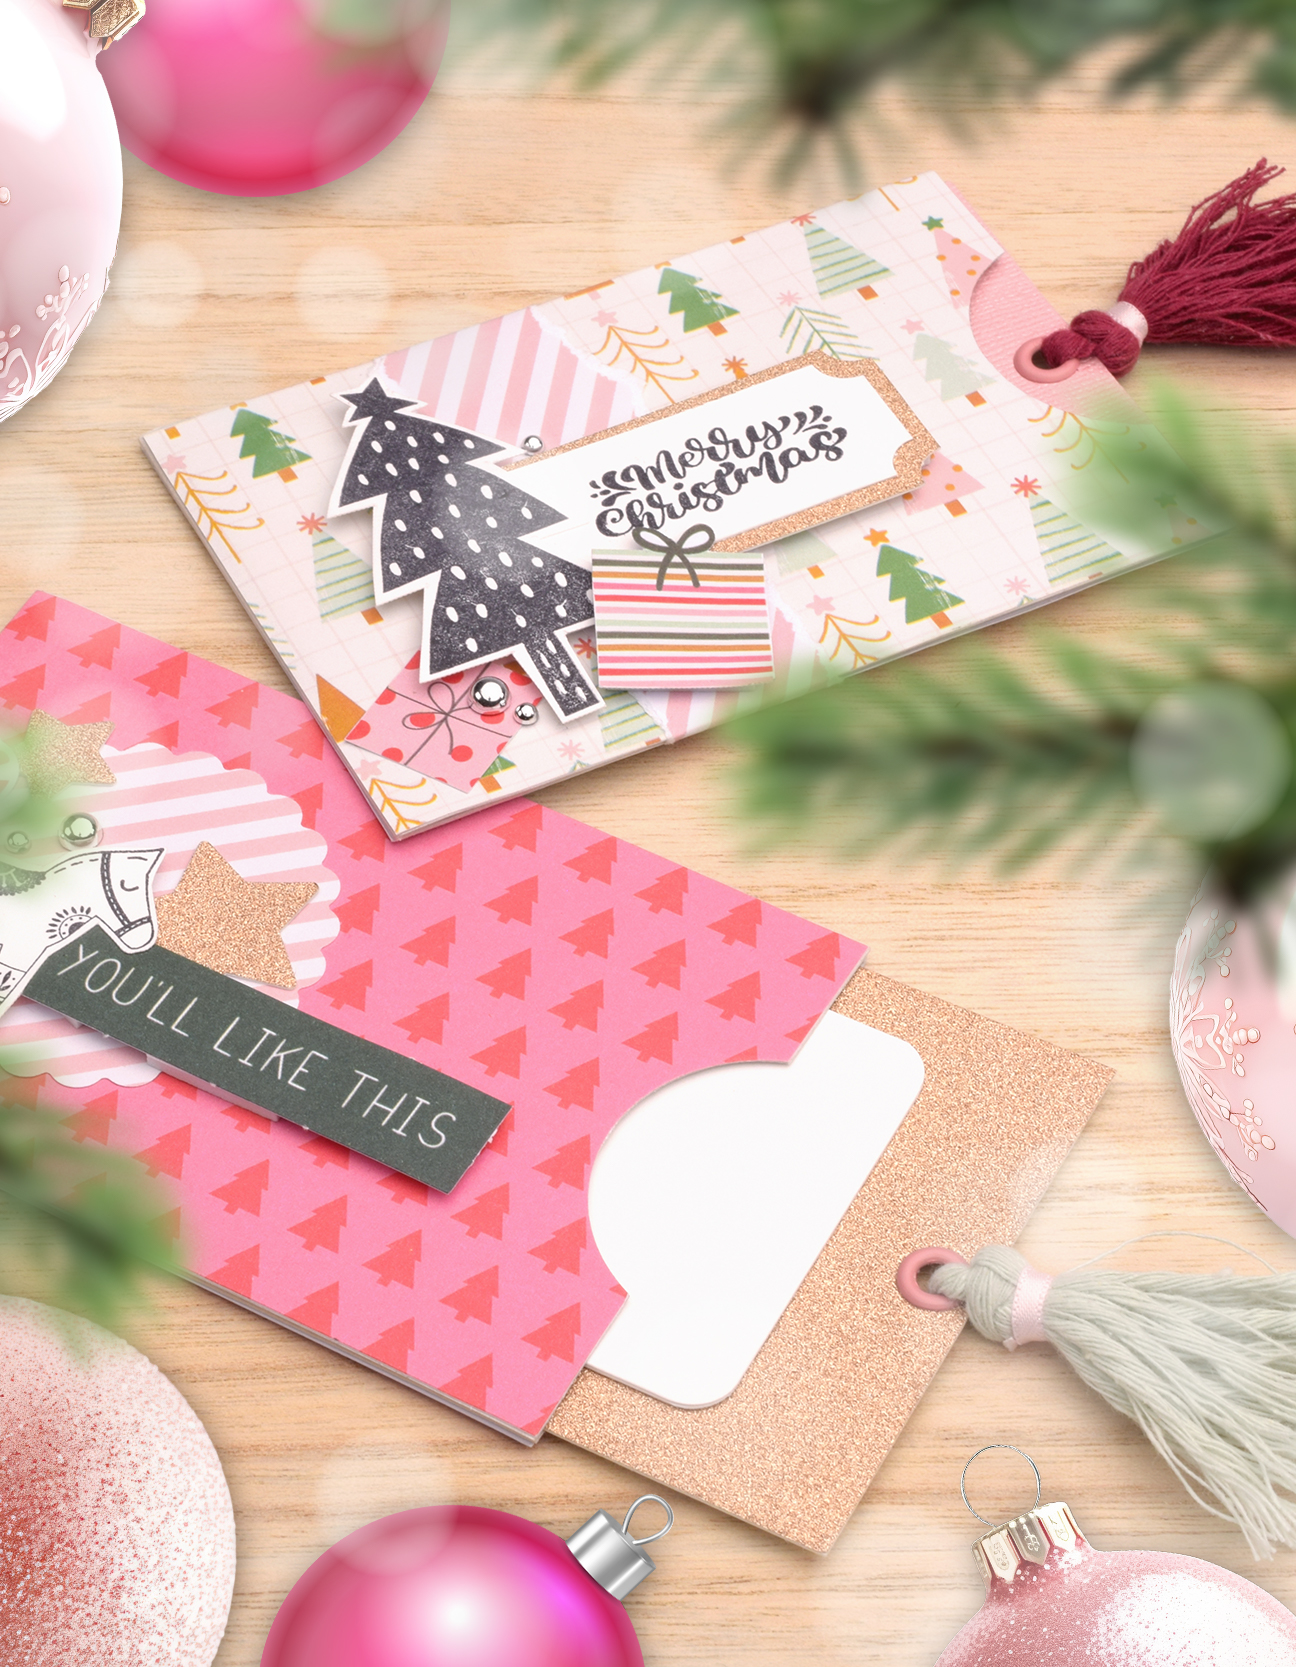
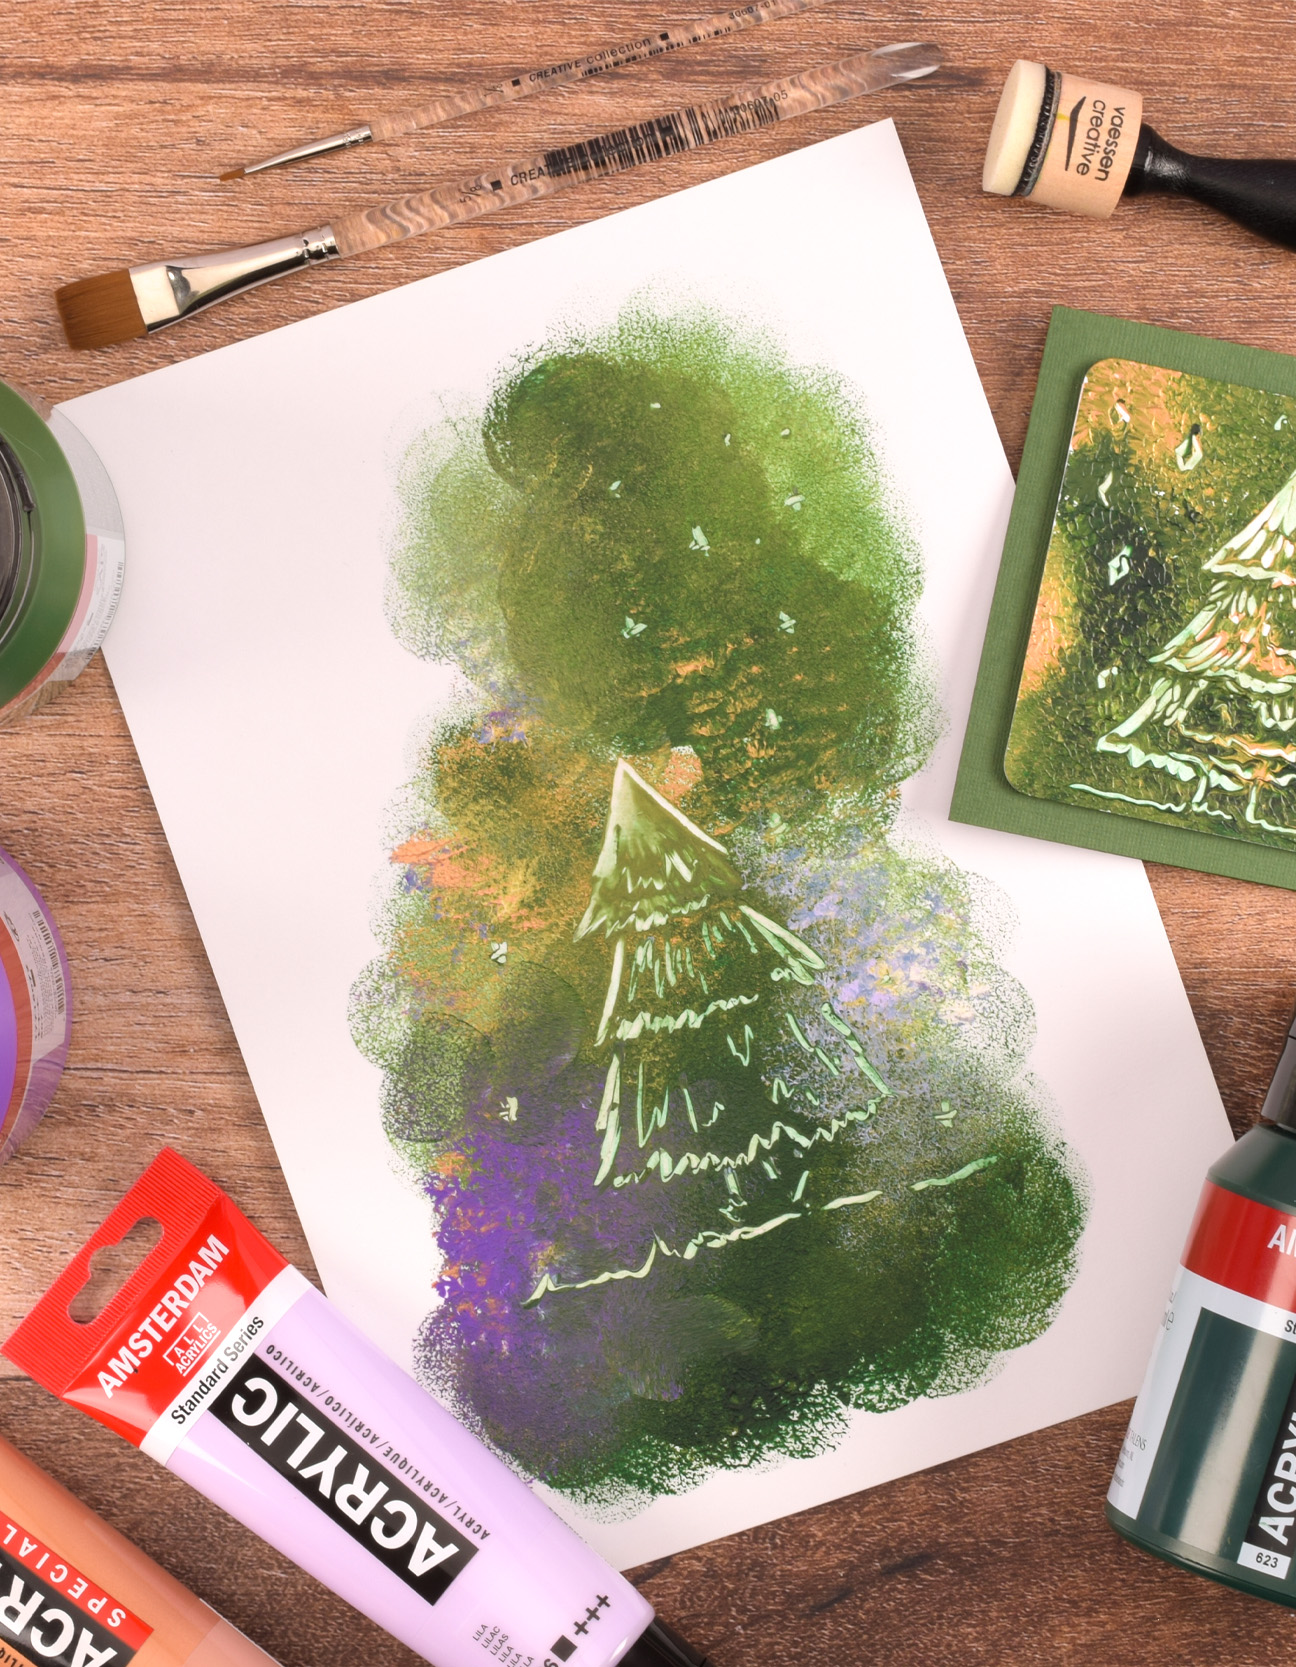
Planning to give a gift card this Christmas and want to make it more personal? This DIY
project is just what you need! Select your favourite paper and decorations to
craft a lovely sleeve for the gift card, turning your gift into a festive
celebration.
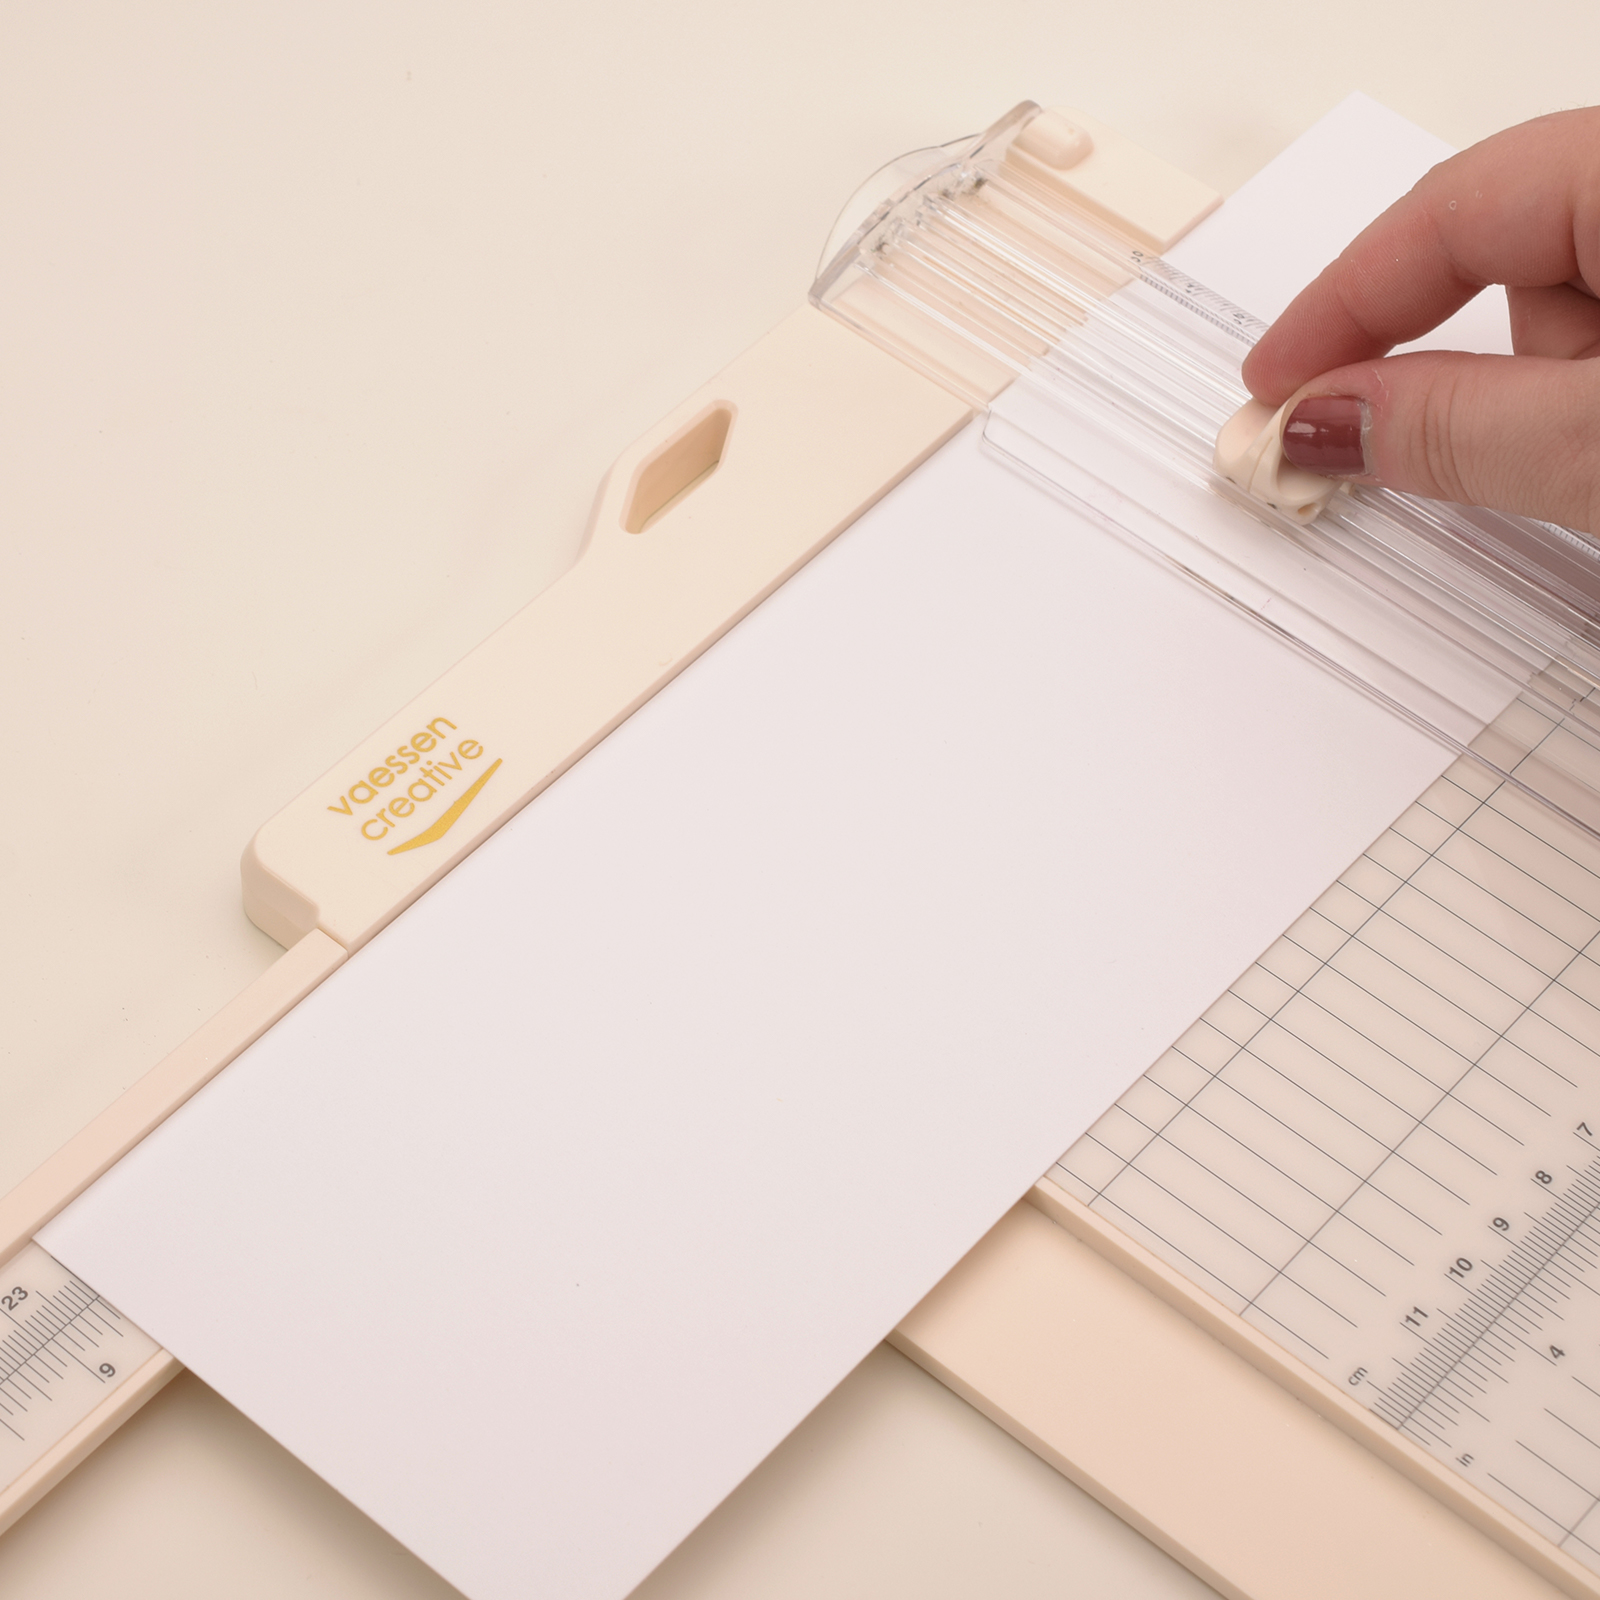
1
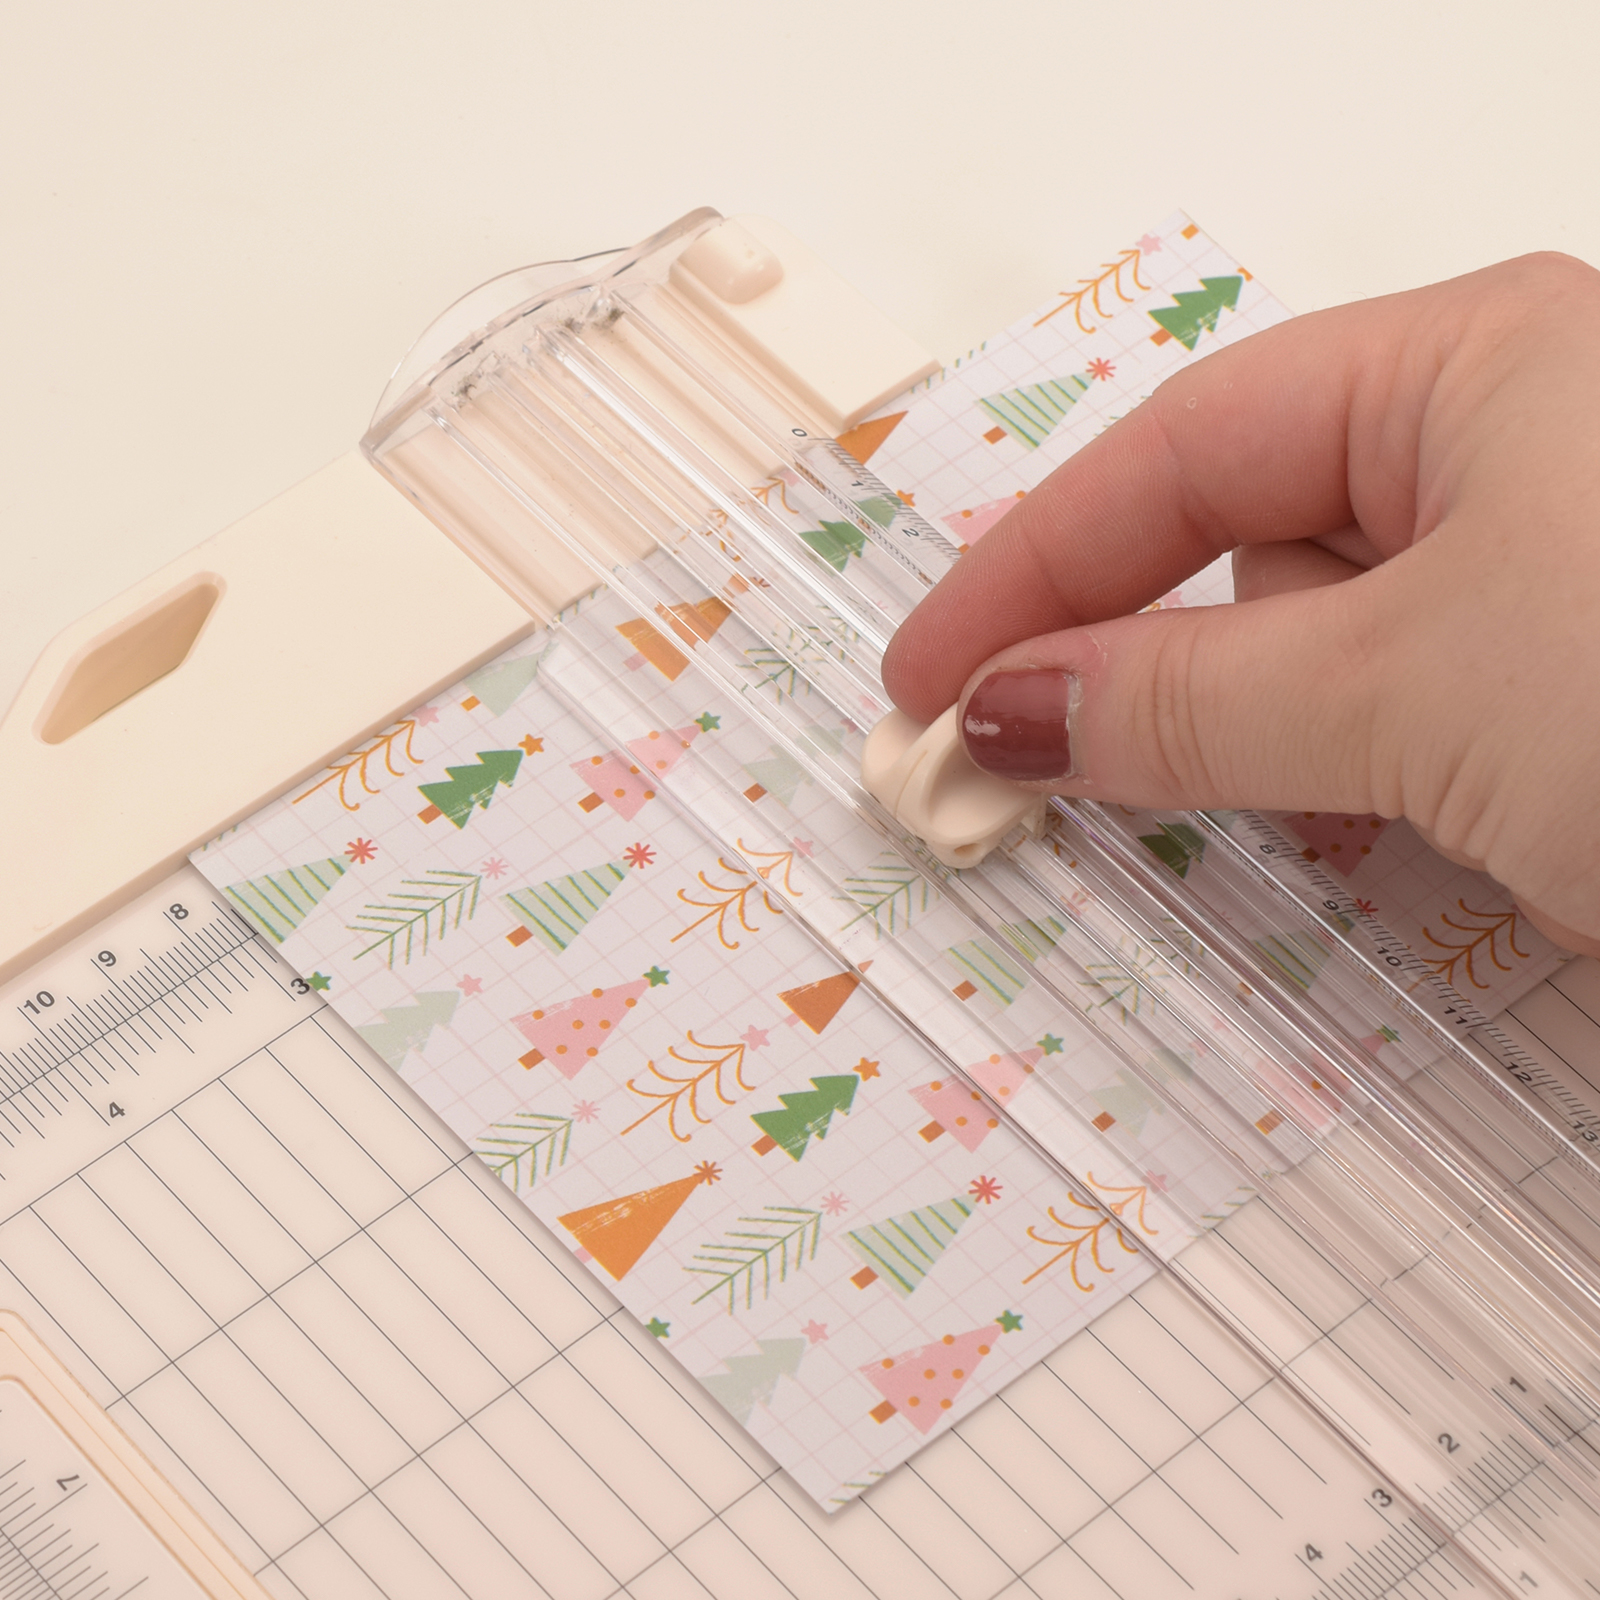
Cut a piece of paper measuring 22 x 9.4 cm for the sleeve.
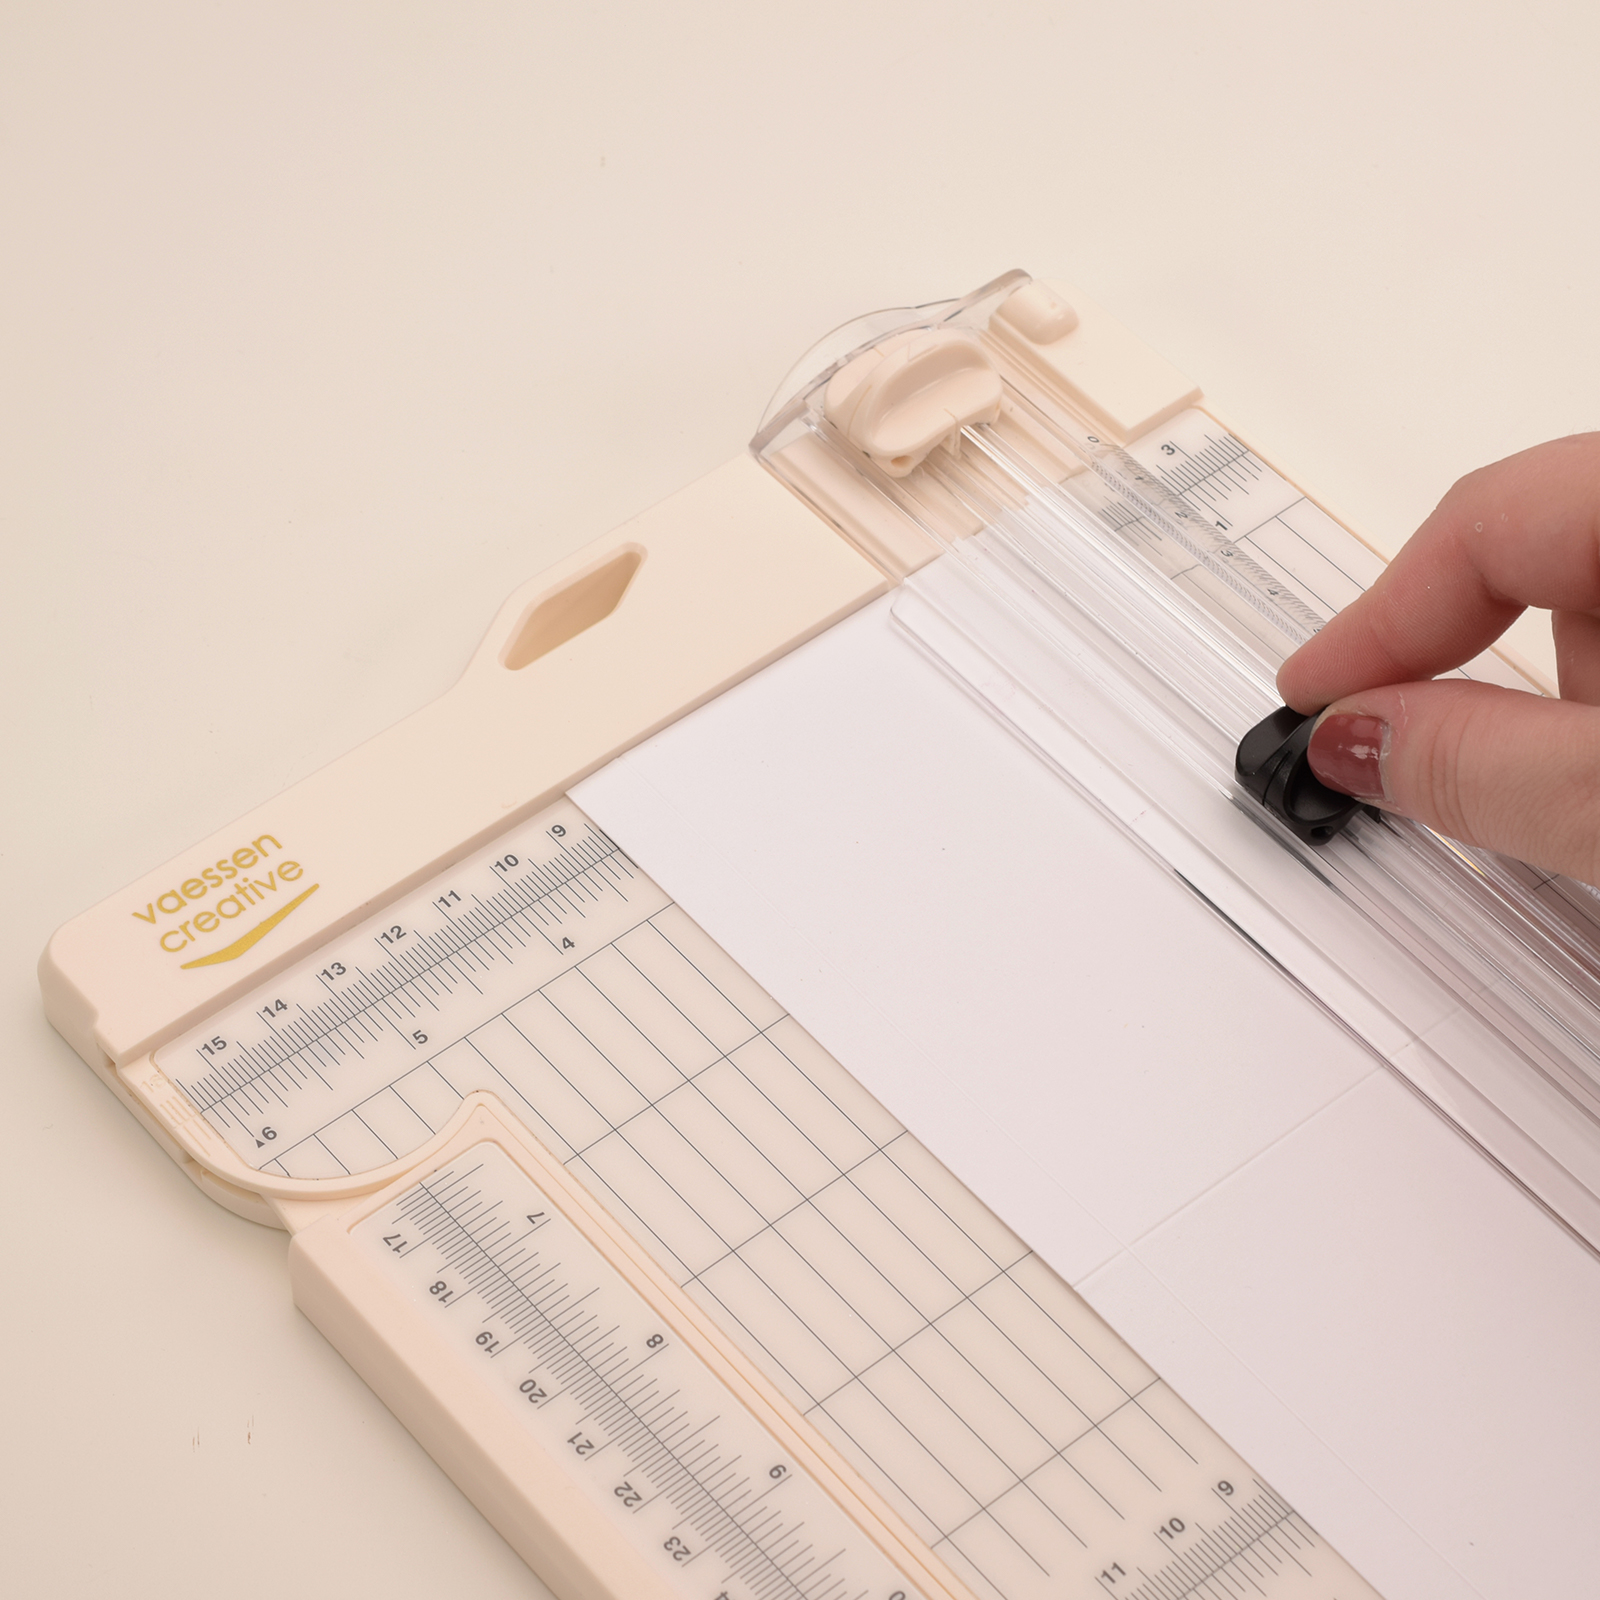
2
Score the long side at 11 cm and the short side at 1 cm and 8.4 cm.
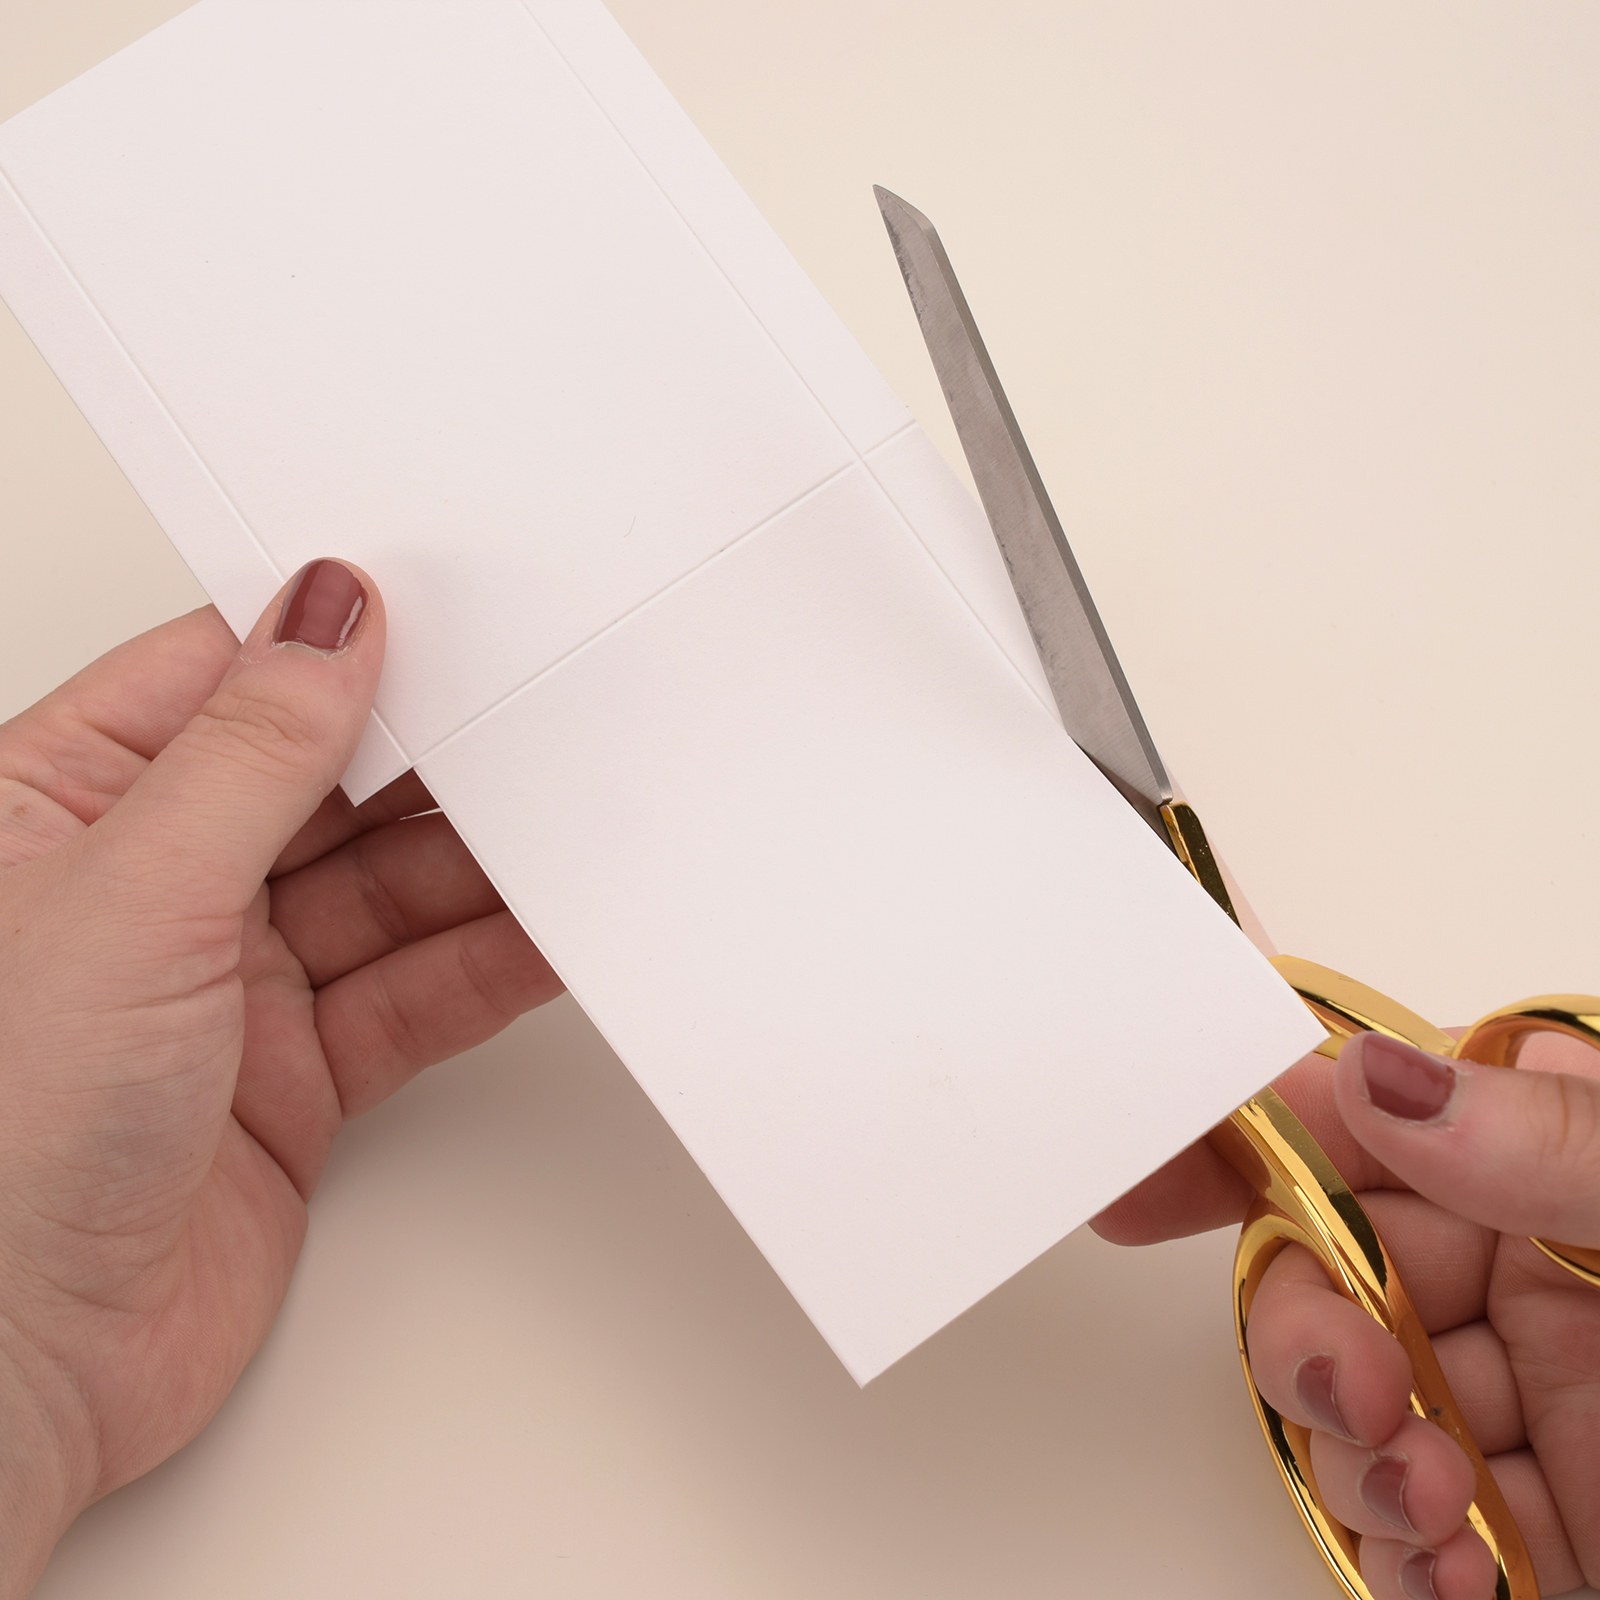
3
Cut away two adhesive strips on one side.
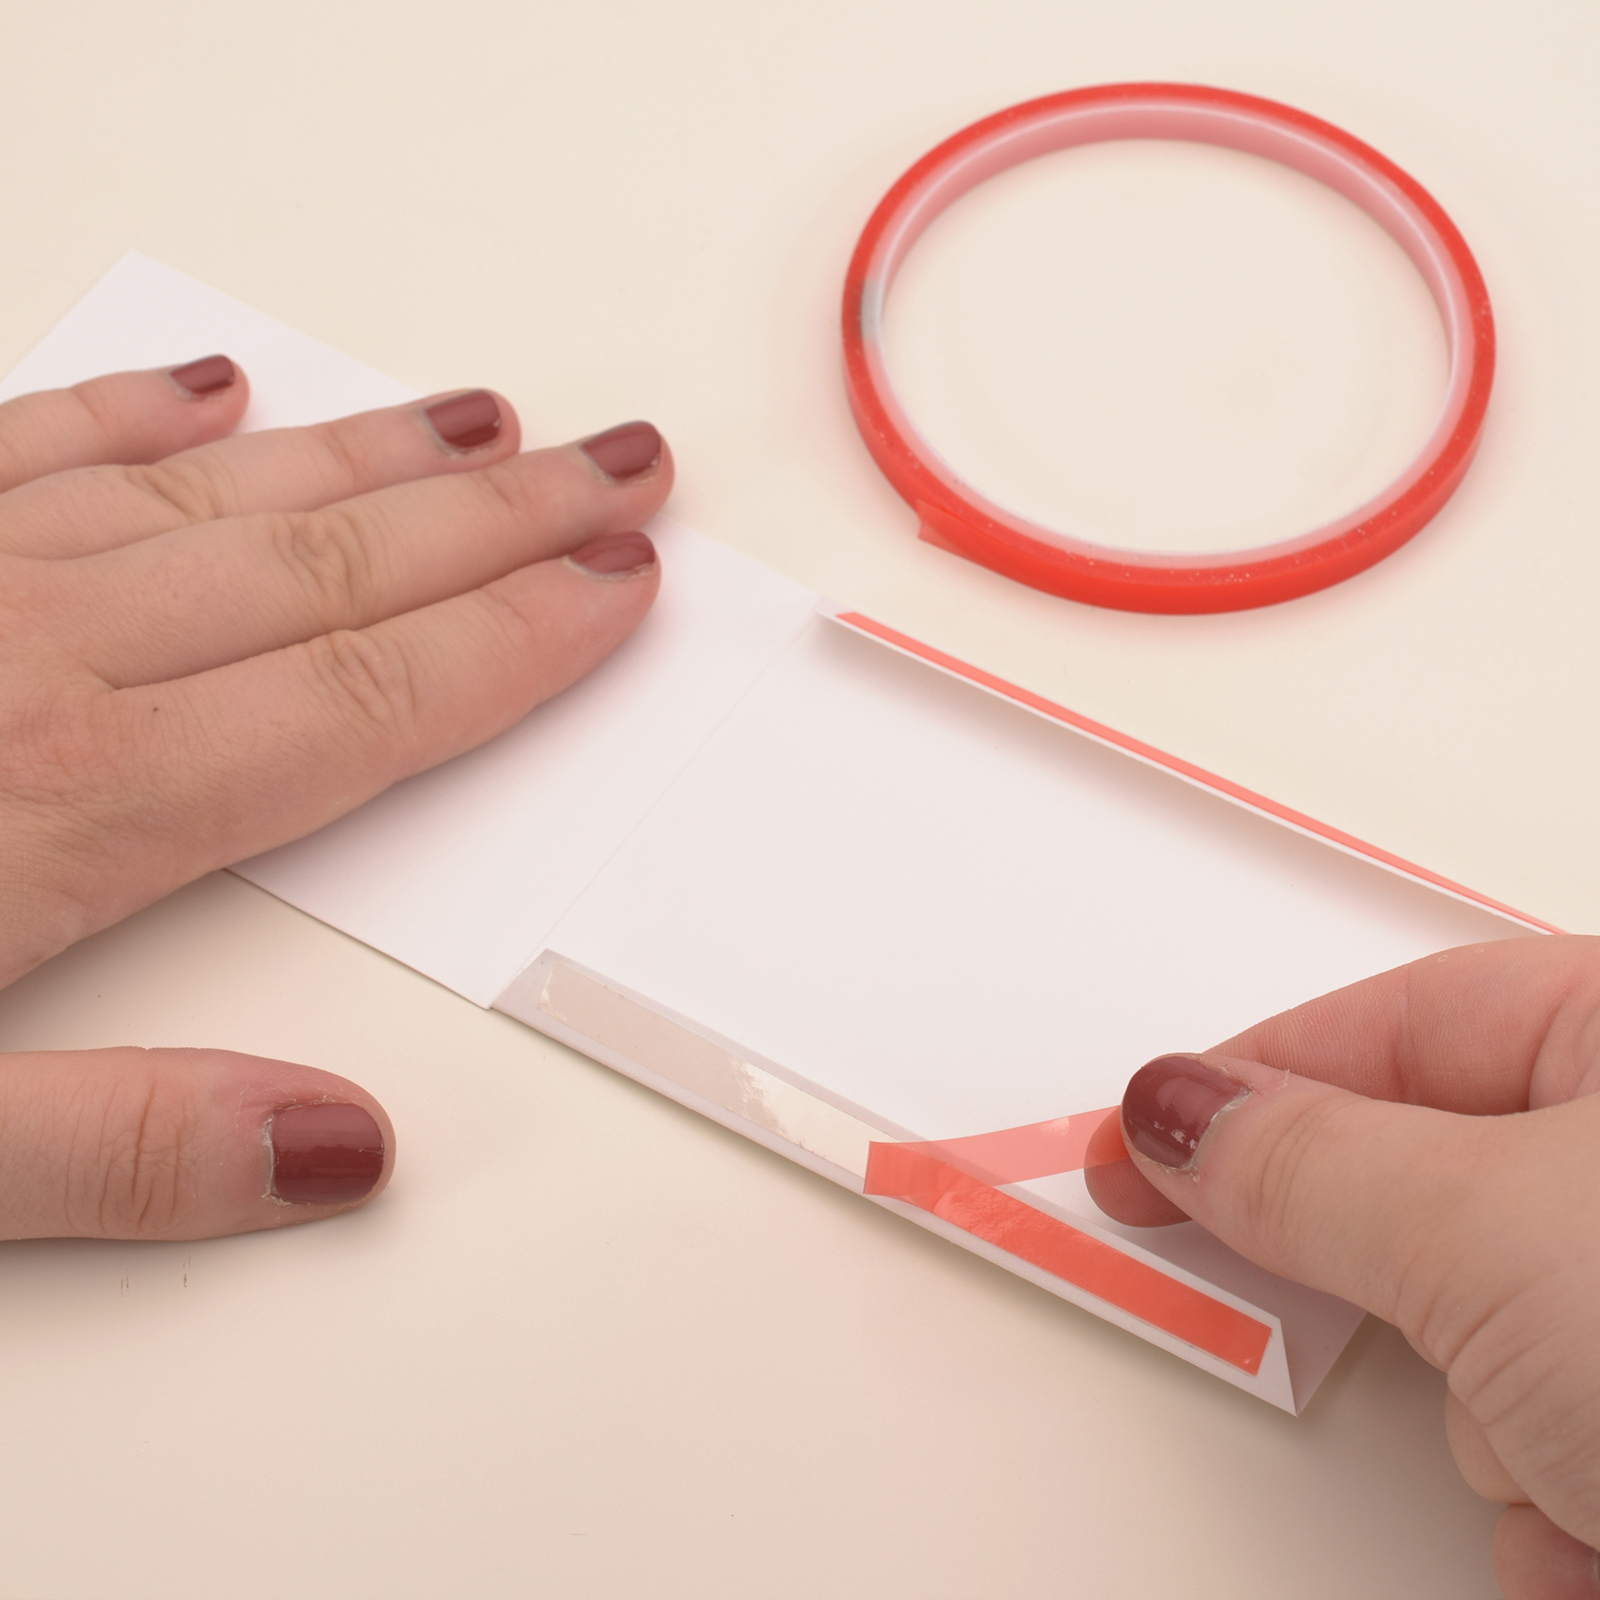
4
Fold the paper in half and secure the strips with glue.
5
Voor de decoratie van de omslag snijd je twee stukken papier van 11 x 7,4 cm. Plak deze met lijm op beide zijden van de omslag.
6
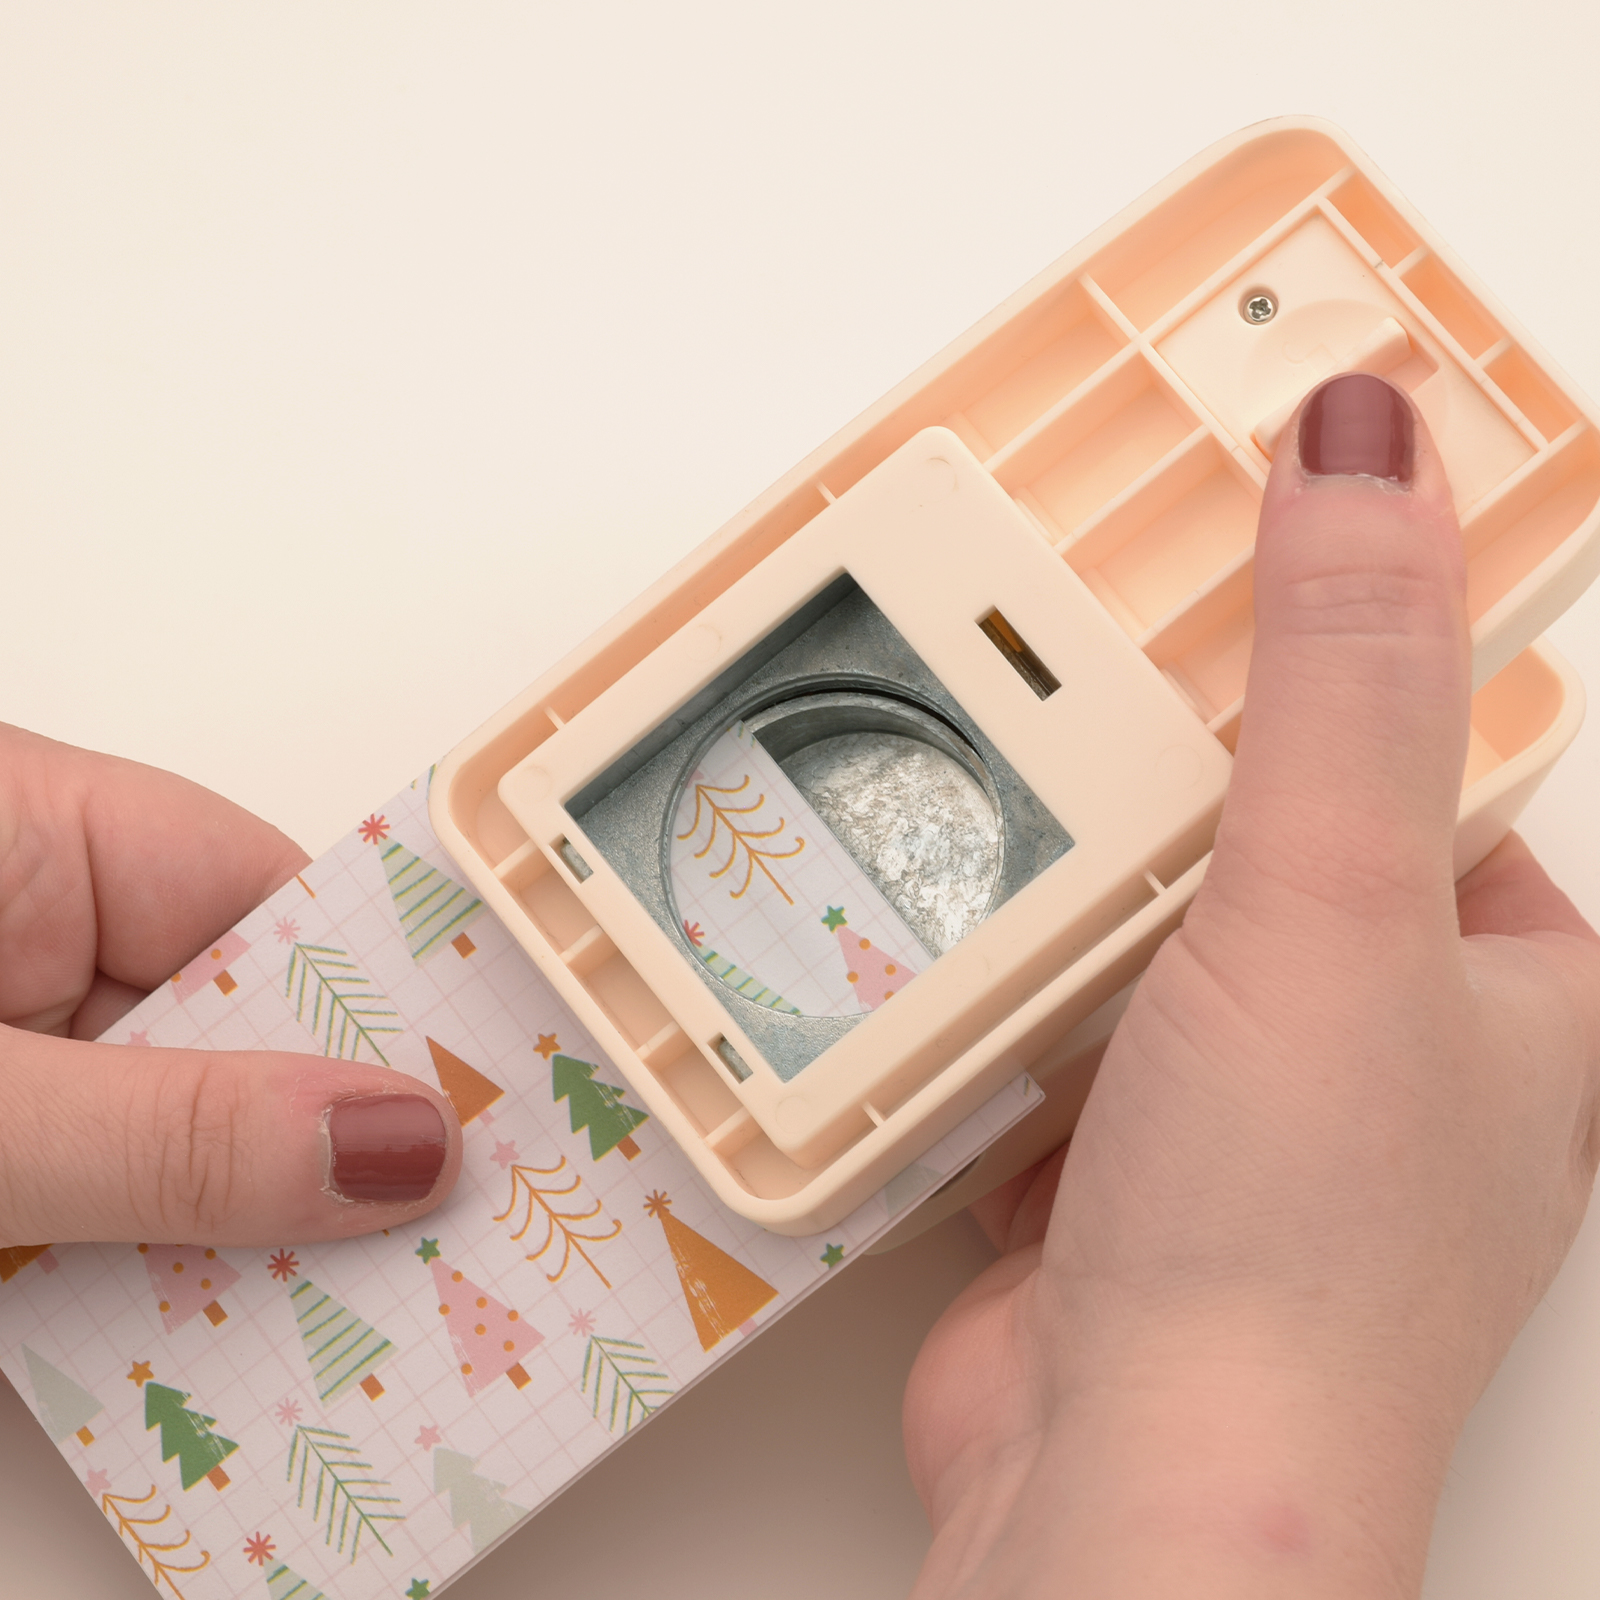
Use a heavy-duty punch to cut a half-circle from the open end of the sleeve, punching through both layers of paper.
7
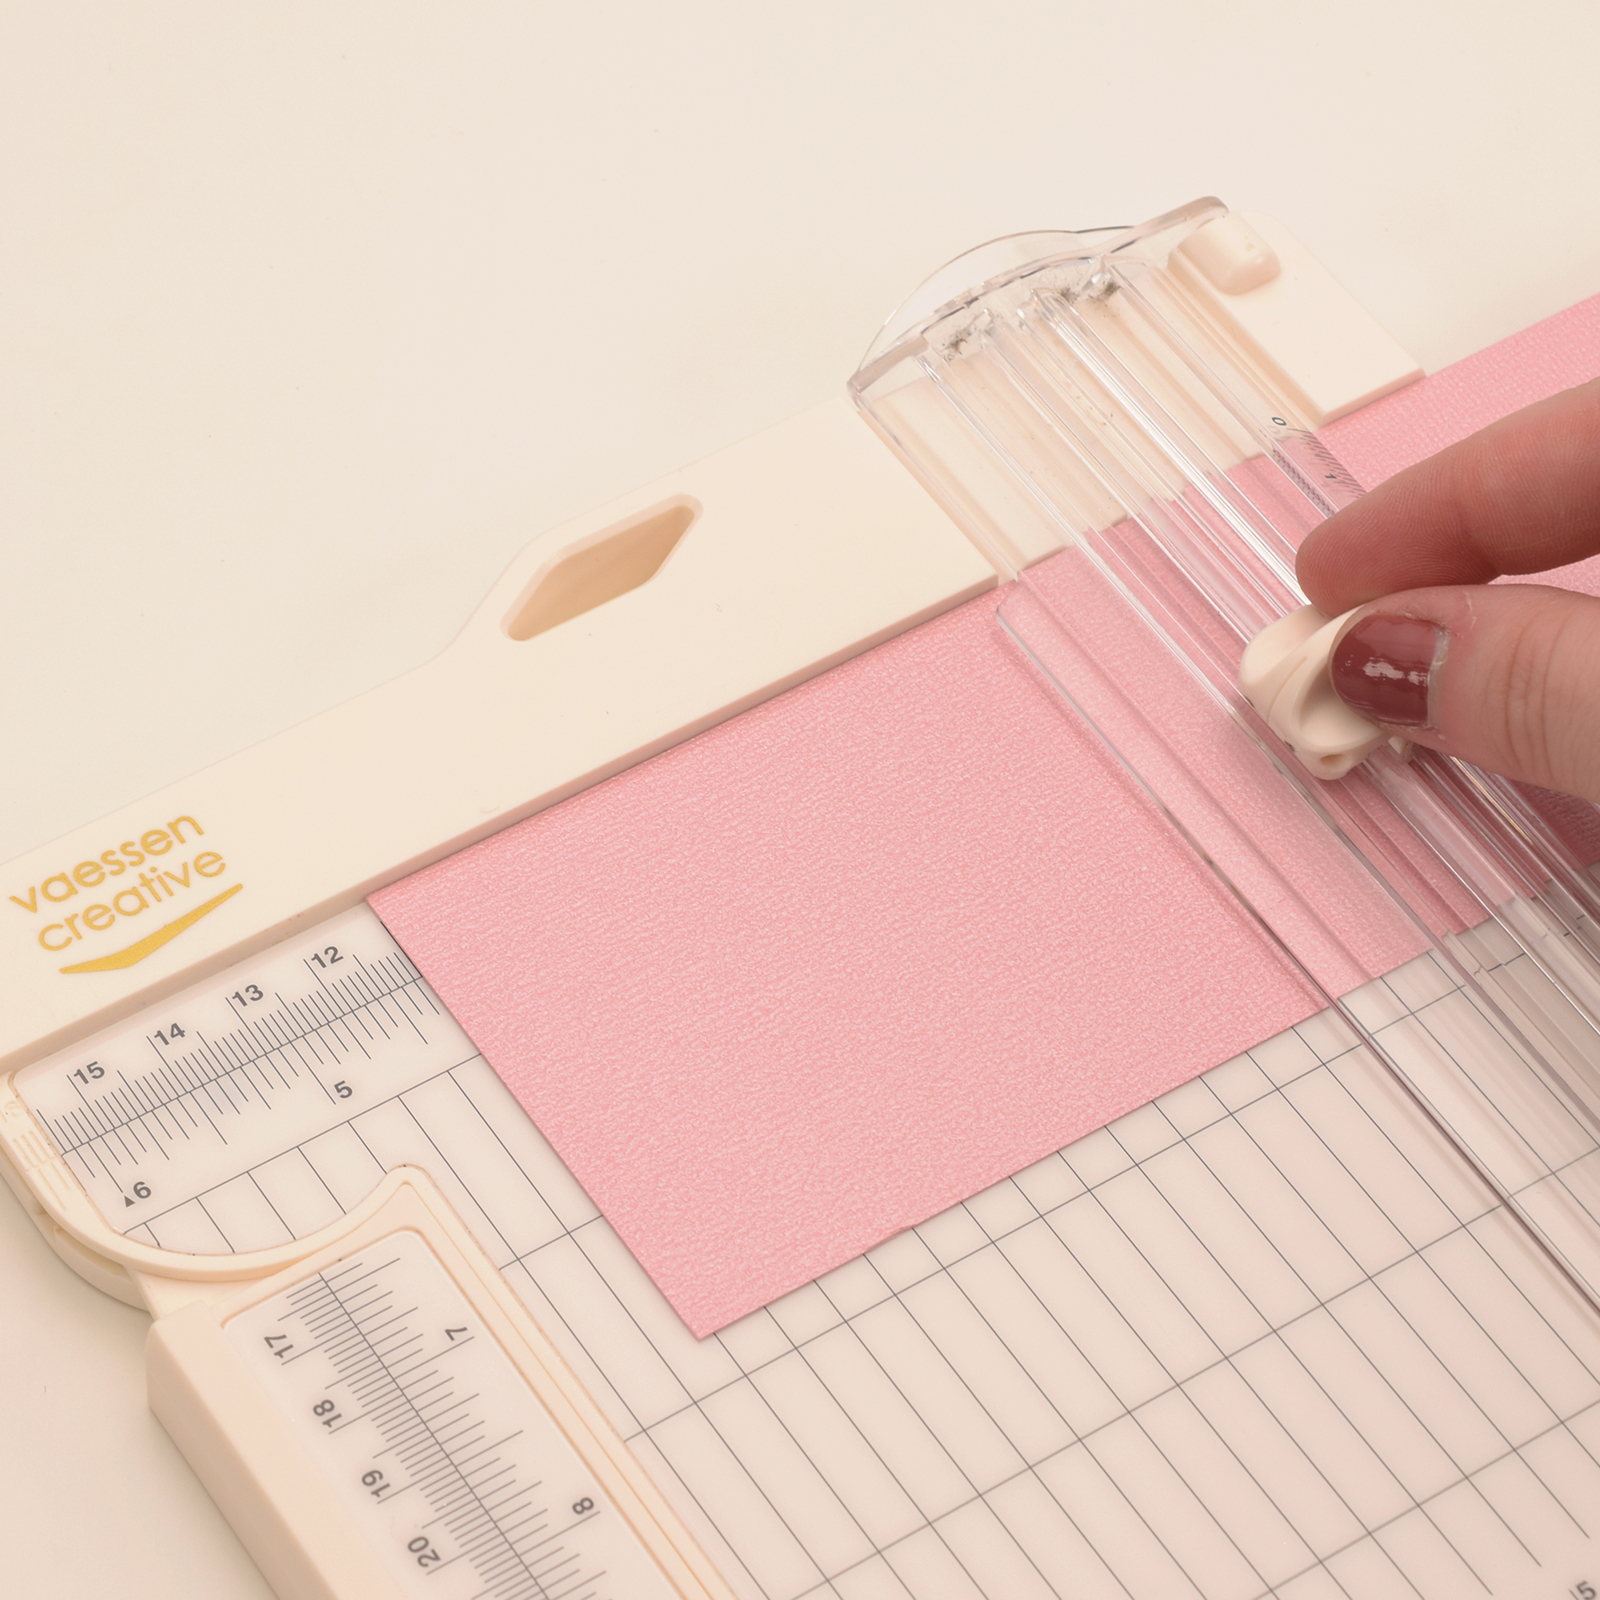
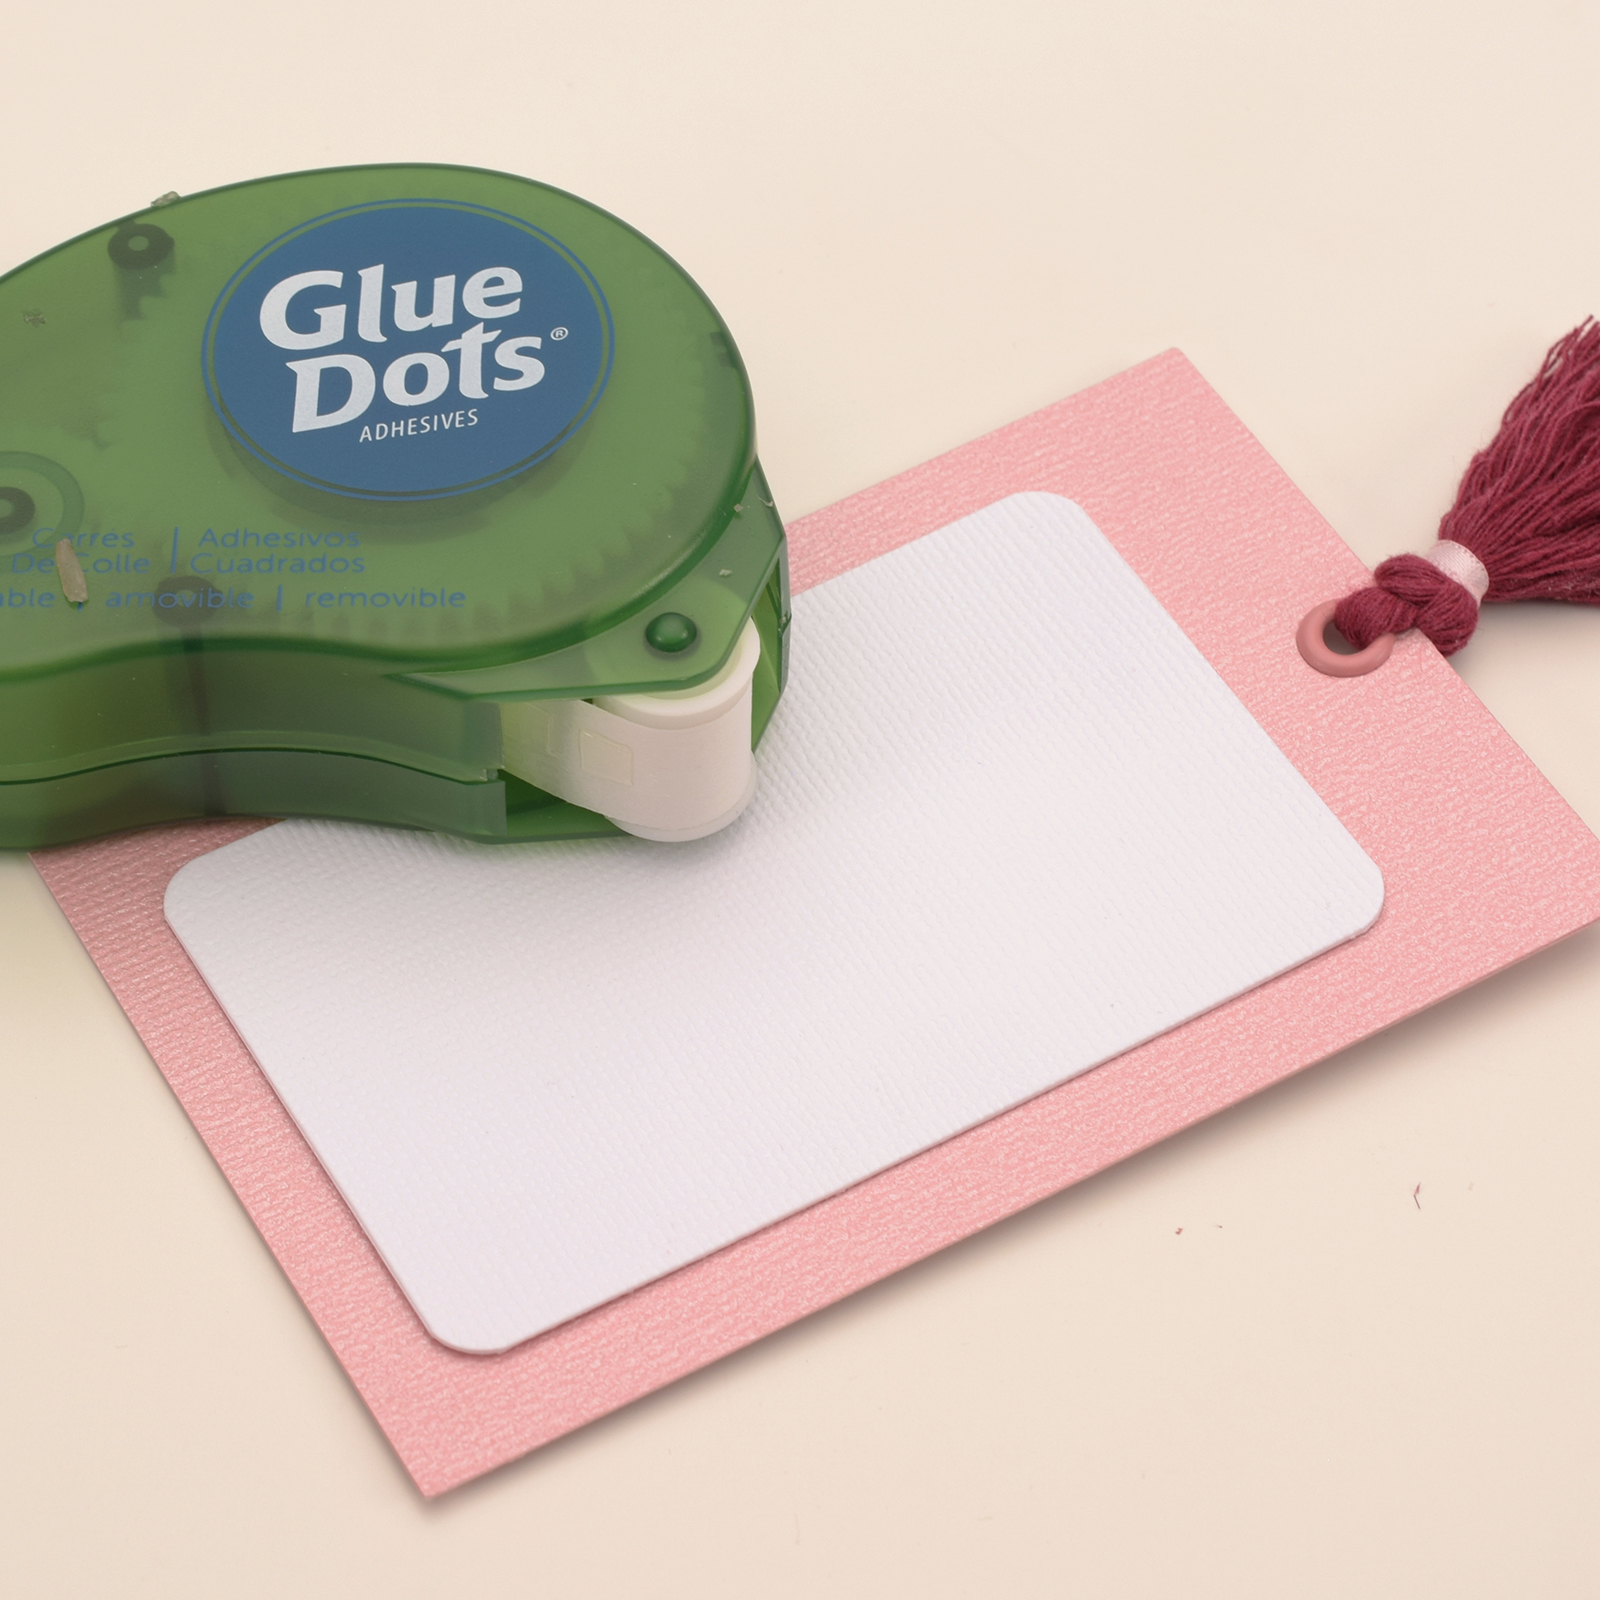
Cut a piece of paper measuring 11 x 7 cm to attach the gift card to and insert it into the sleeve later.
8
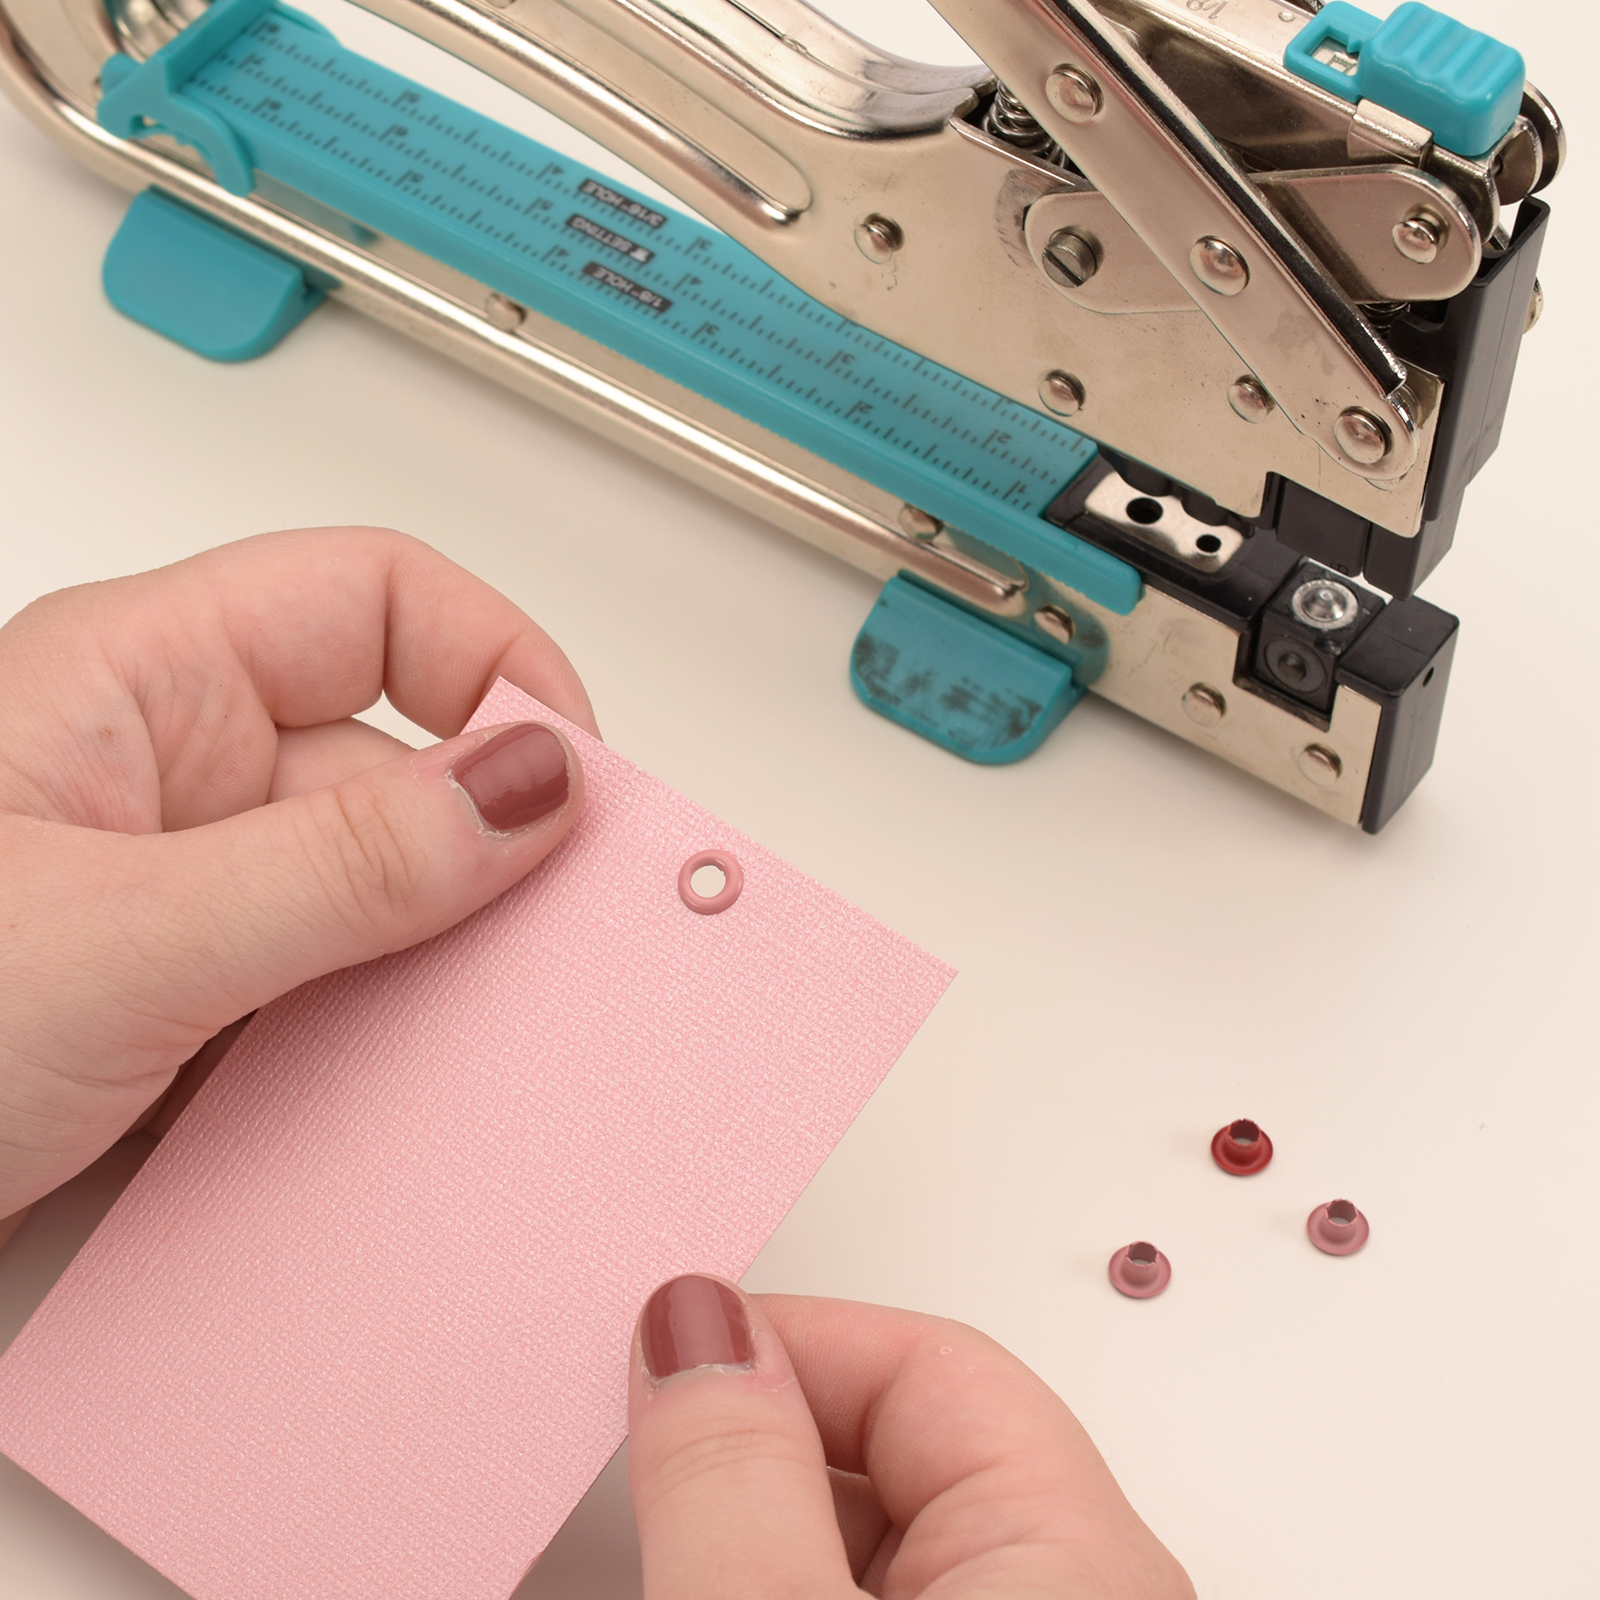
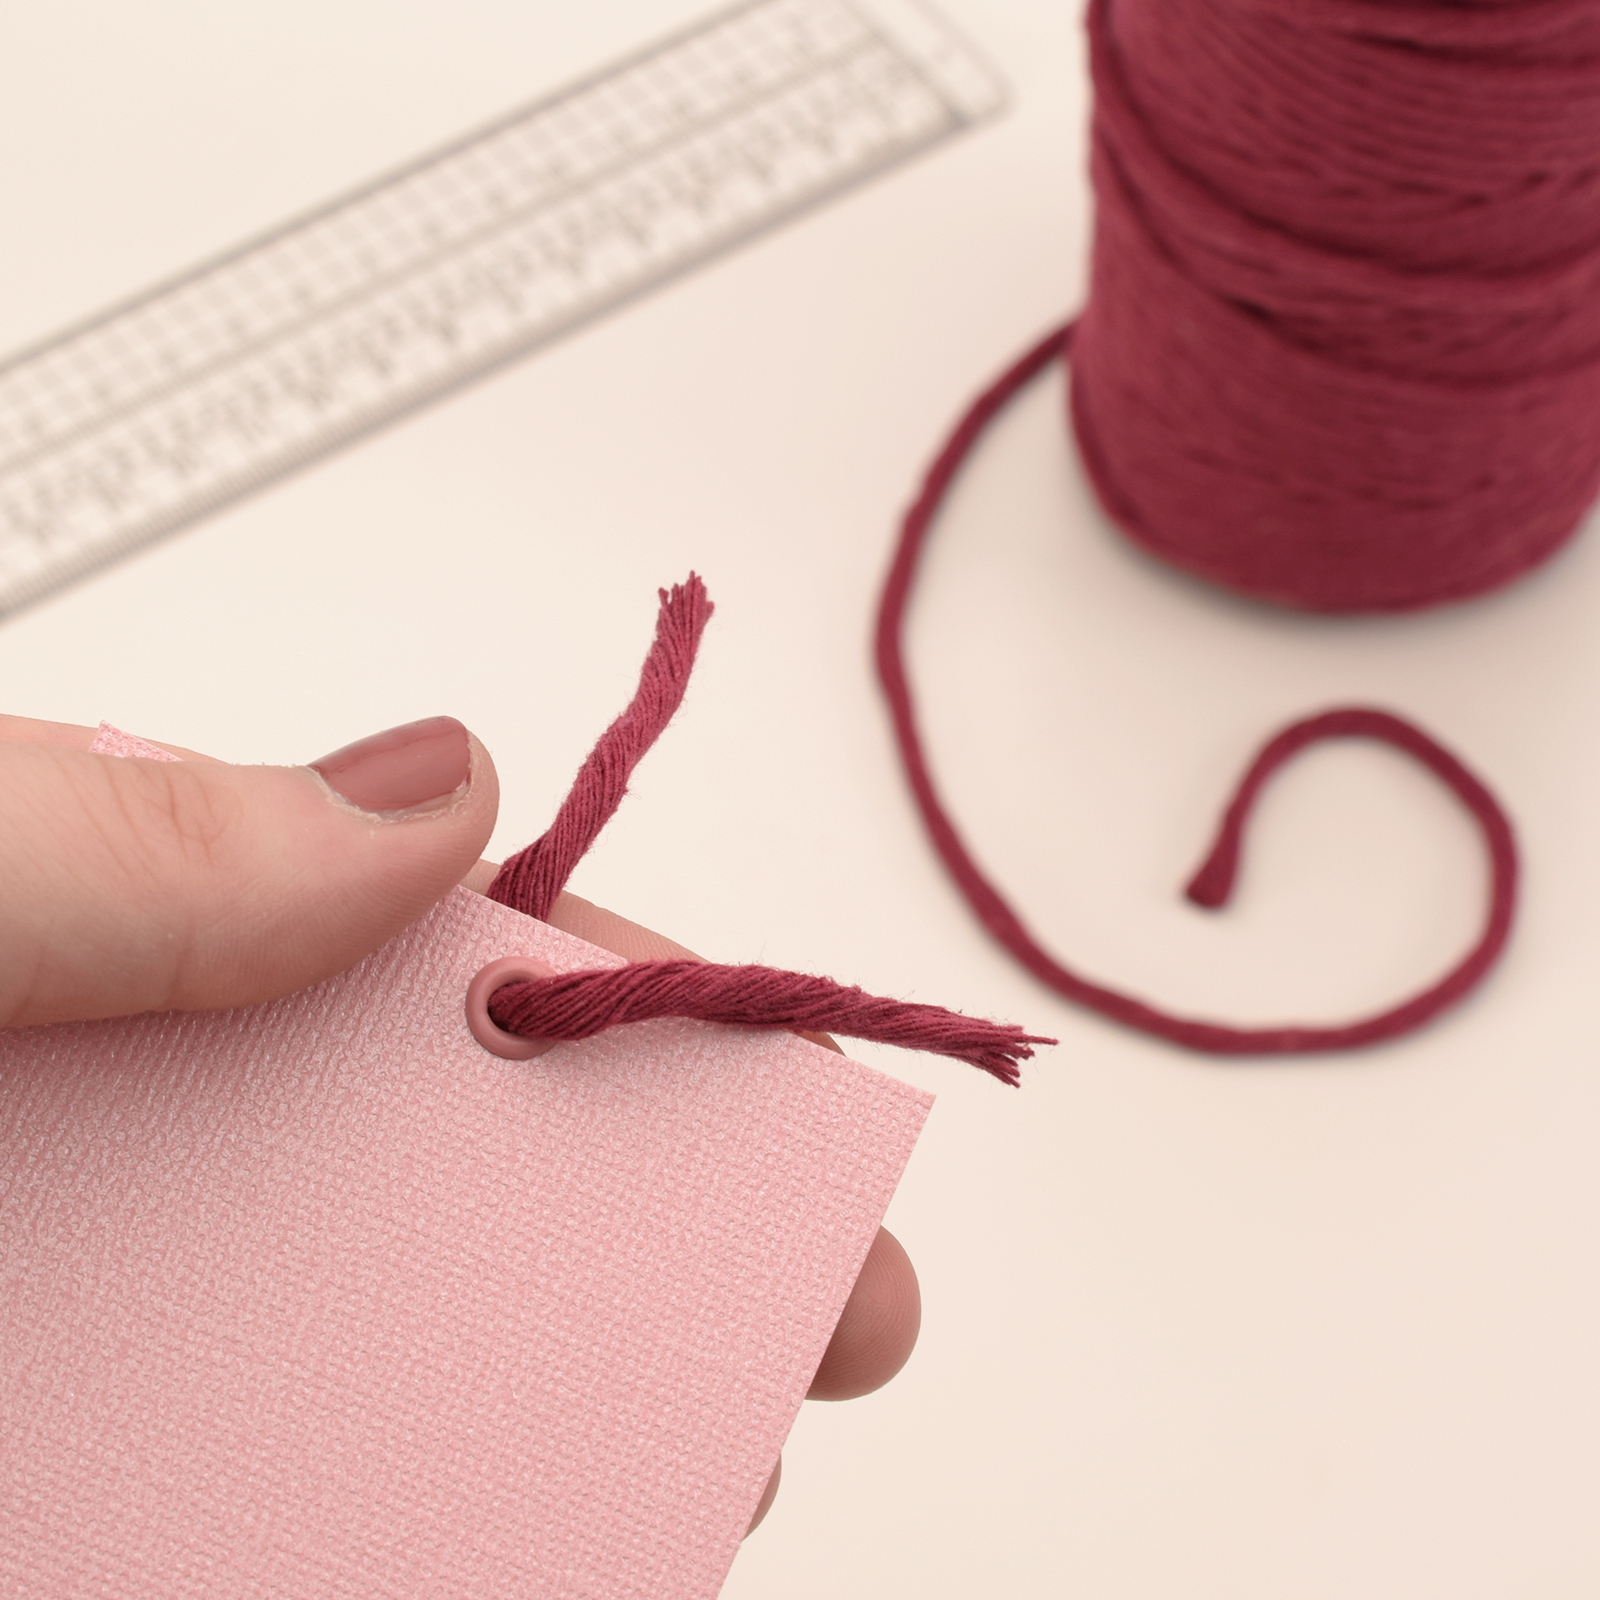
Use an eyelet tool to attach an eyelet to one short side of the paper.
9
To make the tassel, cut 10 cm of macramé cord and thread it through the eyelet.
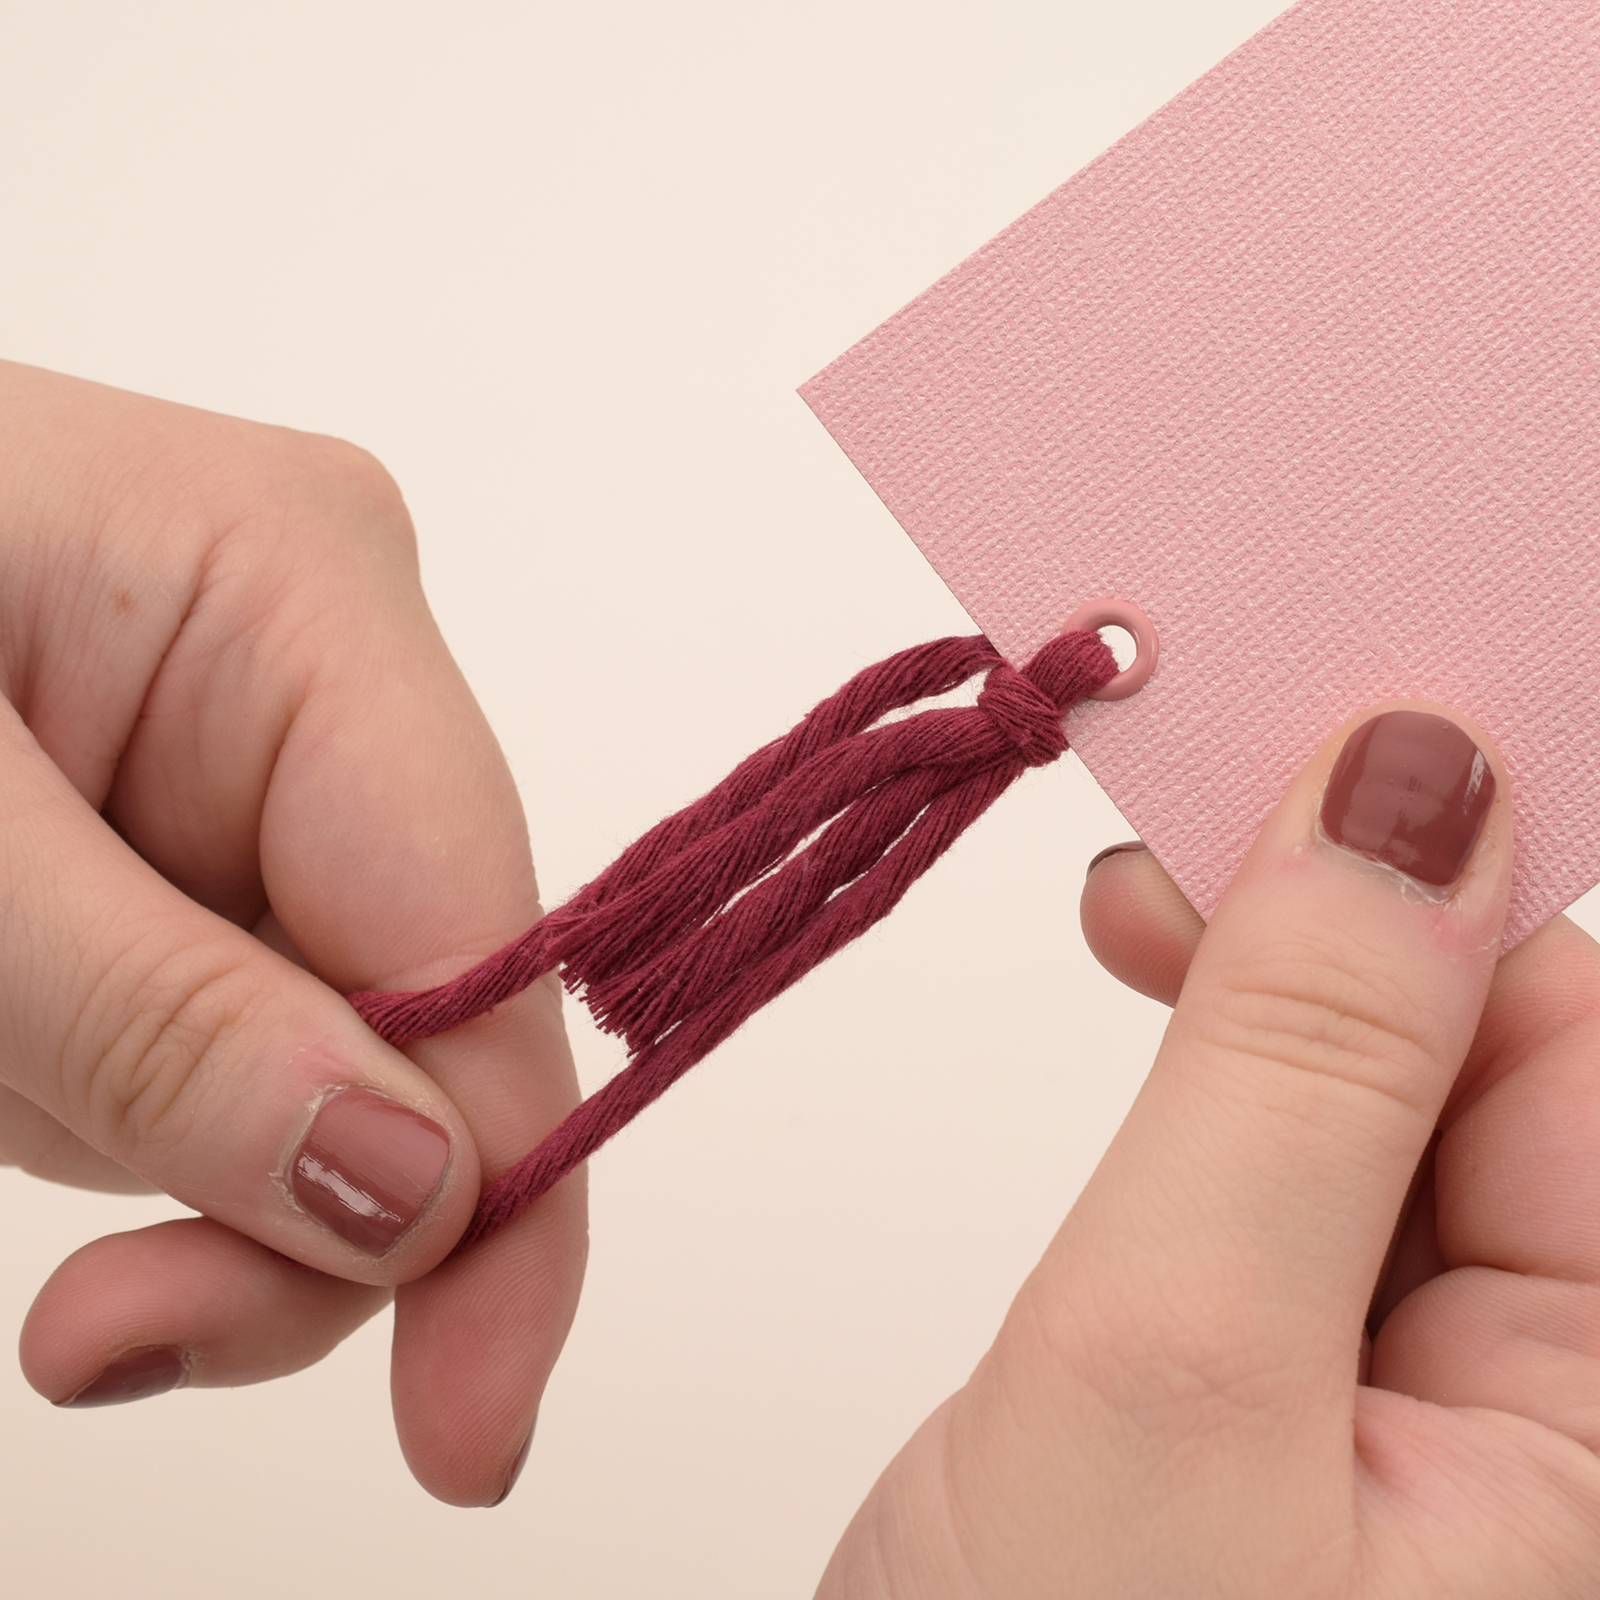
10
Tie another piece of cord around the 'tassel' and pull it tight.
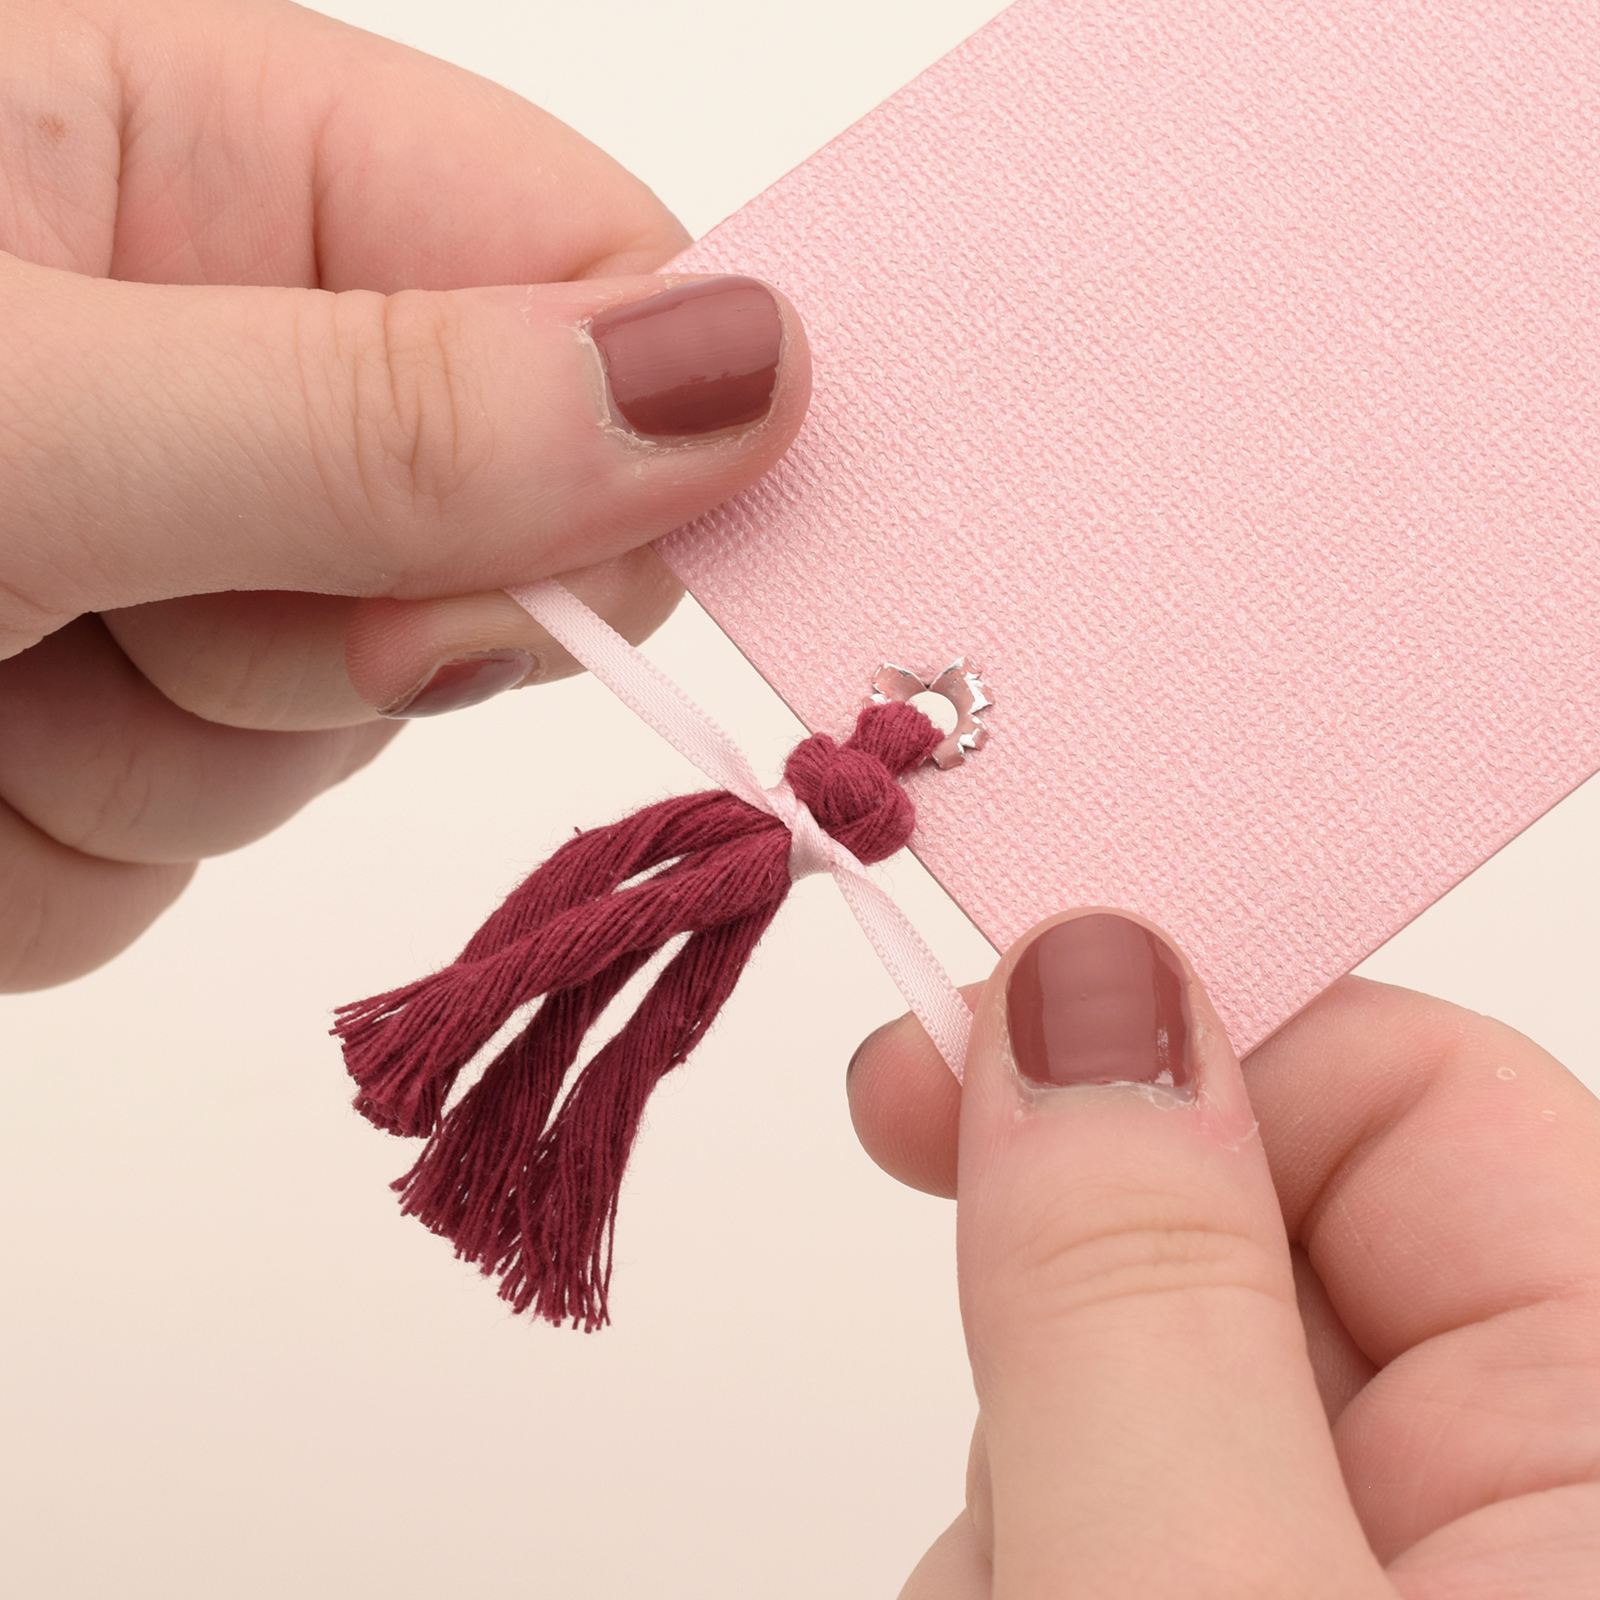
11
To finish the tassel, tie a piece of satin ribbon below the macramé knot and glue it securely at the back.
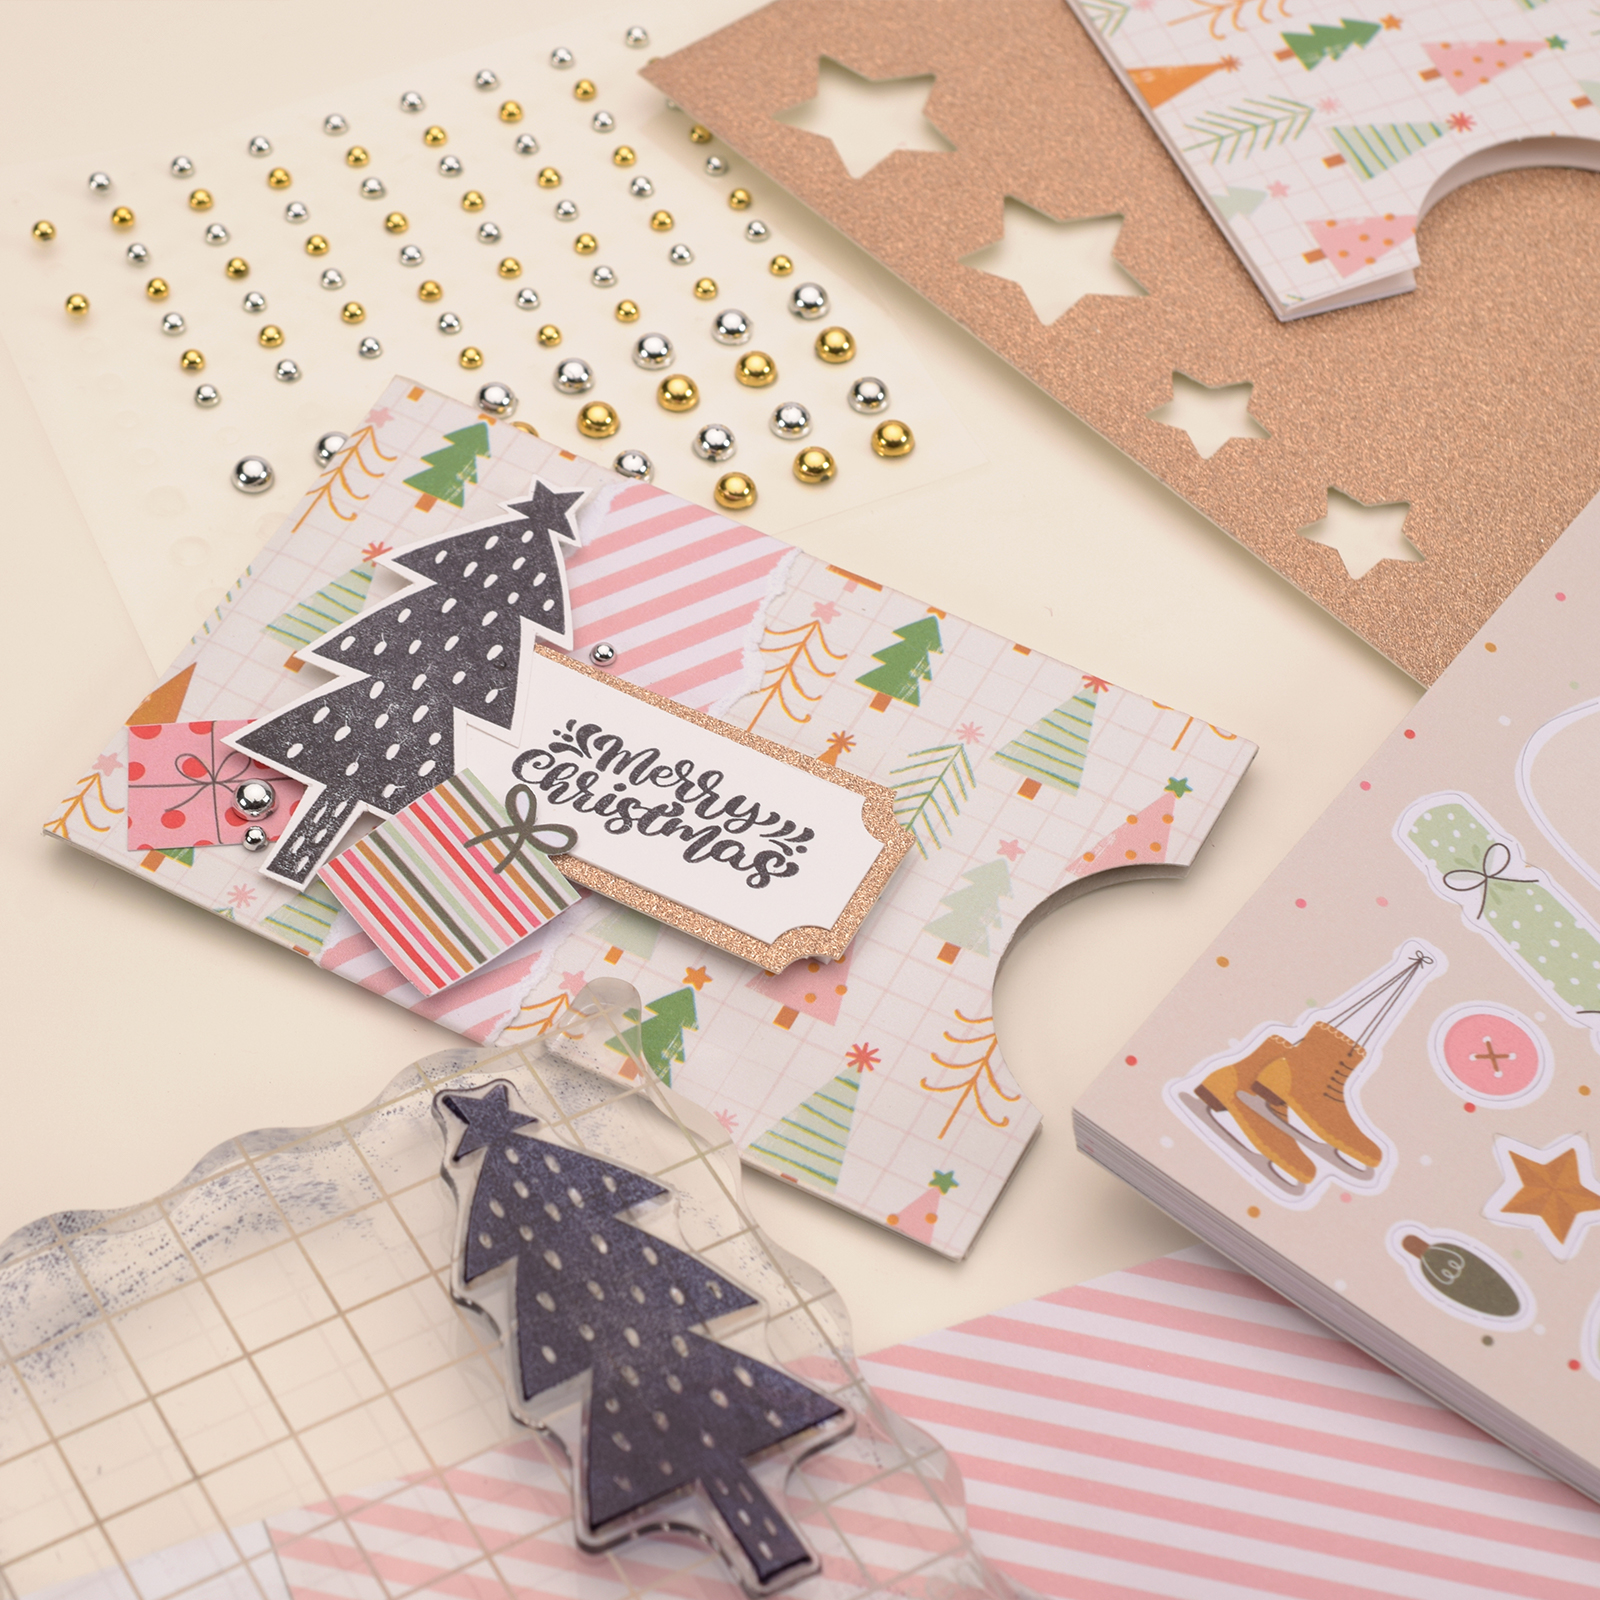
12
Stamp, punch, and glue decorations onto the sleeve.
13
Attach glue dots to the back of the gift card, secure it to the paper with the tassel , slide it into your handmade sleeve, and you're done!