Creating a memory box with the We R Makers 1-2-3 Punch Board is a breeze—and lots of fun! Follow the simple instructions on the board and in this DIY guide to make a box for your precious memories. Enjoy!
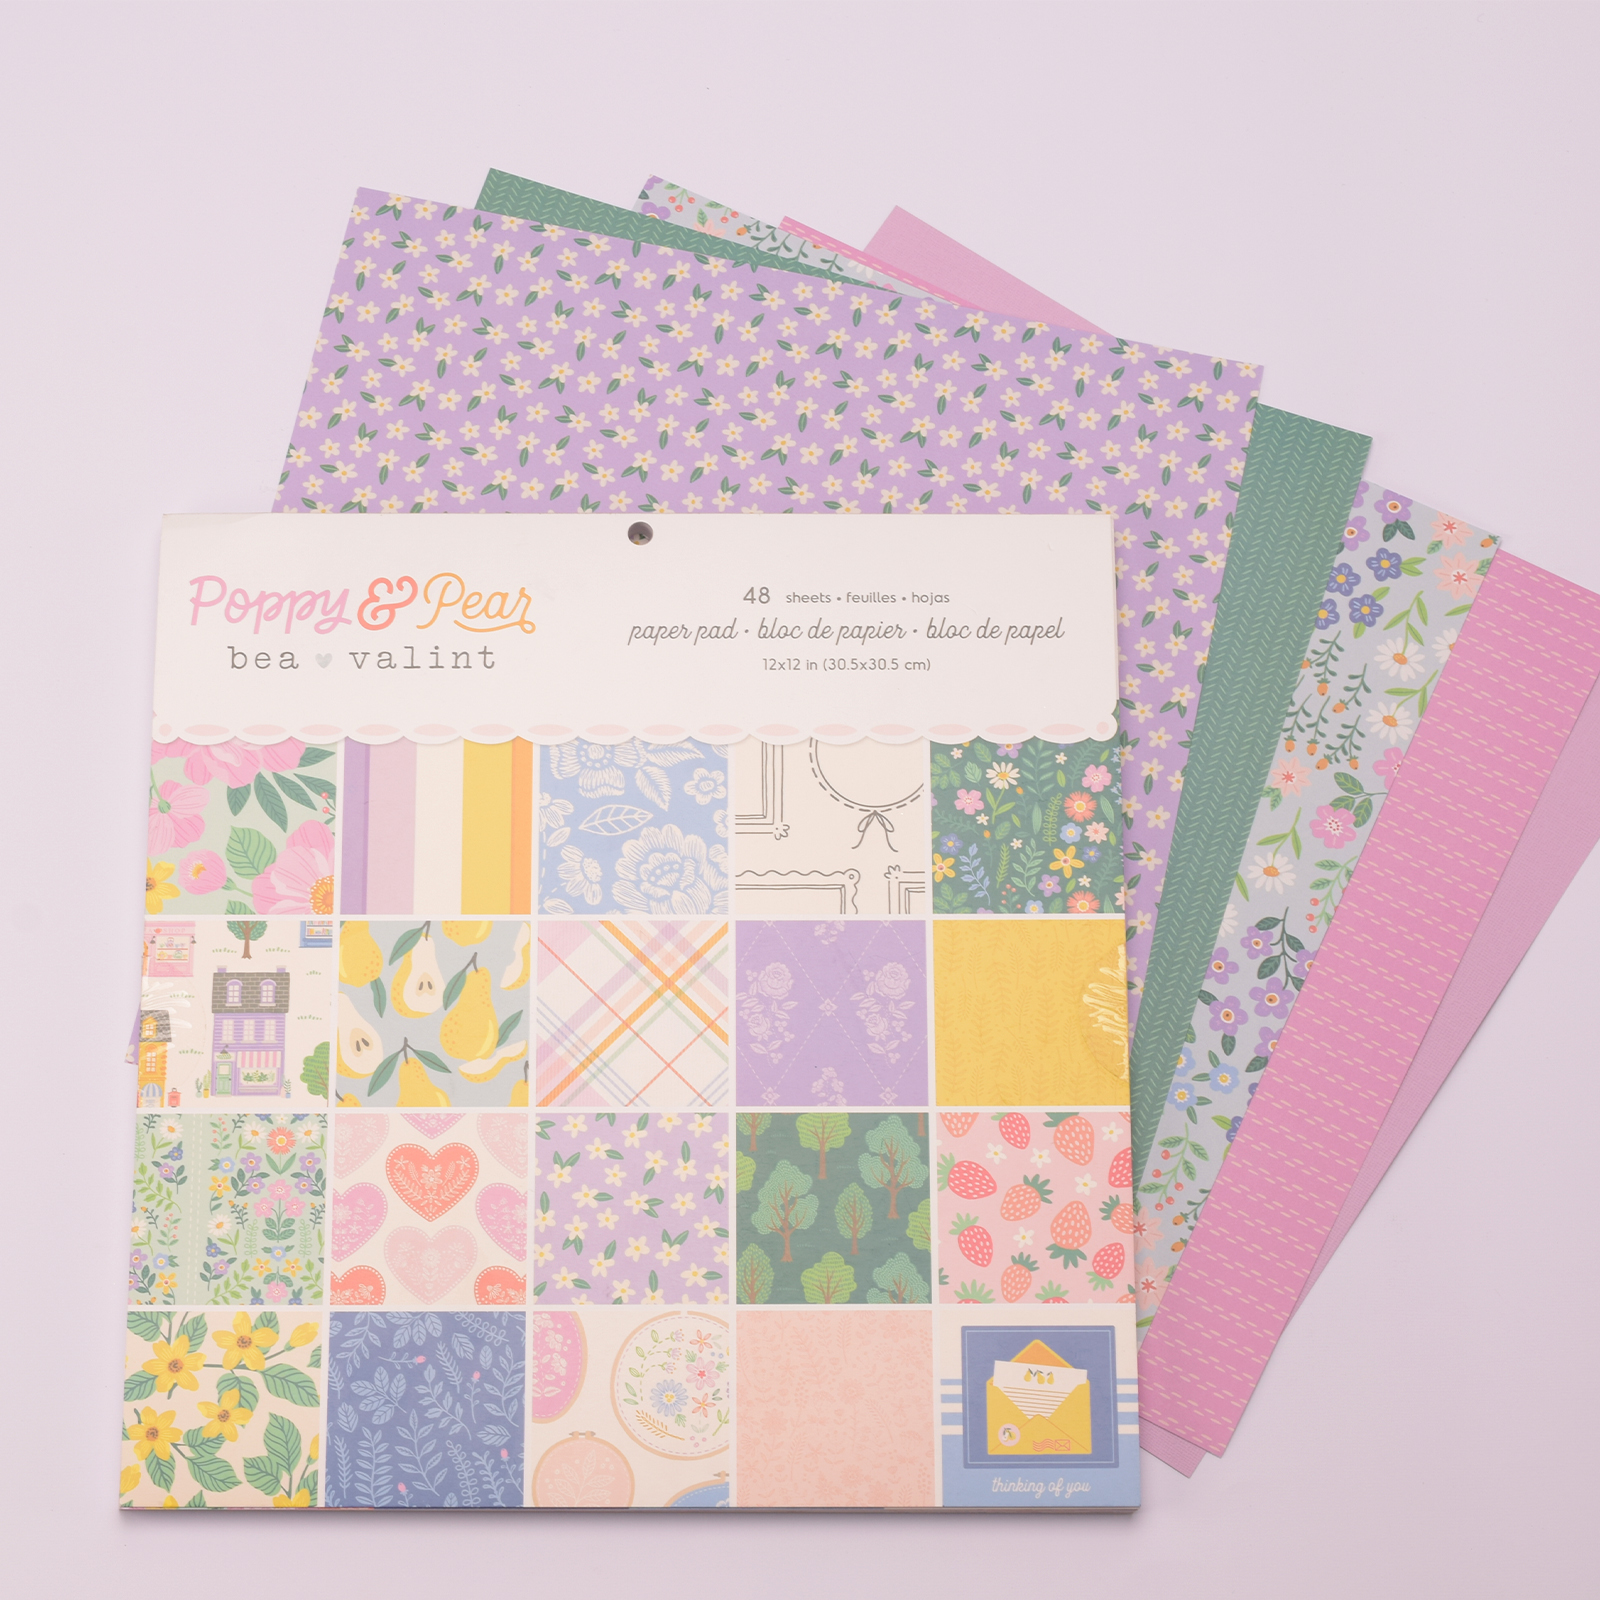
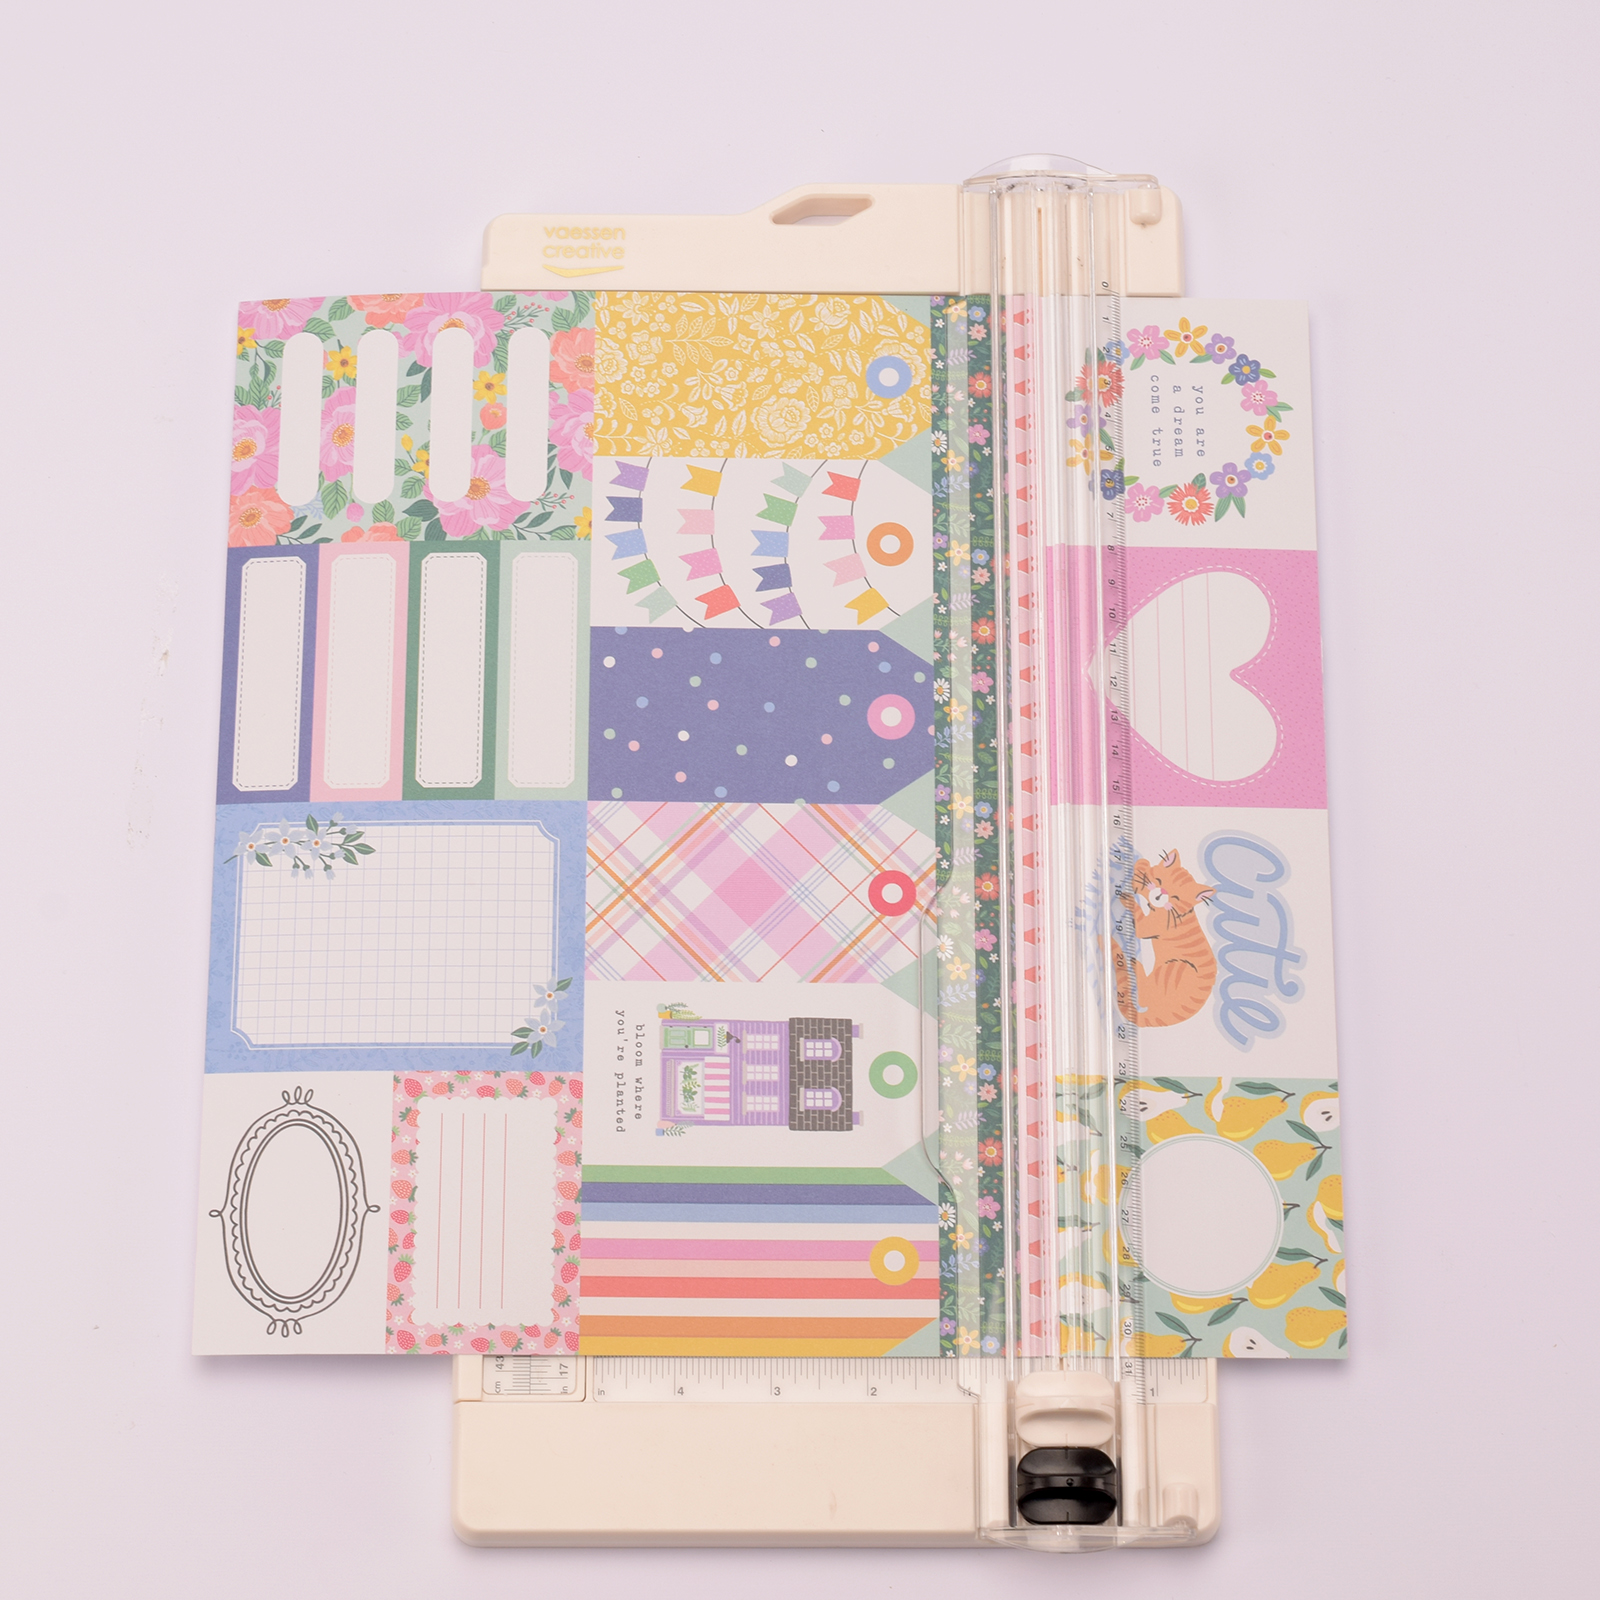
Take the American Crafts Poppy & Pear paper pad and choose a few nice sheets. Also, prepare a sheet of lilac cardstock.
2
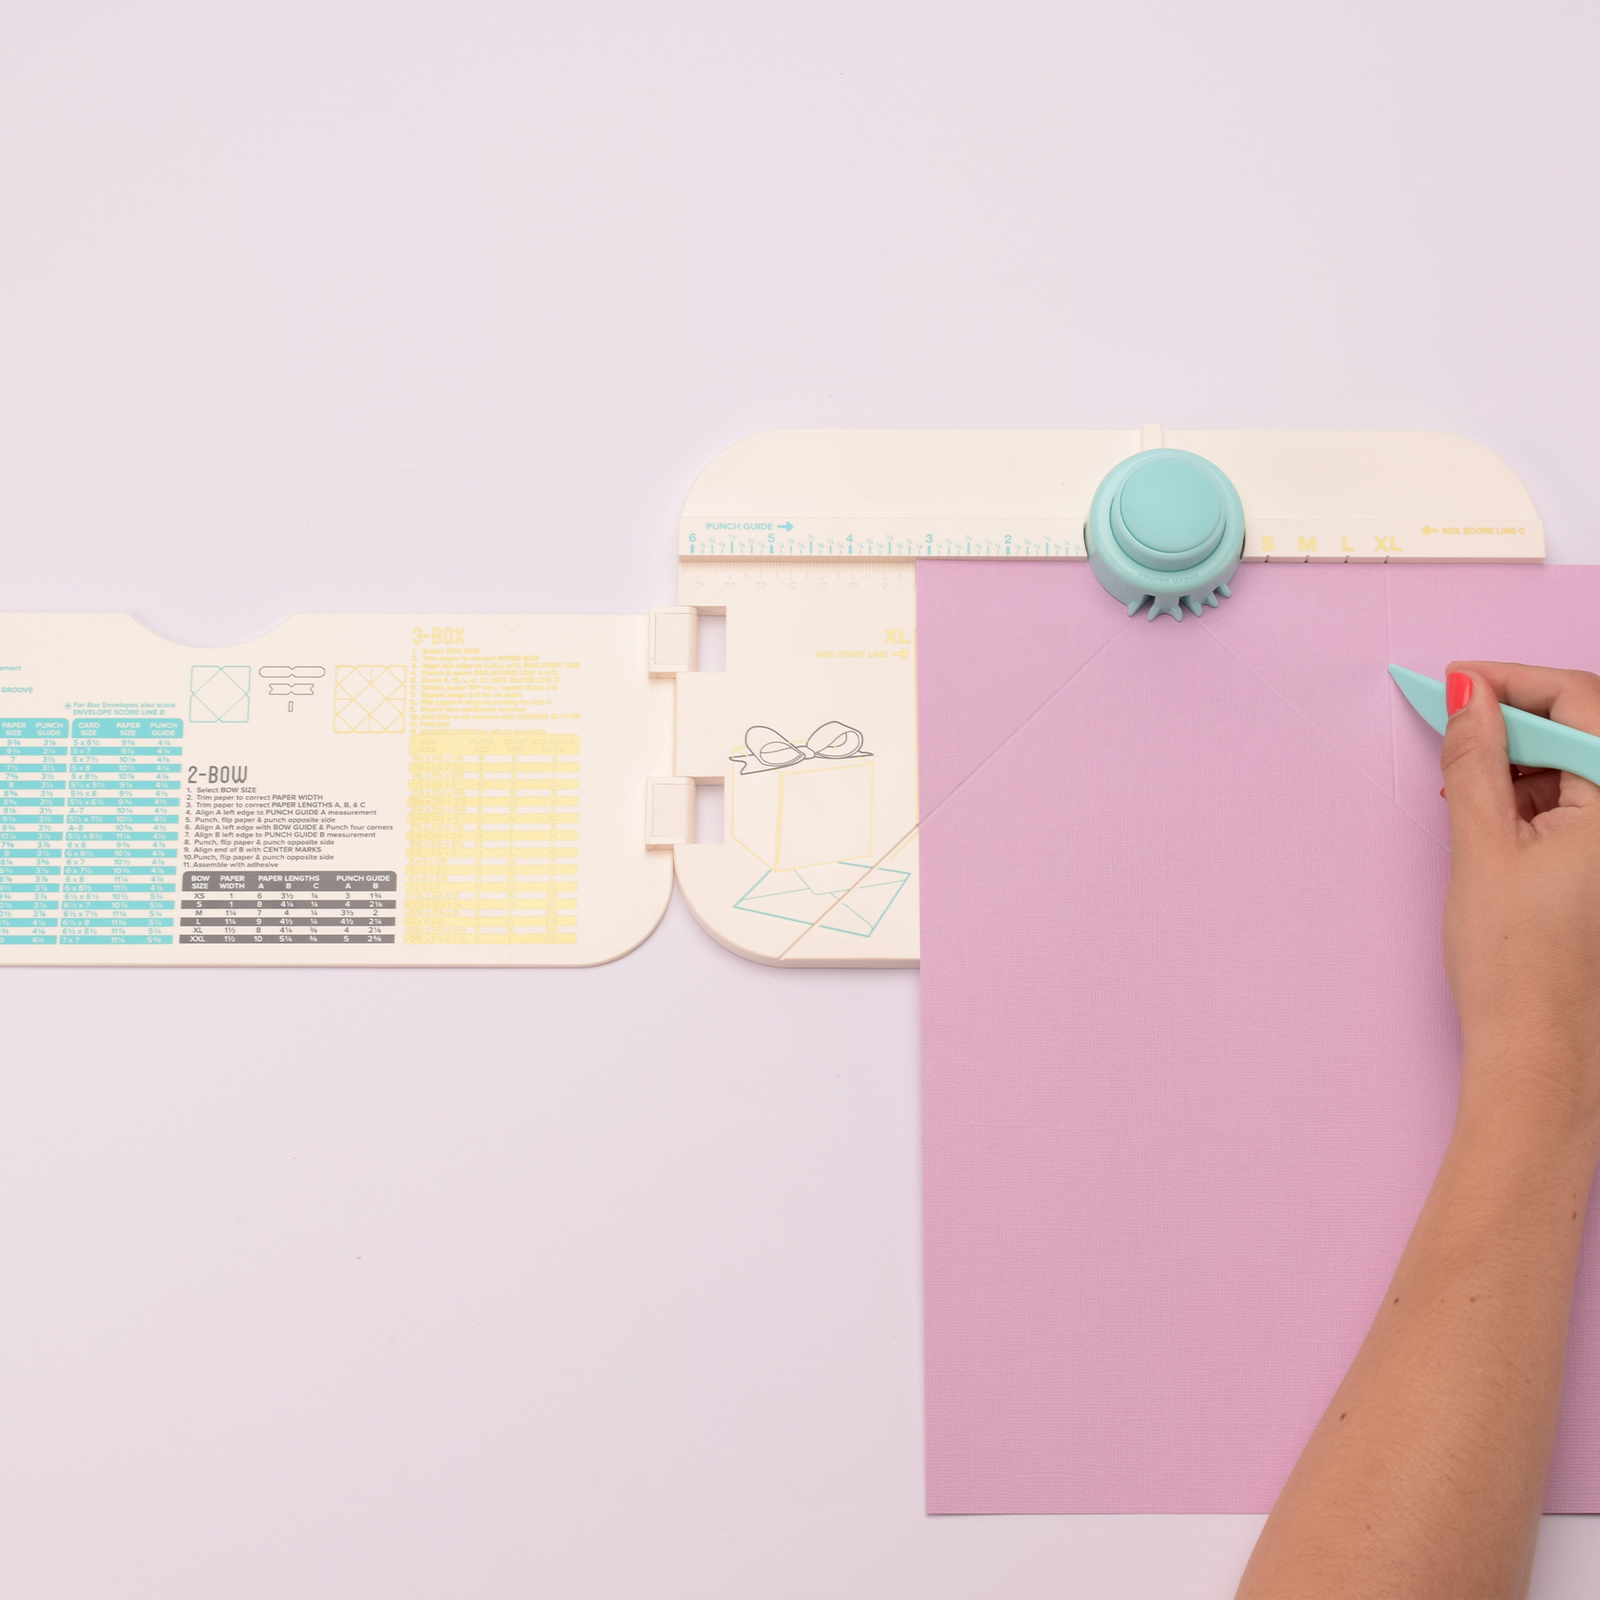
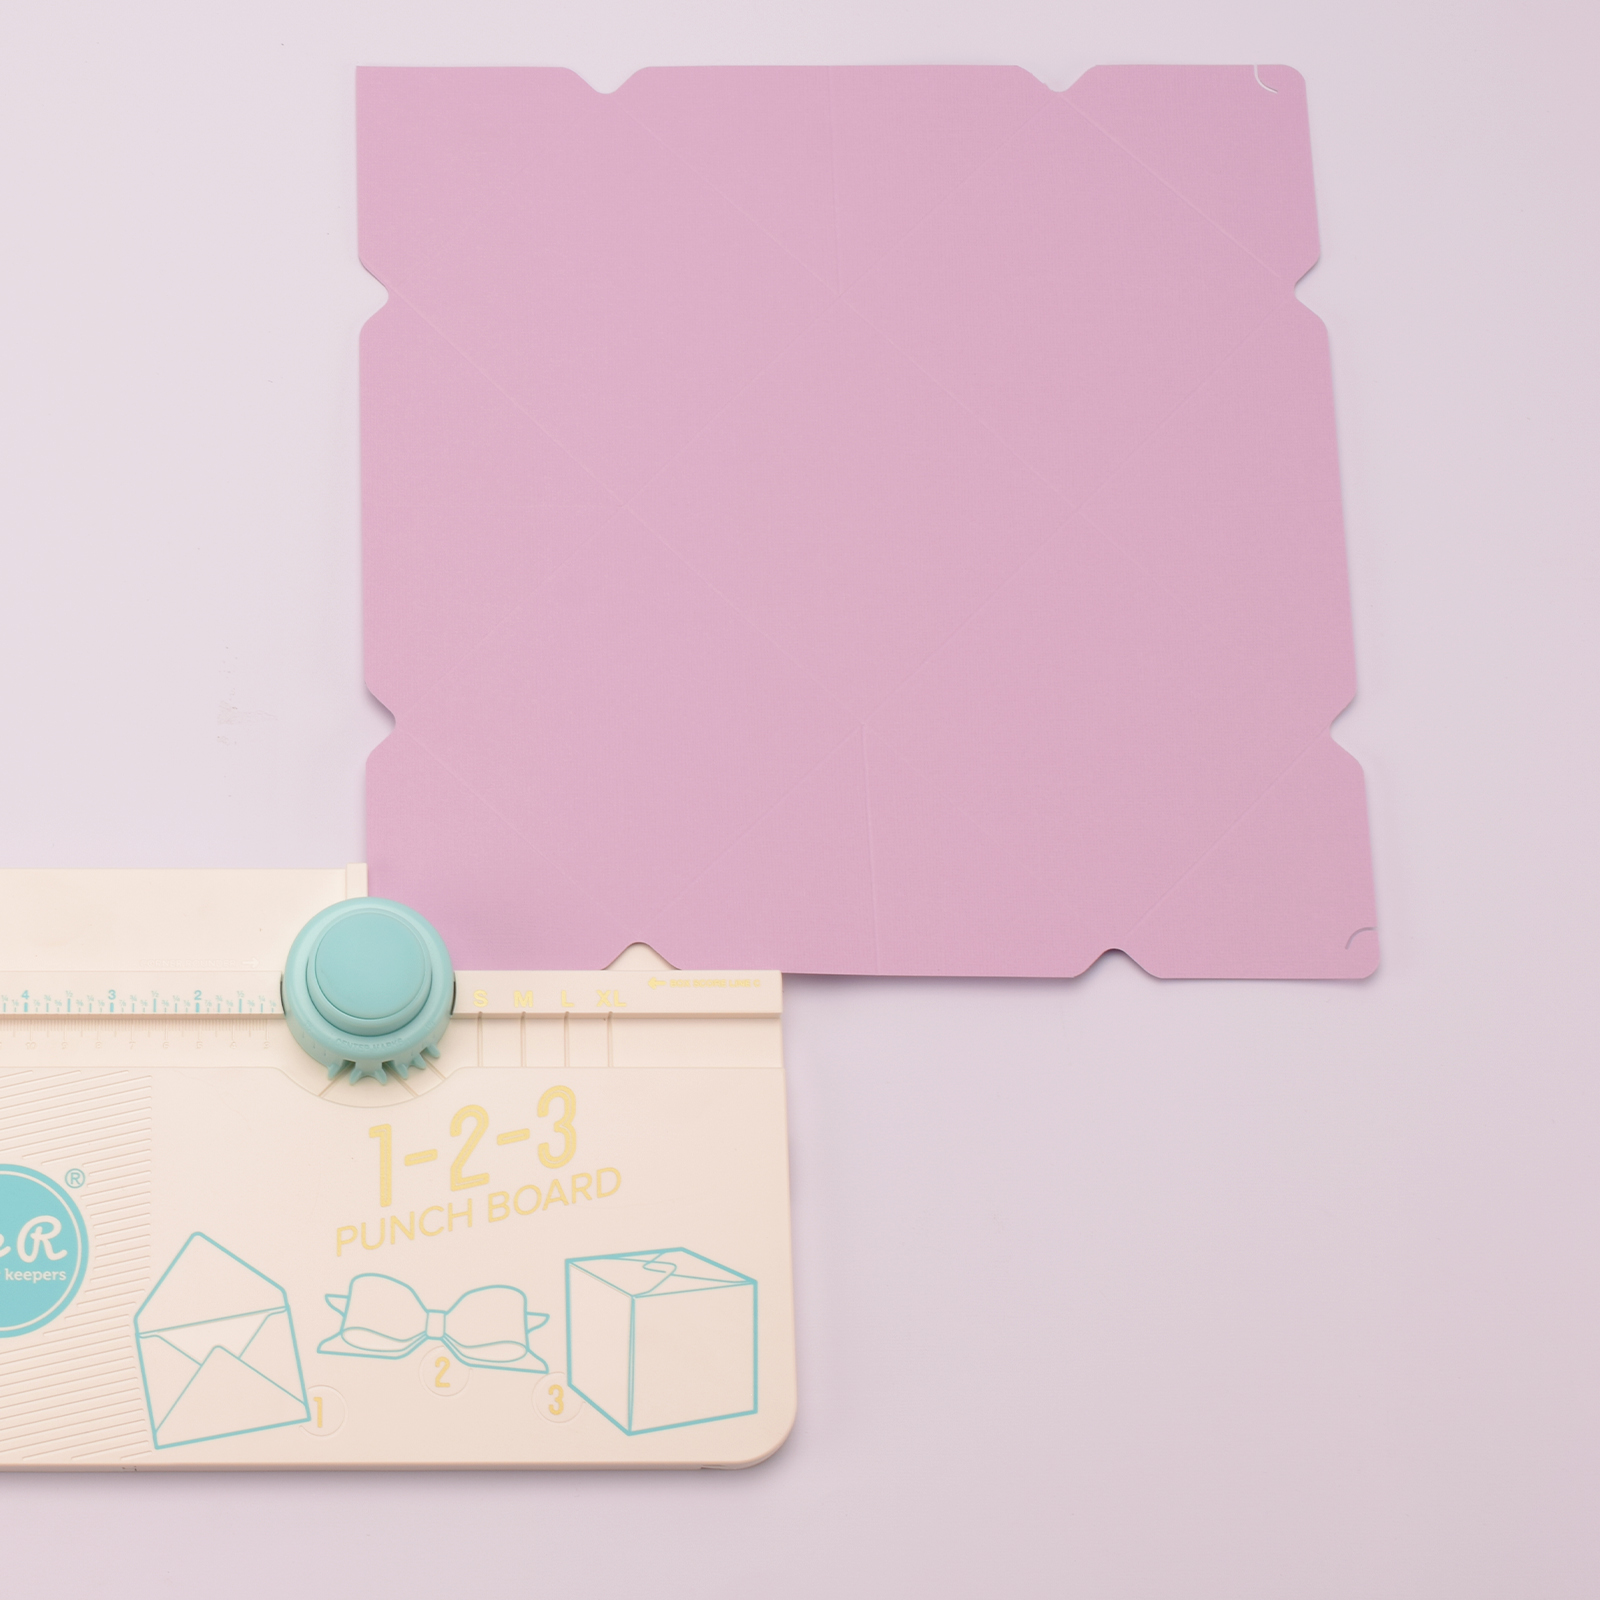
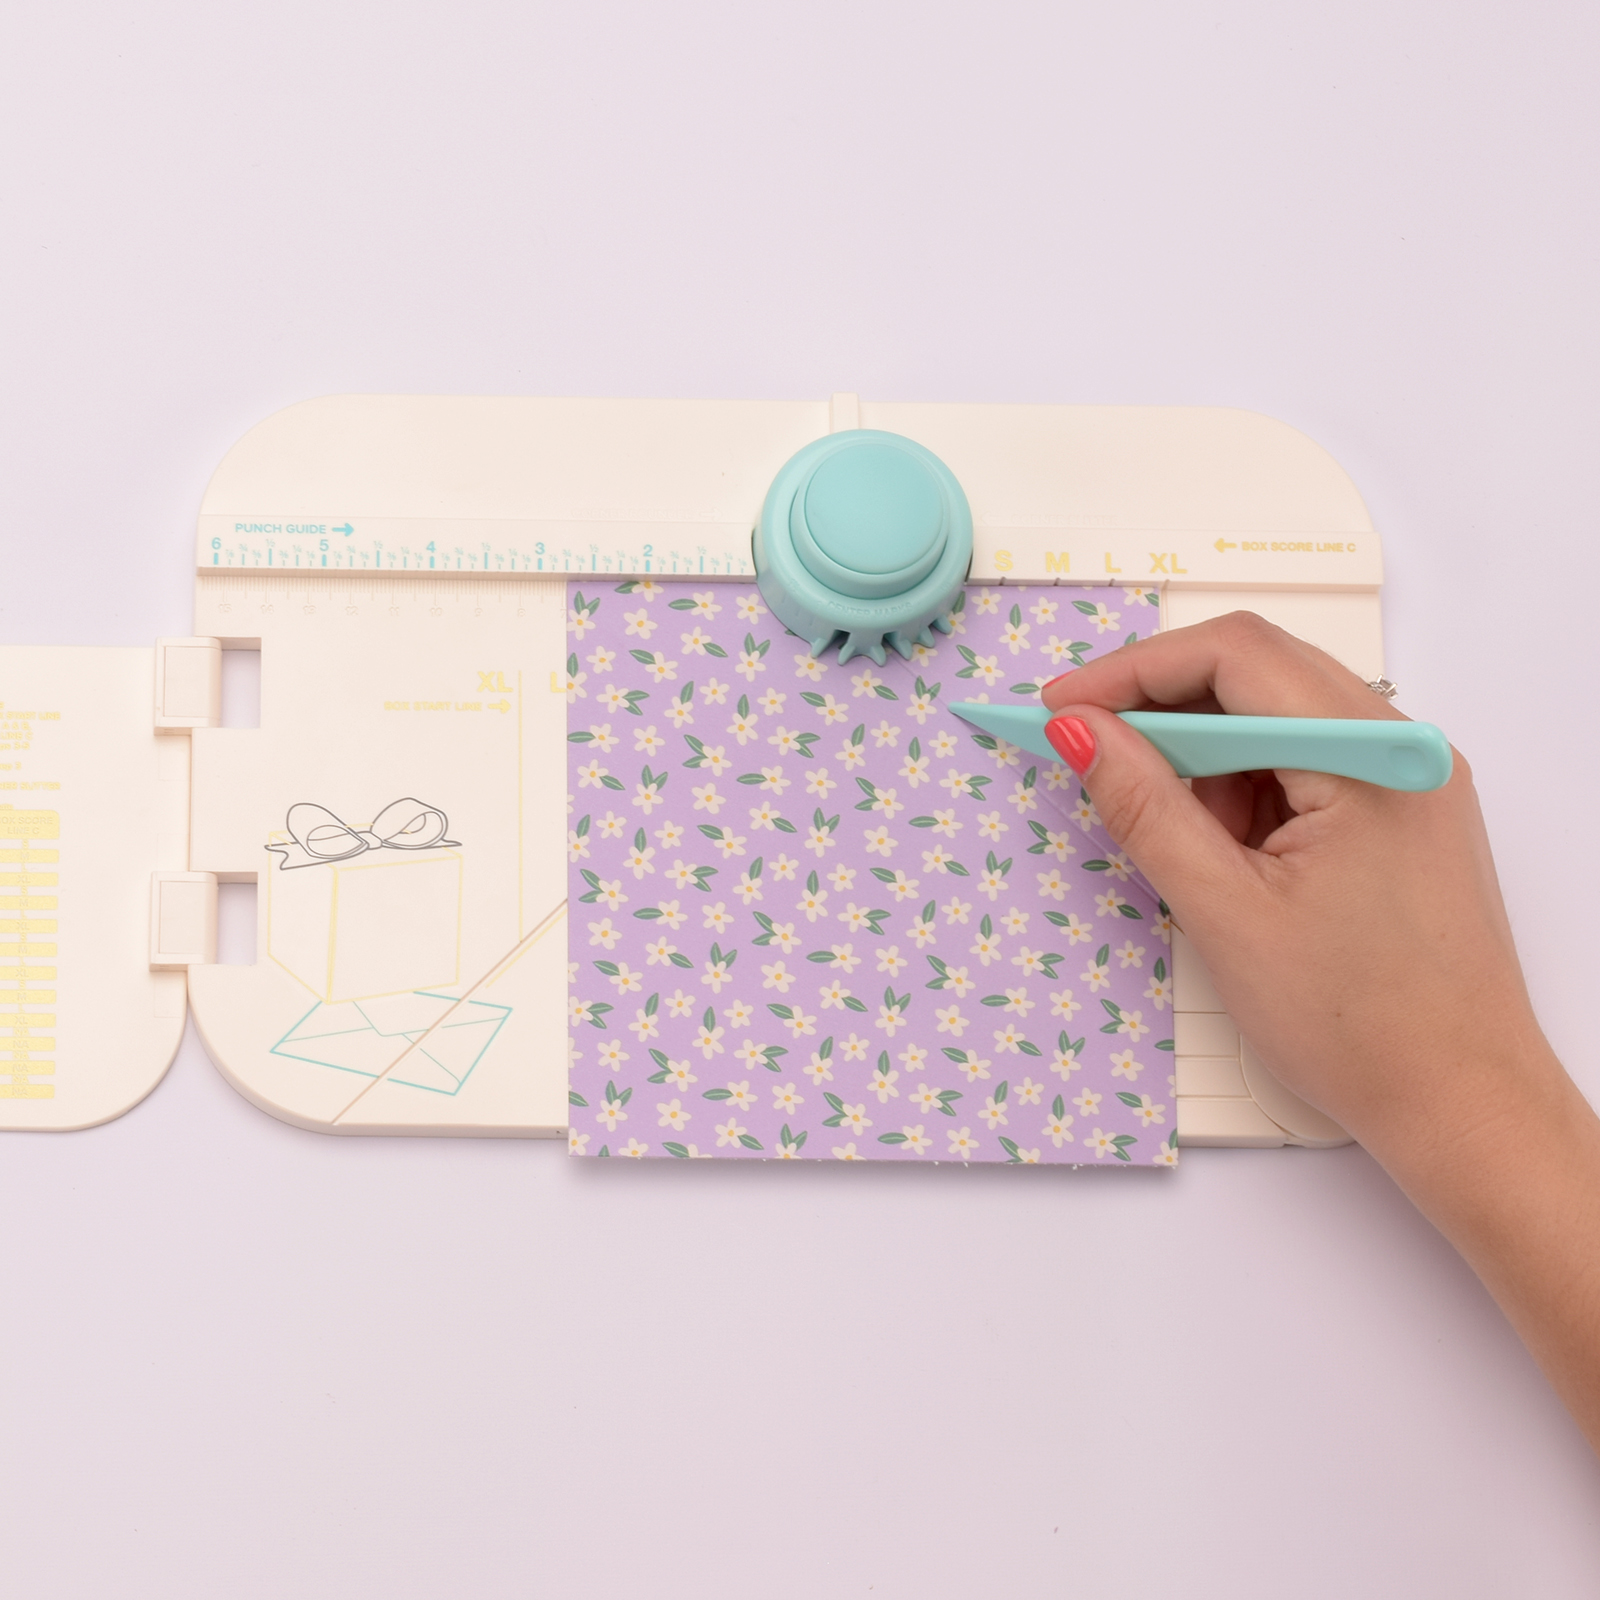
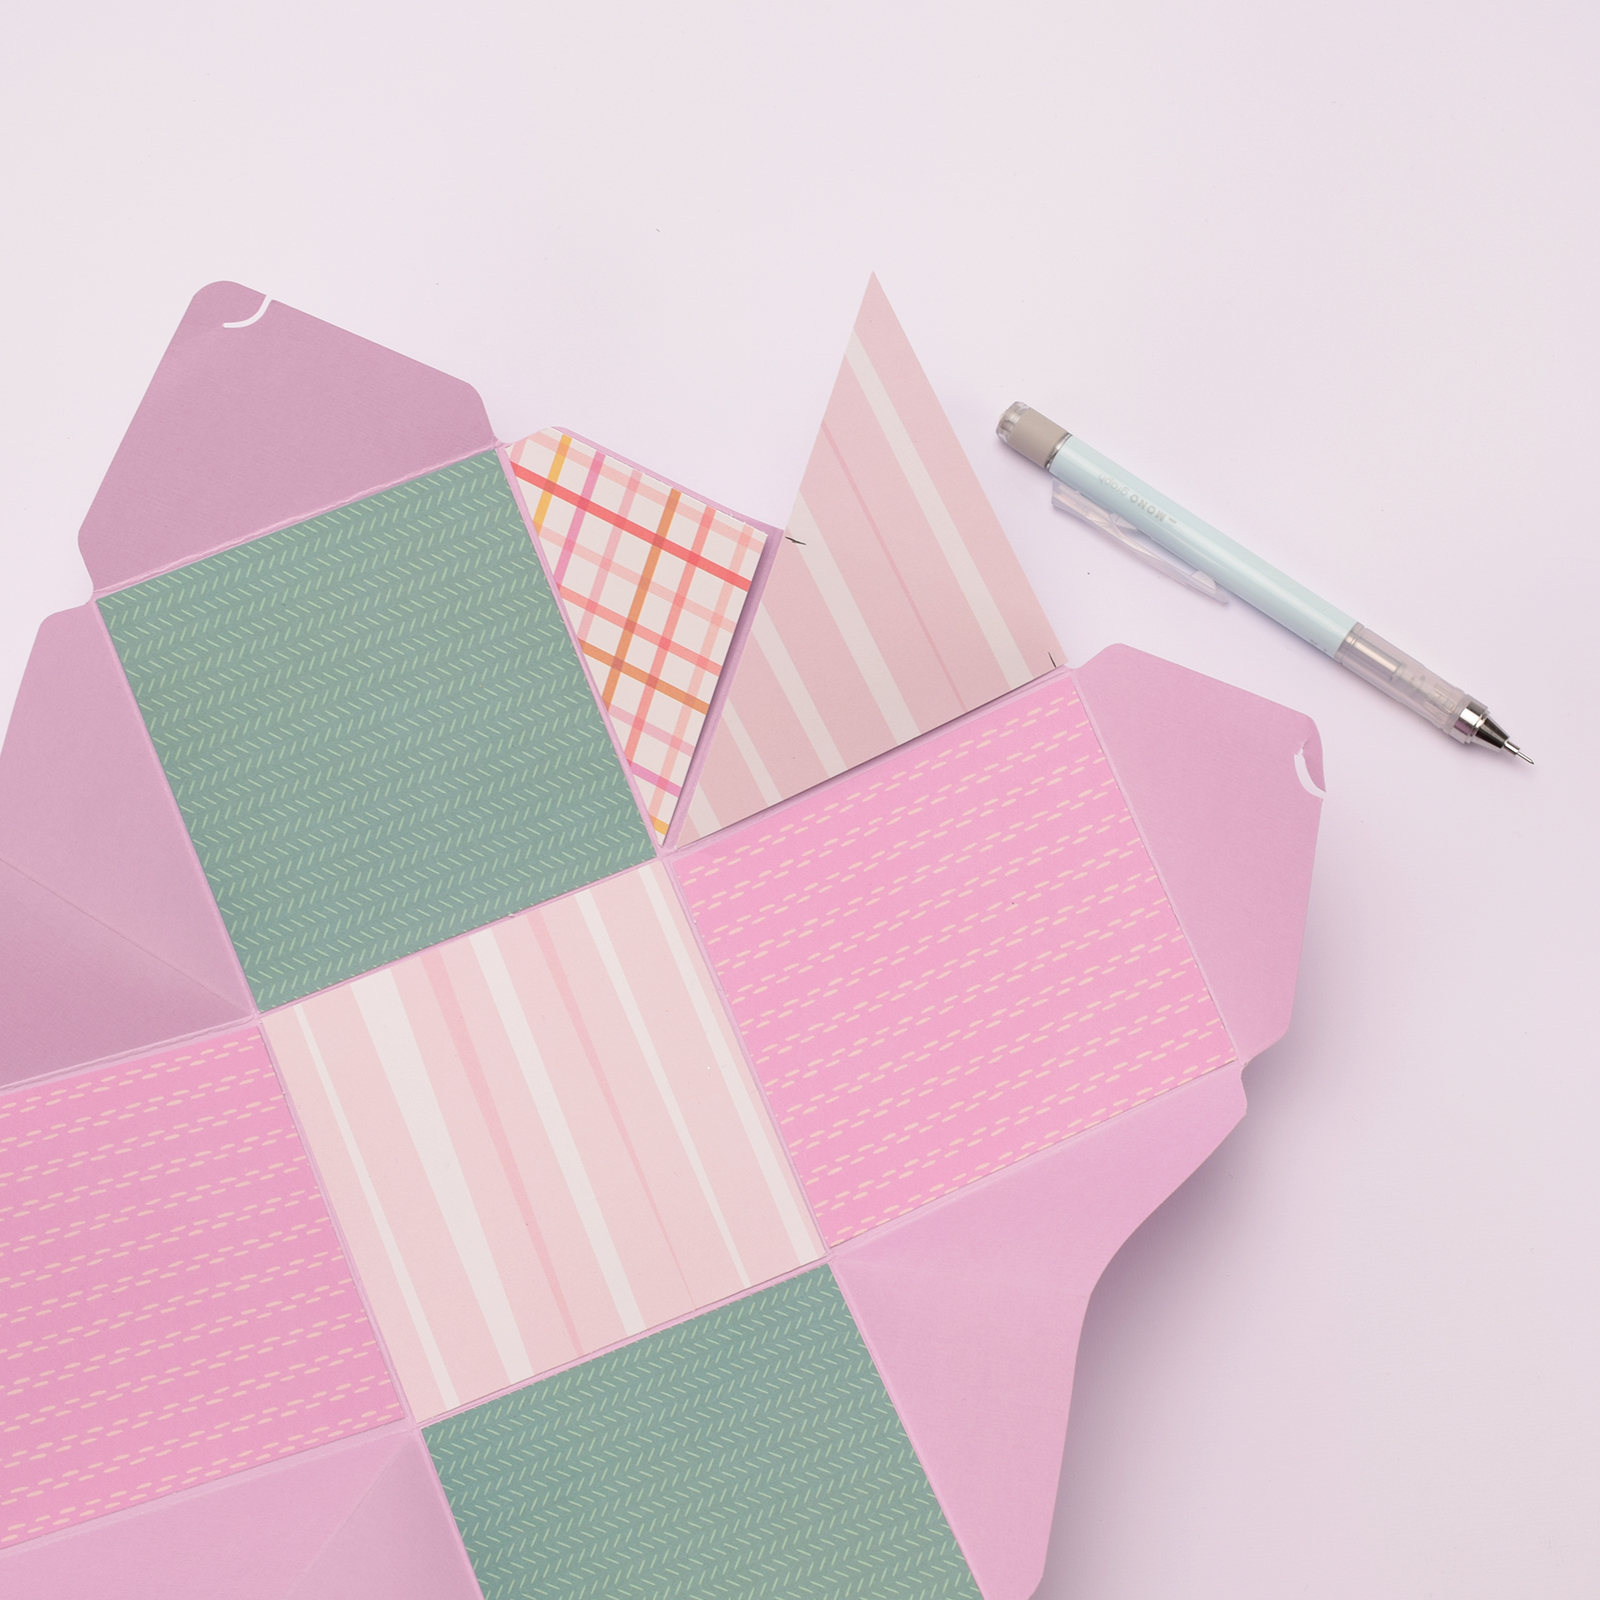
Use the We R Makers 1-2-3 Punch Board and the lilac cardstock sheet. Unfold the board, choose the size of the box (in this case, 4 x 4 x 4 inches). Align the paper with the XL guideline. Score the two diagonal lines and the line at the XL mark. Also, press the punch button.
3
Rotate the paper 90 degrees and repeat these steps until all sides of the paper have been done.
4
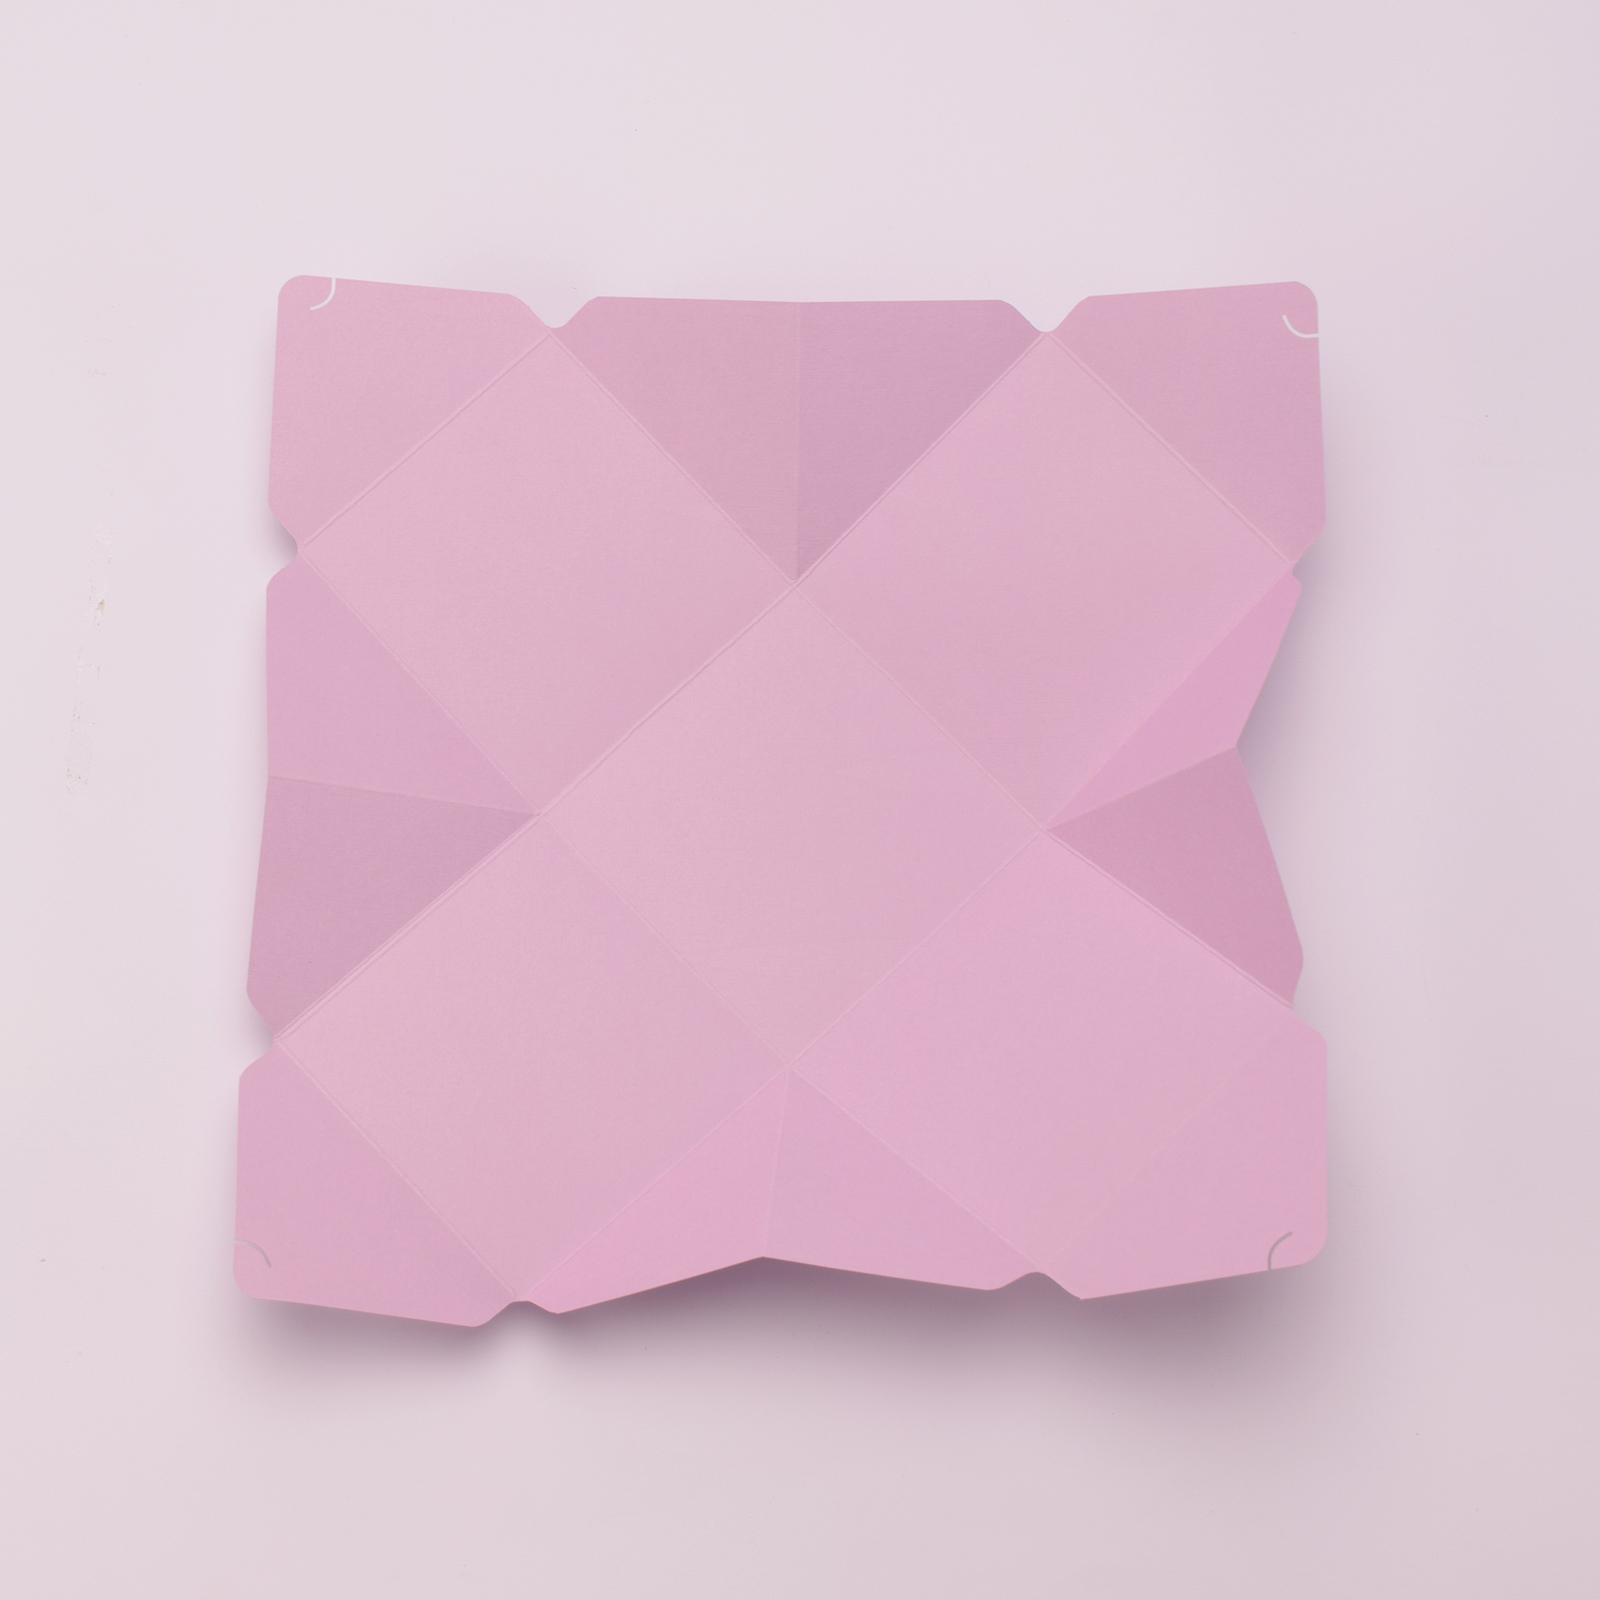
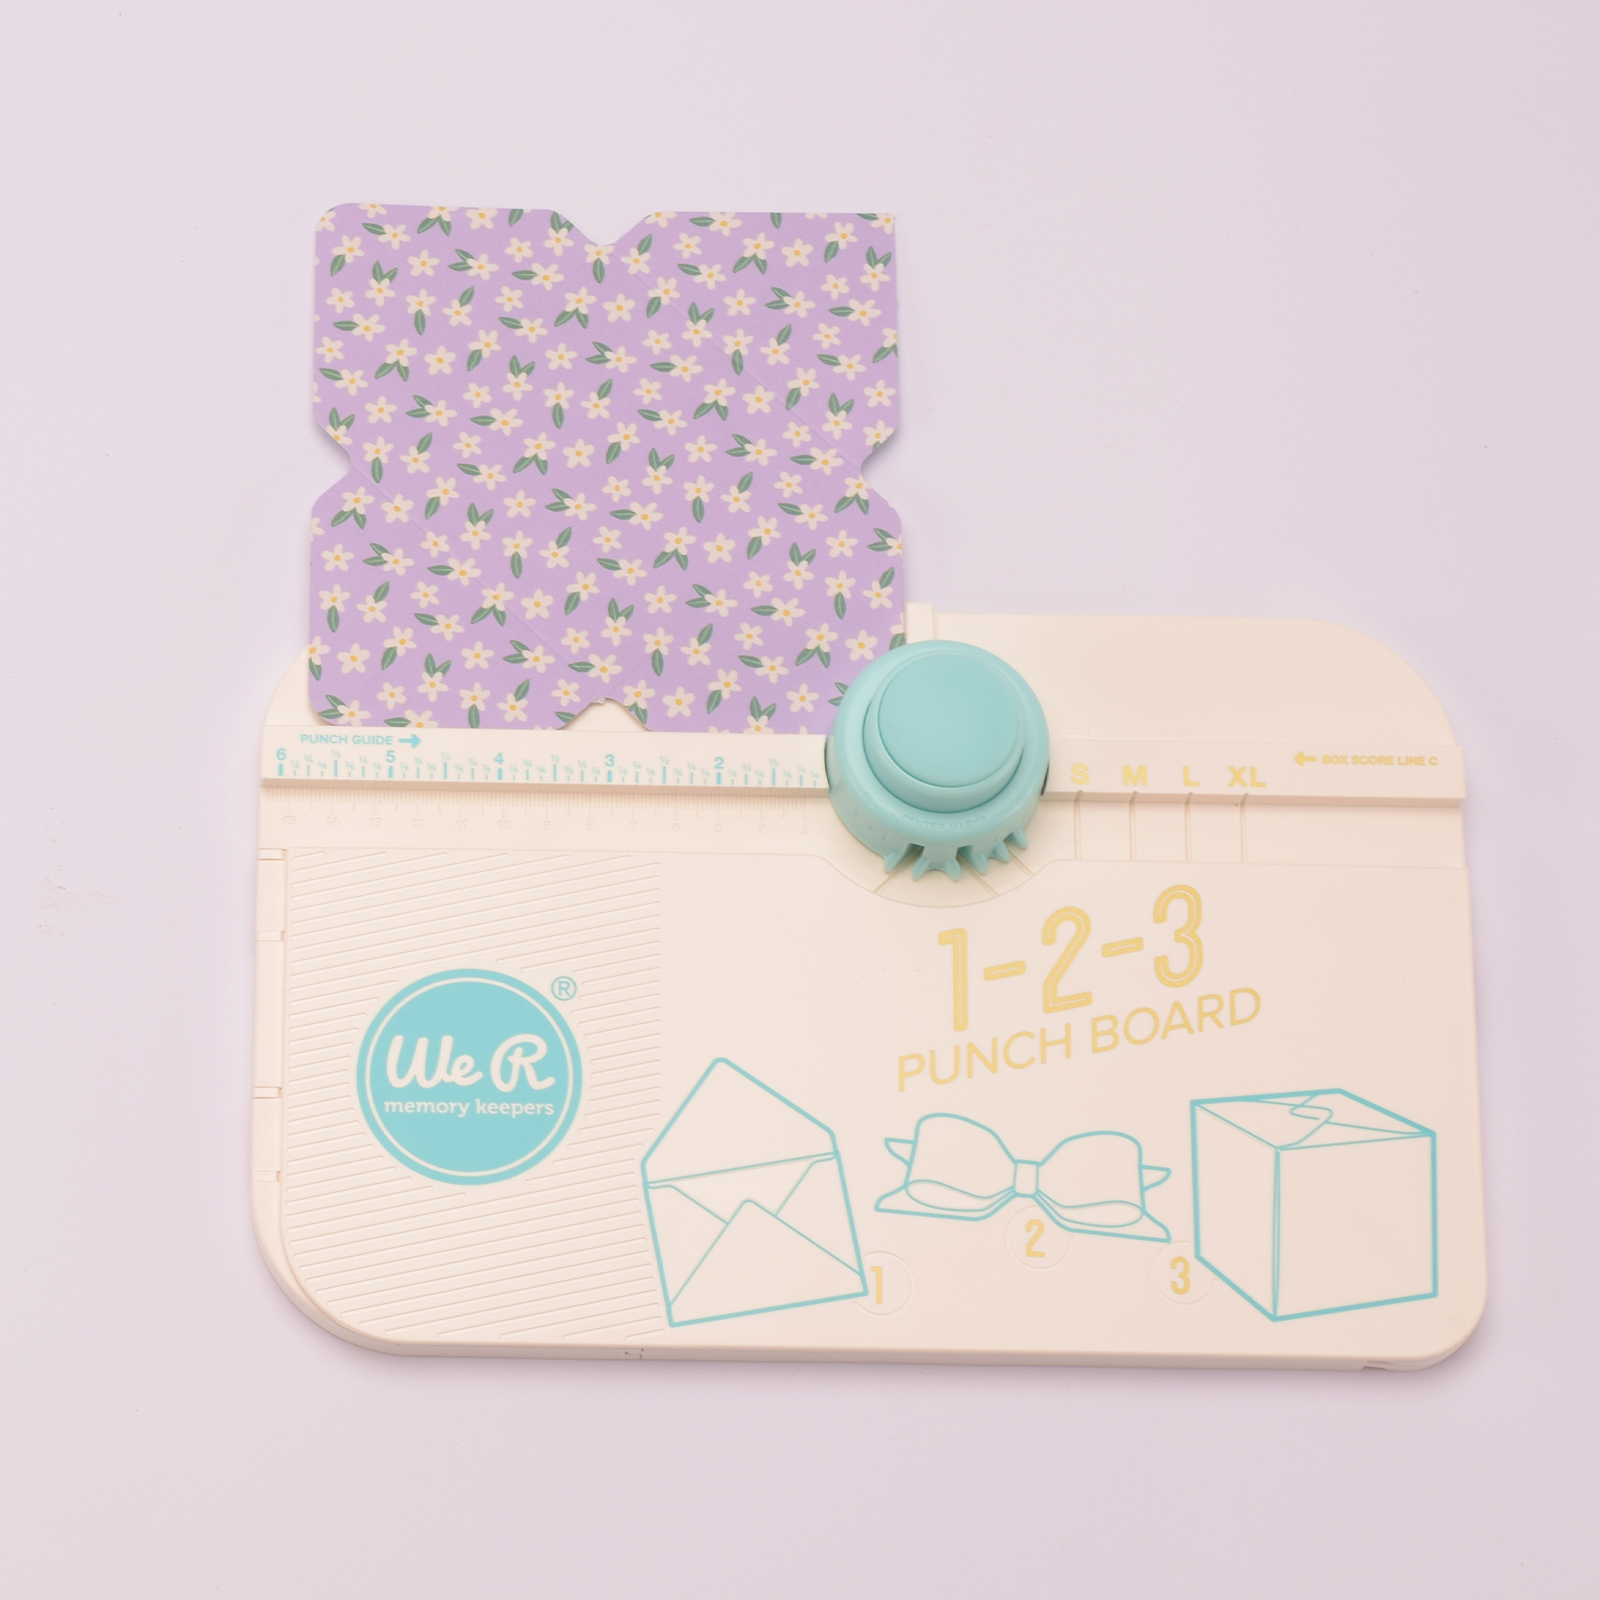
Turn the paper over and punch out the remaining four corners, so all sides have two notches.
5
Place the paper in the top right corner of the punch and punch all four corners.
6
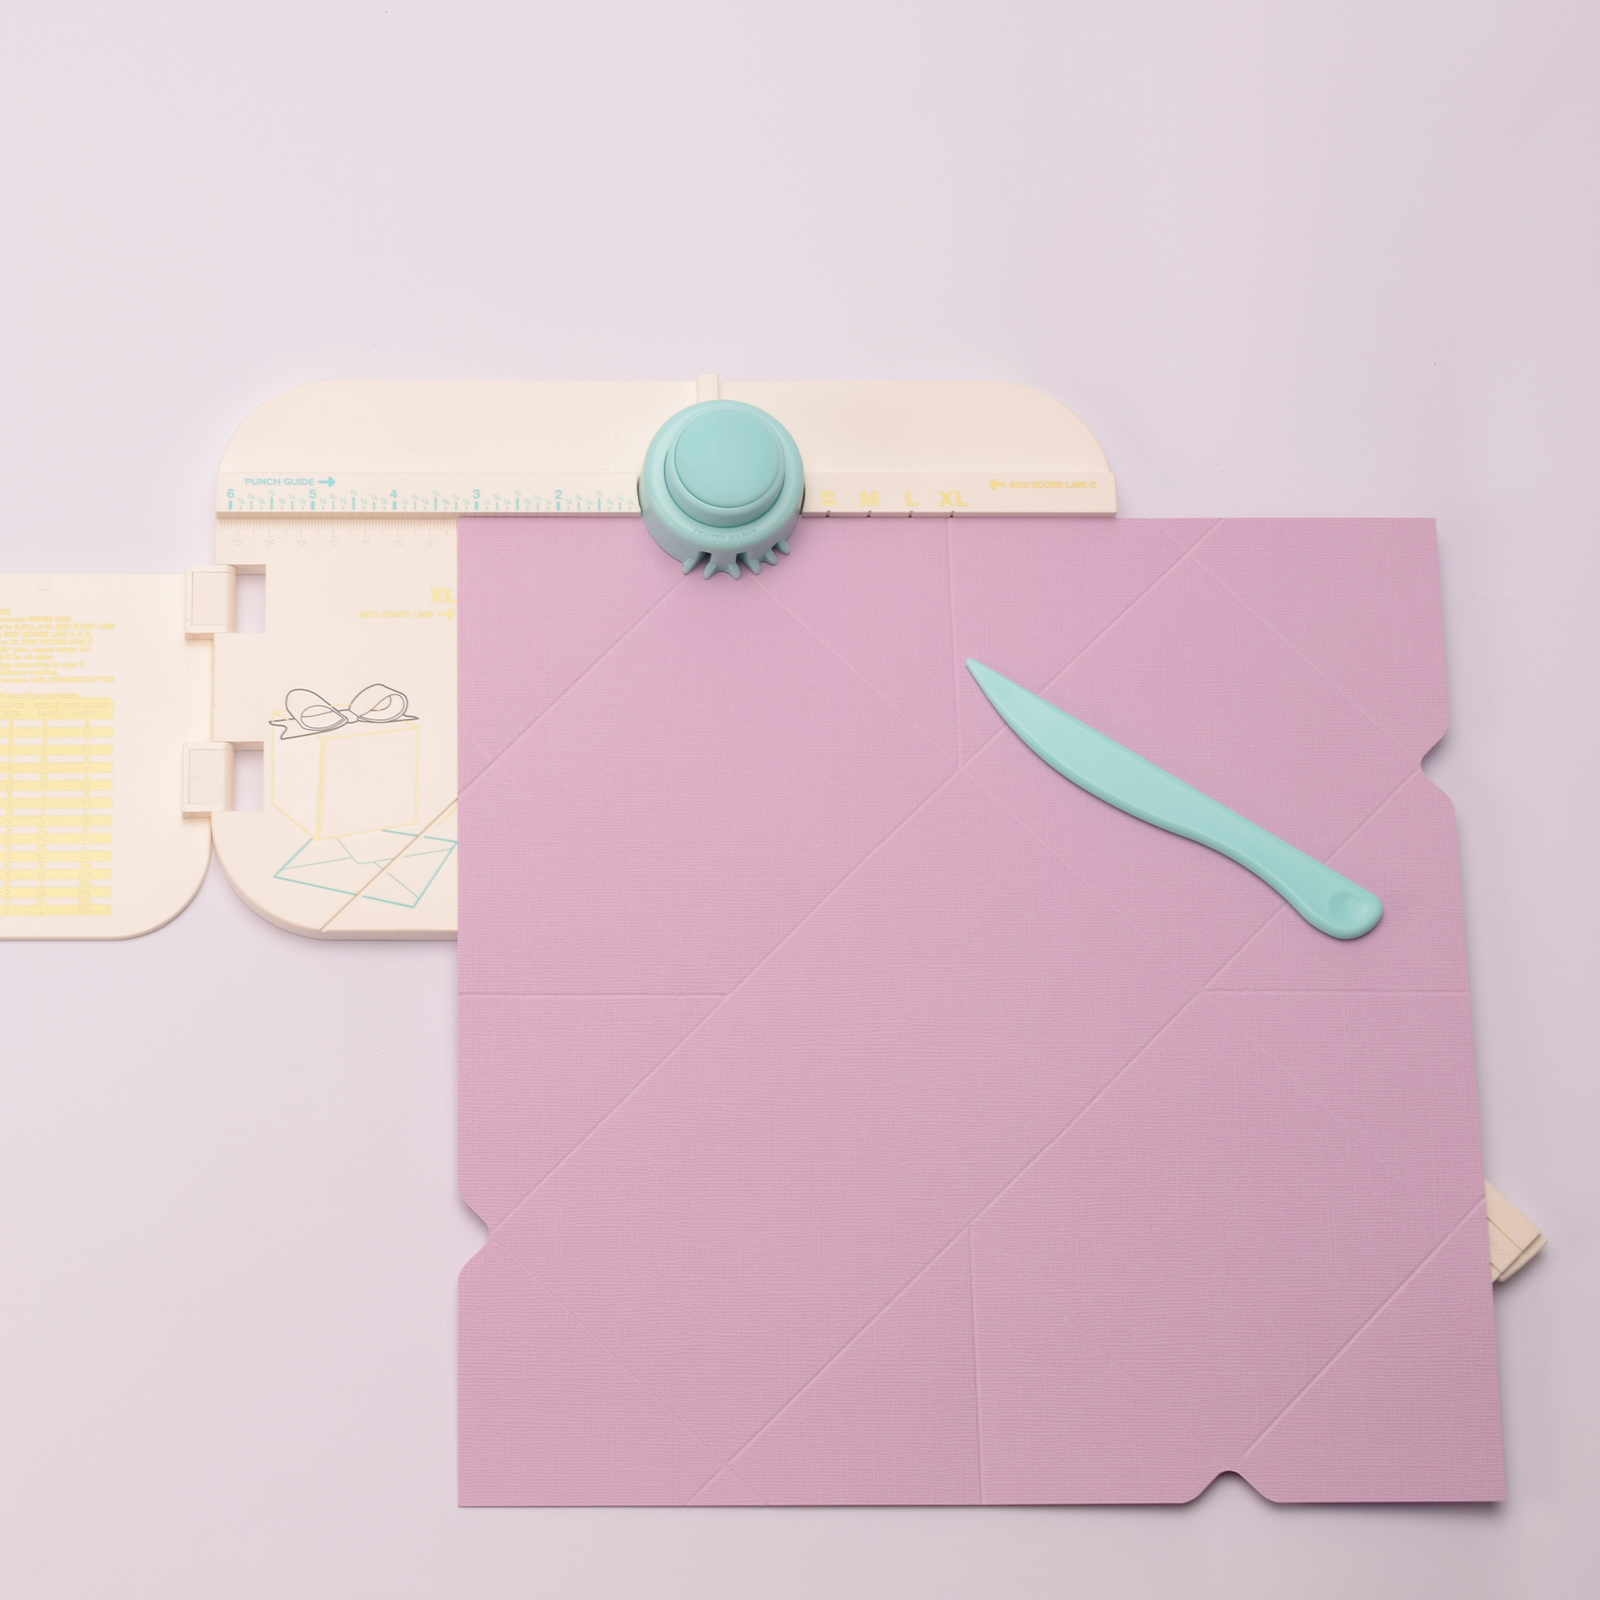
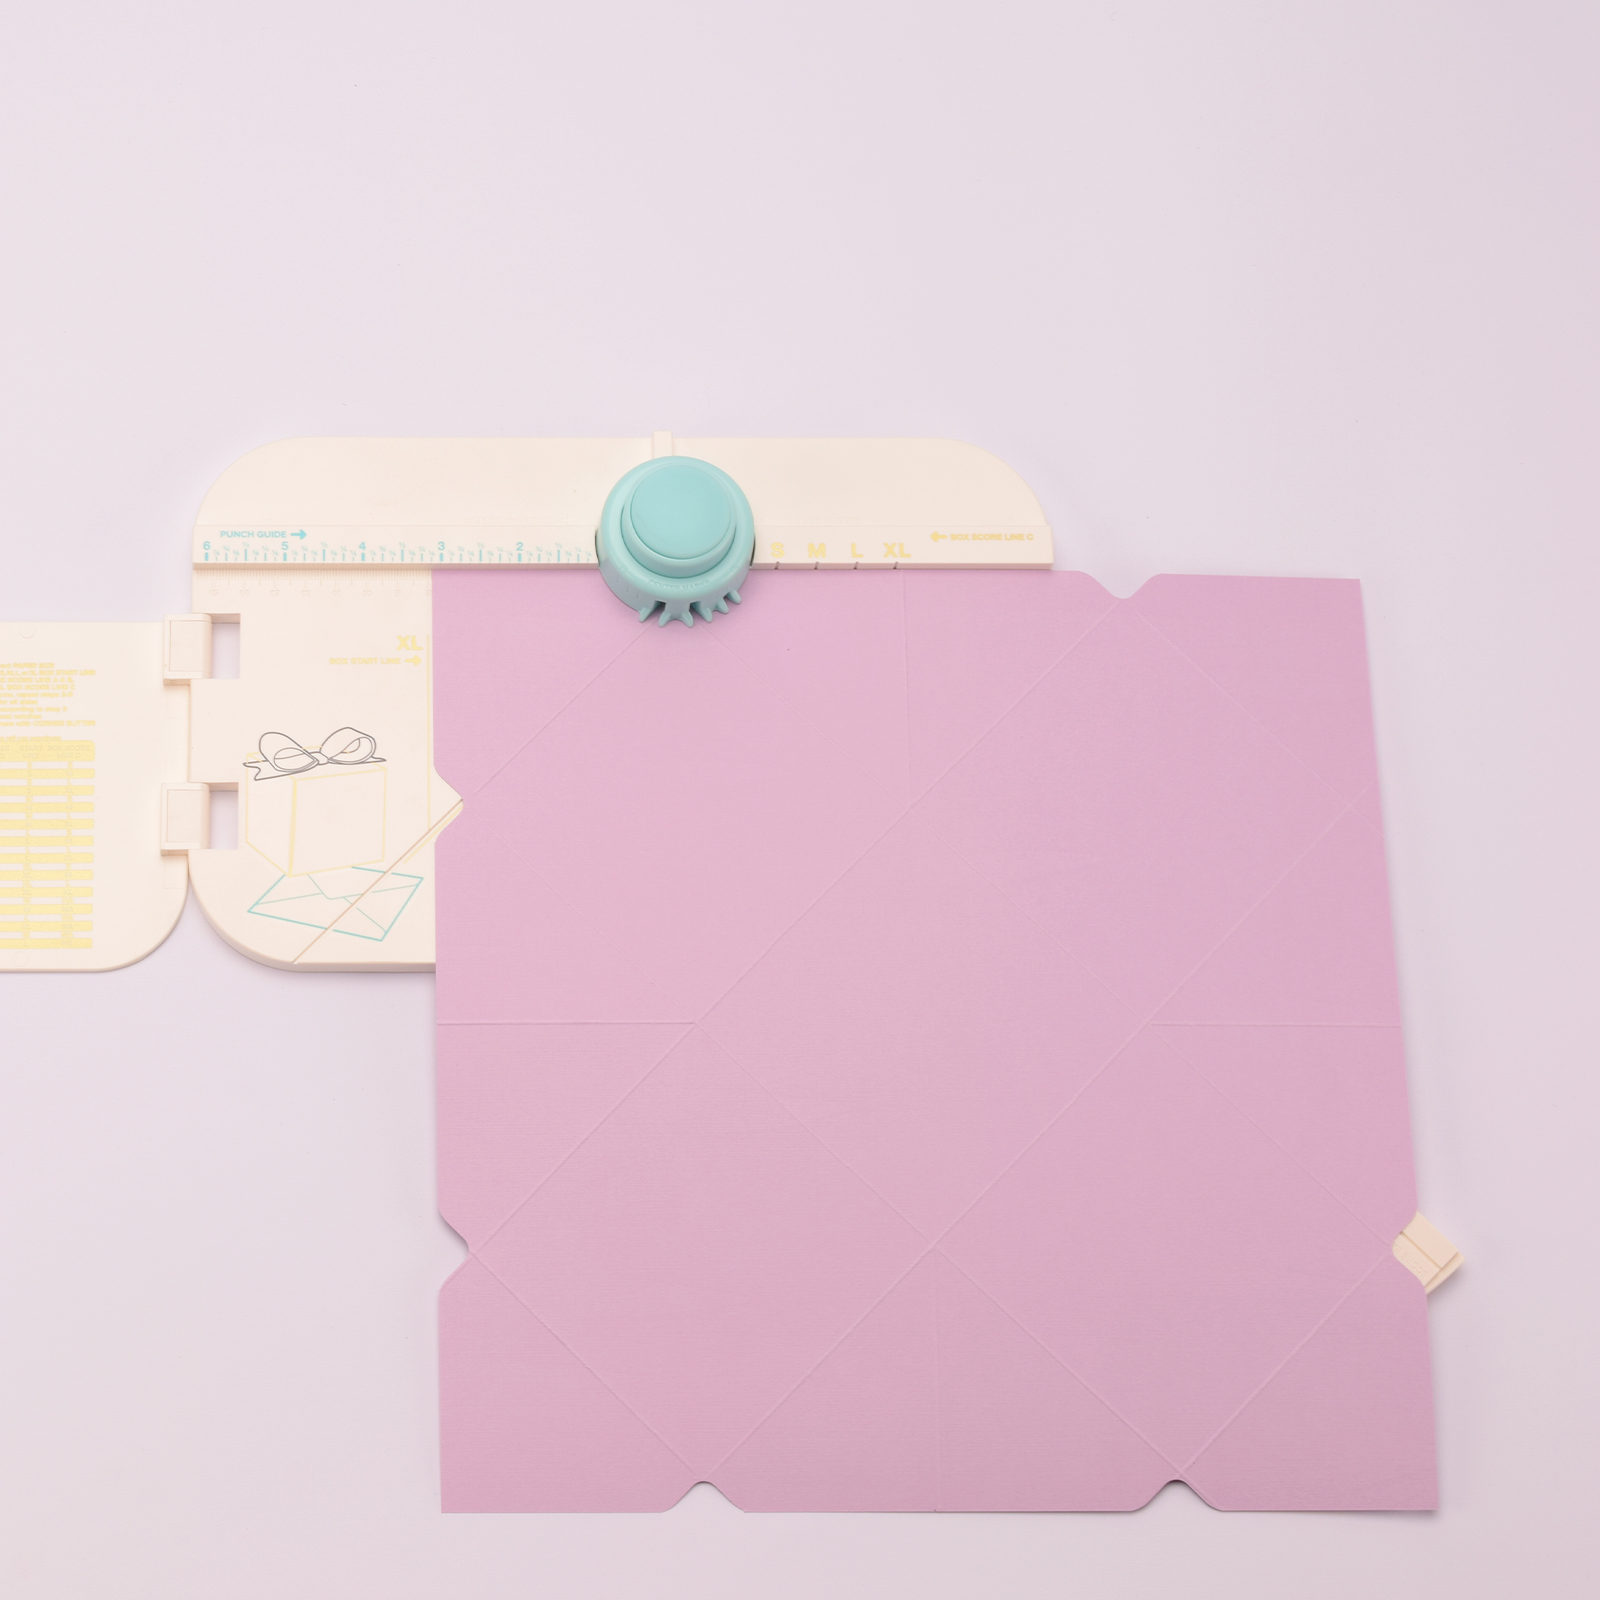
Score all lines well with a bone folder, and the base of the box is ready!
7
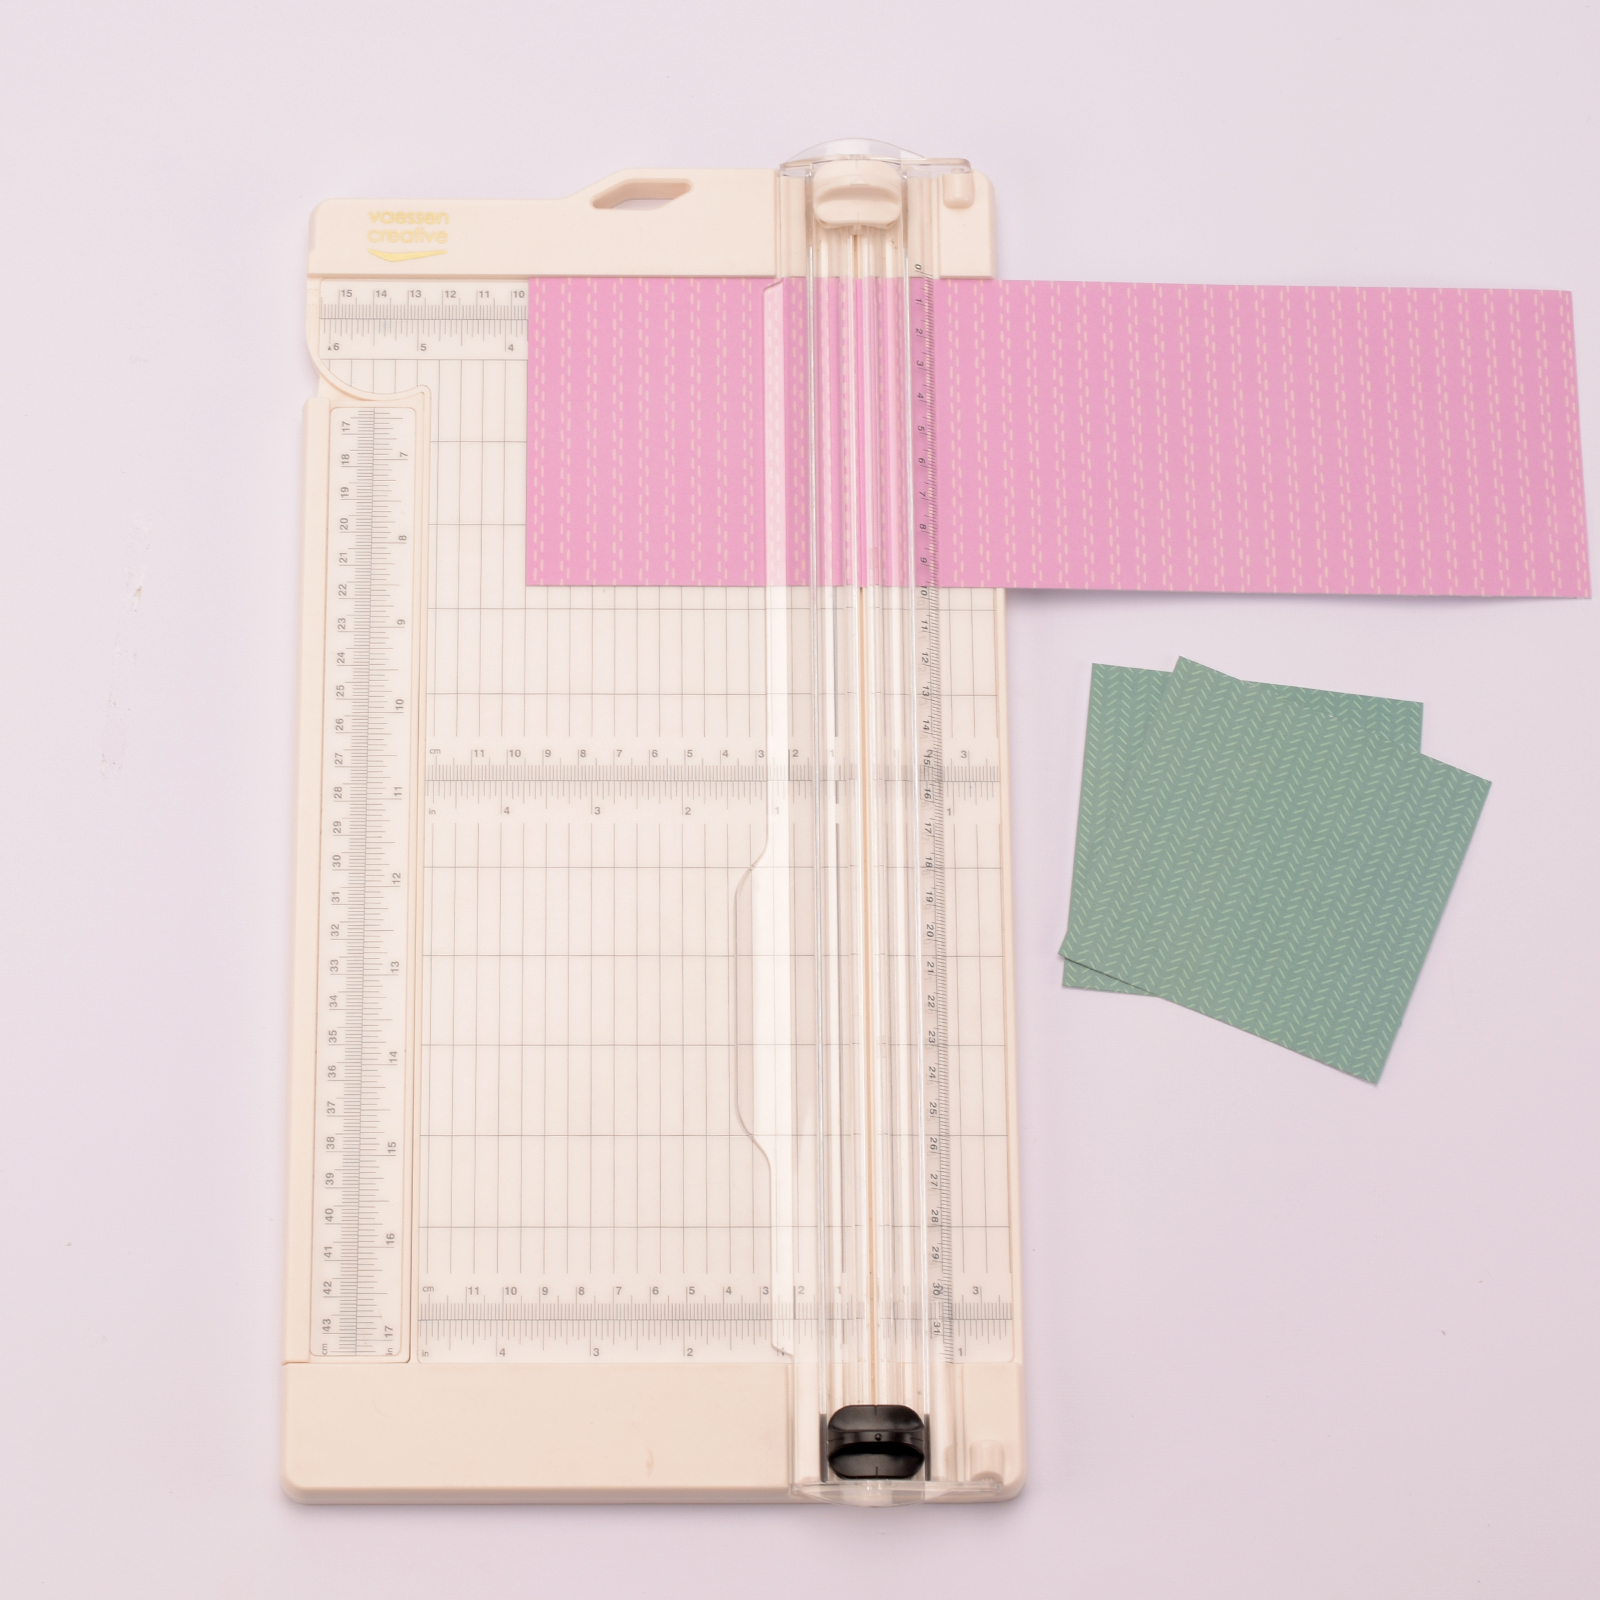
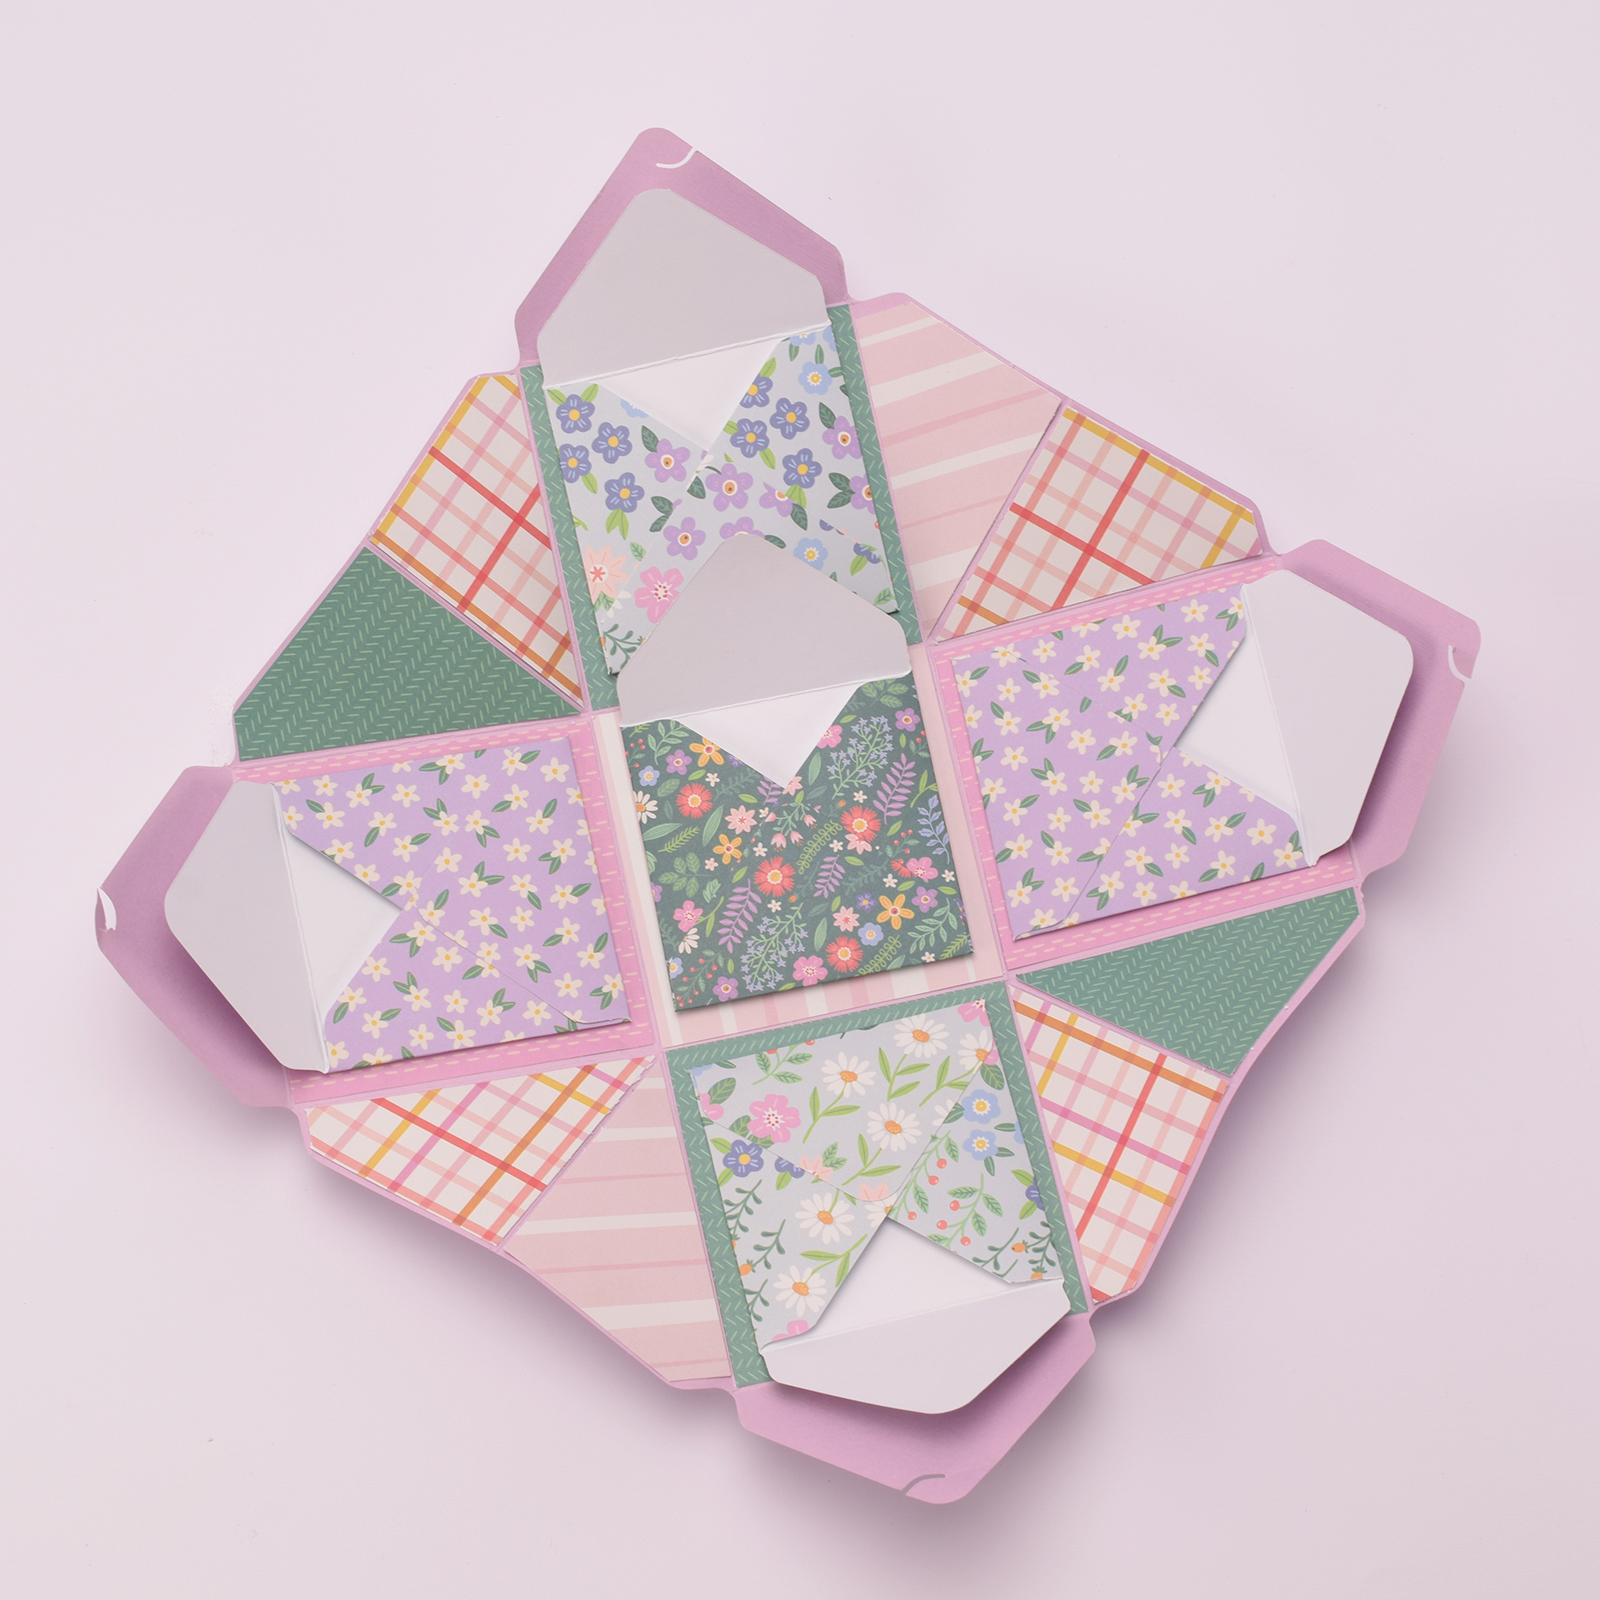
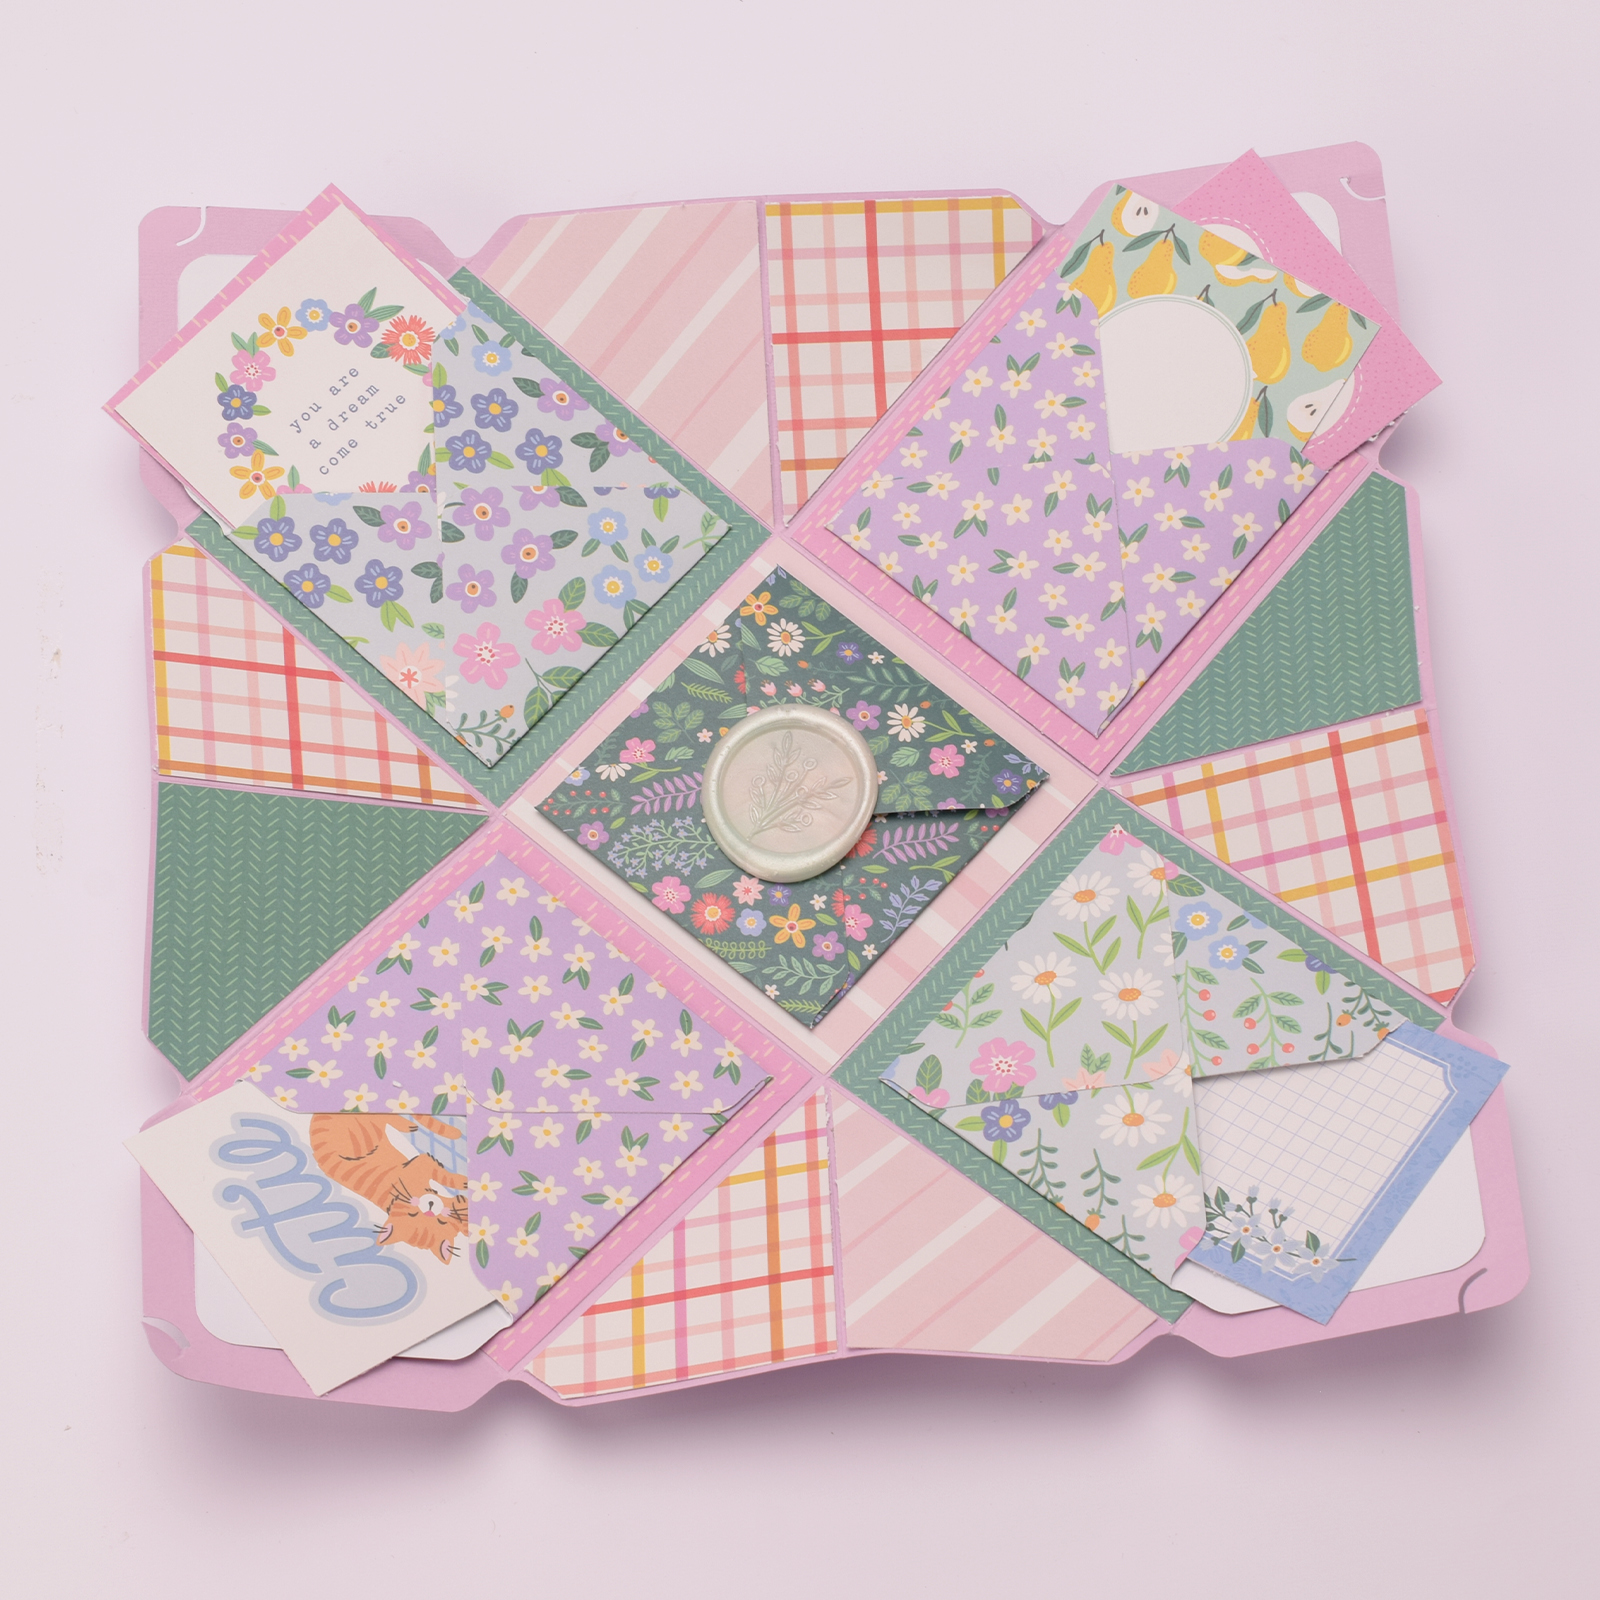
Choose different designs from the paper pad and cut squares that fit precisely on the square sections inside the box (3 7/8 x 3 7/8 inches). Cut a total of nine squares.
8
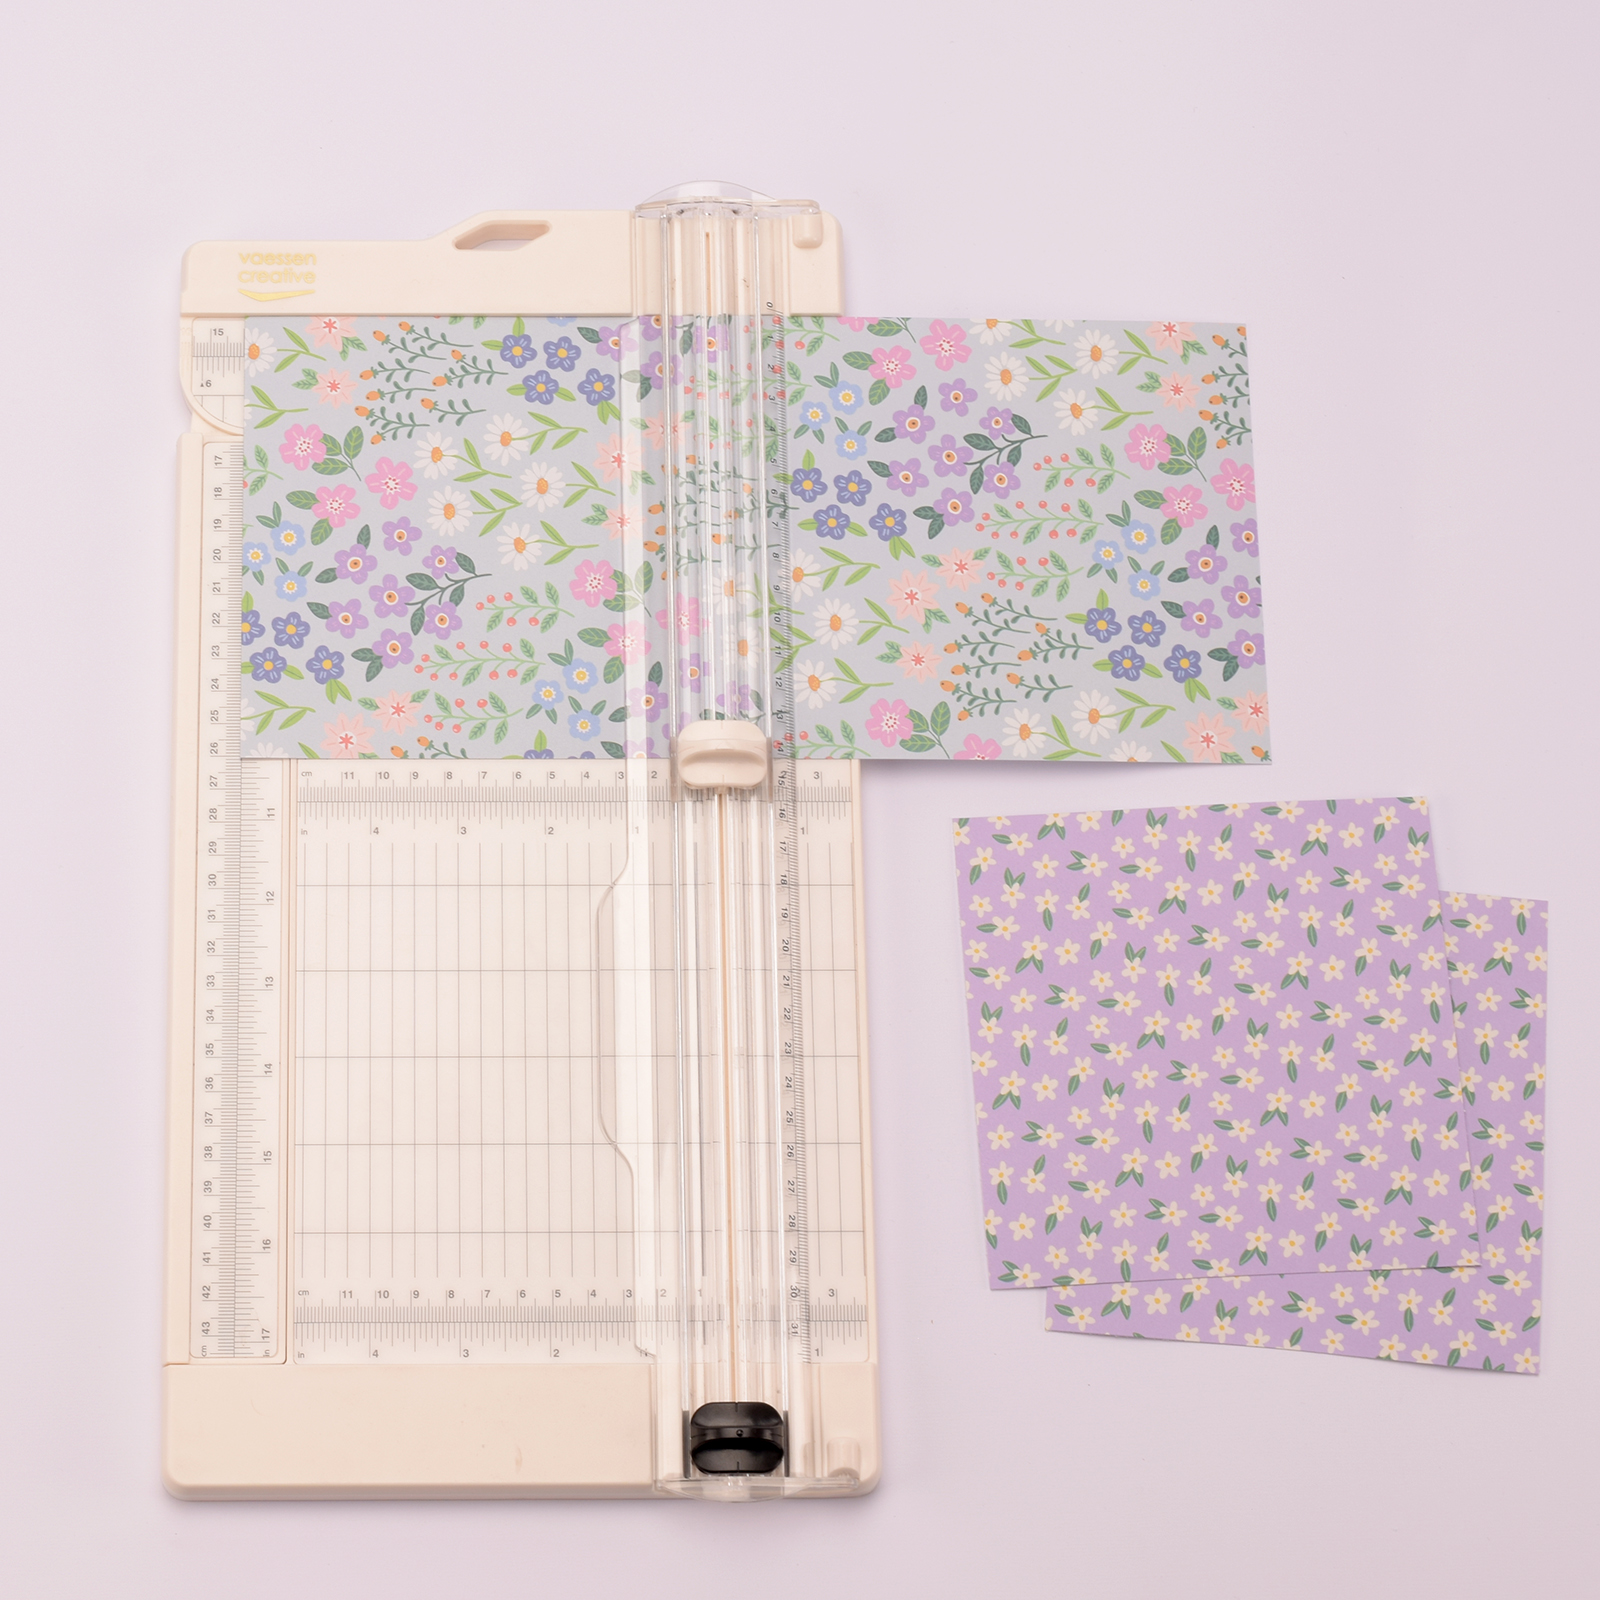
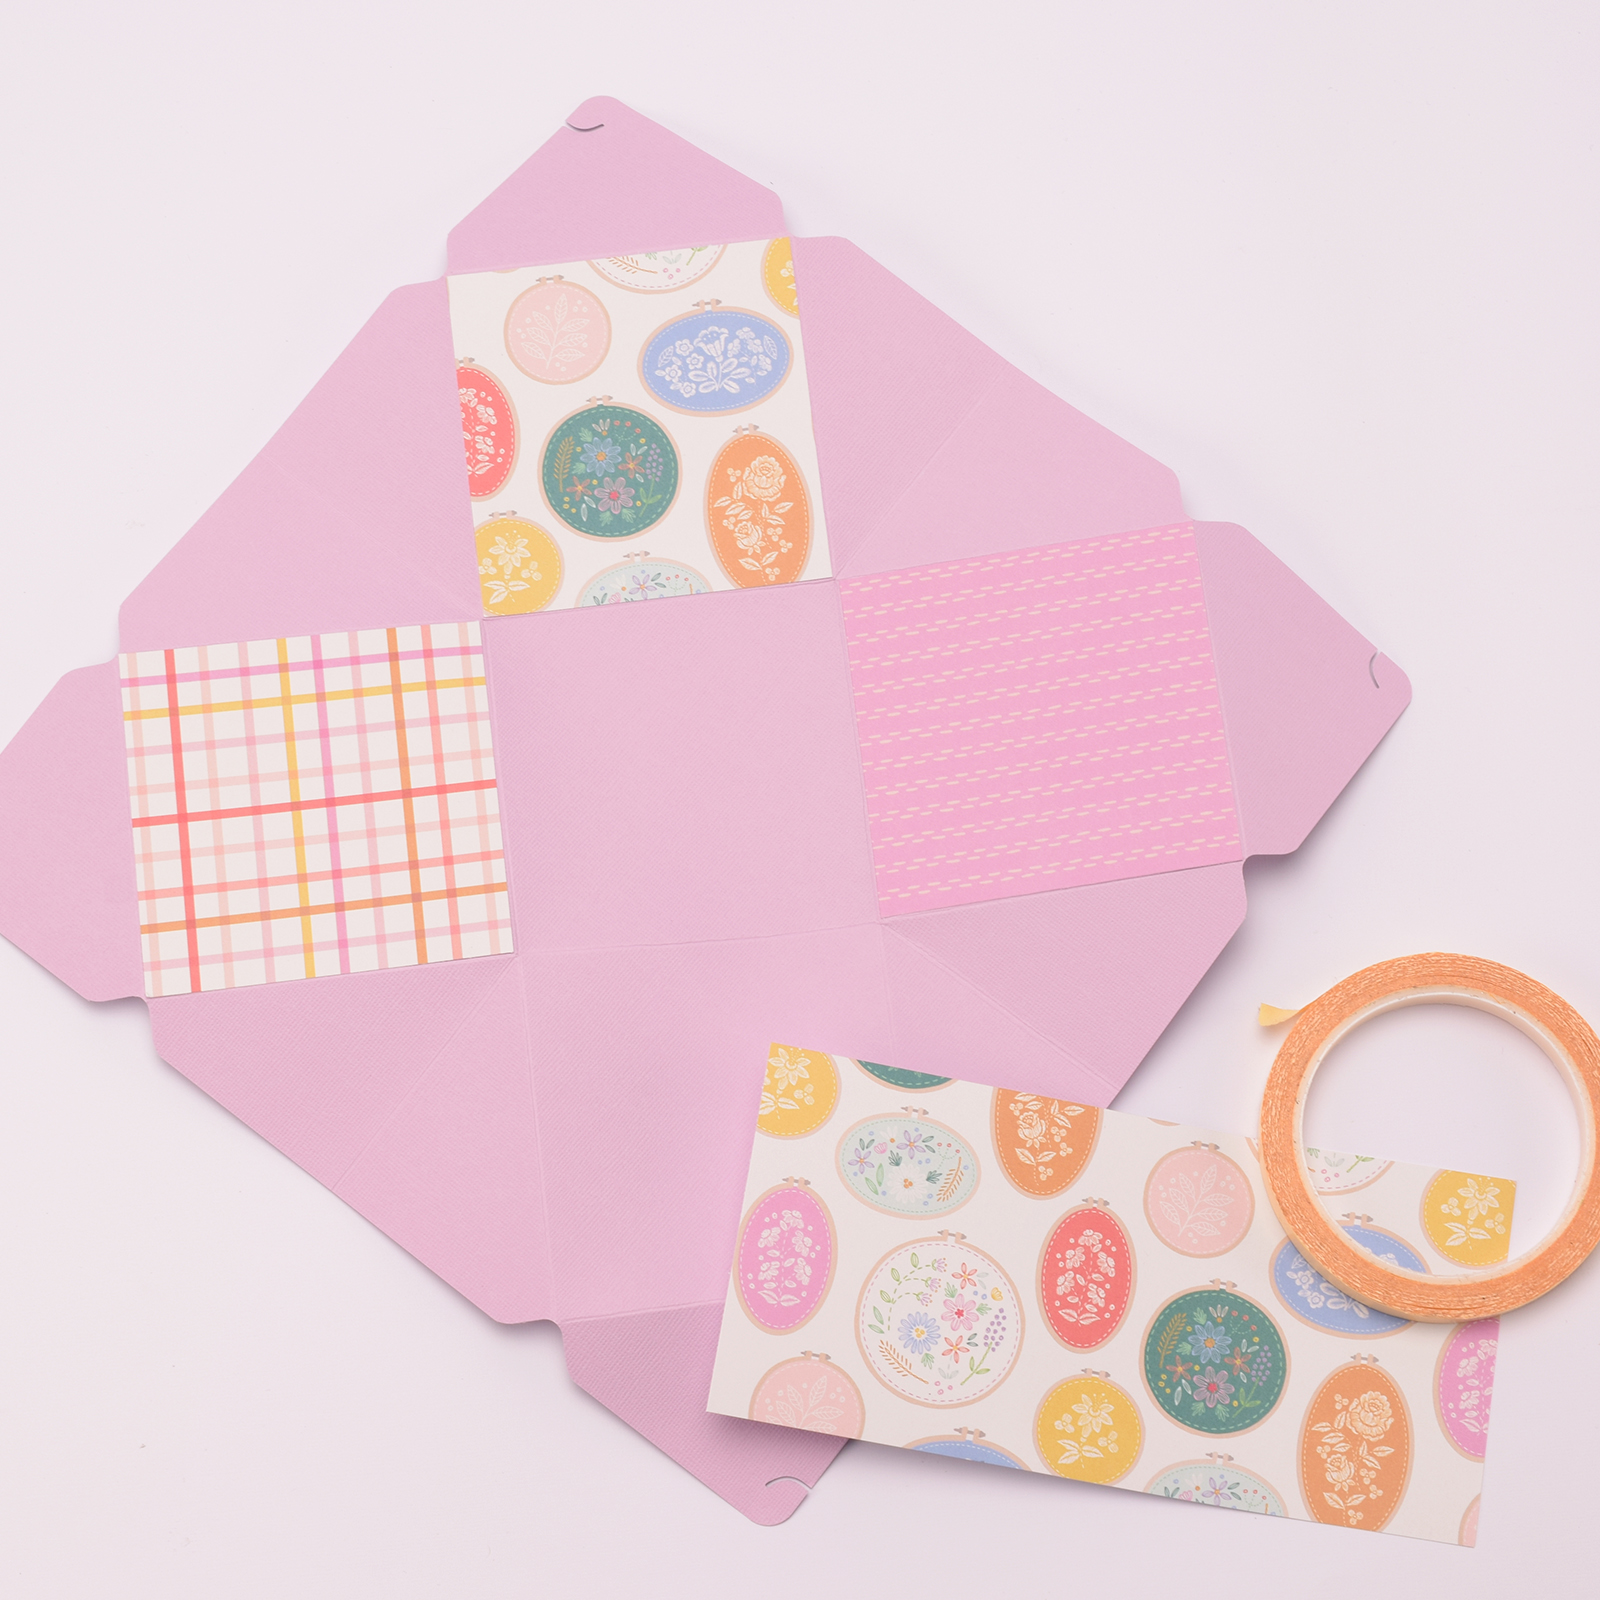
Use the punch board to determine the size of the envelopes (in this case, 3 ½ x 3 ½ inches). Cut paper to size (6 ¼ x 6 ¼ inches) and cut five sheets to this size.
9
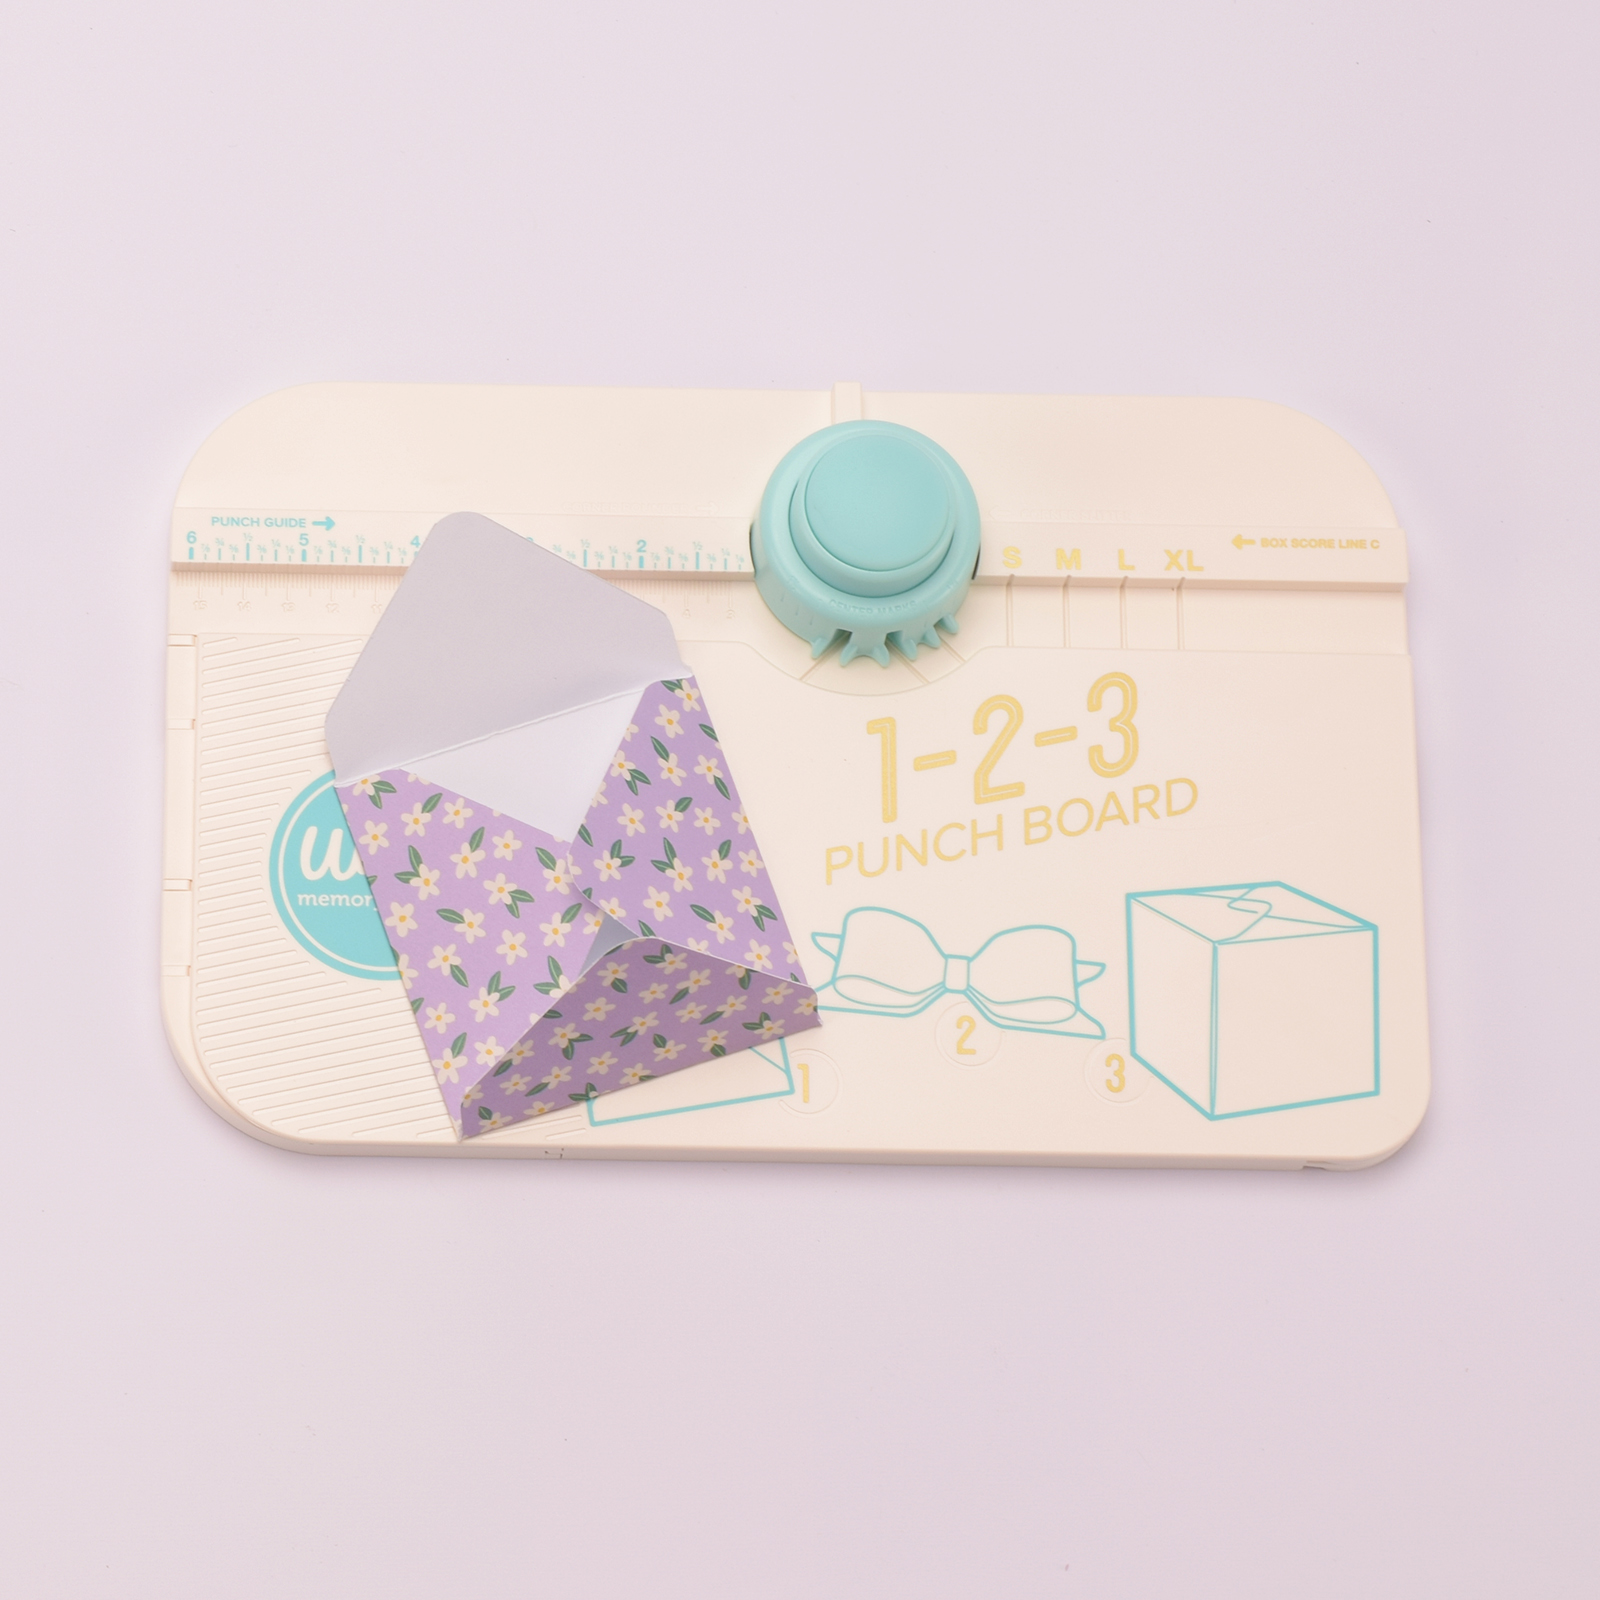
Align the paper on the board according to the size indicator. Punch the paper and score only the right diagonal. Repeat this step until all sides of the paper are scored and punched.
10
Place the paper in the left corner of the punch and punch all corners around.
11
Fold the scored lines and make envelopes. Seal them with double-sided tape, but leave one flap open for later.
12
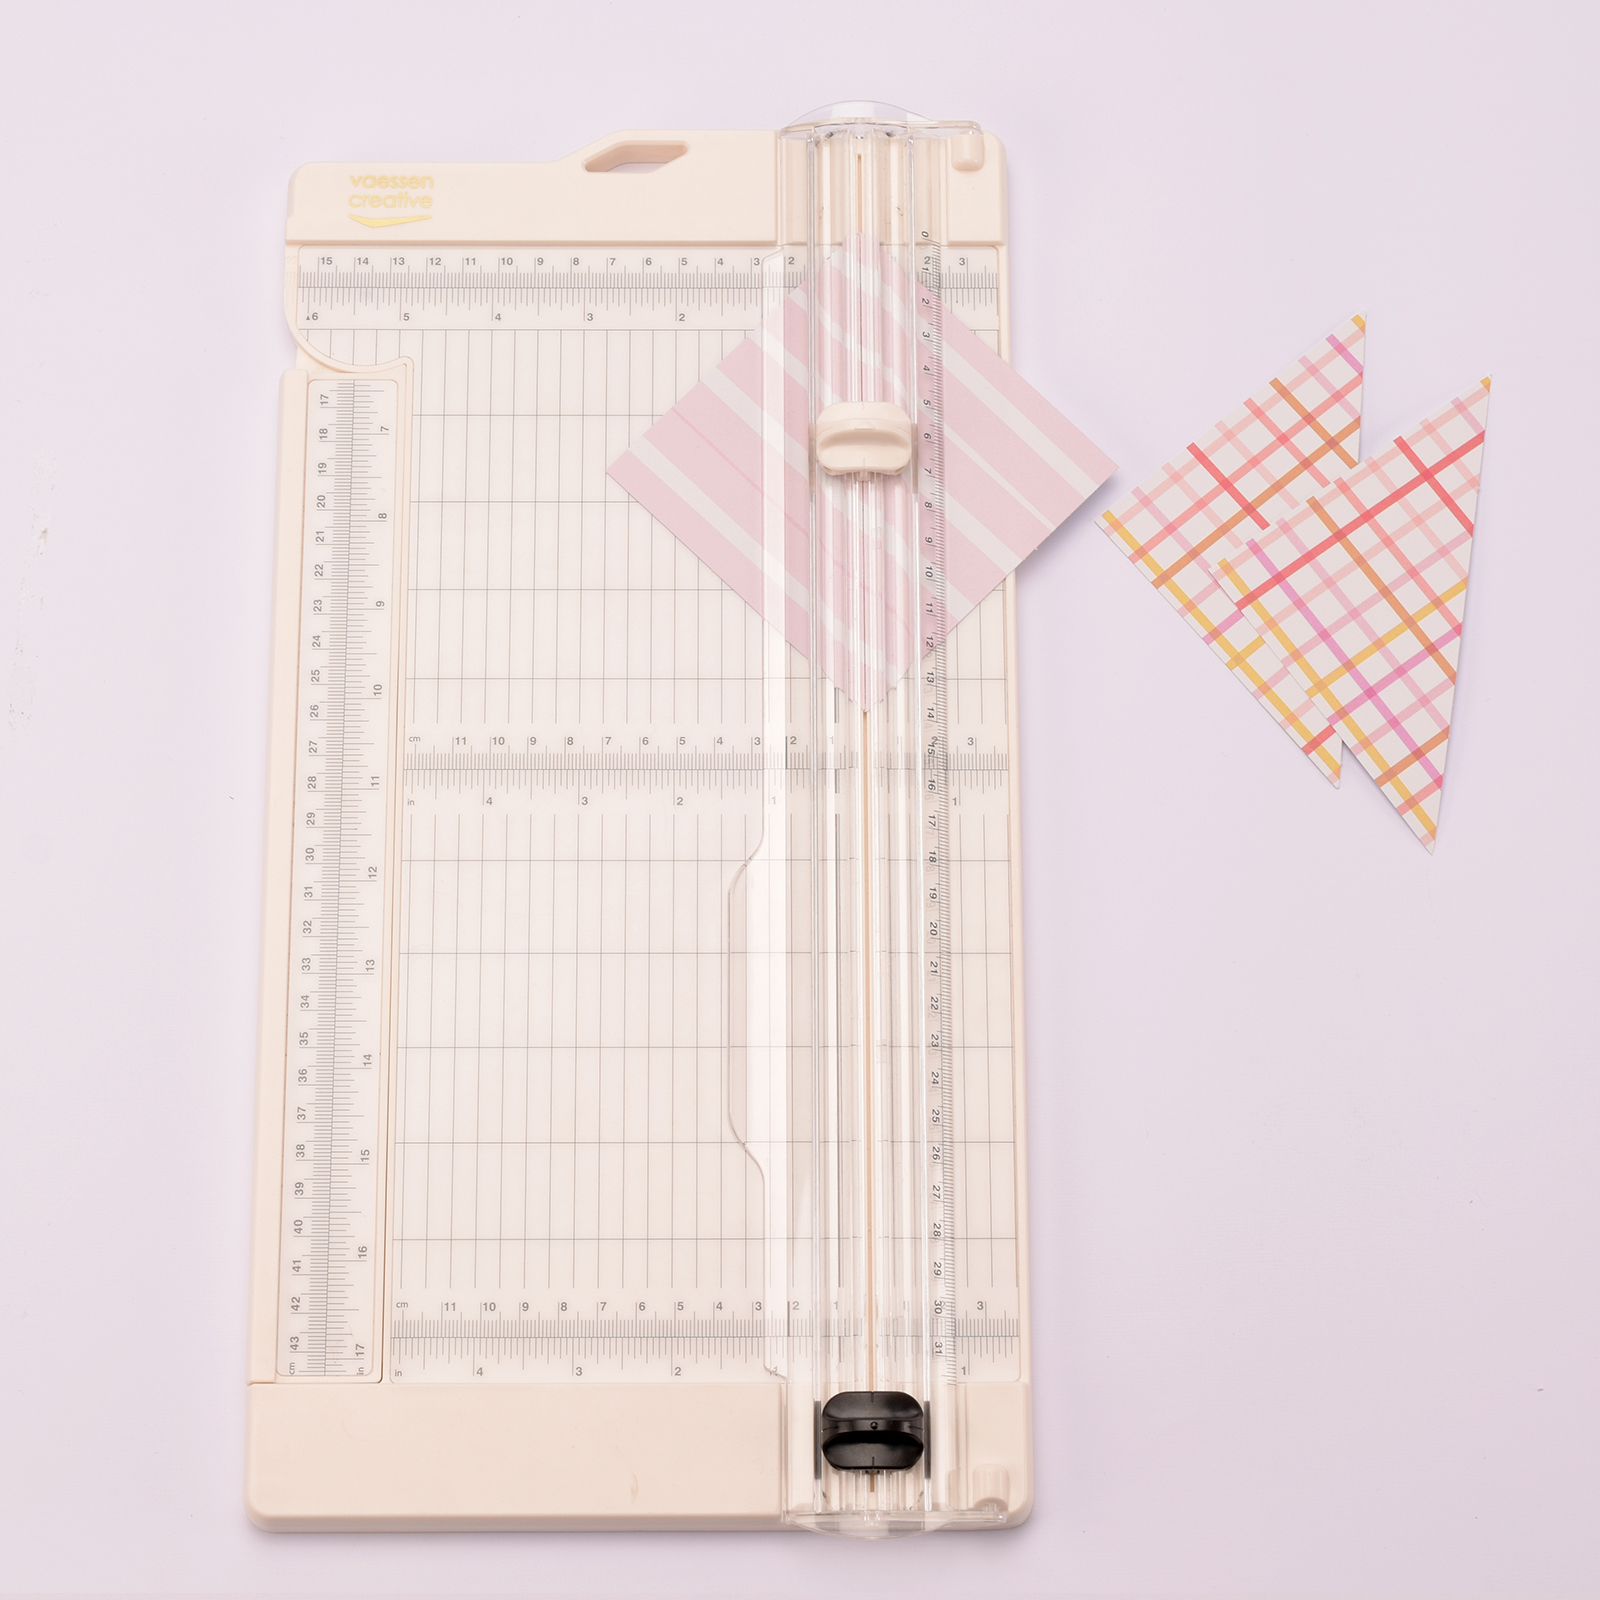
Take the squares from step 7 and cut four of them diagonally in half.
13
Attach the five whole squares to the inner panels of the box. Place the triangular pieces on the triangular sections and mark the overhanging area. Cut this off with a paper trimmer.
14
Attach the trimmed triangles to the inside of the box. Then attach the envelopes to the five whole sections, using double-sided tape for ease.
15
Cut cute cards to size to store in the envelopes. These can also be other keepsakes or photos.
16
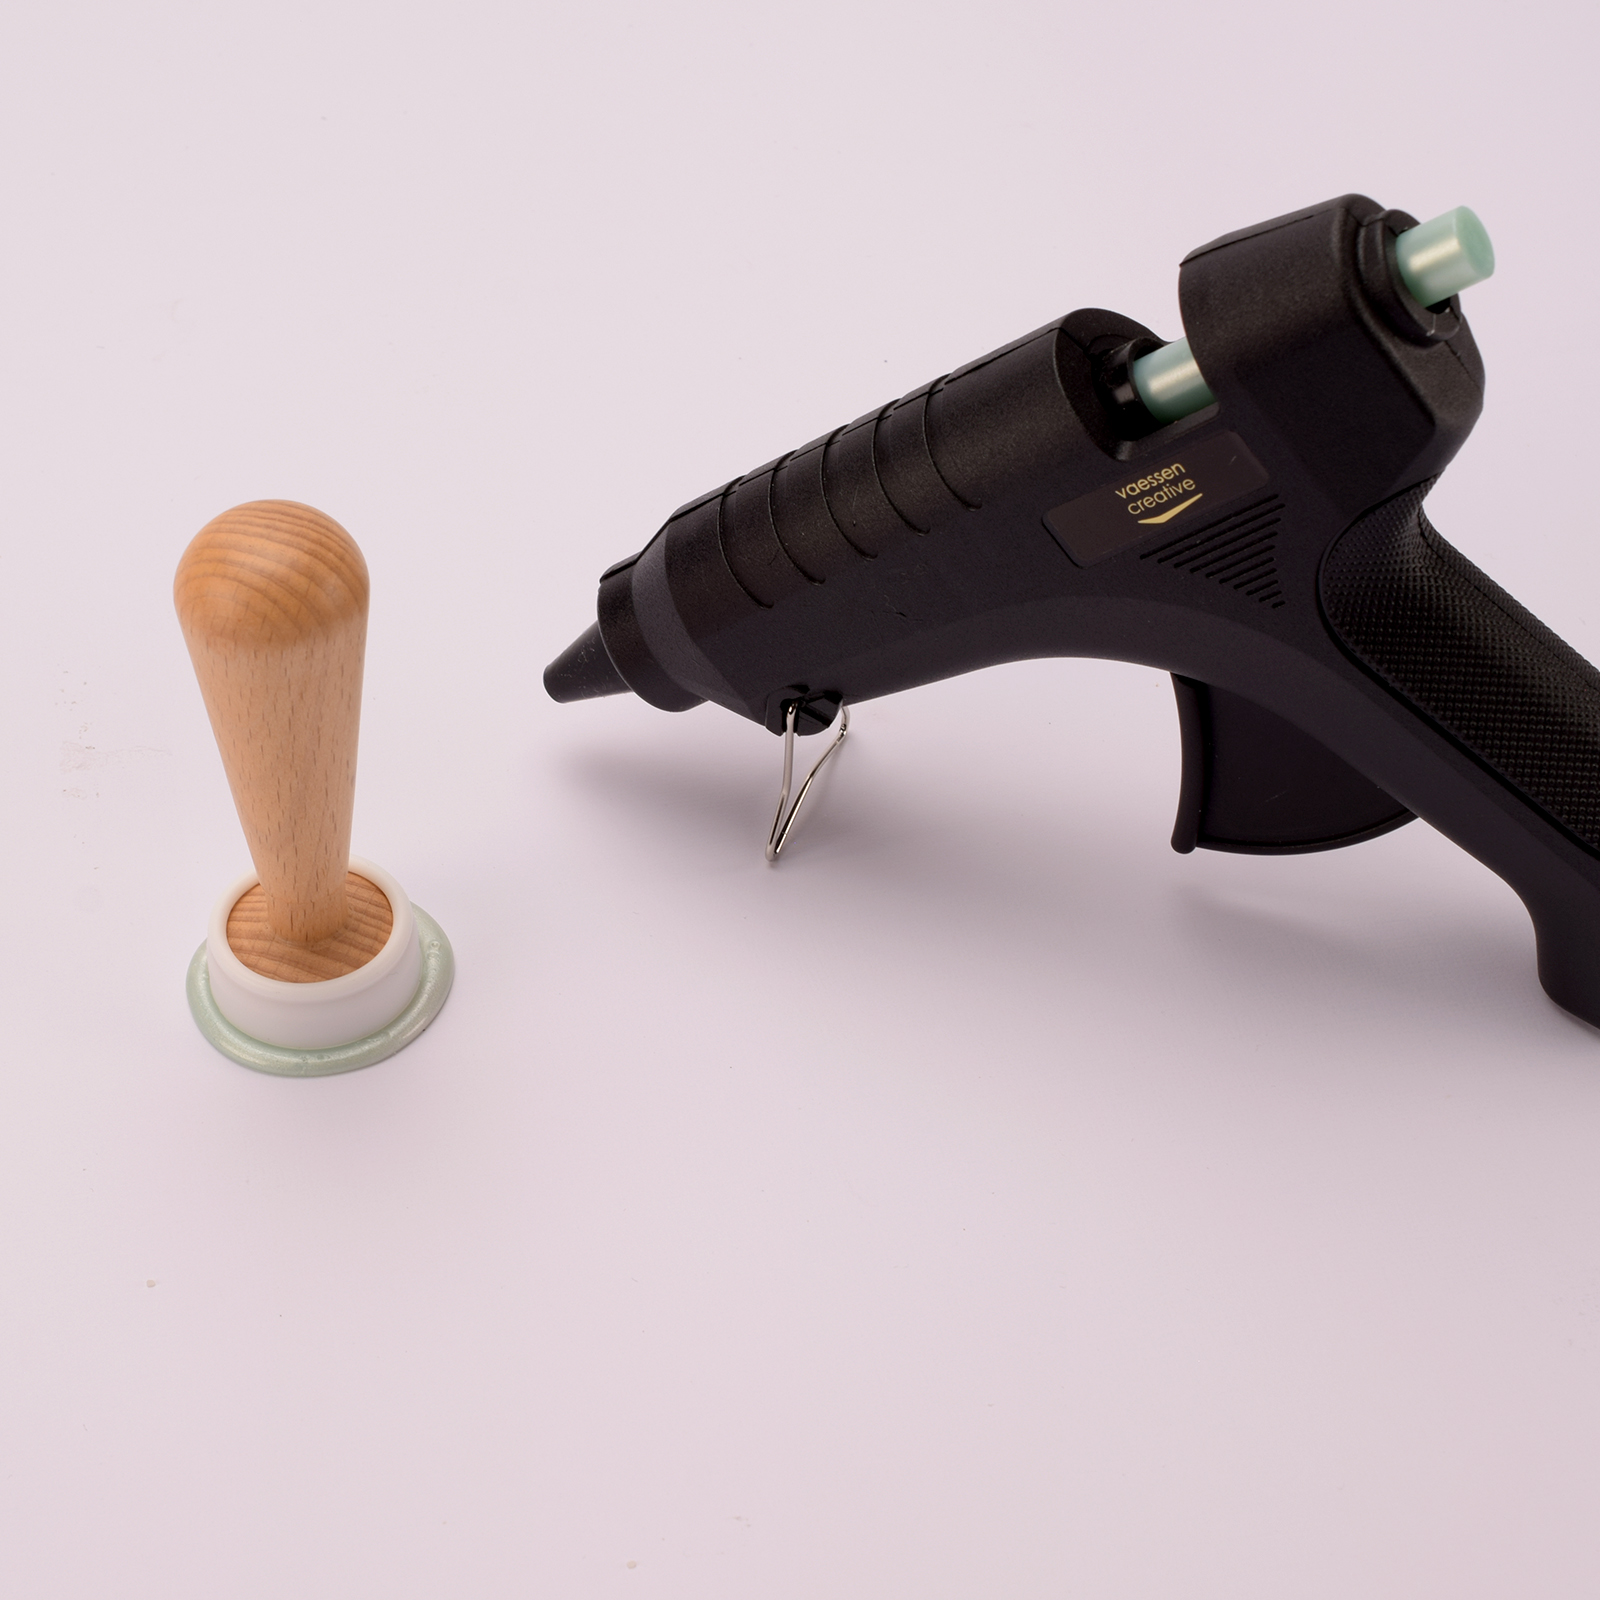
Use the We R Makers Envelope Seal Kit and a glue gun to create a nice wax seal for the middle envelope. Insert a pattern into the glue gun, squeeze out a large dot of liquid wax, press the stamp into it, and let it cool completely.
17
Place the cut-out cards and wax seal in and on the envelopes. The inside is now ready. You can add more decoration to suit your taste.
18
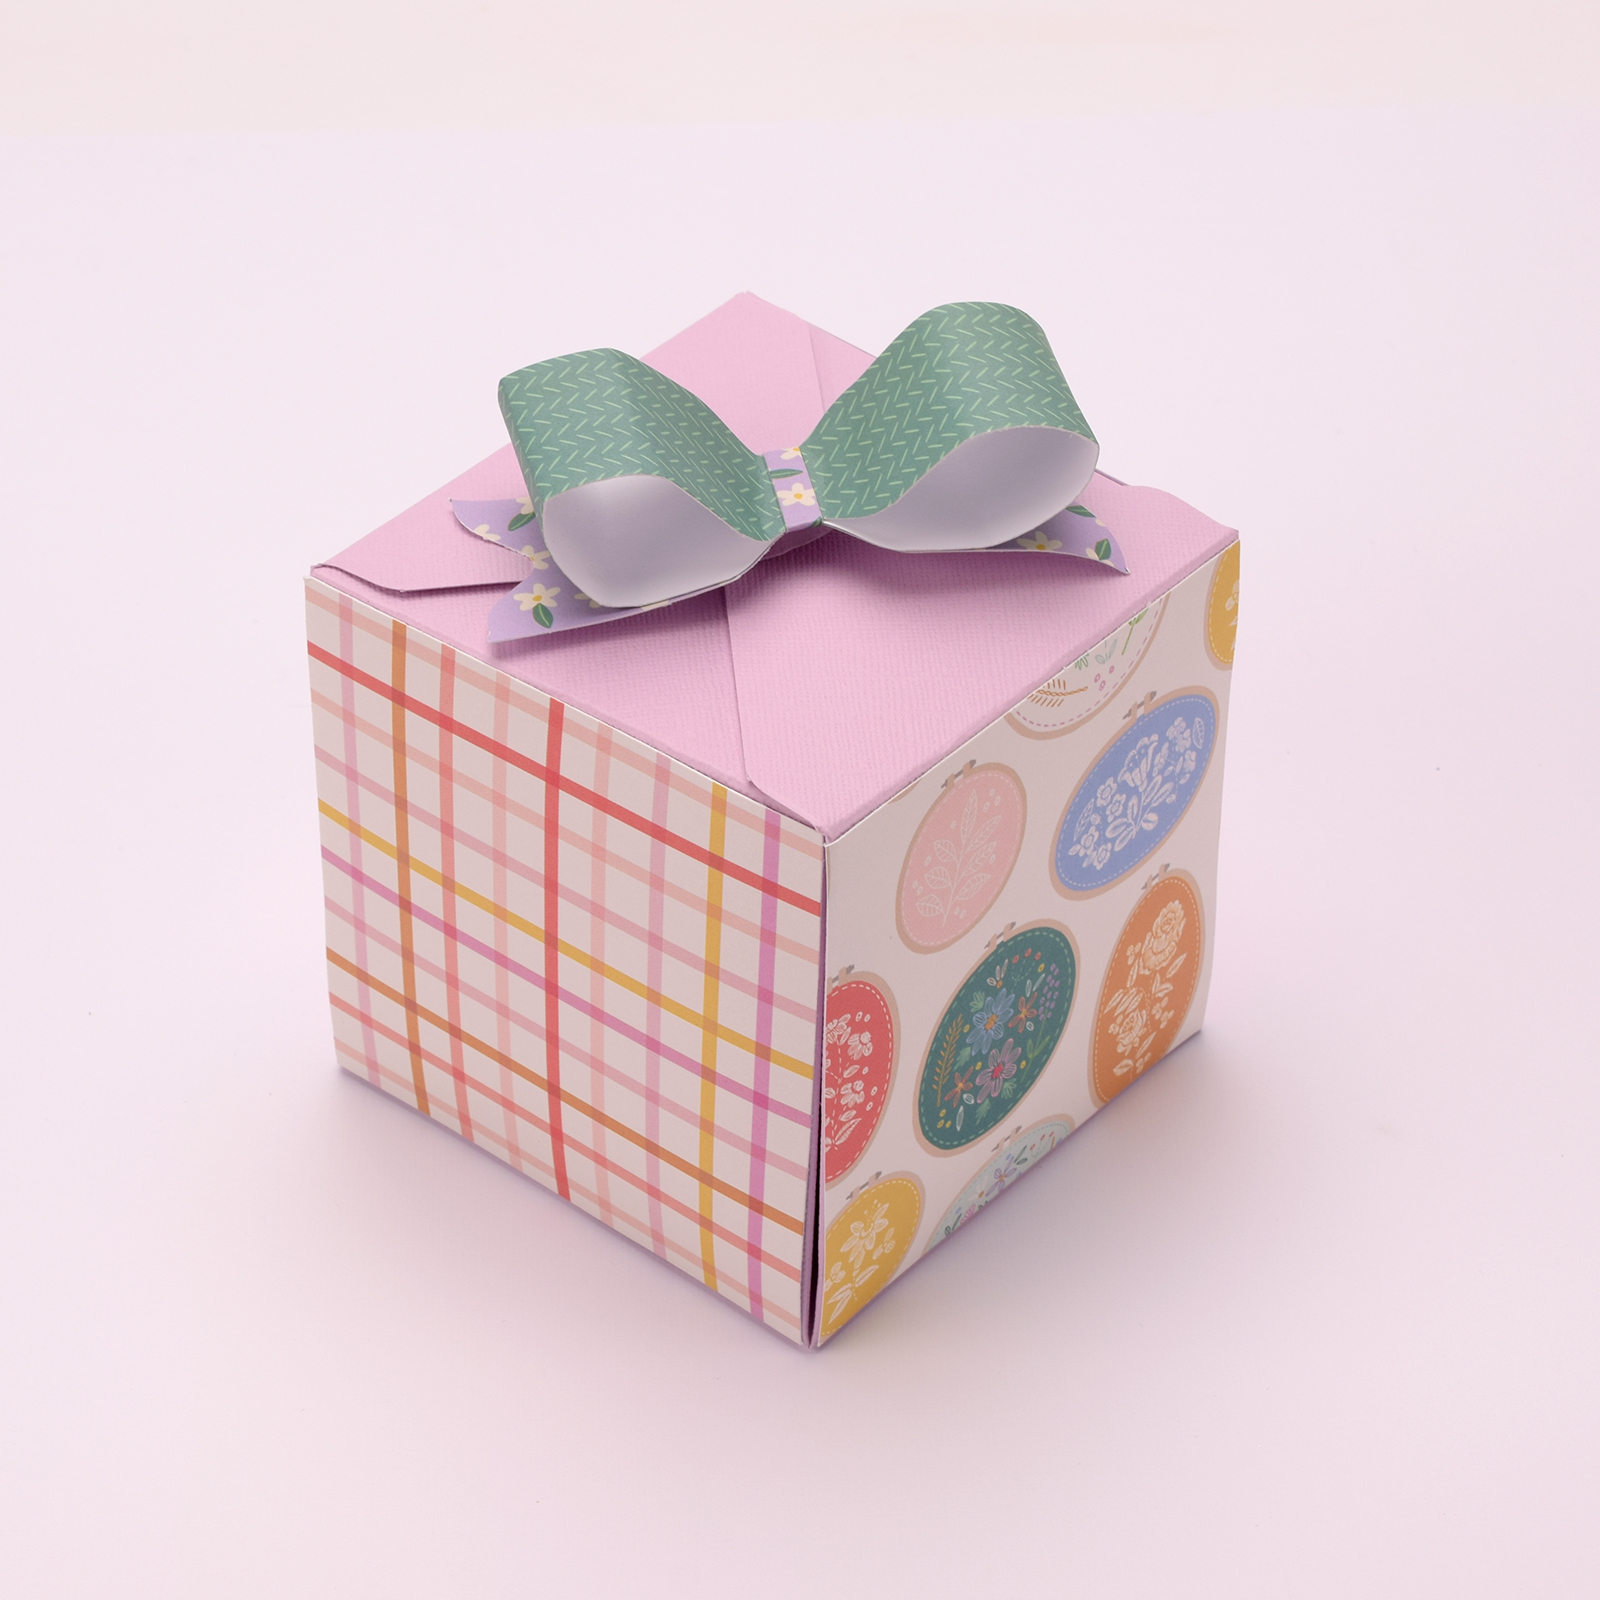
For the outside of the box, cut paper to 3 7/8 x 3 7/8 inches and attach it to the square panels. The triangular panels fold inward and are not visible.
19
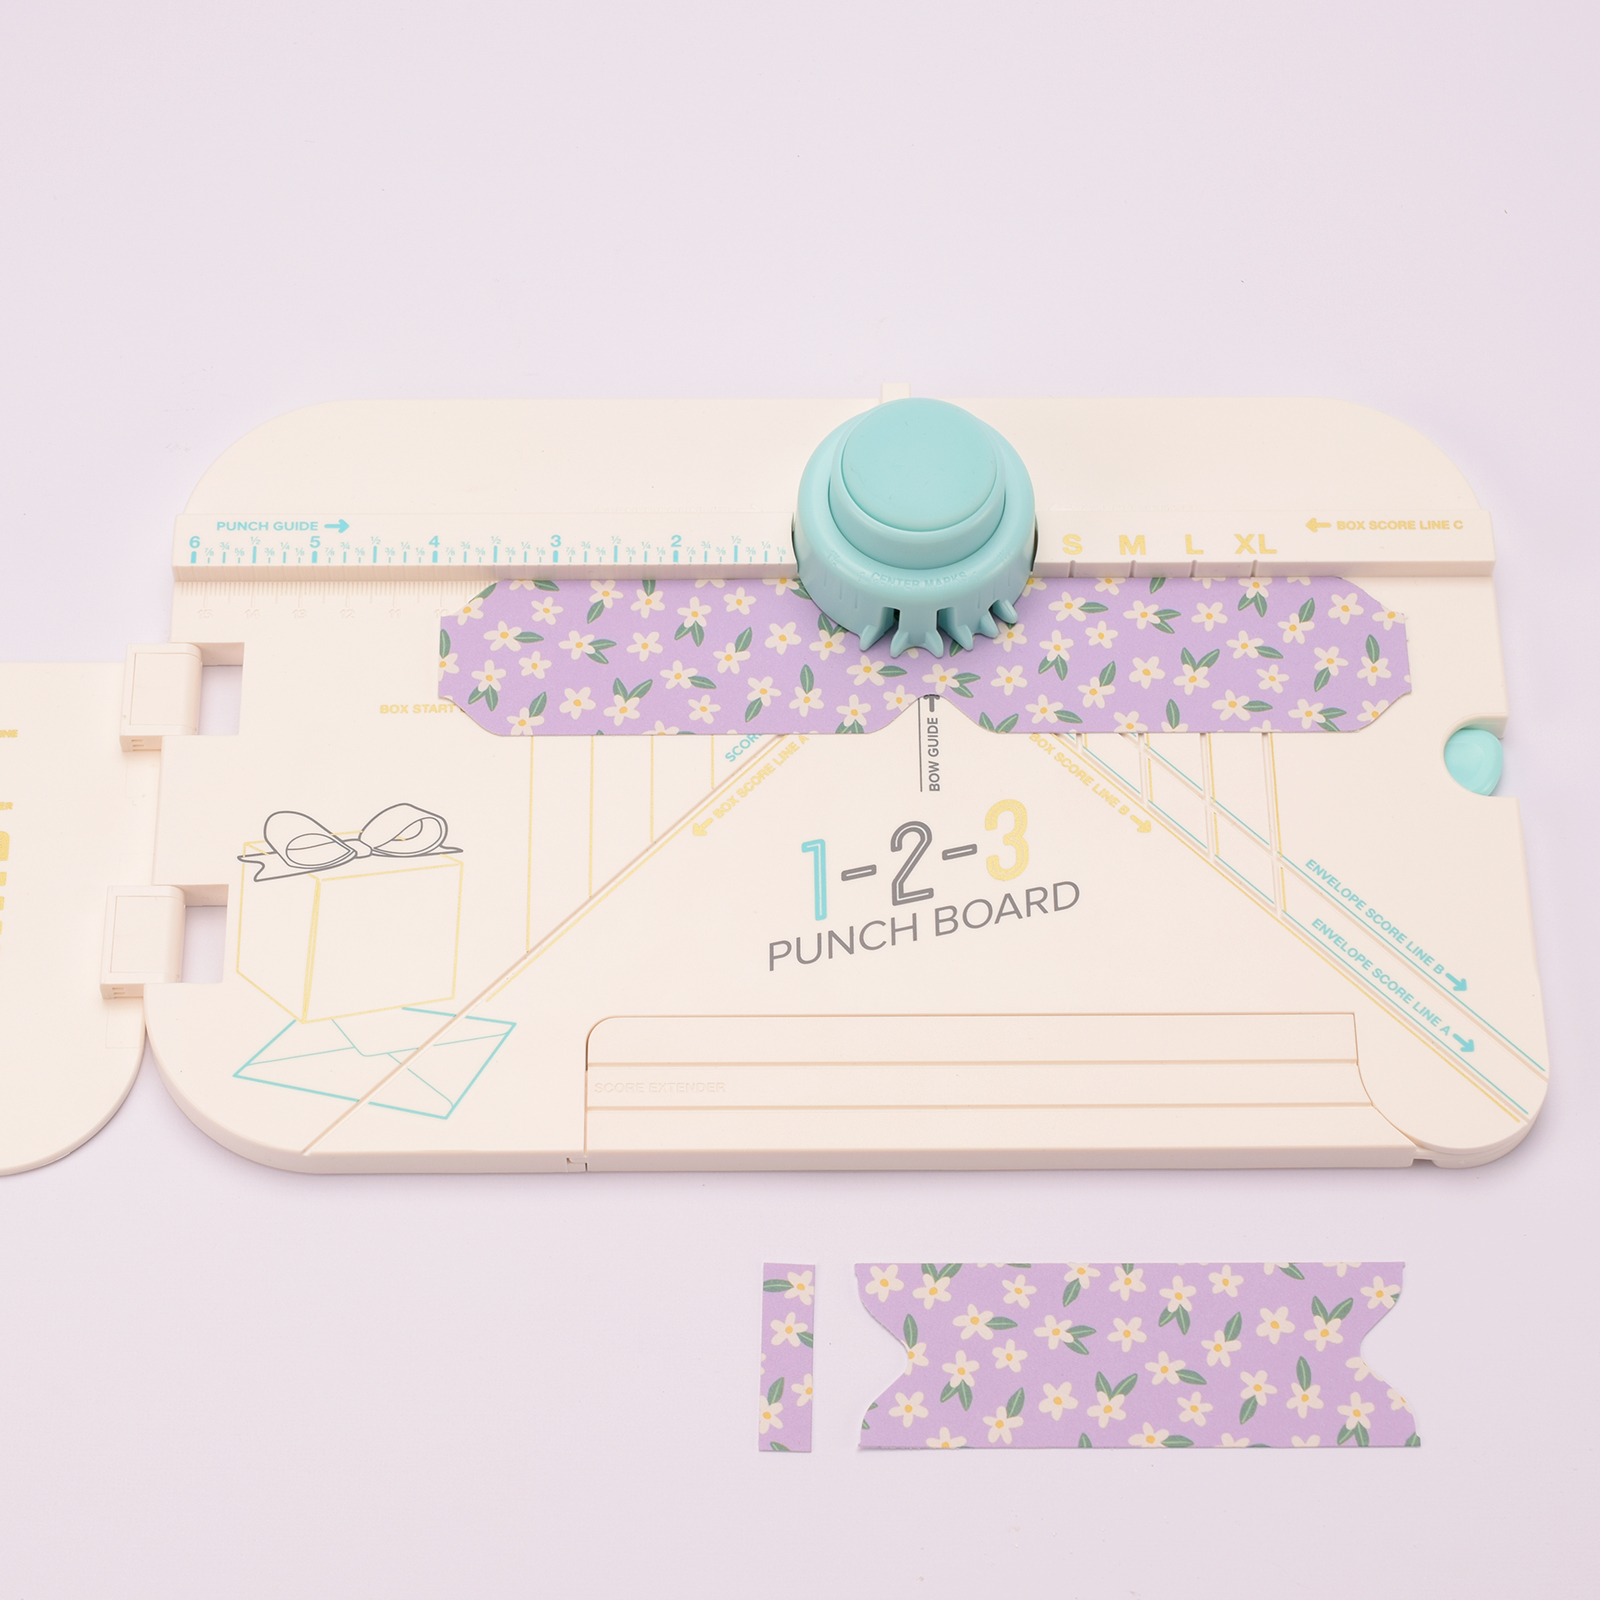
Finally, make a bow for the box. Choose a size according to the instructions on the punch board. Cut the paper to size and punch as indicated in the instructions.
20
Fold the ends of the largest piece of paper to the centre and attach it to the other punched strip. Wrap the small strip around the middle of the bow and secure it to the top of the box. Combine different designs for a beautiful effect.