A causa dell'elevato traffico, il tuo pacco potrebbe subire dei ritardi


Acrylic paint on wood: 7 steps & tips
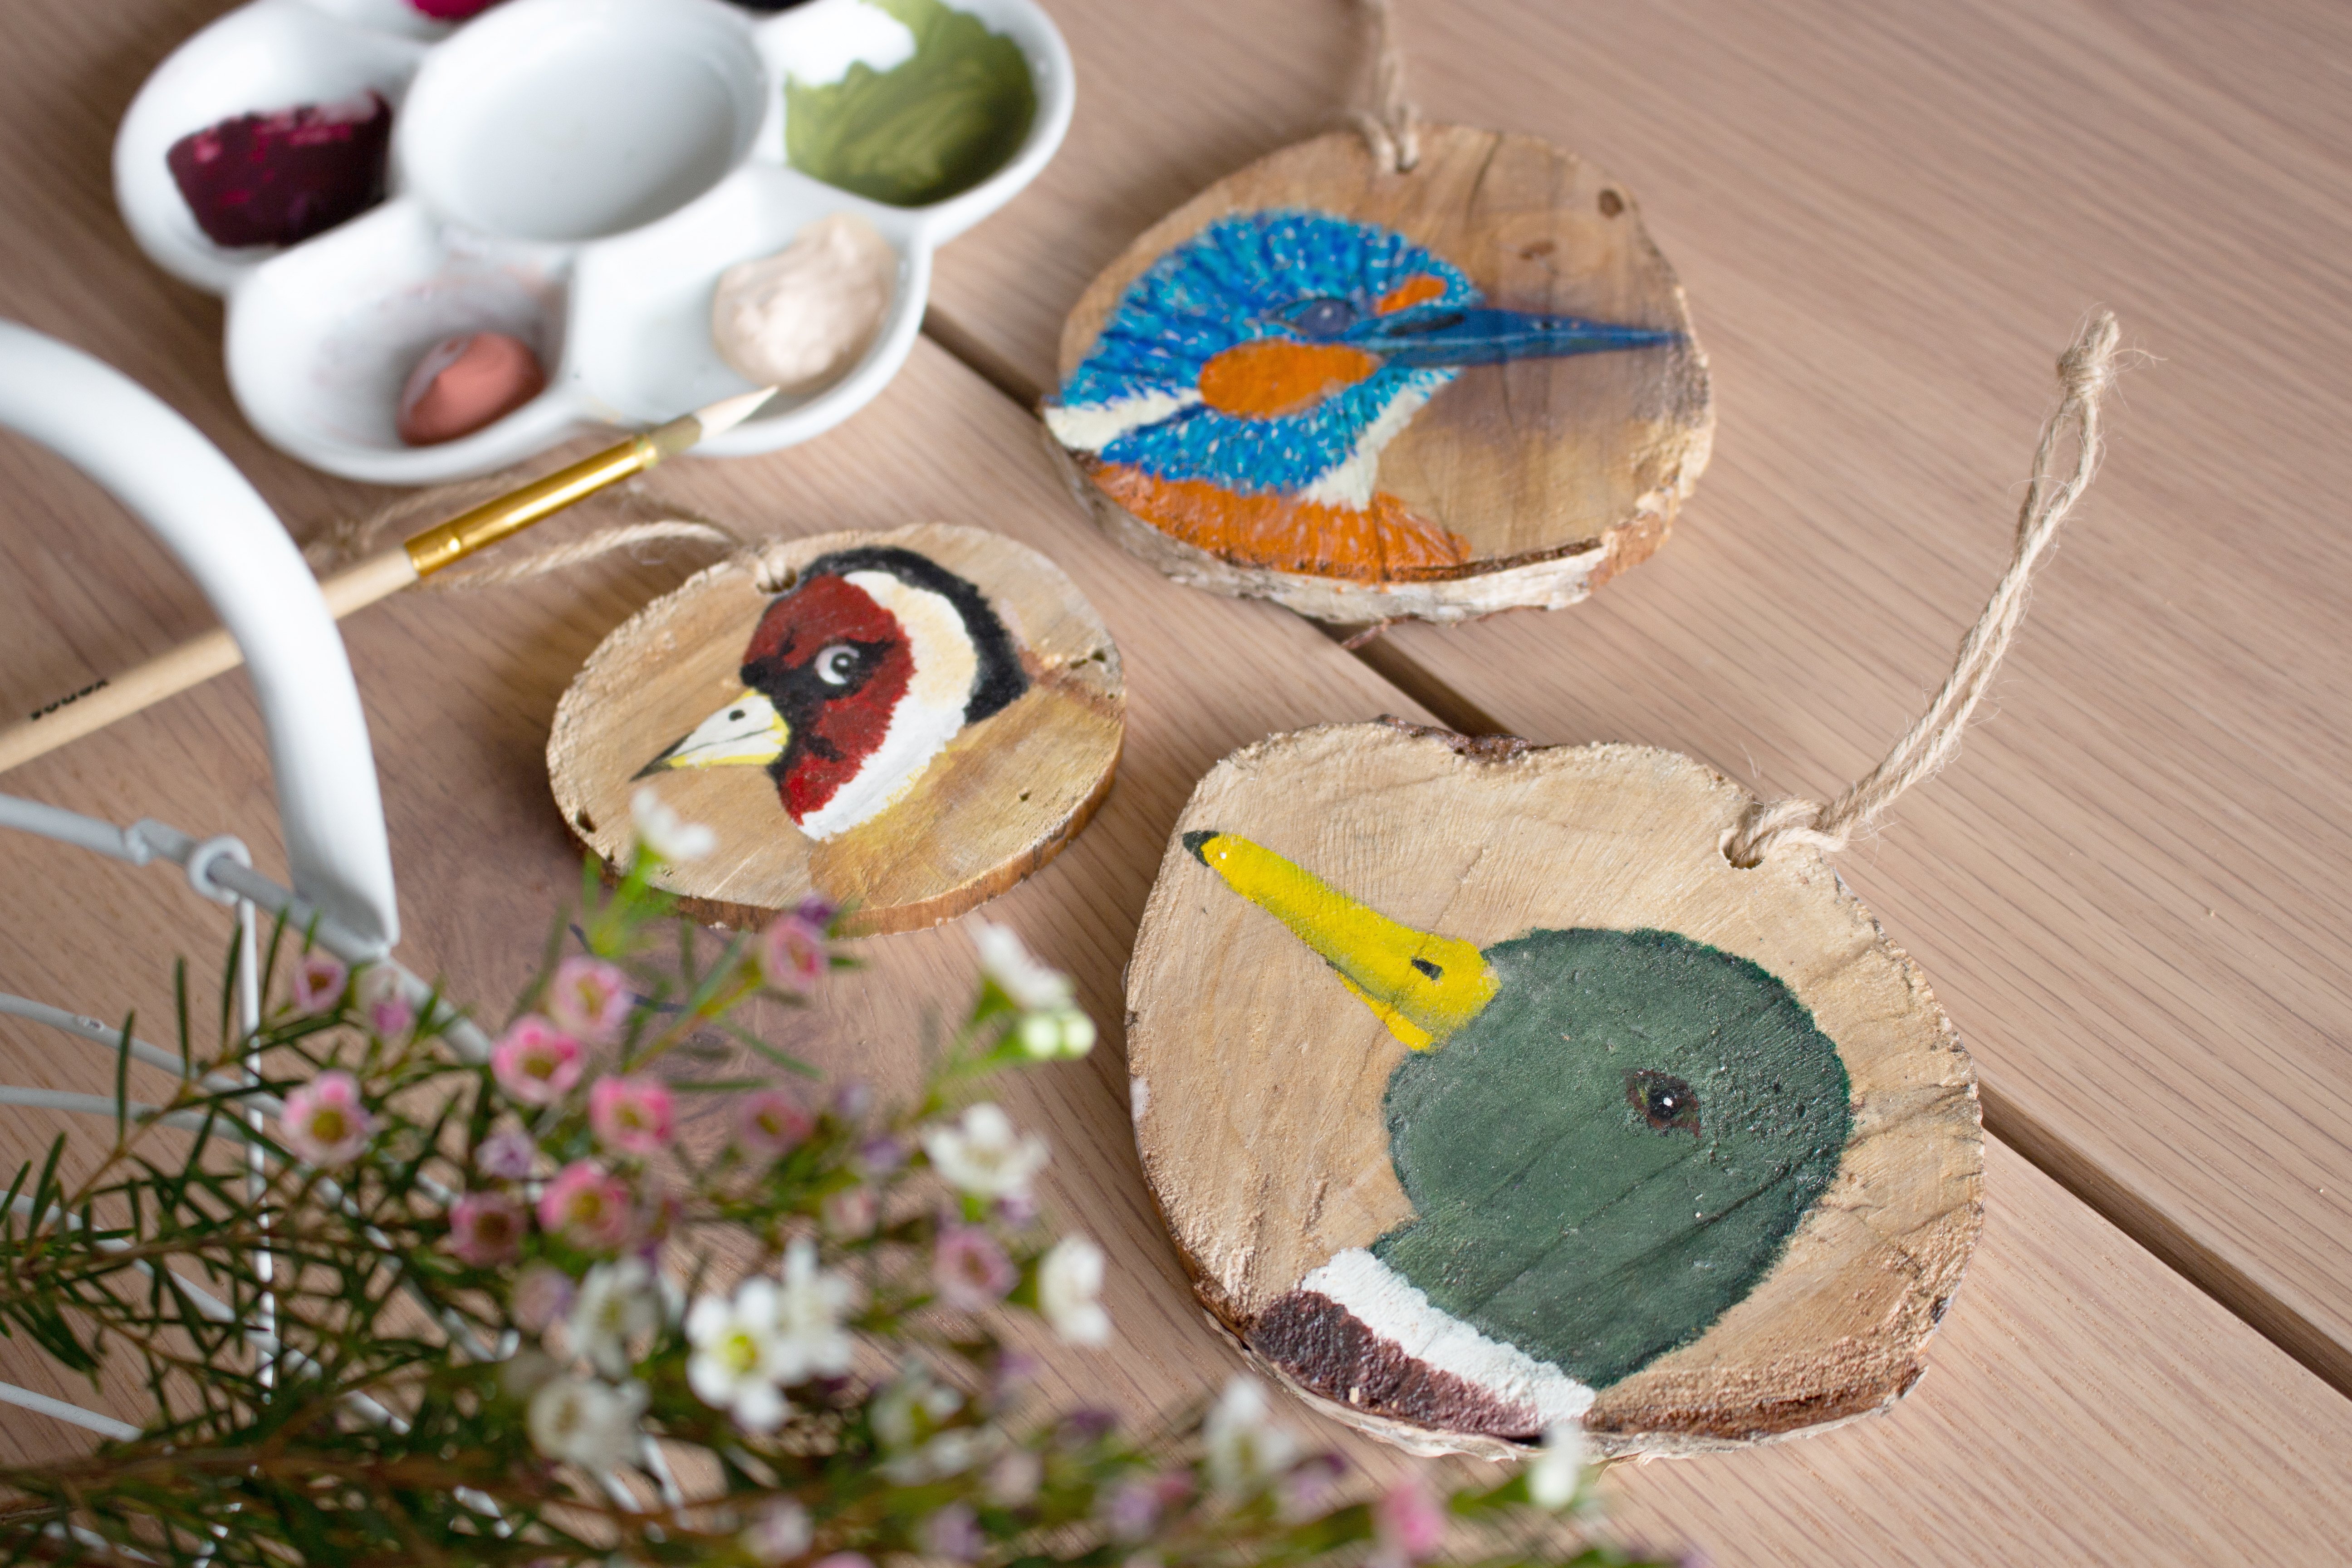
Painting with acrylics on wood can be a challenging task that you want to be well prepared for. With the right tips and techniques, you can ensure that the paint adheres well and achieves the desired result.
Whether you're a beginner or an experienced artist, the following steps and tips will help bring your creation to life. Explore various painting techniques, understand essential preparations, and get inspired by numerous project ideas.
Supplies for using acrylic paint on wood
Before you begin, it's important to have the right materials on hand. Proper preparation is essential for a successful project. The following is a list of everything you need to get started painting on wood.
- Wooden panel or surface: Choose a smooth, clean wooden surface. MDF, plywood, or specially prepared wooden painting panels are good options.
- Sandpaper: Use fine-grit sandpaper to prepare and smooth the wood surface.
- Ground layer or primer: Apply a layer of gesso or another suitable primer to seal the wood and ensure proper paint adhesion.
- Acrylic paint: Choose high-quality acrylic paint in the colours you want to use.
- Brushes: Get a variety of brushes, from wide to fine, depending on the details of your painting.
- Palette: A palette for mixing and thinning your paint.
- Palette knife: Useful for mixing paint or applying texture.
- Cup or bowl of water: For rinsing your brushes.
- Cloths or paper towels: To clean your brushes or dab paint.
- Varnish: Optional, to protect your painting and provide a finish of your choice (matte, satin, or glossy).
With these materials, you're well-equipped to start painting on wood with acrylic paint.
Which wood can I use to paint on?
Choosing the right type of wood is crucial for a successful painting project with acrylic paint. Here is some detailed information about suitable wood types and the properties that the wood should have for proper painting:
Suitable wood types
MDF (Medium Density Fiberboard):
- Properties: Very smooth, consistent in texture, and free of knots.
- Advantages: Absorbs primer evenly, creating a smooth surface ideal for painting.
- Disadvantages: Can be heavy and susceptible to moisture, which can cause swelling and warping.
Plywood:
- Properties: Consists of multiple layers of wood veneer glued and pressed together.
- Advantages: Sturdy and relatively lightweight, available in large sheets.
- Disadvantages: Depending on the quality, it may have imperfections such as small holes or uneven layers.
Basswood:
- Properties: Very soft and light, with a fine, even grain.
- Advantages: Ideal for detailed work, easy to carve and sand.
- Disadvantages: Relatively more expensive and can be prone to damage.
Birchwood:
- Properties: Harder wood type with a smooth texture.
- Advantages: Strong and durable, suitable for larger projects.
- Disadvantages: It can be pricier and requires more preparation to achieve a smooth surface.
Properties of a suitable wooden surface
To be suitable for painting, the wood must meet the following criteria:
- Smoothness: The surface should be smooth to allow for even paint application. This may require you to sand before painting.
- Moisture level: The wood should have an appropriate moisture content to prevent warping or cracking after applying the paint.
- Free of oil and resins: Natural oils and resins (such as those in pine and cedar wood) can bleed through the paint, affecting the finish.
- Pre-treated: Especially when using softer wood types, proper treatment with a primer or gesso is needed to ensure that the paint adheres well and the surface remains even.
Step-by-step guide: Using acrylic paint on wood
If you want to paint with acrylics on wood, there are several steps you need to follow to achieve a good result. Vaessen Creative has put together a simple step-by-step plan for you to get started right away.
Step 1: Choose and prepare your wood
- Select your wood: Choose a piece of wood free of oils, dirt, and other impurities. Smooth wood types like MDF or fine plywood work well for detailed painting.
- Sand the wood: Start with a coarser grit and work to a finer grain to smooth the surface.
Step 2: Apply a primer
- Clean the wood: Wipe away all dust after sanding.
- Apply primer: Apply one or more coats of gesso and/or another suitable wood primer. This provides a smooth and absorbent surface and prevents the paint from soaking into the wood. Allow each layer to dry completely before applying a new layer. Properly preparing your wooden surface may take several days.
Step 3: Create a design
- Plan your design: You can sketch directly on the primed wood with a pencil or draw your design on paper first.
Step 4: Start painting
- Apply the paint: Use acrylic paint and suitable brushes to apply your design to the wood. Work from light to dark colours and from large areas to small details.
- Let the layers dry: Acrylic paint dries quickly, but make sure each layer is dry before adding a new layer or different colours.
Step 5: Add details and textures
- Detail and texture: Use finer brushes for details or palette knives for texture. You can also use techniques like sponging or stamping to create different effects.
Step 6: Finishing touches
- Finishing: Once the paint is completely dry, you can finish the work with a varnish. This protects the painting from dust, light, and water. Choose a matte, satin, or glossy finish according to preference.
Step 7: Hang or display
- Presentation: Make sure you choose a suitable method to present your artwork, depending on the weight and size of the wooden panel.
By following these steps, you can create a beautiful and durable artwork with acrylic paint on wood. Experiment with different techniques and materials to develop your unique style!
Tip! Watch this video for a more in-depth explanation of how to prepare a wooden panel.
Painting techniques with acrylic paint on wood
Painting on wood offers many creative possibilities, depending on your chosen technique and materials. Here are some popular techniques for painting on wood, the materials you need, and the types of art you can create with them:
- Basic acrylic painting
- Technique: Use acrylic paint directly from the tube or thinned with water or an acrylic medium.
- Materials: Acrylic paint, brushes, palette, water container.
- Types of art: Everything from abstract art to realistic portraits and landscapes.
2. Watercolour effect with acrylic paint
- Technique: Dilute acrylic paint heavily with water to create a translucent, watercolour-like effect.
- Materials: Acrylic paint, water, soft brushes, and optionally, a medium that slows down the drying of the paint.
- Types of art: Soft, subtle artworks with a dreamy effect, ideal for landscapes and still lifes.
3. Impasto
- Technique: Apply acrylic paint thickly with a palette knife to create texture and depth.
- Materials: Acrylic paint (possibly with texture medium), palette knives, thick brushes.
- Types of art: Expressionistic works with visible brushstrokes and texture.
4. Stenciling
- Technique: Use pre-cut stencils to apply specific shapes, patterns, or images to the wood.
- Materials: Stencils, sponges or stencil brushes, optionally spray adhesive to hold stencils in place.
- Types of art: Decorative patterns, textual artworks, and graphic designs.
5. Sponging
- Technique: Use a sponge to dab paint onto the wood, creating a textured effect.
- Materials: Sponges, acrylic paint, paper towels.
- Types of art: Abstract and impressionistic works with rich textures and layers of colour.
6. Dry brush technique
- Technique: Apply small amounts of paint with a dry, stiff brush to achieve a rough, scuffed effect.
- Materials: Stiff brushes, minimal amount of acrylic paint.
- Types of art: Rustic or weathered appearance, ideal for vintage or shabby chic styles.
7. Photo transfer
- Technique: Transfer a printed photo onto wood using a gel medium.
- Materials: Laser prints of photos, gel medium, brushes, water.
- Types of art: Personalized artworks, mixed media art.
Are you excited to create a beautiful artwork on wood now? At Vaessen Creative, you can find all the supplies you need to get started. We're curious to see what you'll create!


